Summertime madness in the field.

We are in the midst of summertime madness. The flowers in the field exploded when we were on vacation, so that means that the weeds are exploding also.  With plenty of rain and the humidity high, summertime madness is truly here.

flower field
view from above

Local flowers

I have been harvesting on Tuesday mornings for the twin cities flower exchange. It is such a great venue for our locally grown, chemical free flowers. A special thanks to Christine Hoffman for all her hard work.

80% of the cut flowers here in the United States are imported. One small flower farm at a time is changing that number. Keep buying locally grown flowers. You will be blown away at the quality.

We are in the midst of summertime madness. The flowers in the field exploded when we were on vacation, so that means that the weeds are exploding also.  With plenty of rain and the humidity high, summertime madness is truly here.
In the field

Thursdays are the day I go to the Wayzata farmers market. The market is in full swing. Stop by and check it out if you are in the area.

We are in the midst of summertime madness. The flowers in the field exploded when we were on vacation, so that means that the weeds are exploding also.  With plenty of rain and the humidity high, summertime madness is truly here.
zinnia

Succession planting

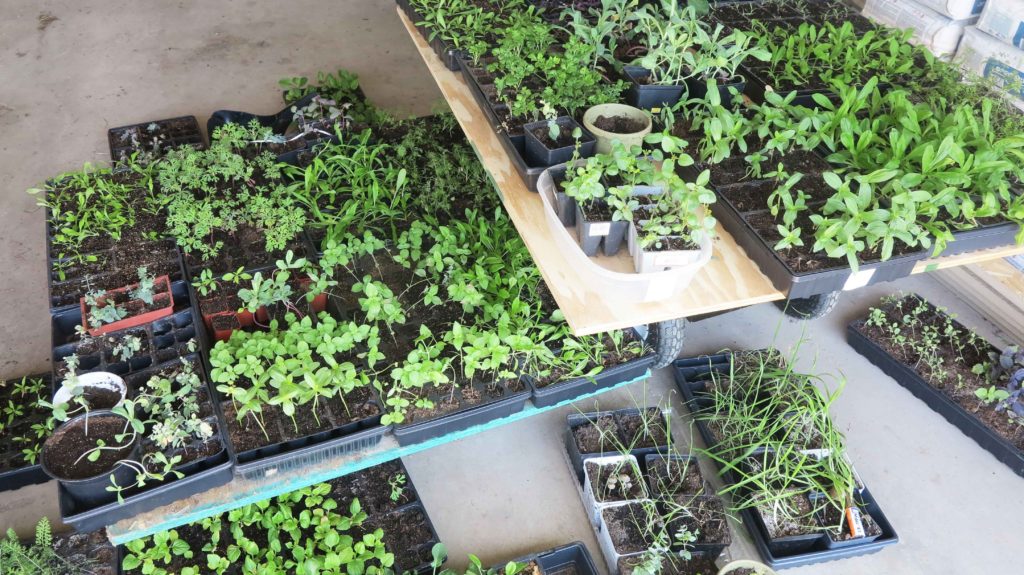
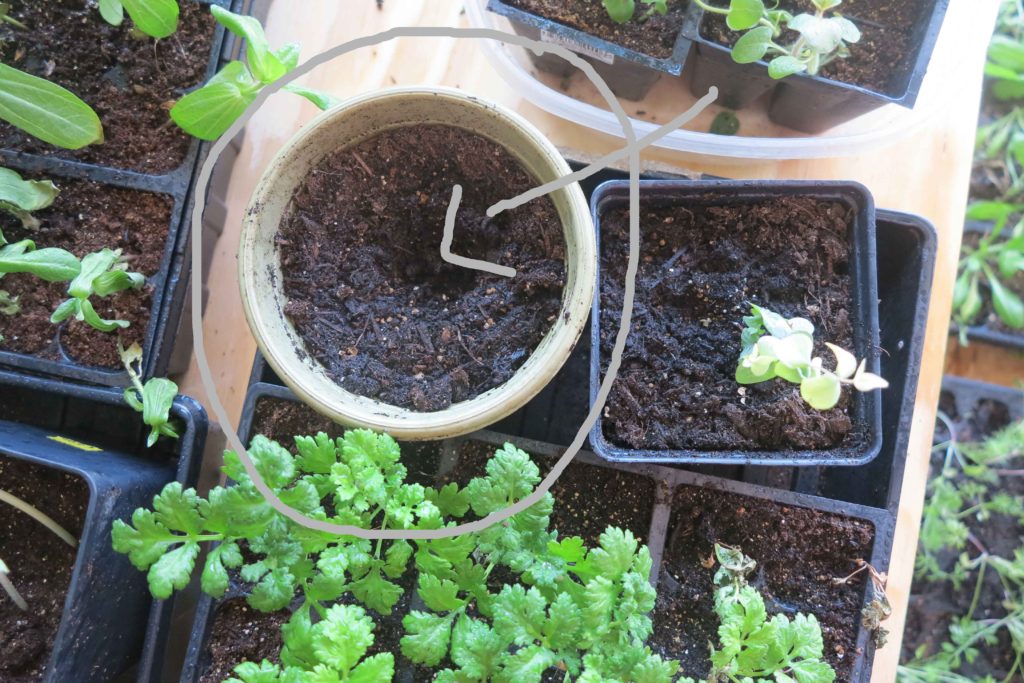
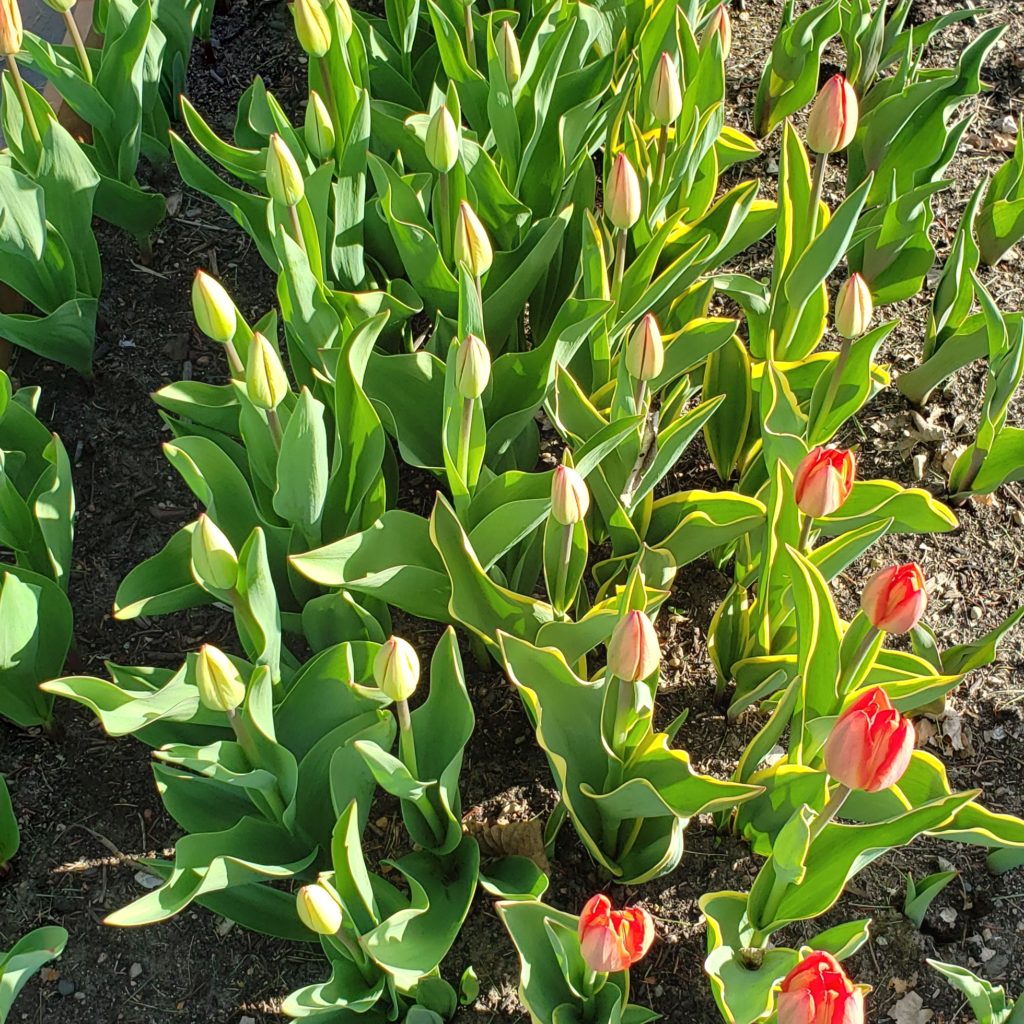
The learning curves…. they continue to happen. I have had some success with succession planting this season. What is succession planting? This is when you start and plant the same crop at different times. This ensures blooms throughout the season. The zinnias are coming along great using this planting method but….my bunny tail grass is another story. All the cute little bunny tails are arriving at once. I am going to have to harvest and dry.

We are in the midst of summertime madness. The flowers in the field exploded when we were on vacation, so that means that the weeds are exploding also.  With plenty of rain and the humidity high, summertime madness is truly here.
see the snaps

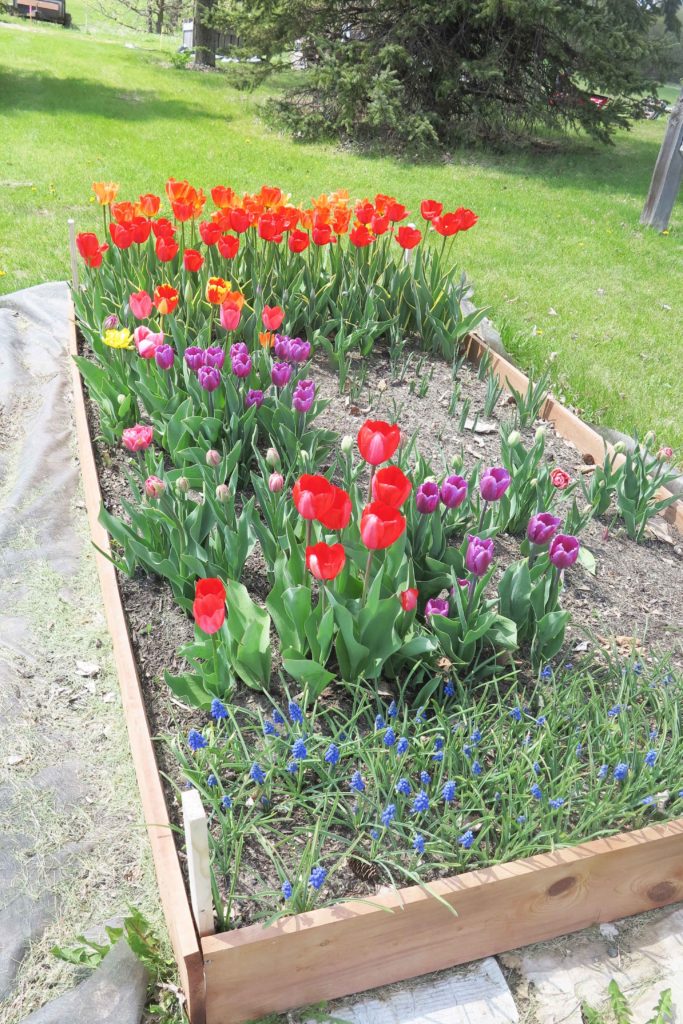
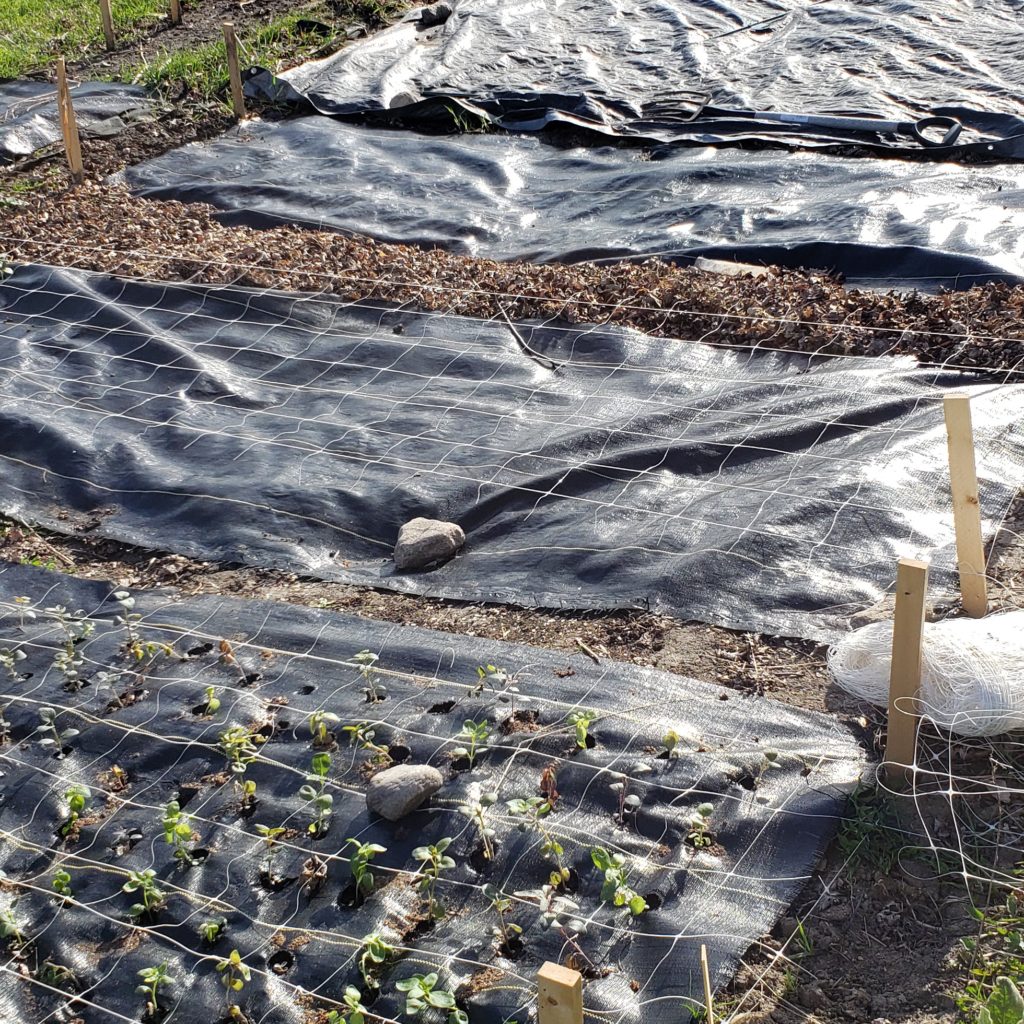
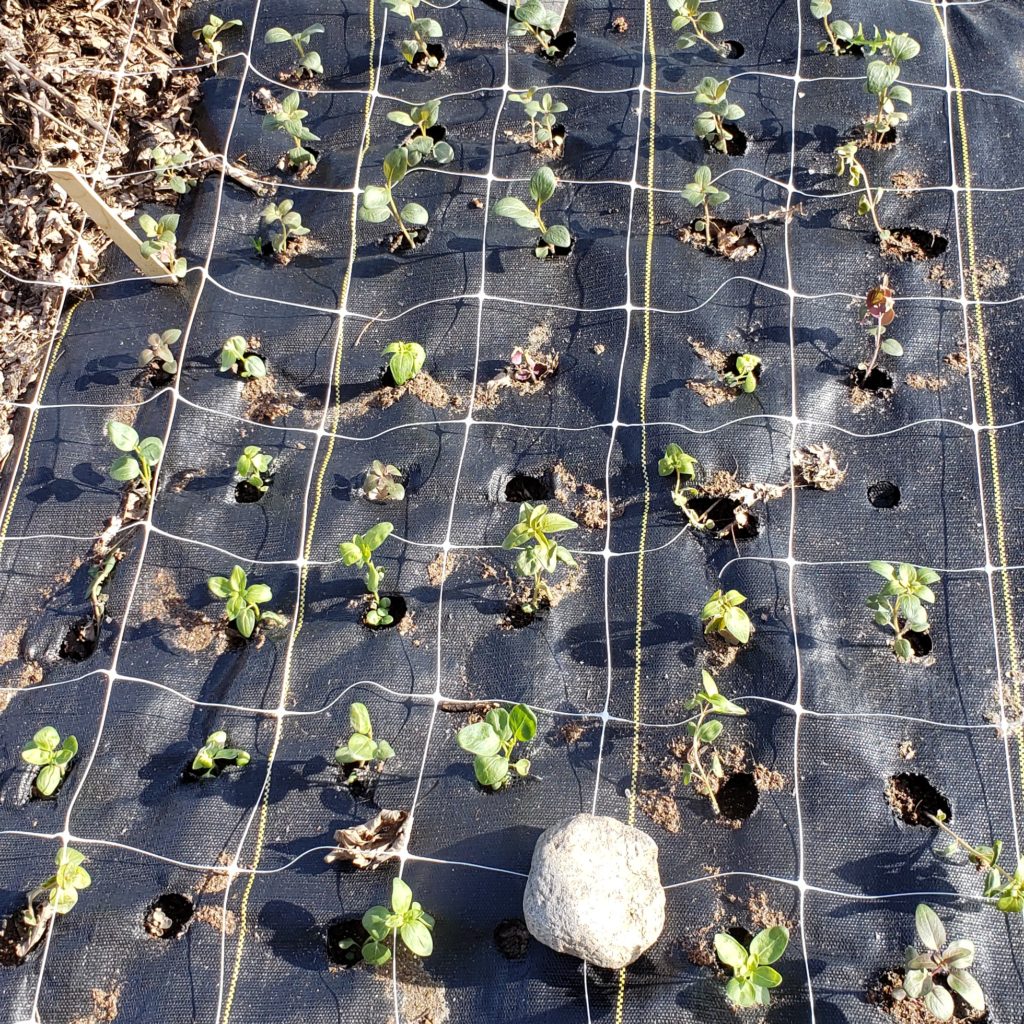
As you can see in the picture above….the weeds are endless. This coming week the rain is supposed to disappear, so if you want to find me….I will be pulling weeds.

We are in the midst of summertime madness. The flowers in the field exploded when we were on vacation, so that means that the weeds are exploding also.  With plenty of rain and the humidity high, summertime madness is truly here.
Raspberry patch

Raspberry branches are great to use as foliage.  They last for about 2 weeks after being cut. Thornless varieties are ideal but these good ol’ fashioned ones work great also.

We are in the midst of summertime madness. The flowers in the field exploded when we were on vacation, so that means that the weeds are exploding also.  With plenty of rain and the humidity high, summertime madness is truly here.
feverfew
We are in the midst of summertime madness. The flowers in the field exploded when we were on vacation, so that means that the weeds are exploding also.  With plenty of rain and the humidity high, summertime madness is truly here.
swamp milkweed

Swamp milkweed. It grows in the ditches and fields here. When it dries and the seed pod appears, it is so cool. Scouting the ditches for the dried ones has become a regular activity.

As the summer madness progresses into August, I am once again trying to find some sort of balance.  The balance beam proceeds to lean towards chaos….and the days of summer keep flying by.

Early mornings are calling my name….so maybe that is the key.  “Early to bed, early to rise. Makes a person healthy, wealthy and wise.”  Stay tuned to see how that works!

Please don’t miss out on any of my ramblings…subscribe to receive our new posts.  That’s it, just the posts?  Yes!

Stop by  here to see what also tips the balance beam!

Here is a summer recipe for you to try! Whipped cream and berries…I can taste it already.


Flower farm update

Flower farm update. Summer is in full swing in the midwest. Here at Midwest cut flowers we are a few weeks behind from last year due to the cold spring.

Flower farm update. Summer is in full swing in the midwest. Here at midwest cut flowers we are a few weeks behind from last year due to the cold spring.
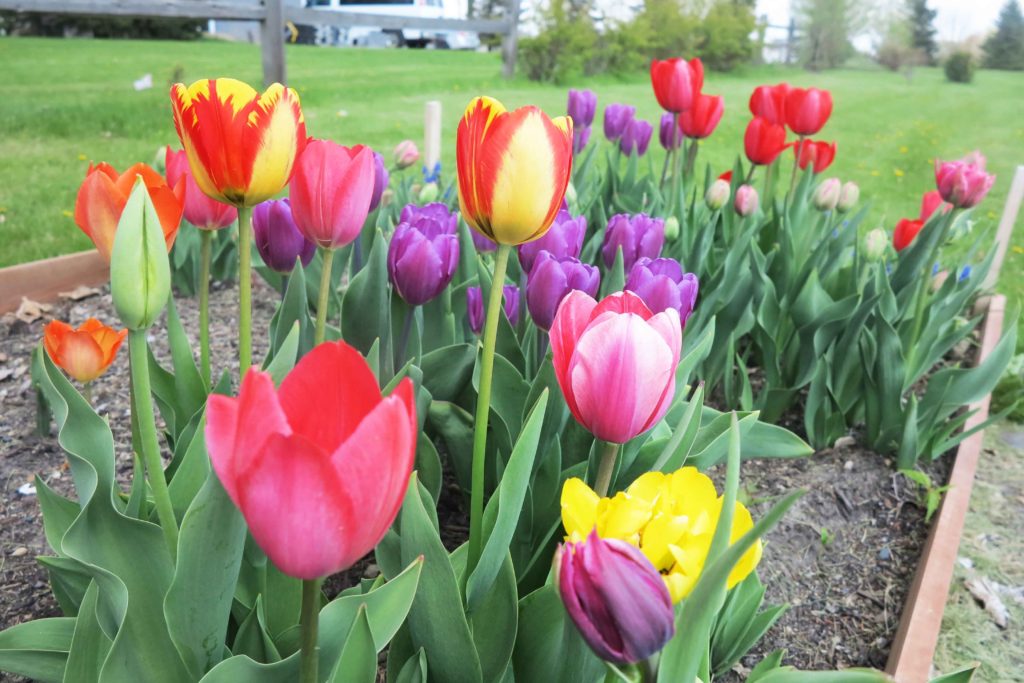
Oh sweet summer time. The sun is shining in the Midwest and I am here on vacation from the pacific northwest visiting friends and family. Time for a flower farm update.  My mom has many new things in store for Midwest Cut Flowers this summer. It’s time to get to get the plants in the ground and make sure we do everything we can to get those flowers to grow! The spring here, like a lot of other places was cool and rainy. The plants did not like it. Things are growing about 2 weeks behind last year and some of the plants are too short.

Flower field

The size of the field this year is triple in size to  what we started with in 2017. That is a huge growth but still not where it needs to be.

Flower farm update. Summer is in full swing in the midwest. Here at midwest cut flowers we are a few weeks behind from last year due to the cold spring.

This year we have a “u-pick” garden for people passing by to stop and pick a few stems. This is located by the flower stand, which will be open mid July with bouquets for sale; once my flowers start to bloom. So if your in the area stop by and check out the stand.

Flower farm update. Summer is in full swing in the midwest. Here at midwest cut flowers we are a few weeks behind from last year due to the cold spring.
Copper plume atriplex

In the beds

Planted throughout 14 beds in the main field are many different types of flowers and greenery that are used in the bouquets for the season. The beds are 6” high, amended with organic compost, and covered with landscape fabric for weed control. It is crucial to keep these plants watered through the summer because they are located in an area that has sun most of the day. To help with the watering we are installing a drip line system from DripWorks . It will be excited to see this garden in full bloom!

Morden blush rose
morden blush rose

Last year this morden blush rose was planted. There is one on each side of the driveway. The plant on the east side does not have near as many blooms as the plant on the west side. There are a few leaves getting eaten, so they will get sprayed with an organic pest control spray.

The last addition to the farm is a pumpkin patch with three different types of specialty pumpkins planted. The pumpkins will be available in the fall at the roadside stand and the Wayzata Farmers Market every Thursday along with many other things.

Flower farm update. Summer is in full swing in the midwest. Here at midwest cut flowers we are a few weeks behind from last year due to the cold spring.
dried peonies

The peony blooms all got cut and hung upside down to dry for fall markets.

This market bag can hold all of your market finds in a fashionable, modern look. Check them out here in our Etsy shop. You can also find dried flowers and aprons there. All these will be available at the Wayzata farmers market


Flower farm update. Summer is in full swing in the midwest. Here at midwest cut flowers we are a few weeks behind from last year due to the cold spring.
market bag for flowers

Here is a little flower farm update from 2017.

How to harden off seedlings

How to harden off seedlings

Hardening off your seedlings is an important step in growing your own plants from seed. You spend weeks tending to these little guys and you want to make the transition to the outdoors as easy on them as you can.

How to harden off seedlings.

There are a few different ways to do this and not one way is really better then another. The way I harden off seedlings is relatively easy. I say relatively easy because no matter how I look at it…it takes a little time.

Steps to harden off seedlings

  1. Wait until your last frost.
  2. Make sure your seedlings are well watered each morning.
  3. Day 1. Move all your seedling out to a sheltered area for an hour or two. I move them all into my garage and open the garage door.
  4. After a few hours have passed move the seedlings back indoors. I move them back into the garage and close the door.
  5. Check the trays to see if you need to rewater.
  6.  On days 2 and 3 repeat the steps above only add another hour for the seedlings to be outside.
  7. Day 4 They should be able to handle half a day outside of the sheltered area
  8.  For day 5 repeat day 4
  9. Day 6 Move seedlings outside for the whole day. Feed seedlings with an organic fertilizer.
  10. Day 7 they should be able to handle the whole day and overnight

How to harden off seedlings

I use Alaska fish fertilizer to fertilize my seedlings. It works great for me. It does smell like fish for a little bit after I spray them.

More tips…

Some people like to use a small fan to help harden off seedlings. You can place this fan on oscillating and move the air around. The moving air imitates wind so the seedlings make a stronger stem. This step is done before you move the seedlings outside.

Another tip I like to do is brush my hand over the seedlings every day. This will also help the seedlings to make a stronger stem.

Remember that your young seedlings are really tender. Do not put them out into the sun right away. They will wilt in no time.

What’s happening on the farm.

May is a crazy month. The goal is to get all the seedlings into the ground by May 31st. Usually I would try and have them in a little sooner but last night we had frost and are are delayed a couple of weeks from last year.


how to harden off seedlings
How to harden off seedlings

The seedlings went out into the garage Monday of last week.


How to harden off seedlings

I had issues with robins flying into the garage and stealing my seedlings!

How to harden off seedlings

I ended up tying a plastic grocery bag onto a tomato cage to scare them away. It worked!

Dahlia tubers sprouting

Most of my dahlia tubers are sprouting in these bulb crates. I did leave some out. I am curious to see if pre-sprouting helps with earlier blooms. I will let you know.

spring tulips blooming

This is my trial tulip bed, I was so excited with how the tulips bloomed in the raised bed.

tulips blooming

Tulips. So pretty!! Love them.

I am working on getting the seedlings planted so next week I will share pictures of my field beds. They are looking good. I had to cover my rows last night because of a freeze warning. I am so glad that I did because It would have been so disappointing to have the frost kill my hard work.

Don’t forget to subscribe to my blog because you will receive an email with my new posts.. I would love to have you along on this adventure.

Here is a  a little recap from last years growing season.


Spring is finally here….or is it?

Spring is finally here. Tulips blooming, birds are chirping and the grass is growing.Spring is here. Blooming tulips 
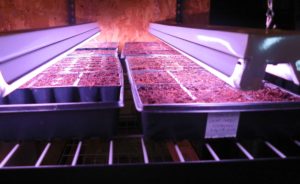
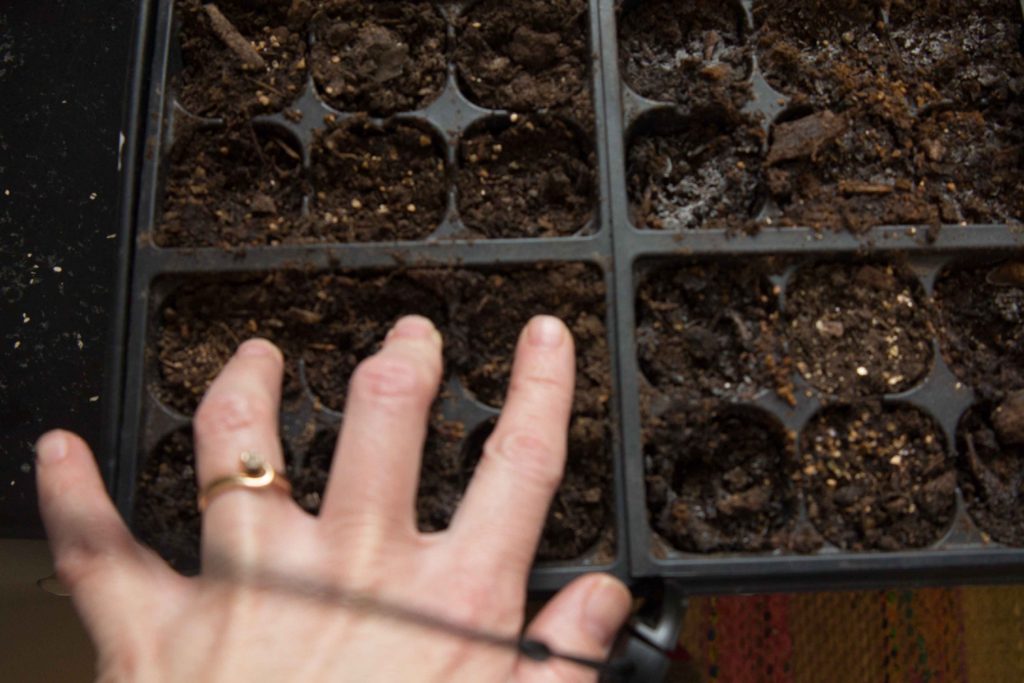
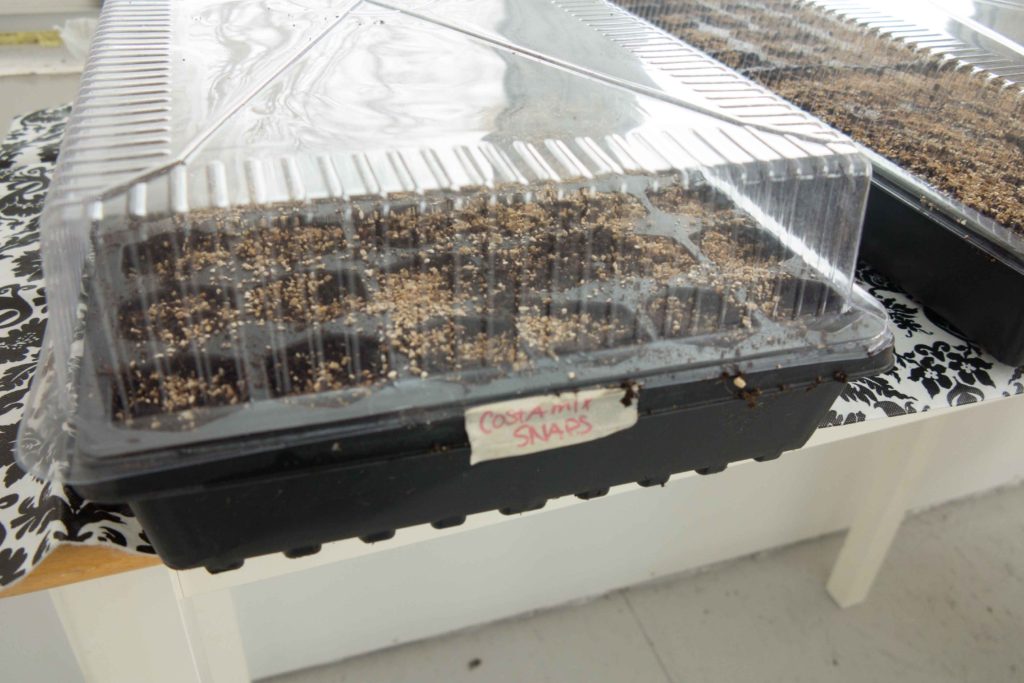
Spring is finally here…or is it? Today’s forecast in calling for 60’s and tomorrow 40’s with maybe a mix of rain and snow.The weather here in Minnesota keeps us on our toes, especially when you are planning on planting out all those little seedlings you have cared for all these weeks.Having something totally mot in your control makes a person feel quite small.

The month of May

If I remember right from last year May was insanely busy. Well in this first short week it is proving to be the exact same. Crazy. I have things that need done on the flower farm but my “real life” as I like to call it, is holding me back.

Starting seeds indoors

Spring is here.


Here is a picture of my seedlings that are upstairs waiting to be planted out. They are really doing well but I can see that some if them are not getting the light they need. Note to self for next year. I NEED MORE SHOP LIGHTS.This is my first year planting bunny tail grass. It will be so fun to what it does. So far I think it is doing good. I didn’t get as much germination as I had hoped for but I should end up with a fair amount to dry and sell .Eucalyptus is also a new one for me. The seeds germinated extremely well but I ended up with some fungus gnats so I think they did some damage to the roots. The seedlings that were planted in single 3×3 inch pots are doing the best compared to the cell tray ones.

Outside happenings

Spring is here.

Planting in a raised bed

Spring is here.

I put this raised bed in last fall. It is 4ft by 8ft by 6in tall.I filled it with spring flowering bulbs. Tulips and Muscari. They are coming up great.I did this bed as a trail bed. I would love to have flowers ready for mothers day some year.There is a small problem with this spot. I have to move the raised bed. The county is widening the shoulders of the road so it is in the easement. So add that and some shrub moving toy list of spring chores

In the field

Spring is here.
I have the first row of snapdragons in the ground. I checked on them this morning and they look good. I am hoping they will handle the cold weather that is coming tomorrow. I think I will cover them tomorrow night just for peace of mind.

Don’t forget to subscribe to our updates. It will be nice to have you along on this growing journey.

Check this post out. I have come a long way…..


Banana Muffins the only recipe you will need

So who likes a rotten banana? Not my kids, but they will sure gobble up these banana muffins. This is the only recipe for banana muffins that you will need. I promise. They turn out every time, or 98% of the time. I suppose I should leave a 2% margin of error.


Supplies

  • muffin tins
  • paper muffin cups
  • mixer
  • spatula
  • measuring cups
  • measuring spoons
  • mixing spoons

Ingredients

  • all purpose flour
  • rotten (ripe) bananas
  • granulated sugar
  • butter
  • eggs
  • baking soda
  • baking powder
  • salt
  • chocolate chips
  • sour cream
  • brown sugar

How to make banana muffins

Banana muffins with sour cream

Cream together butter and sugar until creamy

How to make banana muffins

Add the ripe bananas and eggs. Mix well

Banana muffin recipe

In a medium sized bowl. Add all the dry ingredients and mix together.

Banana muffins recipe

Add dry ingredients into the mixing bowl with and mix until combined. Mix for 1-2 minutes on medium speed until batter is light and fluffy.

Banana muffins recipe

Add the sour cream. Mix until blended then mix in the chocolate chips.

banana muffin recipe

Fill each muffin cup approx 3/4 full.

banana muffin recipe

Combine flour and brown sugar. Cut in the butter until crumbly. Sprinkle over muffins.

banana muffin recipe

Banana muffins

This is the only banana muffin recipe you will ever need.

Prep Time 15 minutes
Cook Time 20 minutes
Total Time 35 minutes
Servings 24

Ingredients

  • 1/2 cup butter room temp
  • 1 cup granulated sugar
  • 3 med ripe bananas
  • 2 eggs
  • 1/2 tsp baking soda
  • 1 tsp baking powder
  • 1/2 tsp salt
  • 2 cups all purpose flour
  • 2 cups semi sweet chocolate chips
  • 3 tbsp sour cream
  • 1/3 cup all purpose flour
  • 3 tbsp brown sugar
  • 2 tbsp butter

Instructions

  1. Line the muffin pan with the muffin cups.

    Set oven temp to 350 degrees.

    In a mixer. Cream together butter and sugar until fluffy. Add the bananas and eggs and mix well. 

    In a medium bowl combine flour, baking powder, baking soda and salt. Add this to the banana mixture. 

    Mix on medium speed 1-2 minutes until batter is light in color and fluffy. 

    Add the sour cream. Mix until combined.

    Pour in the chocolate chips and mix by hand to incorporate.

    With a large spoon fill the muffin cups 3/4 full with the banana muffin batter. Sprinkle with the streusel. 

    Bake for 20 min or until toothpick comes out clean. 

    Cool

    Enjoy.

Questions?

Can I use shortening instead of butter?

Yes you can.

Do I have to line the muffin tins with paper muffin cups?

No, but remember to grease liberally.

Can I use milk chocolate instead of semi sweet?

Yes. Please use whatever you want.

Are these healthy?

Better then a twinkie!

Can I add nuts?

Are you crazy! J/K add nuts if you are nuts:)

Here is a recipe for lemon blueberry cream cake. Yum.

What is happening on the farm?

Well we are busy babying the seedlings. It is a job to keep them watered and happy. I had a case of some fungus gnats but was able to get rid of them. Cross fingers.

I am hopefully going out this week to lay down the rest of the black landscape fabric over my beds.  My soil was supposed to be covered in the fall but time got away from me. I want to have it covered soon to help with weed control. Check out this little video on why tarps are helpful.

Don’t forget to subscribe to our email. Keep us with us with what is happening here.


Starting Seeds the basics

Starting seeds indoors is the first sign of spring. There are a few basic steps to be successful at starting your seeds indoors. Here at Midwest Cut Flowers we are deep into seed starting.

Starting seeds DIY

We are busy starting seeds and going over lists of supplies that still need to be bought. The busy season is upon us! In no time at all it will be planting time and watering time and harvesting time.

Seed Starting 101

Here is a quick run down on how we start seed here at Midwest Cut Flowers

  1. We use a seed starting mix to start all of our seeds.
  2. In a large container pour in the seed starting medium of your choice.
  3. Moisten the seed starting mix. You want the medium damp, not soaking wet.
  4. Make sure your seed trays or cell packs are disinfected and clean. We wash all of our cells and pots with a bleach water solution.
  5. Plant the  seeds according to the package instructions. Johnny’s seeds packets have great instructions on the back of the package.

Here is  post I did about what not to do when starting seeds.

Here is one on starting seeds.

Starting Seeds

Seed starting indoors.

Moisten the seed starting mix. The mixture should be damp and slightly hold its form when you squeeze a handful. Not soaking wet.

starting seeds

Washing trays and cells packs in hot water with 1/4 cup of bleach and some dawn dish soap. I let them soak for a few minutes then wash and rinse.

seed starting indoors

Put the soil into the trays and then press down moderately to slightly pack the soil in. Then add more soil to refill the trays.

Read the back of the seed packet to see how to plant the seed. Some need light to germinate, some need to be planted at 1/4 of an inch etc.

Starting seeds in trays

I mostly use the 72 cell trays with the plastic domes. After the seed is planted put on the plastic dome and move to a sunny window. If you have a heat mat you can put the trays on that. Keep an eye on the germination. As soon as you see some of the seed germinating, remove the plastic cover and move the tray under grow lights. If you do not have lights that is fine. A south facing window is great. Make sure your rotate the tray daily.

If you find that your seedlings are not getting enough sunlight through the window this video shows you a little hack that actually works great! All you need are a few basic items.

What else…

This is my third year growing cut flowers from seeds. I am still learning what to do and what not to do. I am growing approx 3 times as many as last year.  Yikes! This amount of seeds requires a lot of planning and space. I am running out of space already and I still have 20 more trays to plant. “Sorry family” I am about to take over some more living space.

A small greenhouse is in the works, hopefully it can come together this summer and fall……..

Lisa Mason Ziegler of gardeners workshop farm. Online flower farming school.
source: Gardeners Workshop Farm

I took the Online flower farming school class put on by Lisa Mason Ziegler this winter. It was awesome! I am planning on putting what I learned to use this year. Lisa has also written a few books that I am planning on buying.  Here they are.

Don’t forget to subscribe to our blog. All we send you are the newest blog updates so you know what is going on around here.


3 Easy Houseplants to Grow

3 Easy Houseplants To Grow

3 easy houseplants to grow. Aleo vera plant. Snake plant and spider plant. Easy to take care of and super easy to grow.

3 easy houseplants to grow at home.

Houseplants are a big trend right now. Not only do the plants brighten up a space, they also give off oxygen and filter the air around the plant. Spruce up any room with these three easy houseplant to grow.

Spider Plant

Three easy houseplants to grow. Aleo vera plant. Snake plant and spider plant. Easy to take care of and super easy to grow

1. Spider Plant

The spider plant is one of the easiest, most common houseplants to grow. The plant gives off oxygen and filters the air around the plant, leaving the space feeling clean.

Care:

1. plant with a soil that drains well

2. water every two weeks

3. set in partial sunlight

FAQ:

Why are my spider plant leaves turning brown or yellow?

A. If your plant leaves are turning yellow it is getting too much sunlight. To fix this, move your plant to a spot that gets sunlight only half the day. If your plant leaves are turning brown, it means your plant is not getting enough moisture.

Why is my spider plant turning droopy?

A. You are over watering. The soil should be damp in the summer but not soggy and in the winter let the soil completely dry out before lightly watering.

Snake Plant

Three easy houseplants to grow. Aleo vera plant. Snake plant and spider plant. Easy to take care of and super easy to grow

2. Snake Plant (aka the bedroom plant)

The snake plant is also another common and easy house plant to grow. The plant also purifies the air around the plant. The vibrate looking leaves draw ones eye to that area of the room, often leaving you with a refreshing feeling.

Care:

1. water when soil feels dry

2. place in indirect sunlight

3. Plant in soil that drains well

FAQ:

Do snake plants clean the air?

A. The snake plant doesn’t necessarily clean the air, but it gives of oxygen at night and filters the air surrounding the plant.

Why are my snake plant leaves turning yellow?

A. Your plant needs watered more often, or your plant is getting to much sun.

Aloe Vera Plant

Three easy houseplants to grow. Aleo vera plant. Snake plant and spider plant. Easy to take care of and super easy to grow

3. Aloe Vera Plant

The aloe Vera Plant is one of my favorite houseplants. Despite being easy to grow, an aloe Vera plant is beautiful! A fun fact about aleo vera is that you can use the juice from inside the aleo vera plant for many things. Good housekeeping has a fun article on this.

Care:

1. place in direct sunlight

2. water lightly every 2-4 weeks

3. Use soil sustainable for cactus and

succulents.

FAQ:

Why are my aloe vera leaves squishy and droopy?

A. When you over water an aloe Plant the leaves start to droop and eventually become soggy and rot. Aloe Vera plants only need watered once or twice a month!

Why are my aloe Vera leaves turning red?

A. When an aloe Vera leaf turns red it means your plant got sunburn. Aloe plants need direct sunlight but they do not like to get too hot. I would move your plant to a spot that has sun most of the day but cools off in the evening.

Now that you know of three easy houseplants and how to take care of them, it’s time to figure out how to place the plant in your home. Check out our recent post on how to update your home with plants. Find it here.

Houseplants are easy to find. Most grocery stores and big box stores will have common houseplants.  Home Depot has a nice variety of houseplants to pick from.

Don’t forget to subscribe to our blog. We would love to have you follow along.


Lettu the Finnish Pancake

Finnish pancake
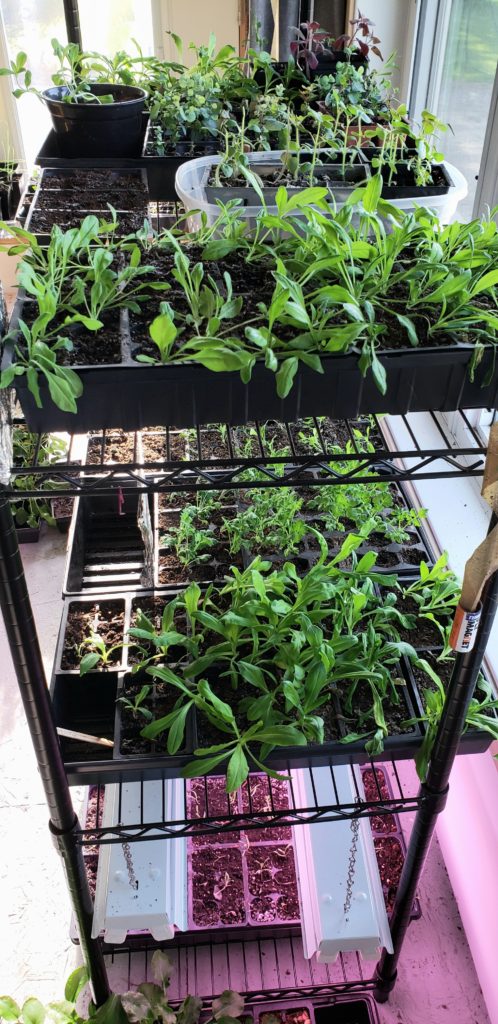
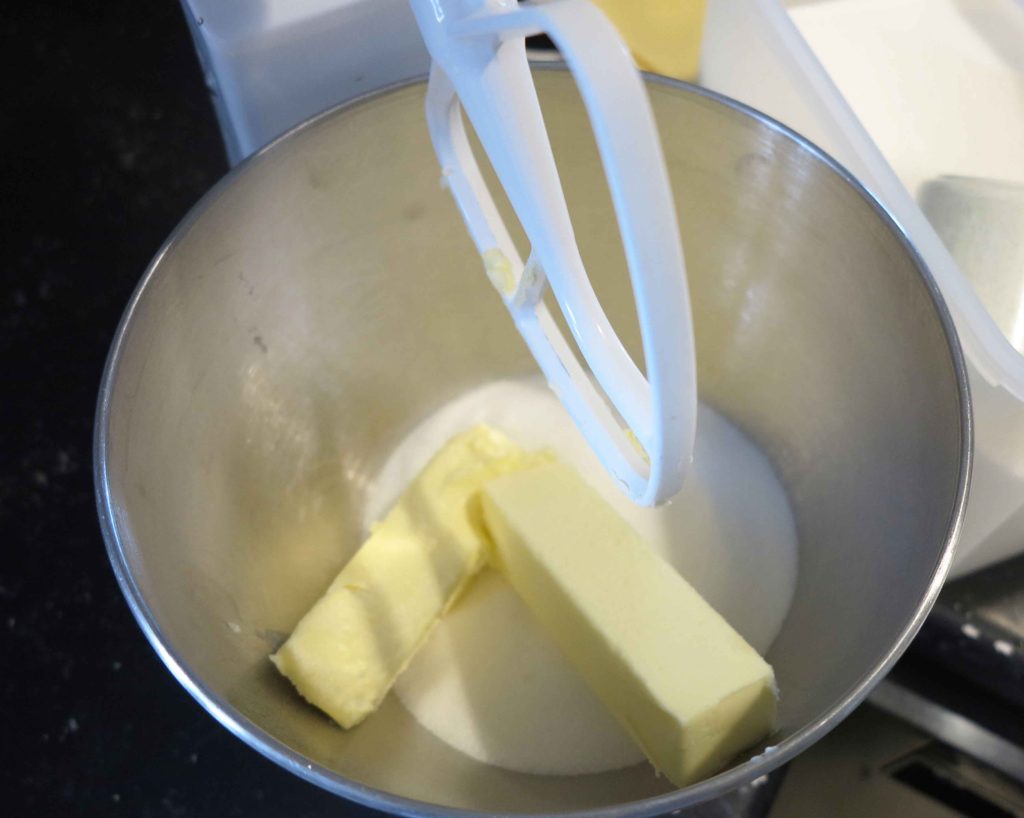
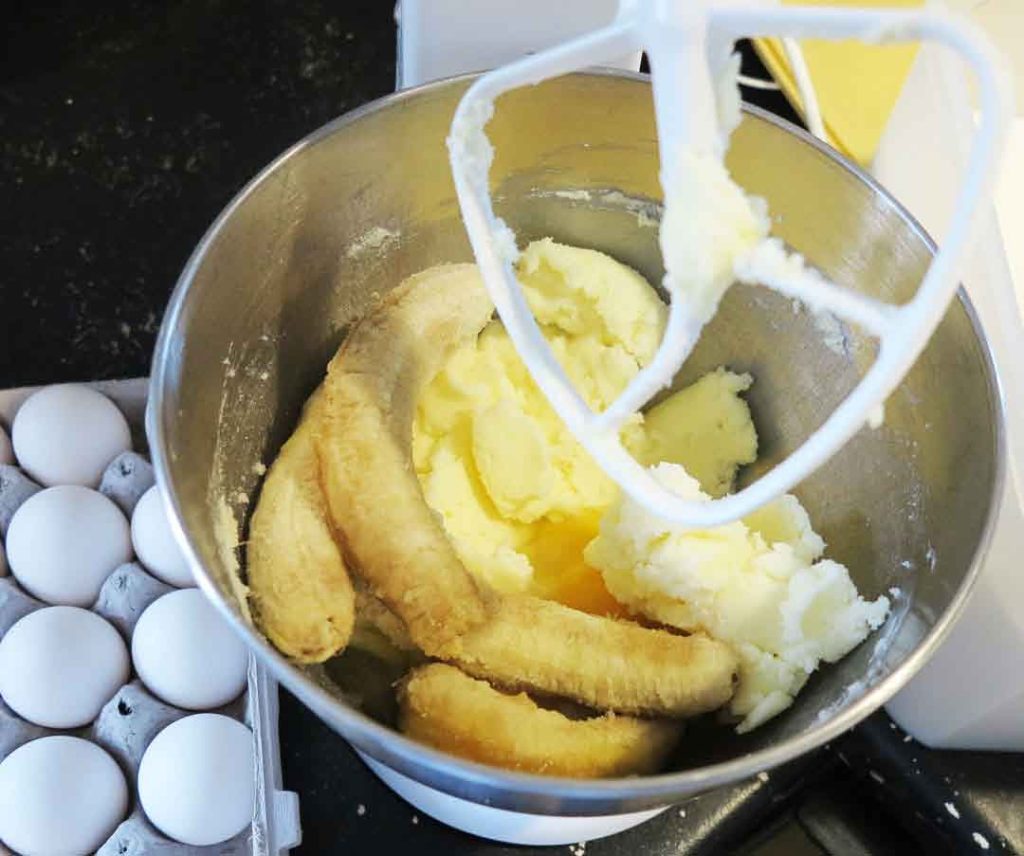
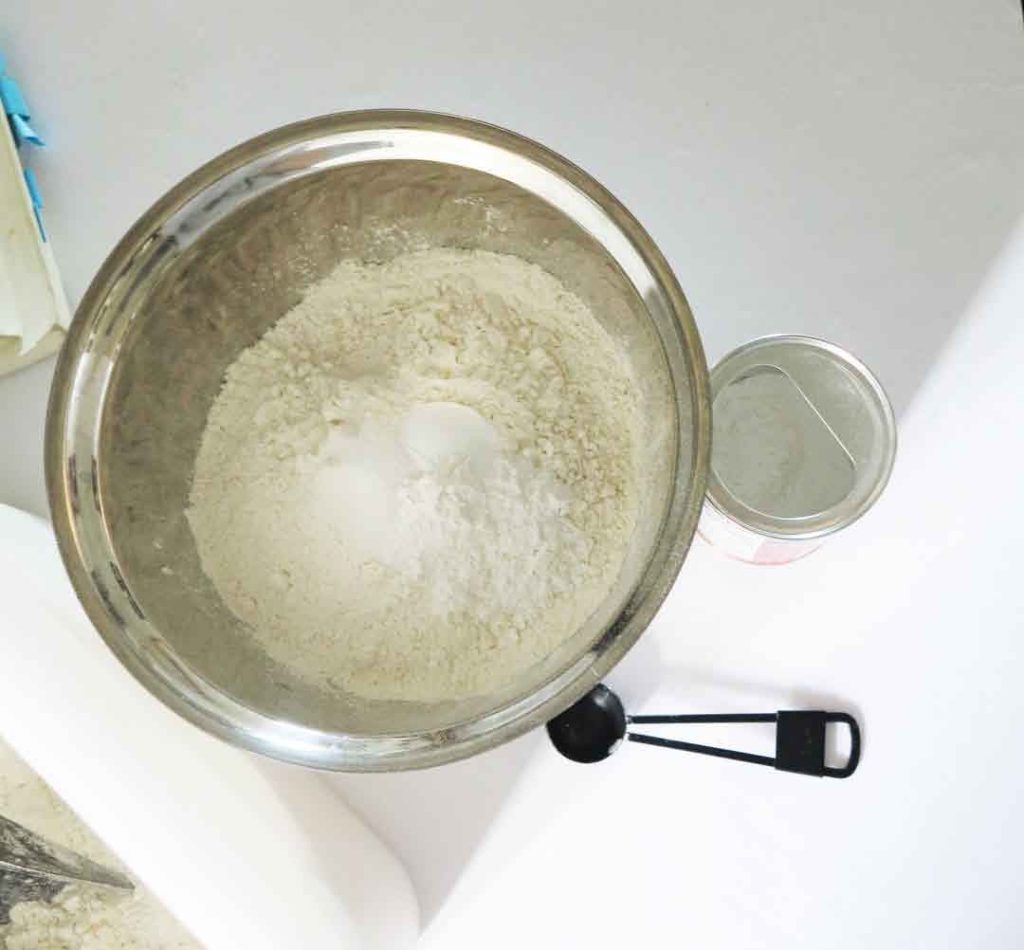
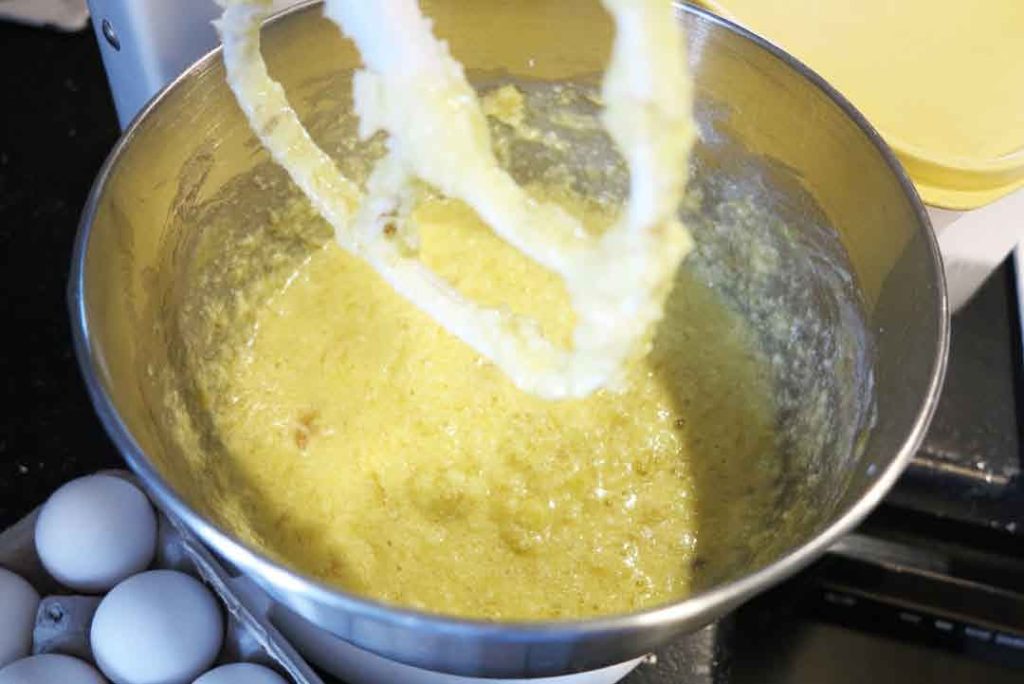
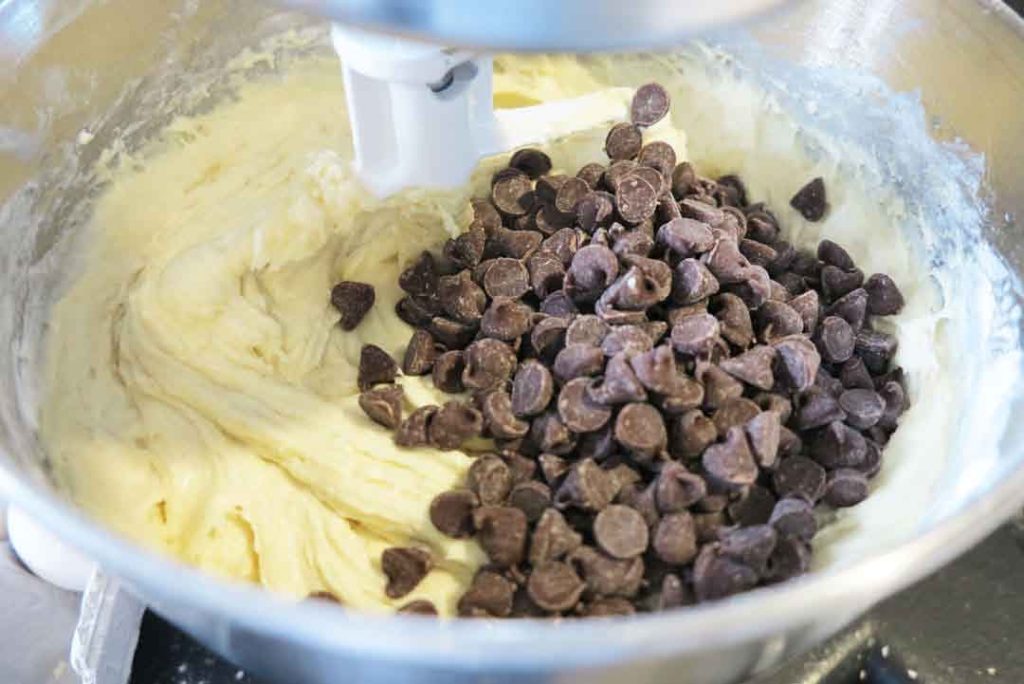
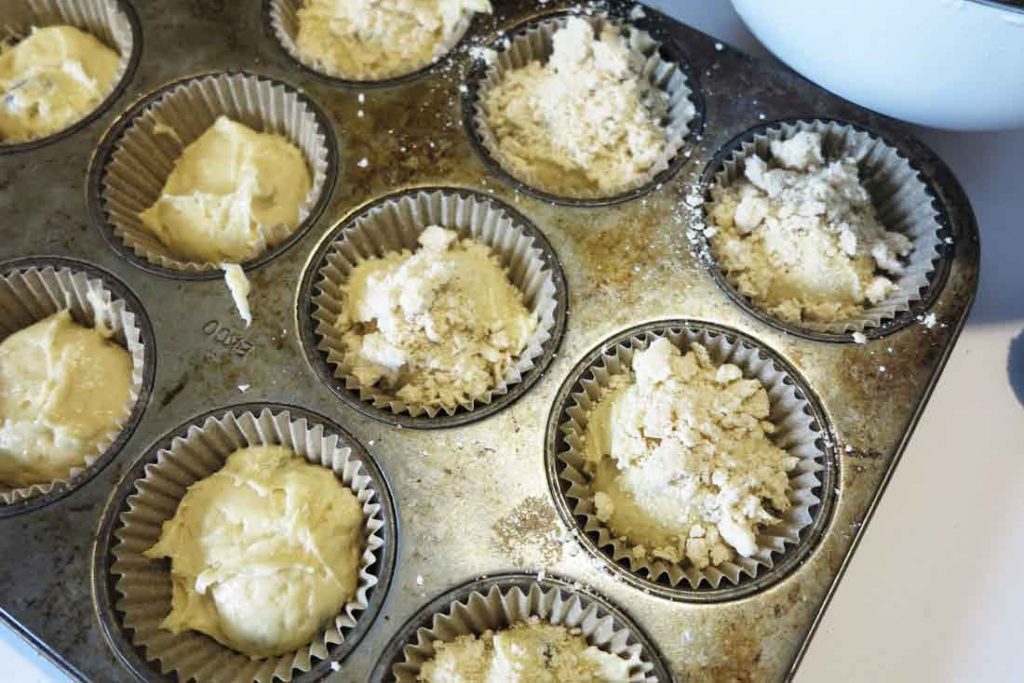
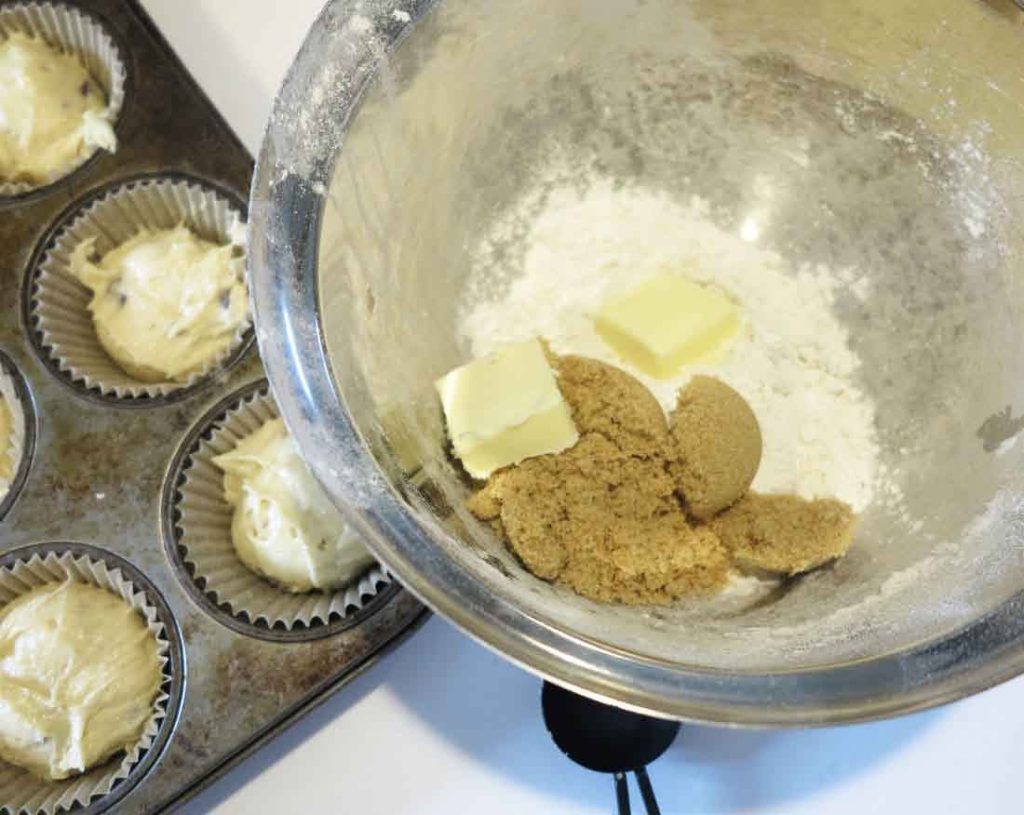
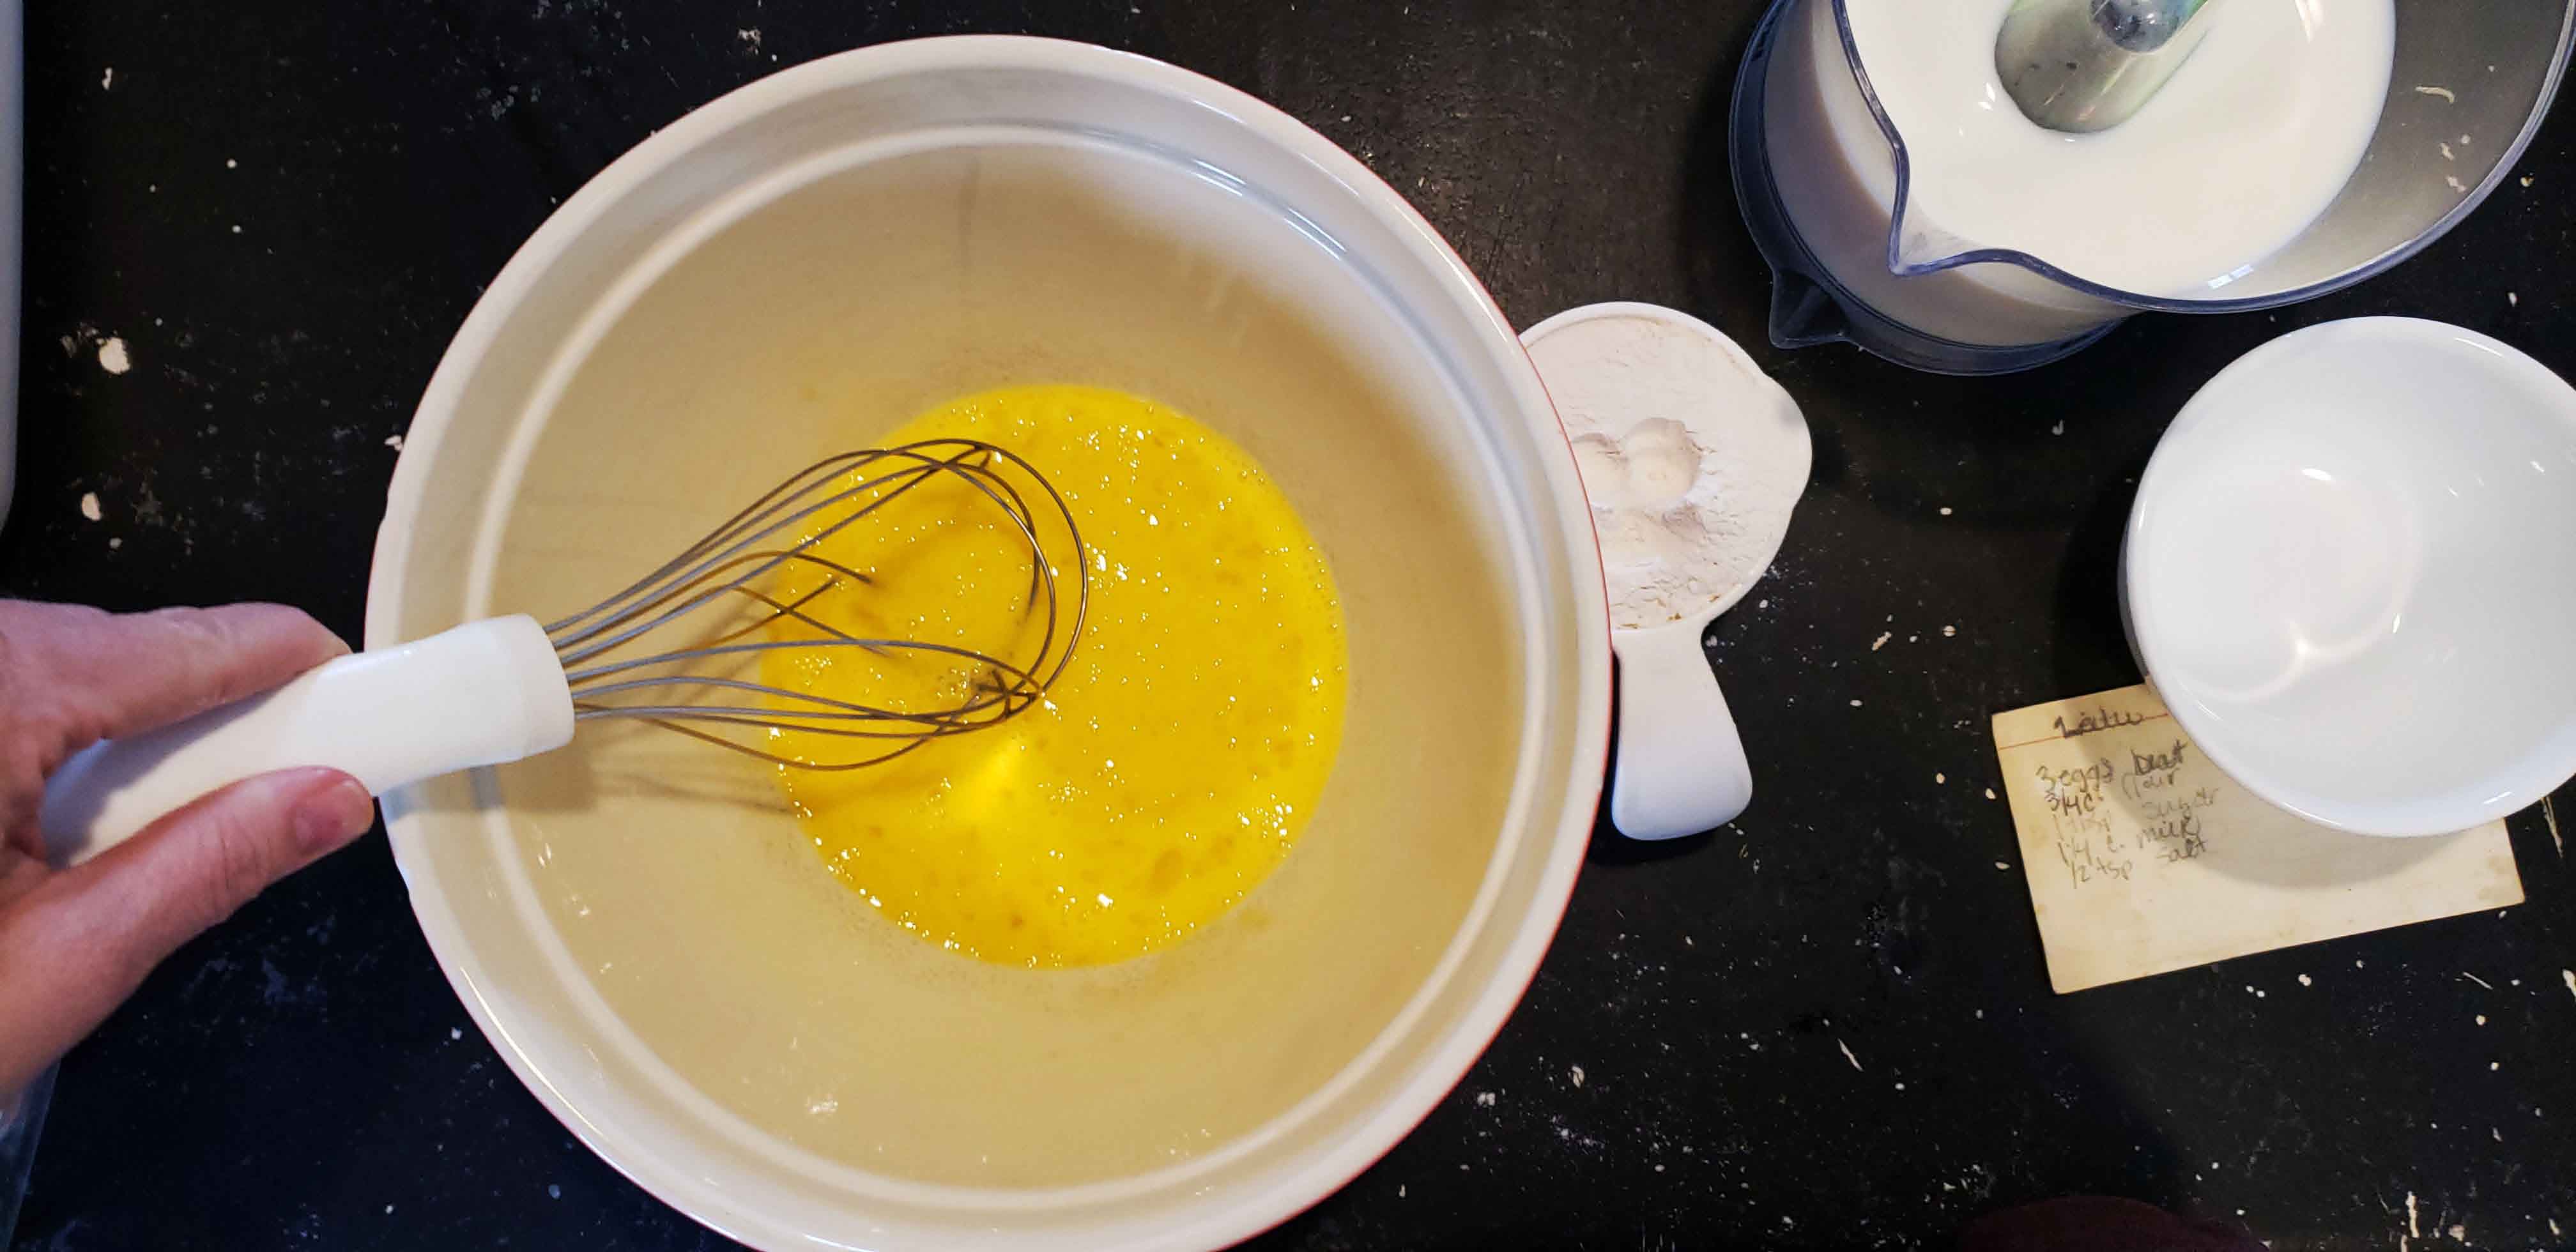
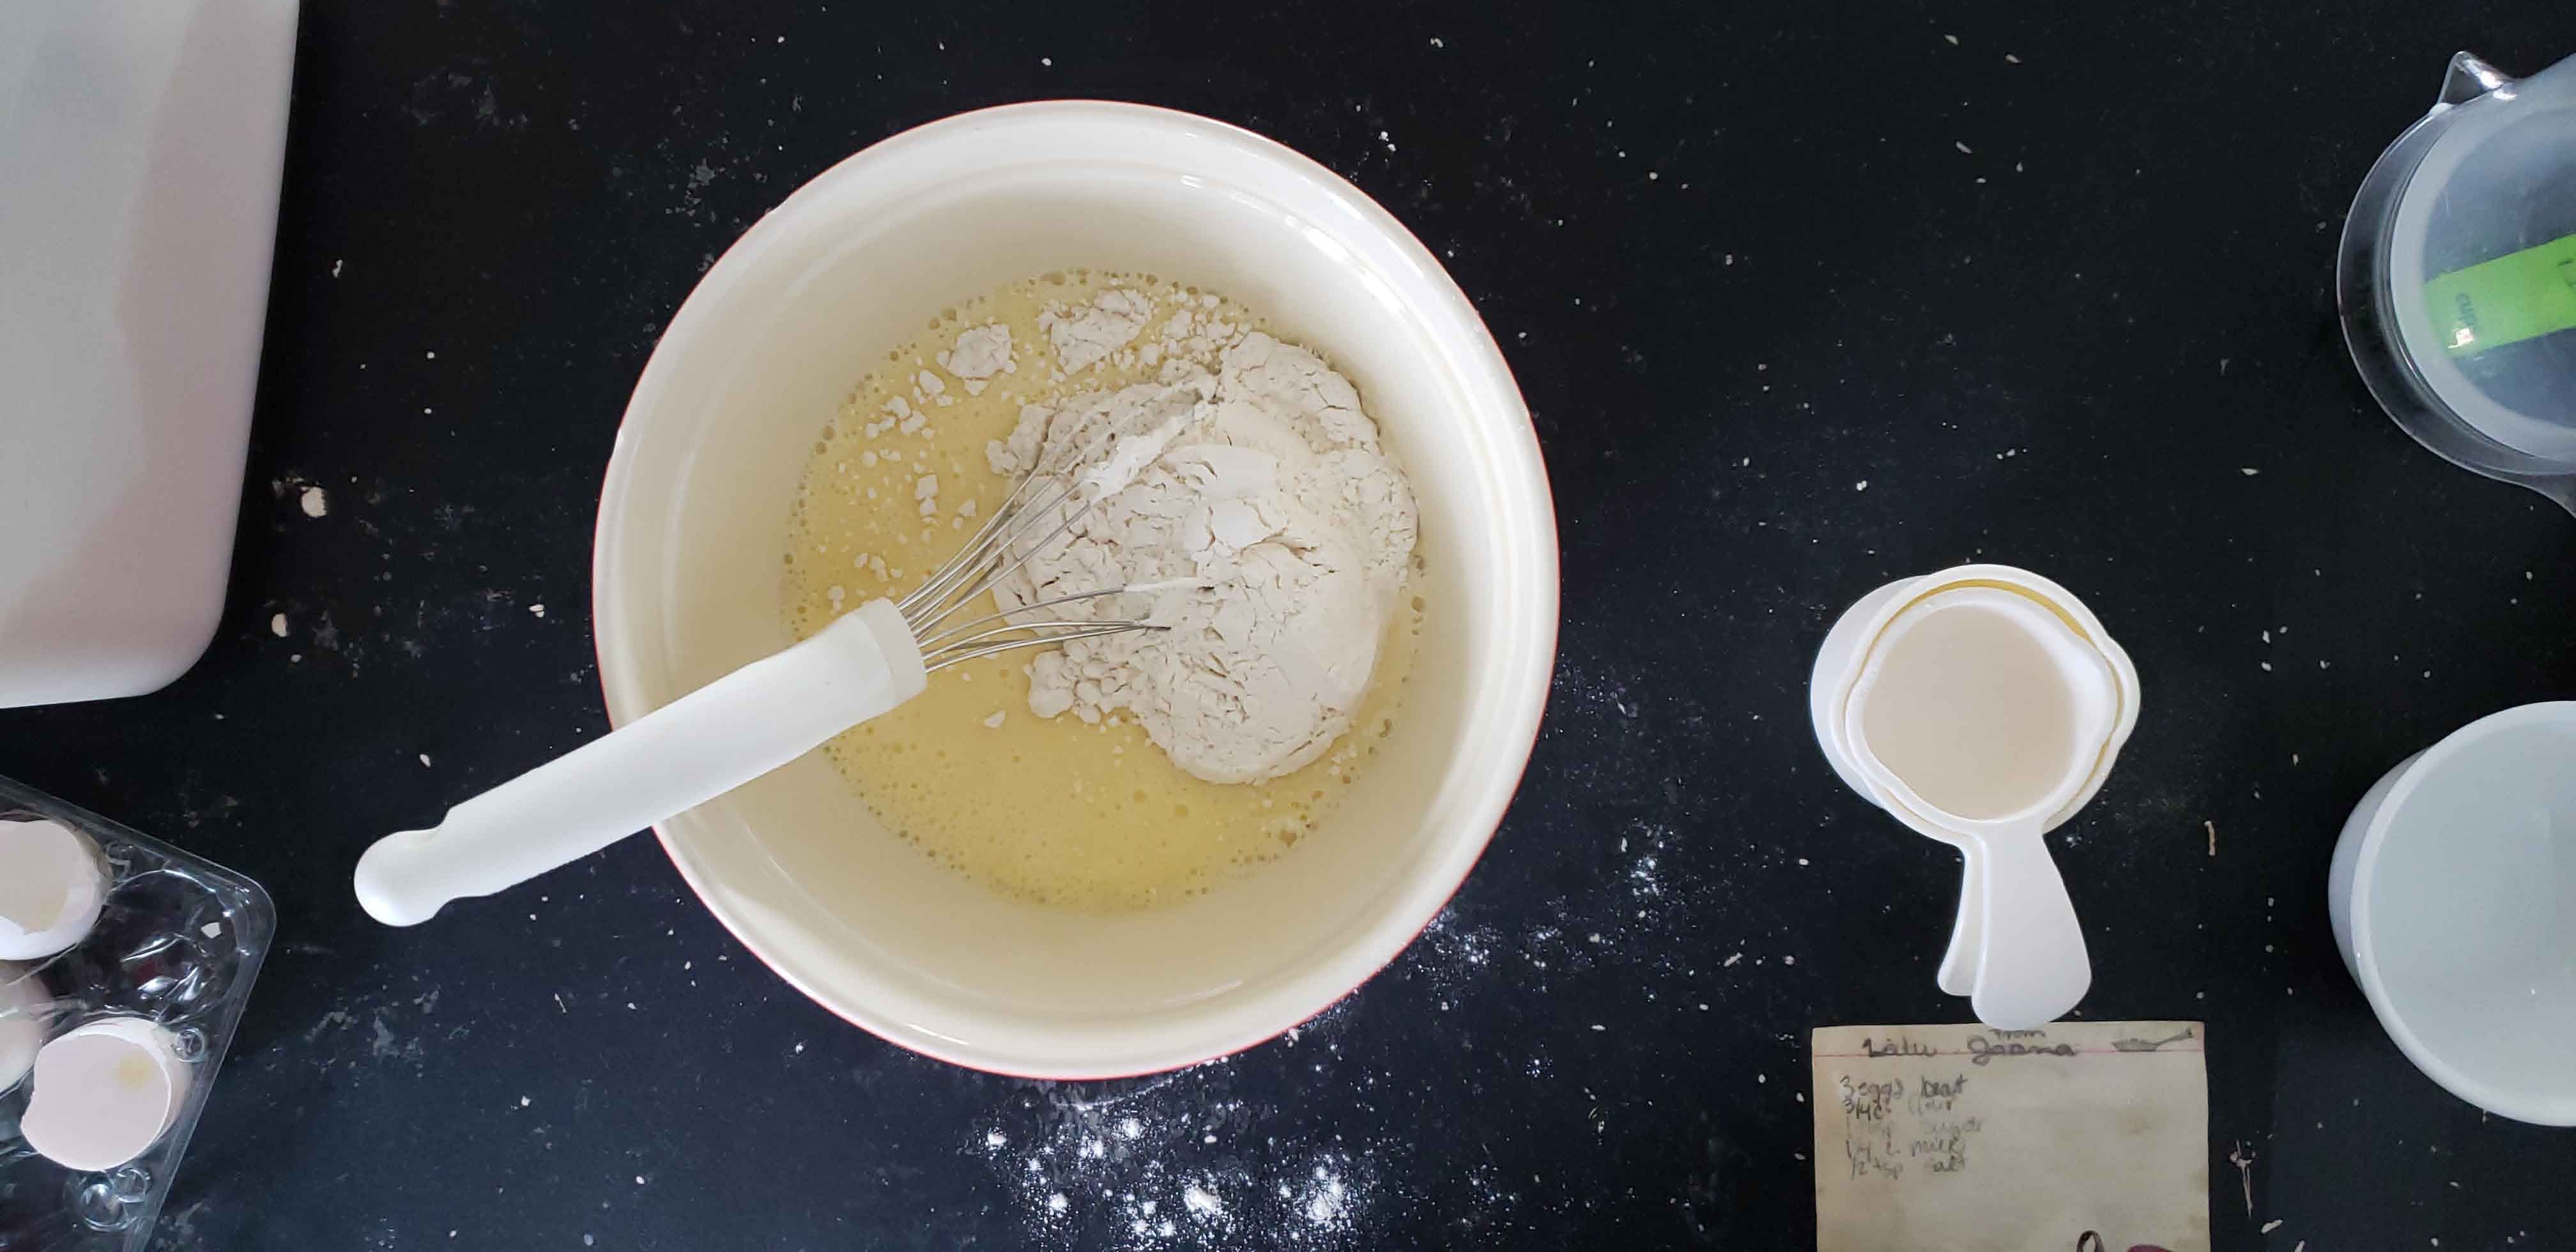
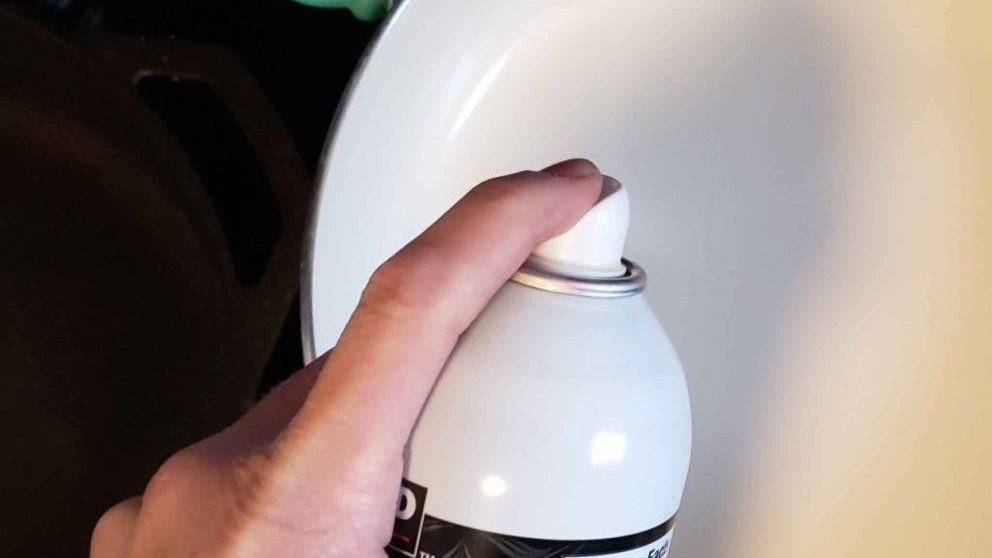
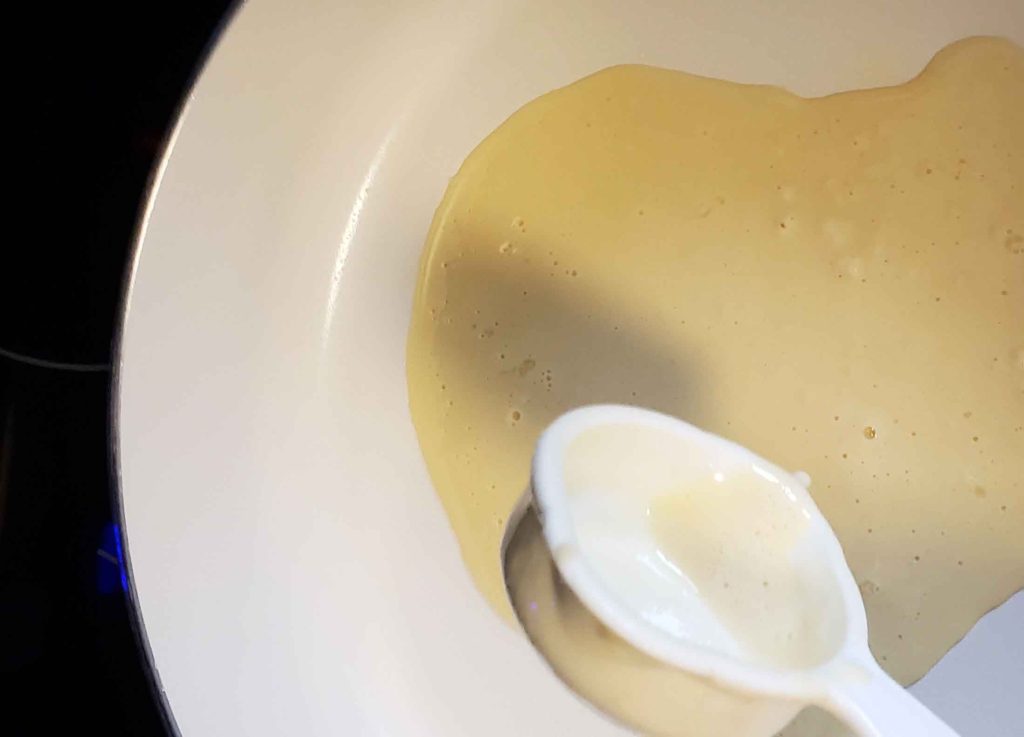
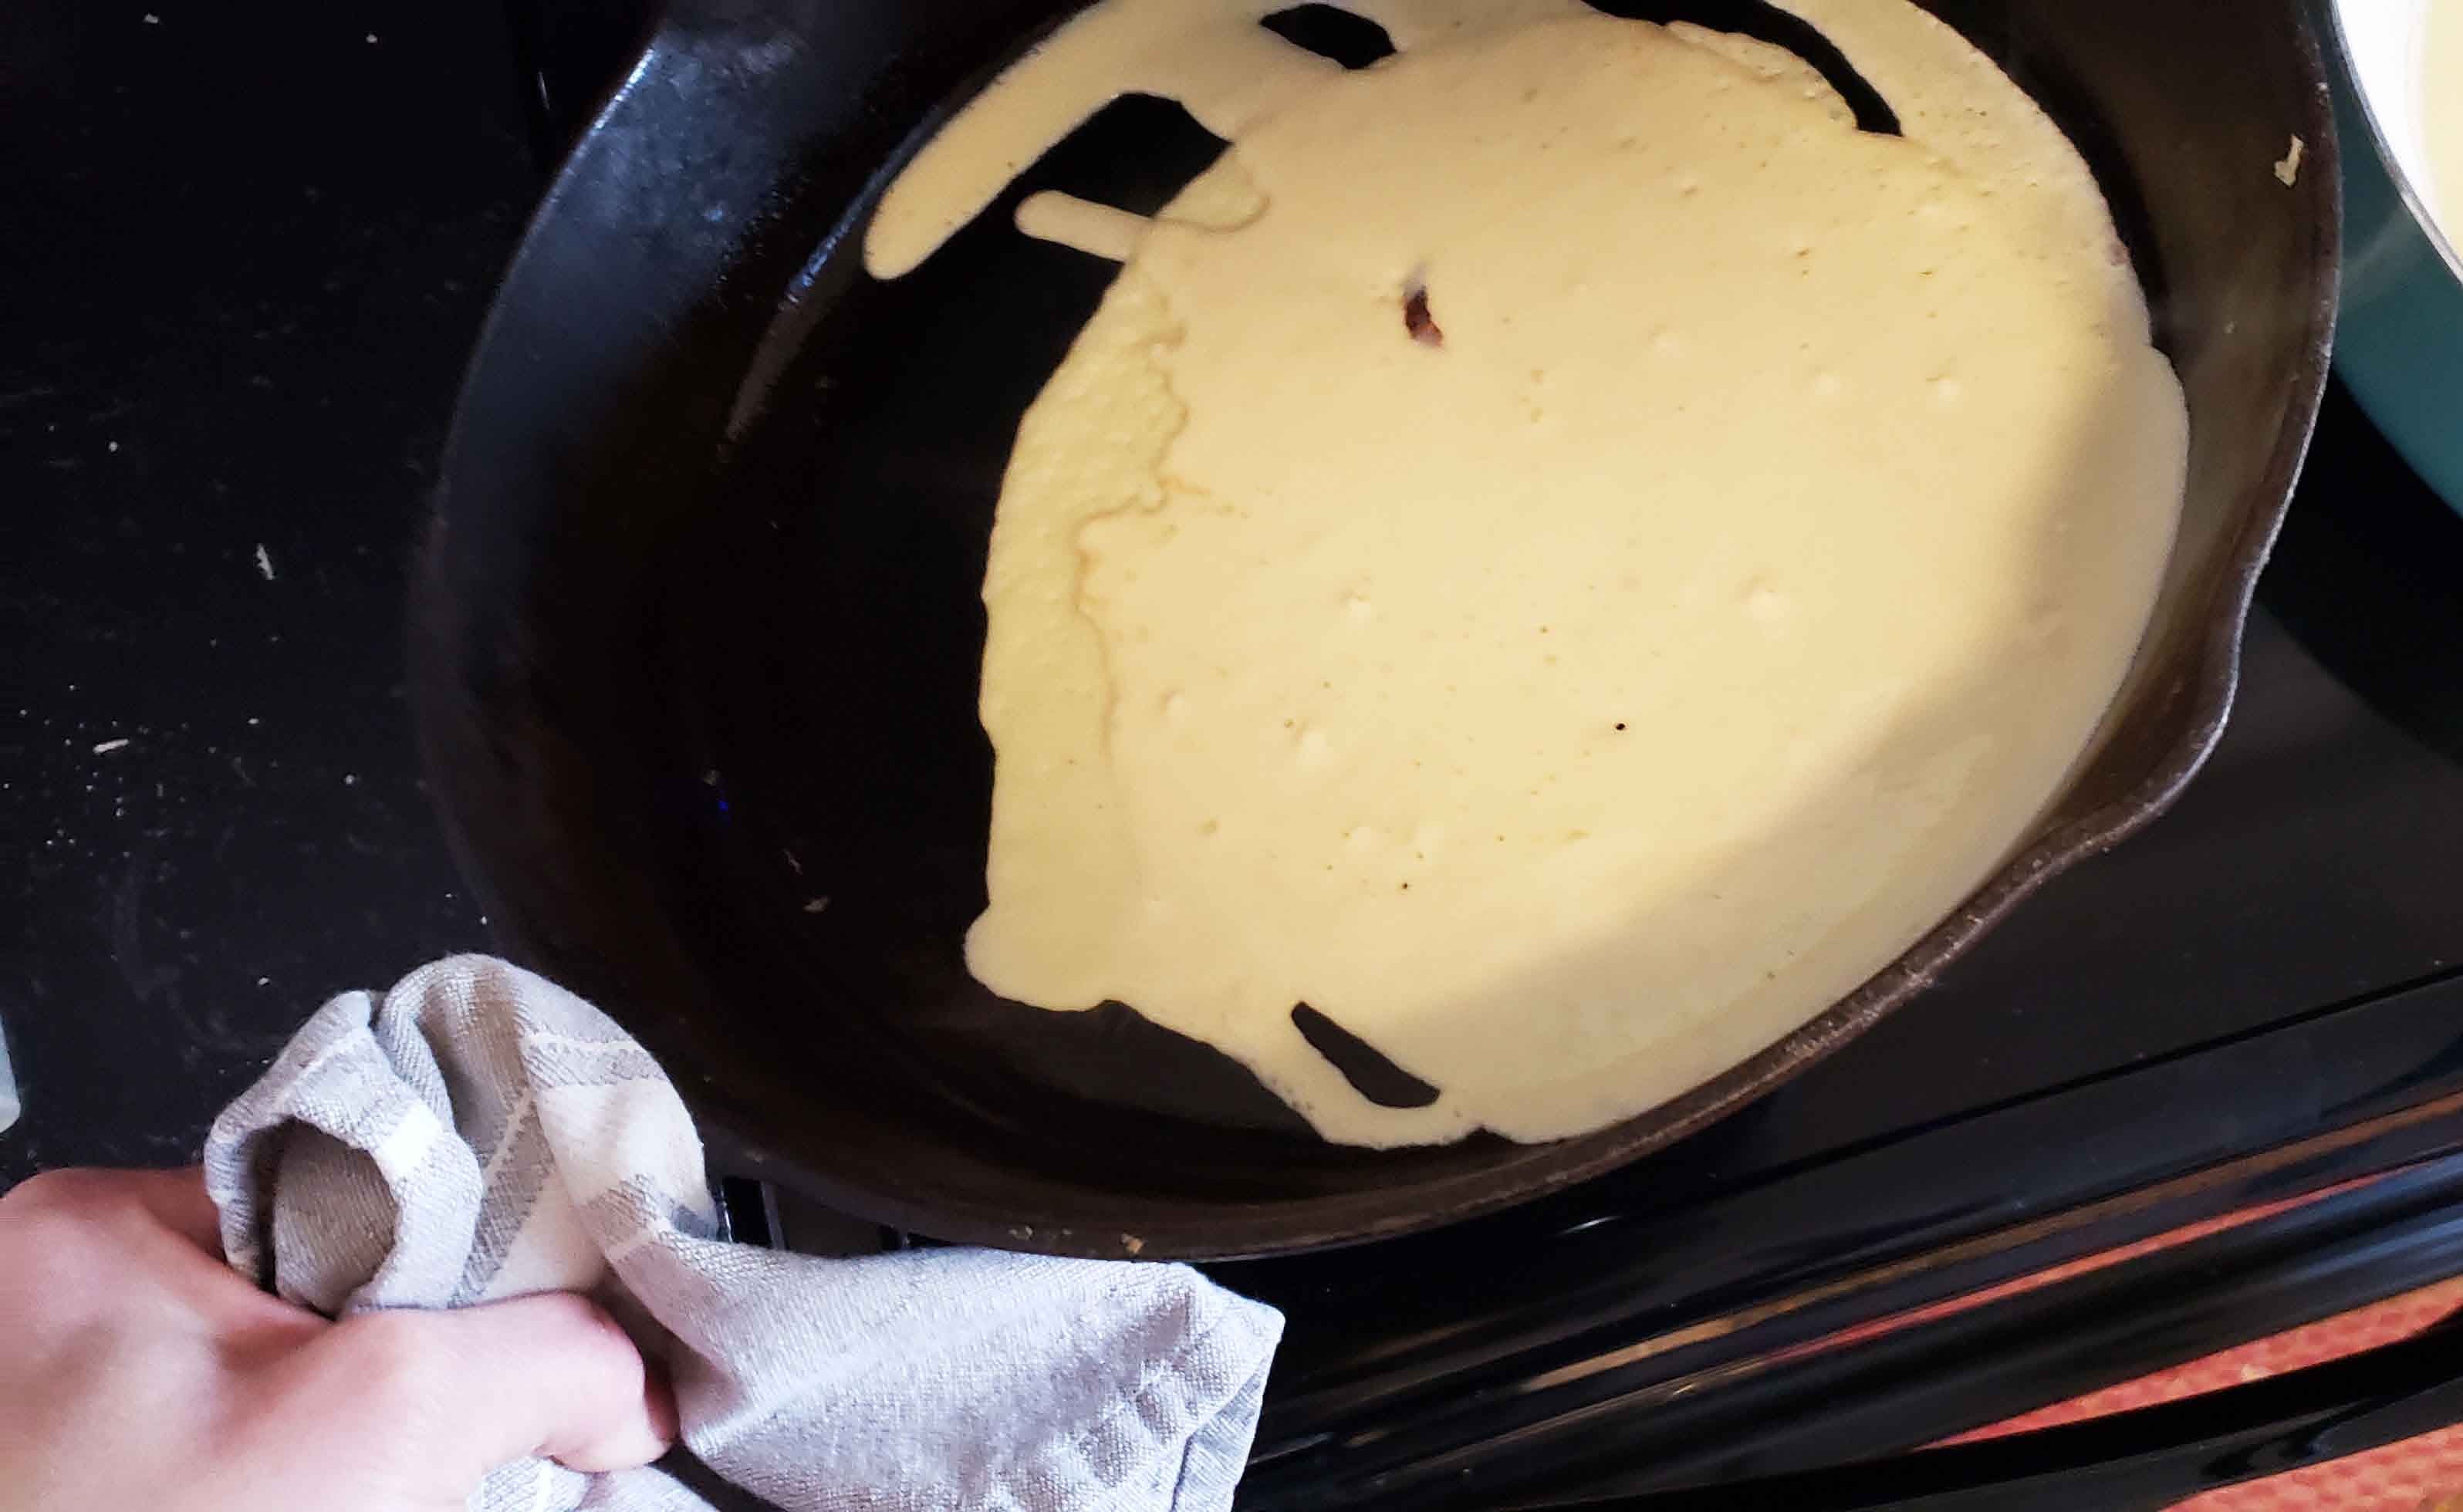
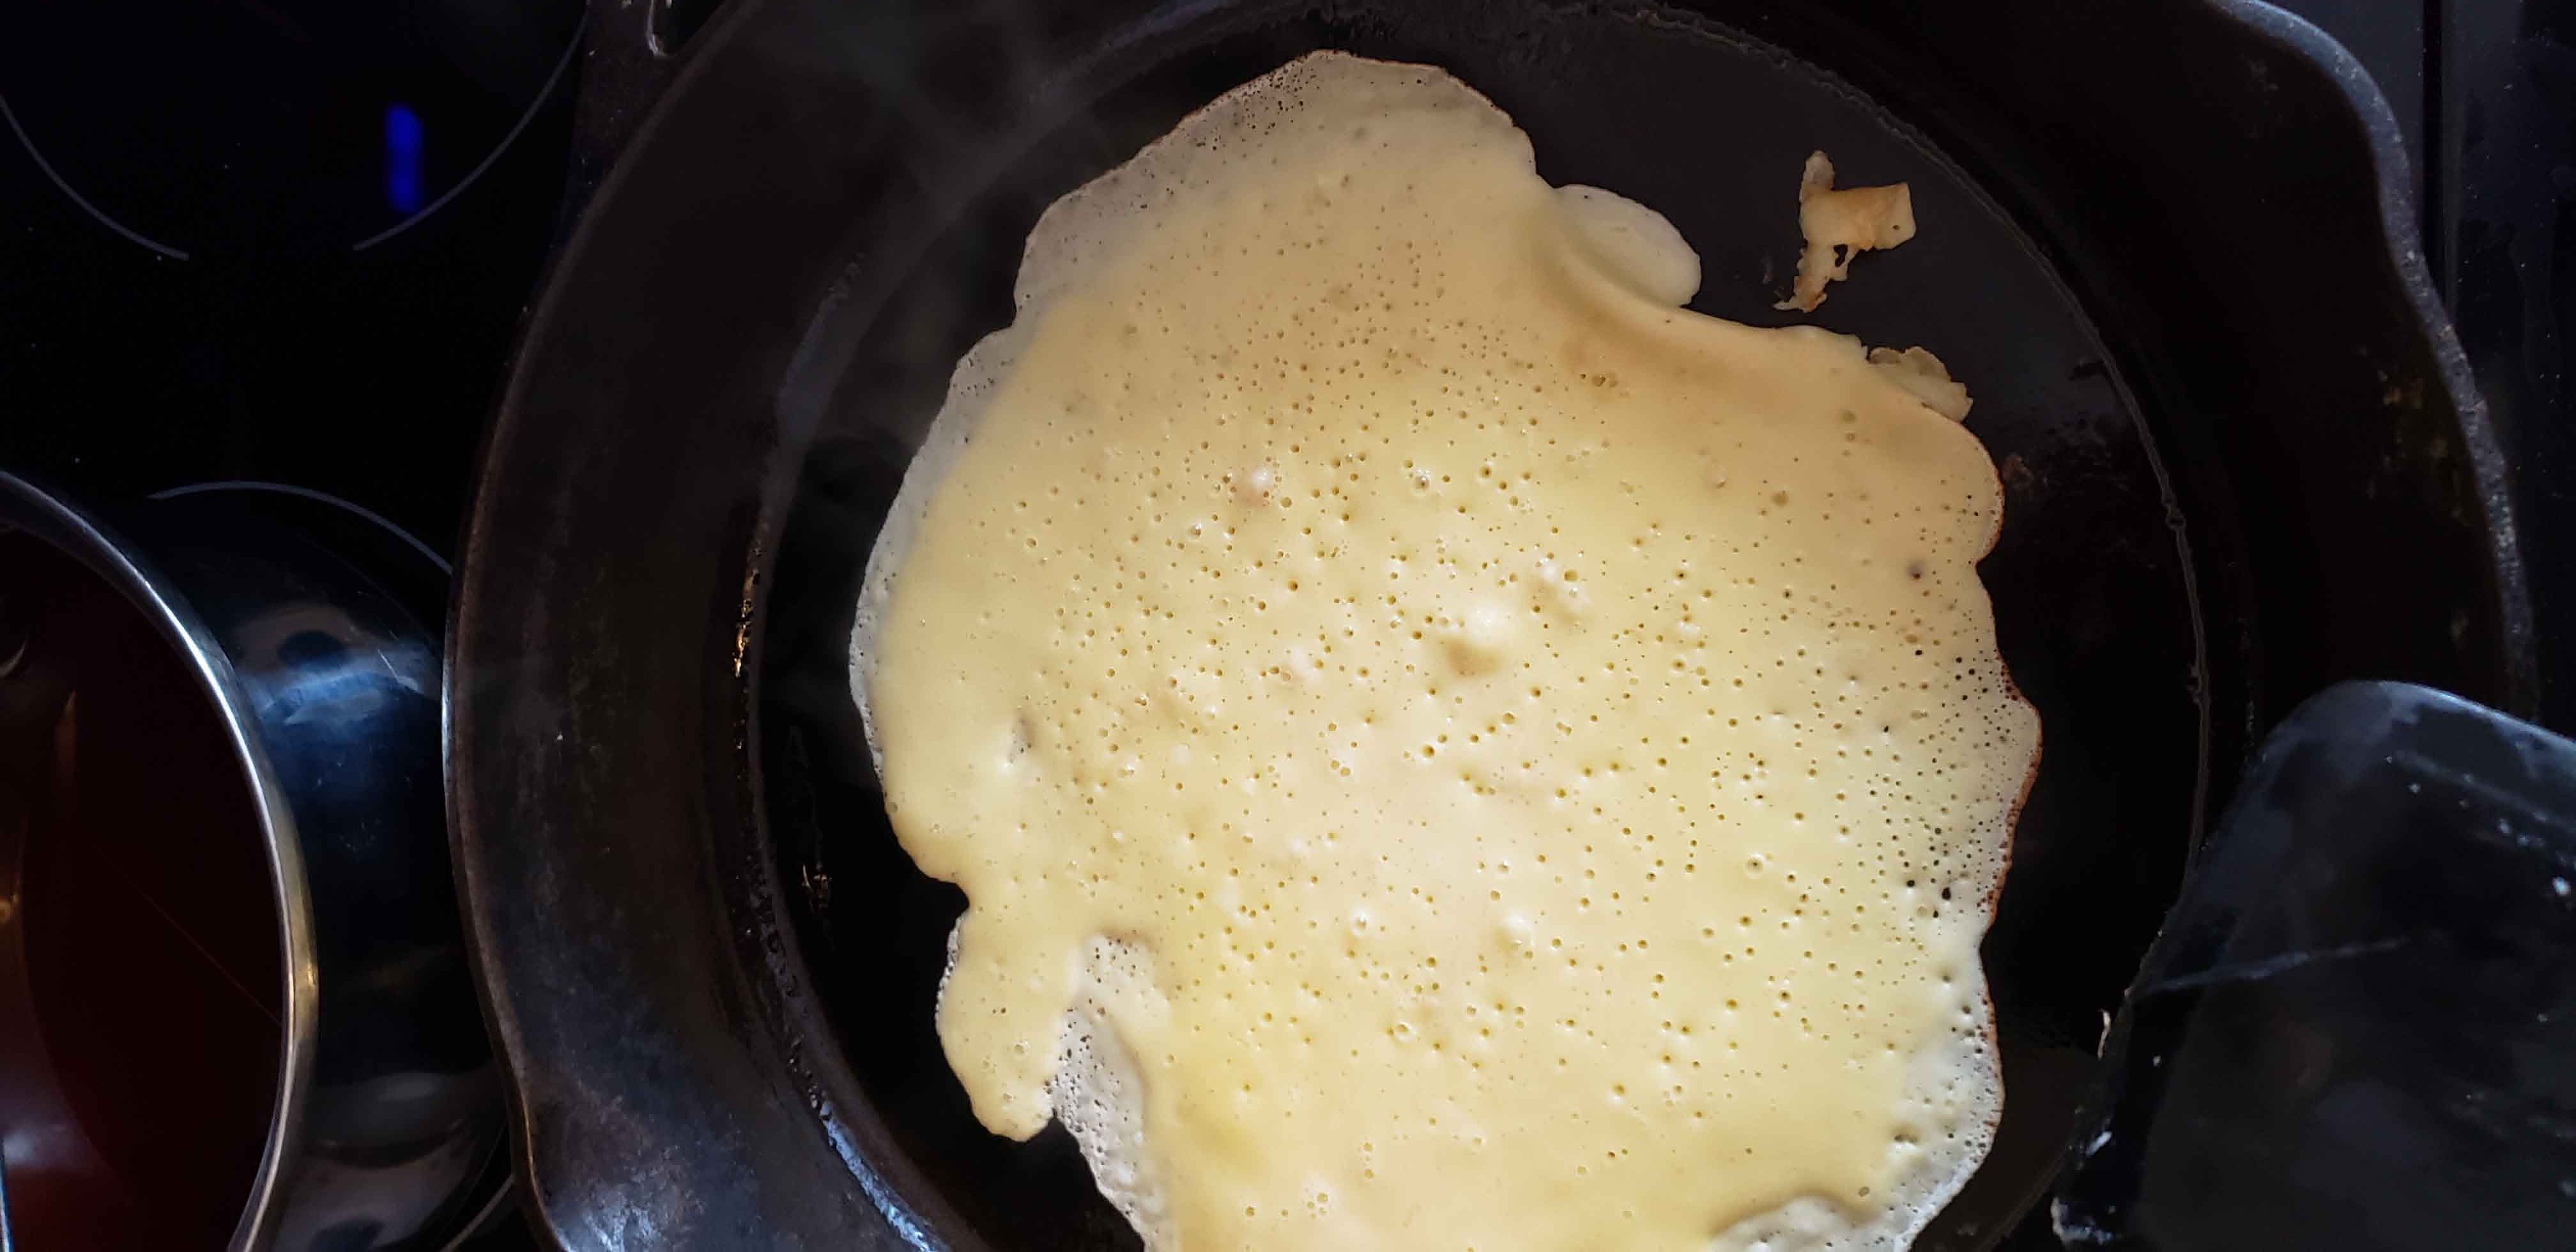
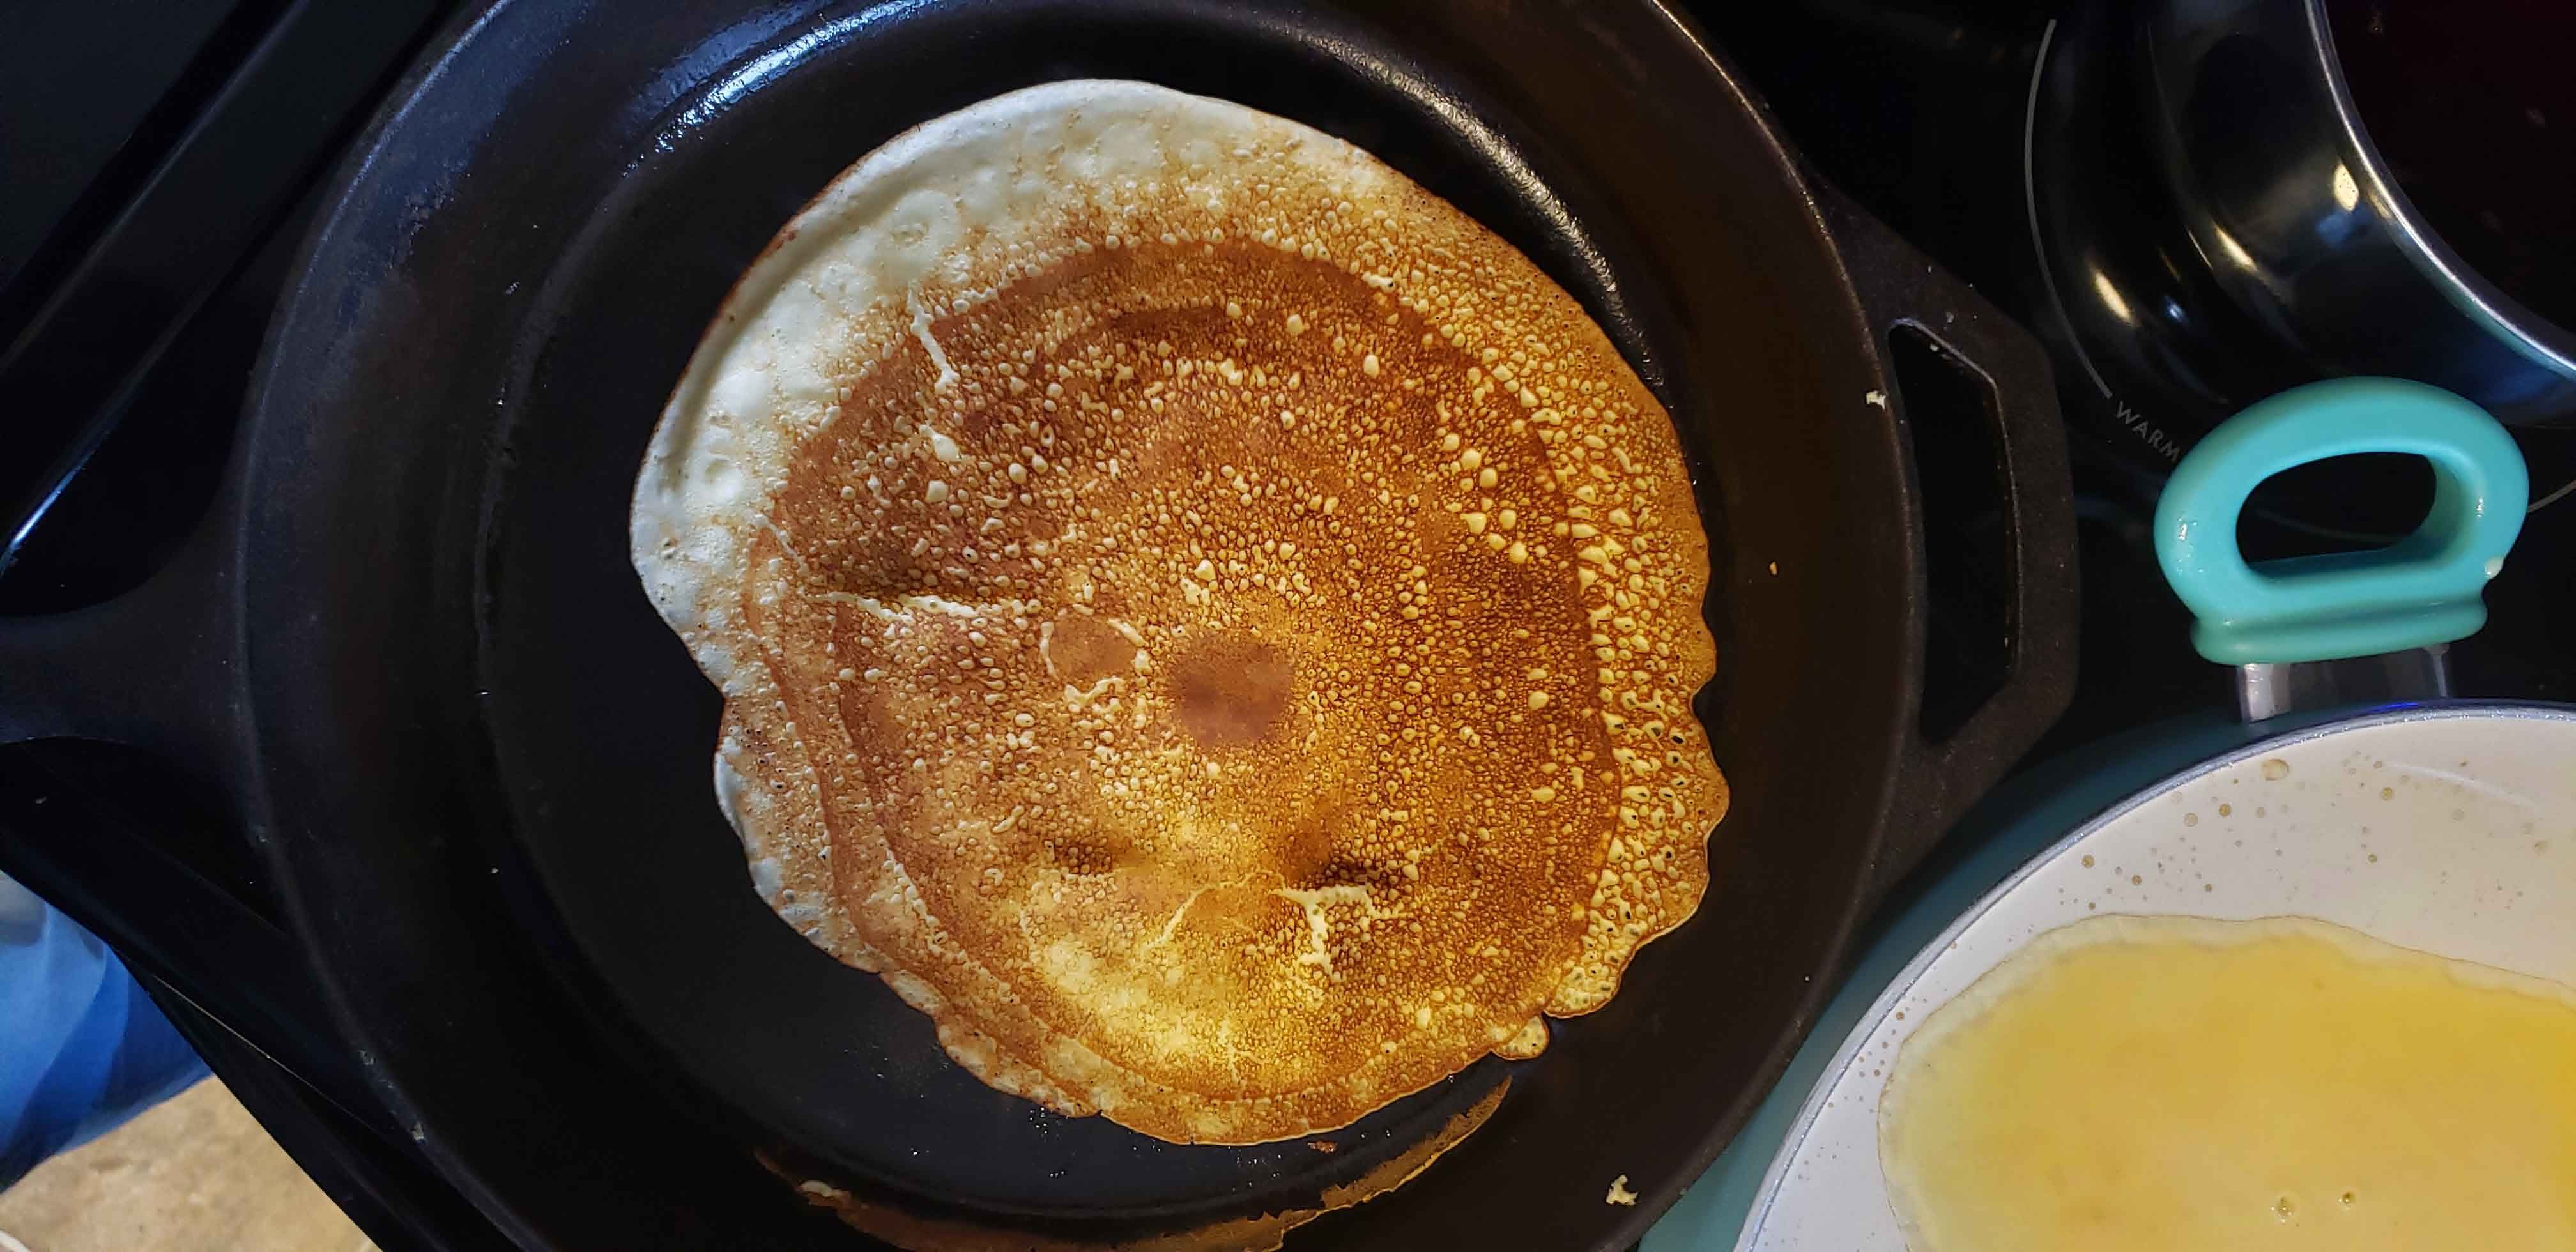
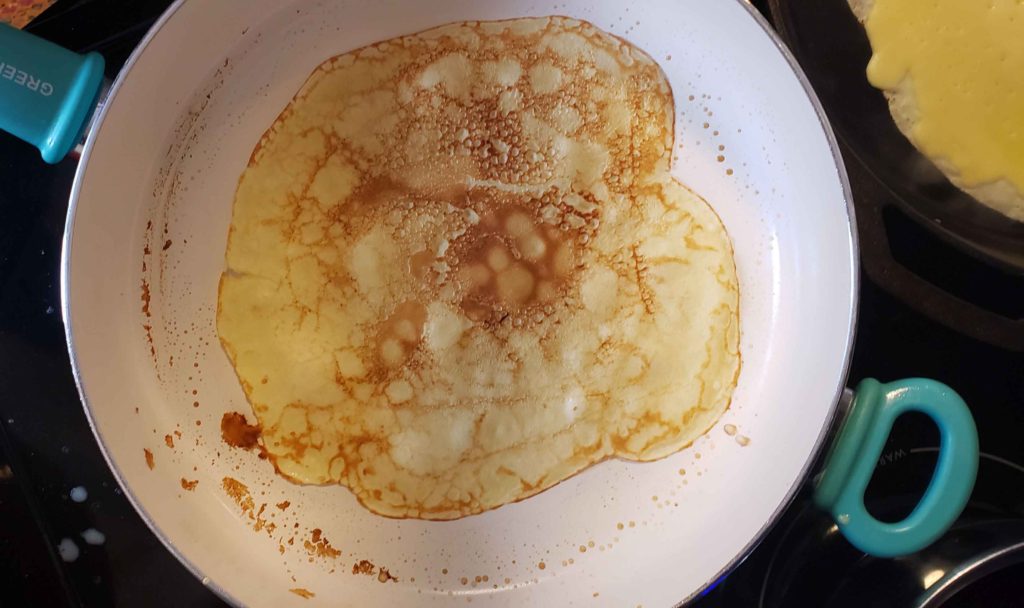
You know the things that your mom made growing up, that no matter what, hands down, its the best! Well that is Lettu. I am pretty sure that my whole family would agree that Lettu is the bomb! There is not a lot to Lettu the Finnish pancake, so what makes it so great? Not sure actually, just try it. Some people have these “rules” on how you are supposed to eat Lettu the Finnish pancake. Well that’s nice, but I say eat it how you want. With just butter. Syrup and butter. Peanut butter and syrup. Jam. Whipped cream and jam. Whipped cream and berries. Berries mixed with whipped cream. Cold. Hot. Whatever you want. Love Lettu. Did you get that??

What is Lettu?

Lettu is a flat thin pancake that is made on a hot flat pan, similar to the french crepe. However lettu experts (people with Finnish descent)  will tell you that they are not the same…The goal of a good lettu is to make it very thin. Although when my Mamma would make them, a few would be on the thick side..and I loved them.

People in Finland love to make lettu over an open fire outside. Here in the US and Canada we tend to think of roasting hot dogs or marshmallows over an open fire , in Finland its Lettu.

Lettu is made with a few basic ingredients. Milk, eggs, flour and salt and I add a dash of sugar.

How to make lettu the Finnish pancakes

5 from 1 vote
Print

Lettu Finnish pancake

A simple finnish pancake recipe

Prep Time 10 minutes
Cook Time 15 minutes
Total Time 25 minutes
Servings 4

Ingredients

  • 3 large eggs
  • 3/4 cups all purpose flour
  • 1 tsp granulated sugar
  • 1 1/4 cup milk
  • 1/2 tsp salt
  • 1 tbsp butter

Instructions

  1. 1. Crack eggs into a medium sized bowl. Beat the eggs with a whisk until fluffy.

    2. Add milk, sugar and salt. Whisk

    3. Add the flour and mix well until most of the lumps are gone. 

    4. Heat a frying pan over med high heat.

    5. Wait until the pans is hot, then add a small amount of the butter. Coat the pans. Add a 1/3 cup of batter to the pan. Pick up the pan by the handle( wearing hot pads) Spread the batter by tipping the pan in a circular motion. 

    6. Wait until the edges start to curl up, then flip the pancake. Fry for another 30 sec then remove from the pan.

    7. Repeat until batter is gone.

    8. Serve hot. Top with favorite toppings

  2. Every stove top is different. You may have to experiment with your temps to get it right. 

Ingredients

3 eggs

3/4 cup all purpose flour

1 tsp granulated sugar

1/2 tsp salt

1 1/4 cup milk

finnish pancake recipe

Directions

Crack the eggs into a medium sized bowl. Using a whisk, whisk the eggs until fluffy.

Add the milk and mix well.

Add the dry ingredients. Using the whisk mix until there are no lumps left in the batter.

Spray your hot pan with a non stick cooking spray. I like to use canola oil spray.

Finnish pancake recipe

Using a 1/3 cup measuring cup. Pour the batter onto the center of the hot pan.

Pick up the pan. Swirl the pan slowly so the batter smooths out into a thin layer.


finnish pancake recipe

Let the batter cook until you see it setting up.

finnish pancake recipe

Flip the pancake using a spatula.

Cook on the other side for about 15 seconds.

Remove from pan.

Start over!

finnish pancake recipe

If you use a cast iron pan the lettu will be darker. If you use a non stick coated pan, the lettu will be lighter.

Answers and tips

Isn’t finnish pancake called pannukakkua?

Yes that is another type of Finnish pancake. It is made in a pan in the oven. It is kinda similar to Dutch babies, but on the thicker side.

How is it different from Crepes?

Not a lot. Most crepe recipes I have seen call for vanilla. Other wise they are very similar.

Are there other names for Lettu?

Yes there are a few other names for Lettu.

Finnish pancakes, lätty, lätyt

Why are my lettu not browning?

Your pan is not hot enough. Make sure your pan is hot before making the first finnish pancake.

How do I roll it once all the toppings are in?

Insert a prong of the fork at the edge of the pancake. Slowly roll your fork in your fingers and the pancake will roll up.

Here are few other Finnish recipes that we have

Lemon blueberry cream cake

Finnish Pulla Cardamom Bread

Don’t forget to sign up for our emails. We only send an email when there is a new blog post.


How to update your home decor with plants

Update your decor with plants
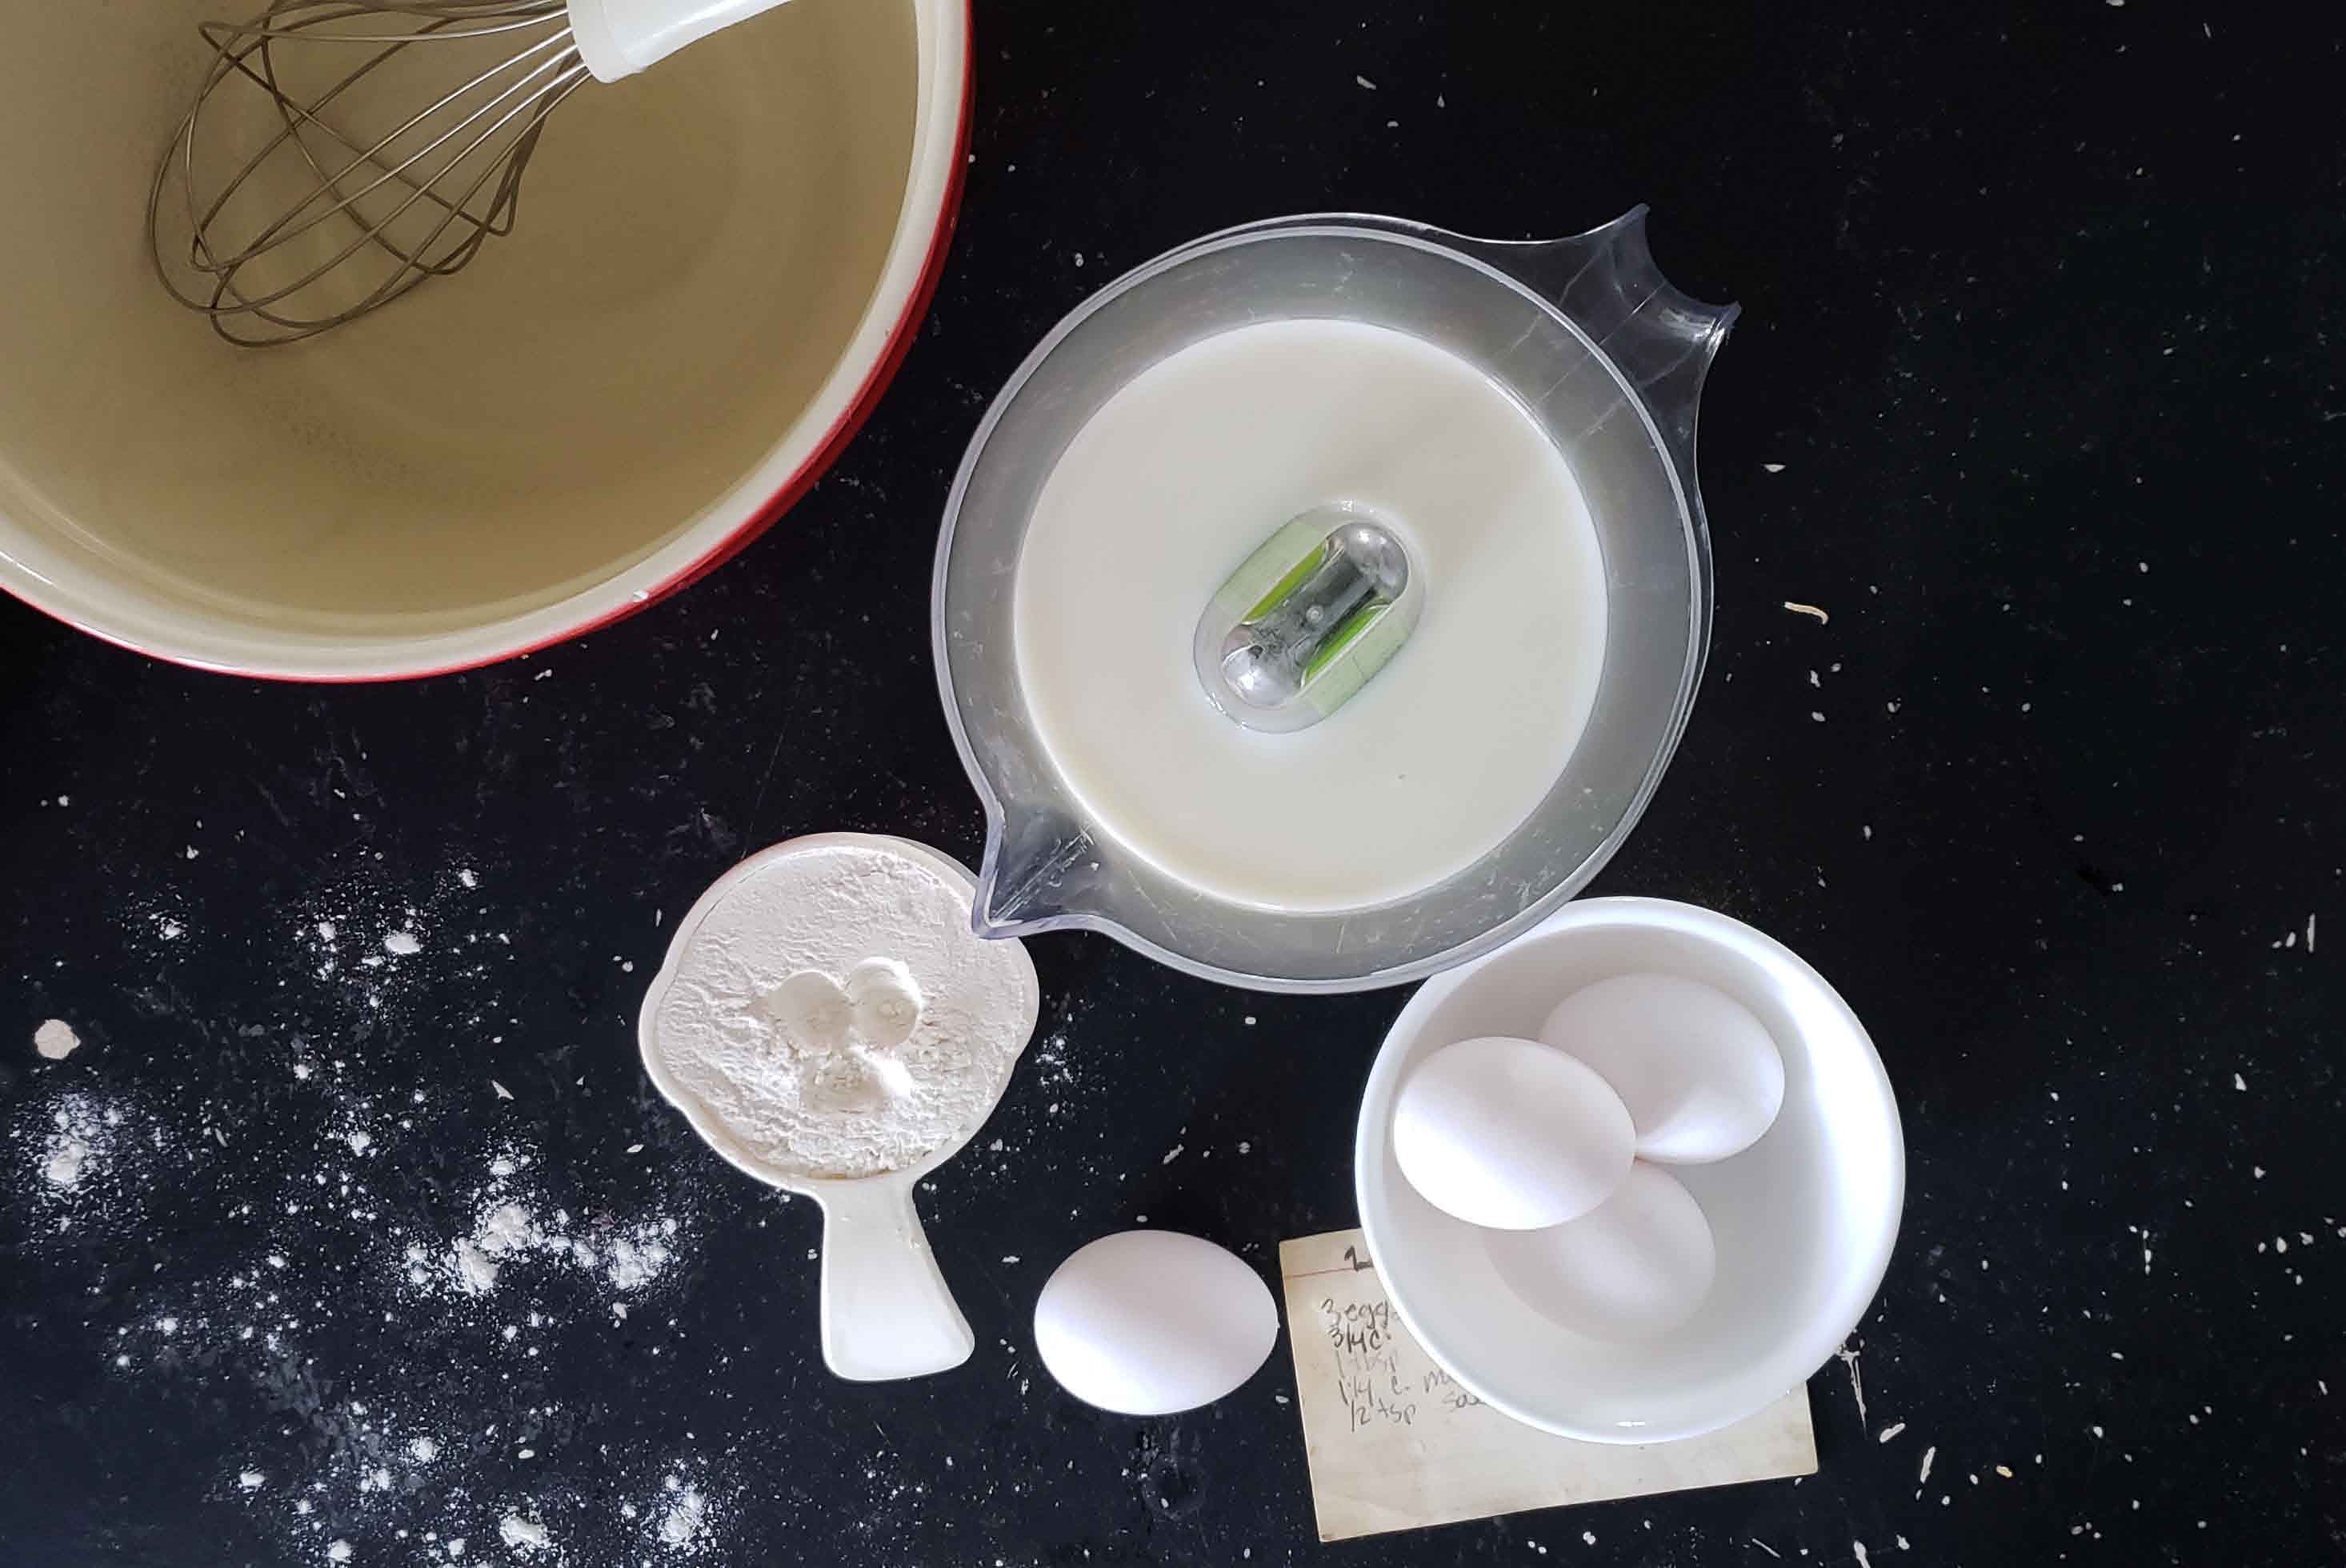
How to update your home with plants

Updating your home decor with plants is a quick and easy. Everyone’s interior design style is different, but adding plants is a fun way to update and add life to any space. A little piece of greenery gives off a feeling of happiness to anyone that walks in.

update your decor with houseplants

Concrete decor has a modern feel to it. I found this pot at Walmart and thought it would be the perfect finishing touch for the empty space on the end table. The natural look of the concrete makes the surrounding area feel fresh and clean.

Add house plant to your home

Color is another easy way to spruce up a room. This yellow cheery pot is from Michaels. Bright colors draw peoples attention to certain areas of the room and makes that space feel lively and upbeat.  Yellow is an especially uplifting color. When you add a house plant the green of the leaves pairs perfectly with the yellow.

There are so many sizes, colors and styles of pots that you will be able to find one that suits your style. Pots are available everywhere. You can even use something that is not specifically for plants. Just make sure that you add some packing peanuts or some small stones in the bottom of the pot to help with the drainage.

Pick houseplants that are easy to take care of. Read the labels to see how much water and sunlight they require and follow those recommendations.Taking care of houseplants is so easy if you are consistent. If you set aside a few minutes once per week to check on them, they will survive.

The downward slope towards spring is before us, but with these dreary winter days it seems to get longer and longer. So adding some plants around the house gave me a little feeling of spring and is helping to get rid of my winter blues. Another perk to having indoor plants is that most are generally easy to care for. (if you follow the recommendations). Yes, you have to read the little tag that comes with the plant:)

Be one the lookout for an upcoming post about 3 easy indoor plants to grow and where to find them.

On the farm

Here  is a little peek at the mood on the farm for 2019.

and an  update to what is happening so far. Seeds are being started, beds being plotted and selling outlets being confirmed. 2019 is going to be a whirlwind…..

Don’t forget to sign up for our blog updates and share your comments and questions in the comment section.

Starting a flower farm part 2

Starting a flower farmStarting a flower farm (part 2)

Thank you for following along on this “starting a flower farm journey”.  You will hopefully be getting a farm update every month! Seed starting, soil amending, sprouting, failures they all will be documented for you.  Starting a flower farm has been….interesting. Lots of beautiful pictures out there of armloads of flowers, beautiful farm stands and lush farmers market set ups. Not so many of the mud, bugs, sunburns, sore backs, dead plants and early mornings and rejections. Rejections? Yes!!! Florists a little Leary of a small grower.

I think I am now considered a flower farmer and not just a massive flower gardener…Why? Well this year I plan to have…40 20 ft beds of annuals, 5 20 ft beds of dahlias and a 40 ft by 40 ft heirloom pumpkin patch!

While drawing out my plots and going through my seeds…..I am thinking” yikes I did it!” Year 3 and more then quadrupled in size.

You will find flowers at 2 new outlets this year. In one of those lush farmers market set ups (more information soon)…and participating in the Twin Cities Flower Exchange. Wahoo! They will still be local at Red Rooster Soaps and at the road side stand.  On top of that you will be able to buy my dried flowers (sustain-ably grown and chemical free) from my Etsy shop.

Ordering seeds and planning

starting a flower farm

Ordering seeds and planning when to start and plant them has been huge for me. I try to keep notes on when I started and planted them from year to year. This year I took a flower farming school online course and it was so helpful.

Ordering and buying seeds.

Where your order or buy your seeds is a matter of preference. There are a lot of good seed companies out there. If you are just buying a few packages of seeds any box or hardware store will have the basic flower seeds.

I have been buying my seeds from Johnny’s selected seeds. I have been really happy with them. They have a great variety to choose from.

Planning

Starting seeds is not all cut and dried. Different varieties have different germination times. On the back of your seed package you will find important information. How long to start the seeds before your last frost, do you cover the seed or not? How deep to plant the seed. What kind of light it needs to germinate.

Find out when your last frost date is and circle the date on a calendar. You can count back from that date to find out when you should start your specific seeds.

I draw out my plots on graph paper.  This way I know how many plants I can fit into my prepared spaces.

What flower seeds are started so far

Lisianthus seedlings

I have started a few seed already. Lisianthus is the slowest to grow. A lot of flower farmers buy the plugs because they take so long to grow. Have I had luck with them……well not super good luck. A lot of seedlings have been lost. We are hoping to end up with at least 40 plants this year…cross your fingers…to many seasoned farmers this sounds like a piddly amount but hey!

Growing eucalyptus from seeds

The eucalyptus seedlings are doing great. This is my first try at growing eucalyptus. So far so good.

Seed Starting

Here is some information on how I start my flower seeds. This way has worked great for me.

I have gotten amazing information from floret. From seed starting to what cut flowers are the best to grow. This website is a great resource.