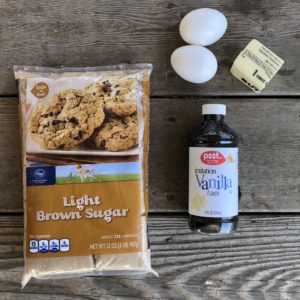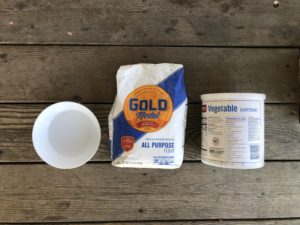
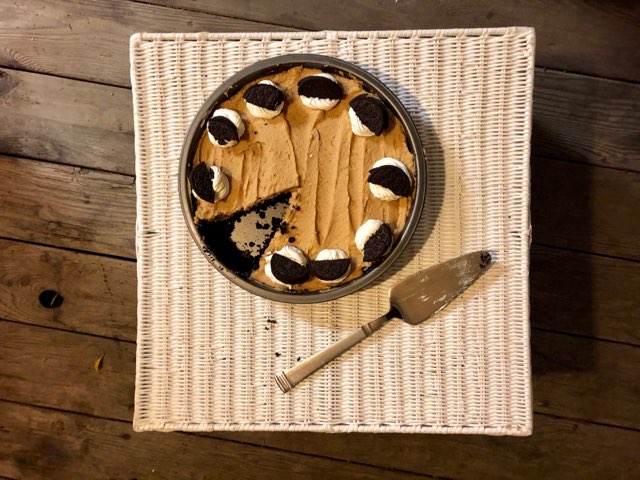
 Okay you peanut butter lovers, this one is for you. What satisfies a sweet tooth more than a smooth rich piece of Oreo peanut butter pie. I got my inspiration for this Oreo peanut butter pie from my dad. Although all he can do is look at my pie in pictures, due to the fact that we live 1700 miles apart. My dad is the guy at thanksgiving that passes the classic apple, pumpkin, or pecan pie and heads straight for the richest, peanut butteriest, chocolatiest looking pie. One of the biggest things that draws me towards making this pie around the holidays is the small ingredient list. There is nothing better than whipping up a good looking pie in no time at all!
Directions:
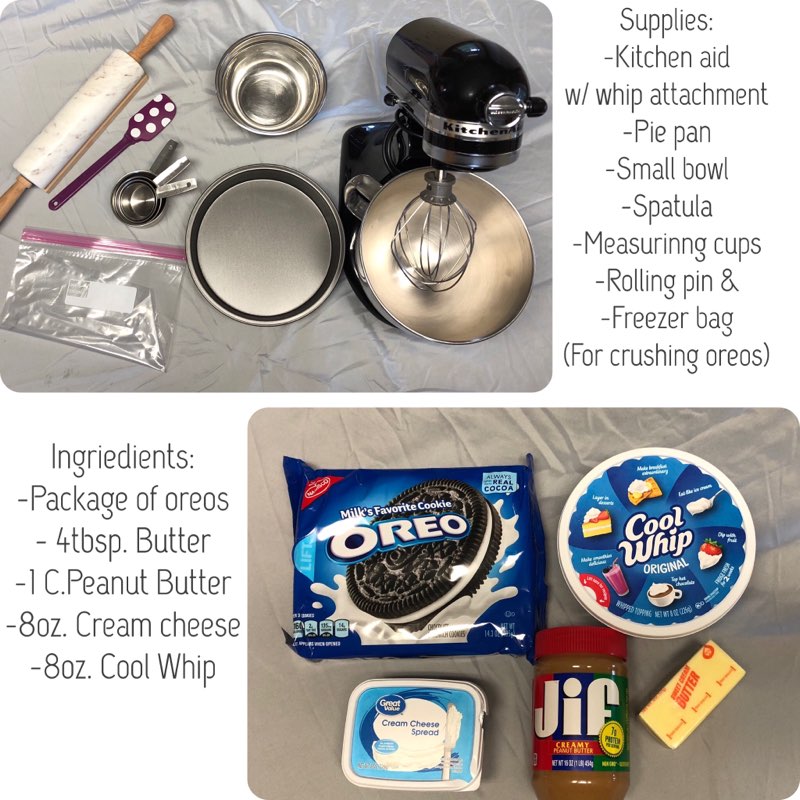
Preheat oven to 350 degrees.
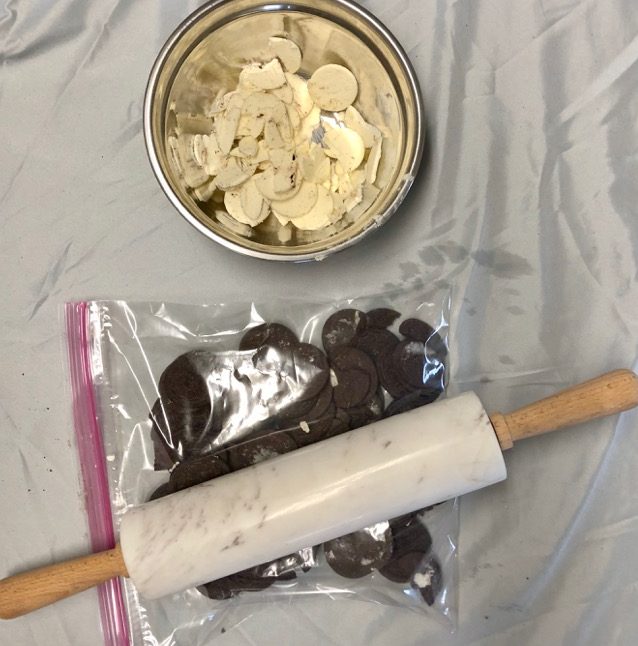
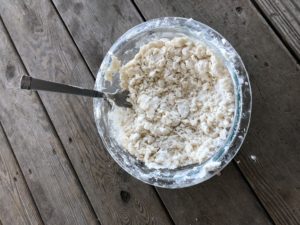
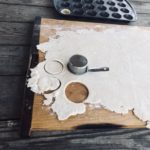
Separate Oreo filling from the cookie and set filling aside. Leave 5-6 Oreos whole, for garnishing at the end. Put cookies into a large ziplock bag or food processor and crush down to crumb size pieces.
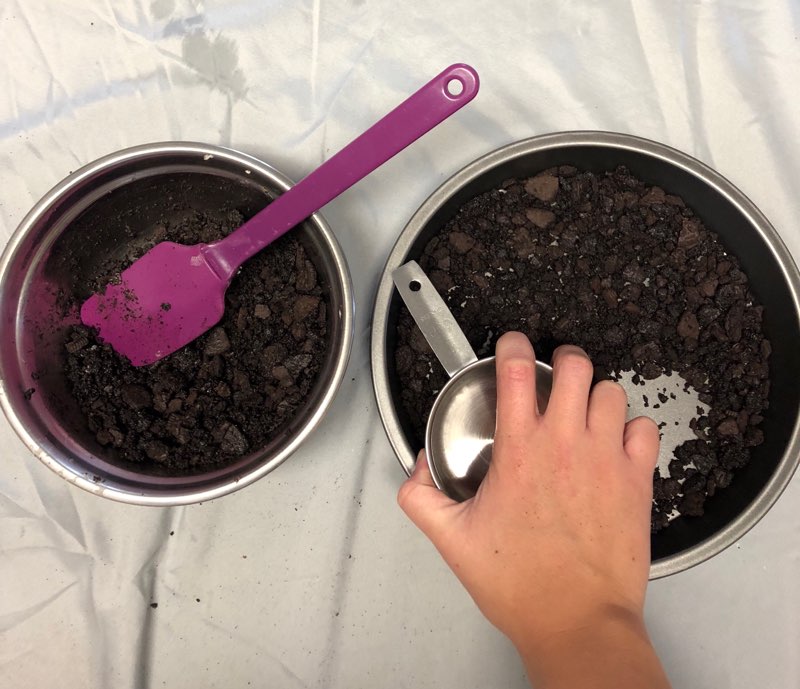
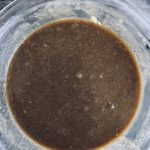
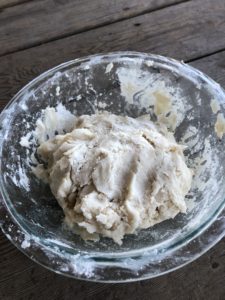
Melt butter and mix together with Oreo crumbs. Press mixture into a pie pan. Bake crust for 5-7 minutes.
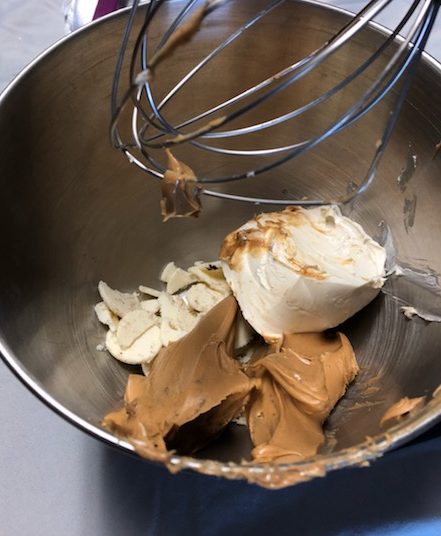
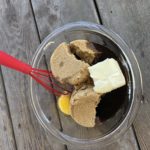
Mix the filling of the Oreo, peanut butter and cream cheese together until smooth. Let rest until crust is cooled.
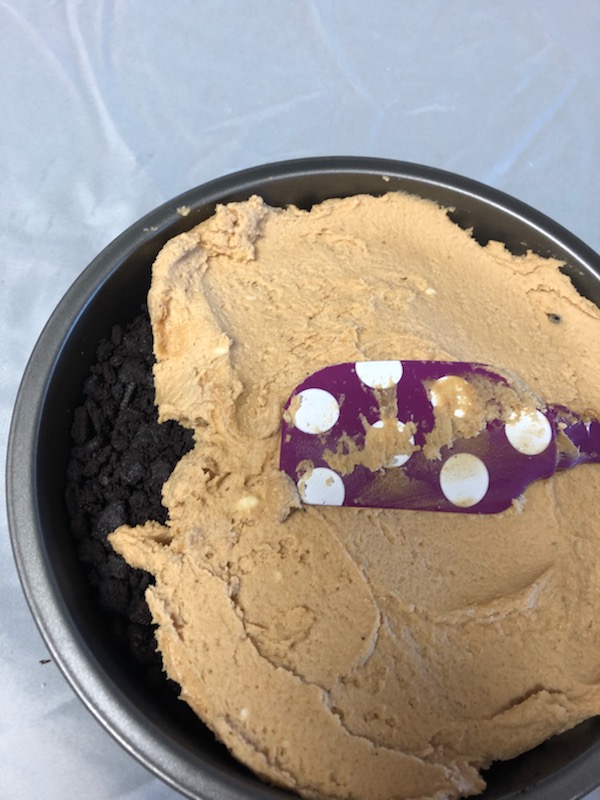
Spoon the filling onto cooled pie crust. Let chill for 1-1 1/2 hours.
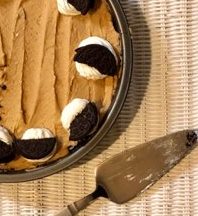
Garnish with a layer of cool whip over the entire pie or just a dollop on each piece. Break the last of the Oreo cookies in half and place on each piece of pie. Cut and enjoy!
When I moved away, I left with many teachings from my dad, in which I am thankful for. As thanksgiving nears let us know what you are thankful for. There is always something to be thankful for. And of course, I’m always thankful for that last piece of peanut butter Oreo pie.
Here are a few pies to die over.
The pumpkin dessert, I promise……amazing.
These links are not affiliated…just personal favorites.
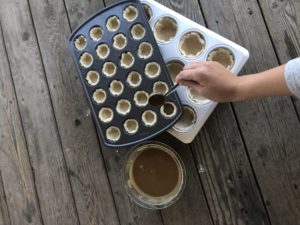
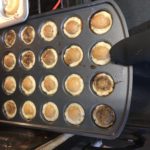
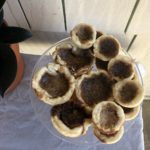
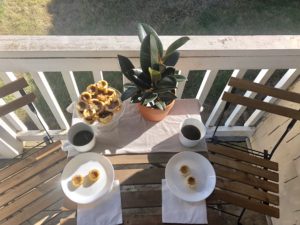
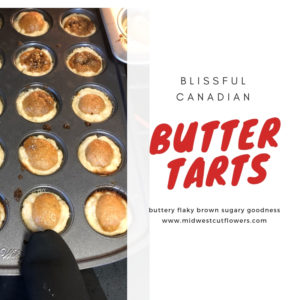 It’s that time of year when my thoughts turn to how fast summertime went and all the while trying to enjoy this beautiful fall weather. Baking traditional Canadian desserts is one of my families “must haves” at this time of year. Butter tarts first came to Canada in the early 1900’s from France. Growing up in Canada, we had butter tarts every holiday season, with some for special occasions throughout the year.