With fall upon us and the cut flower season almost over, I thought I would share a post using the flowers I have dried. This DYI pumpkin centerpiece will be the talk of your thanksgiving table. Nothing says fall like orange pumpkins and the leaves changing colors. The muted colors of the dried flowers go perfect with the fall palete of pumpkins. Use your imagination and have fun. This is great project to do over coffee with your friends. 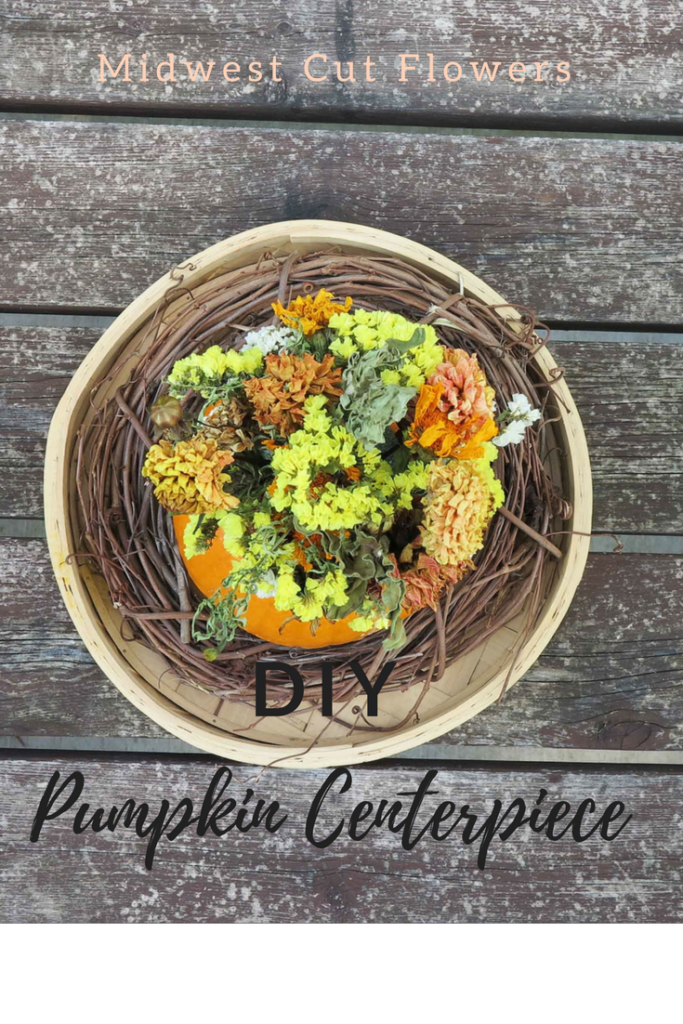
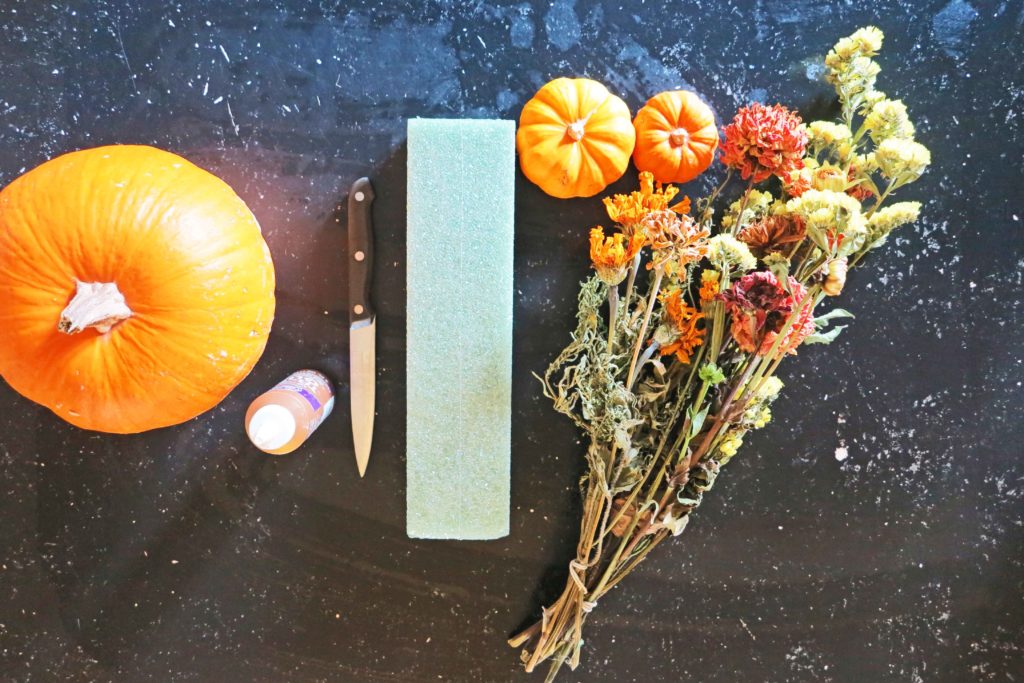
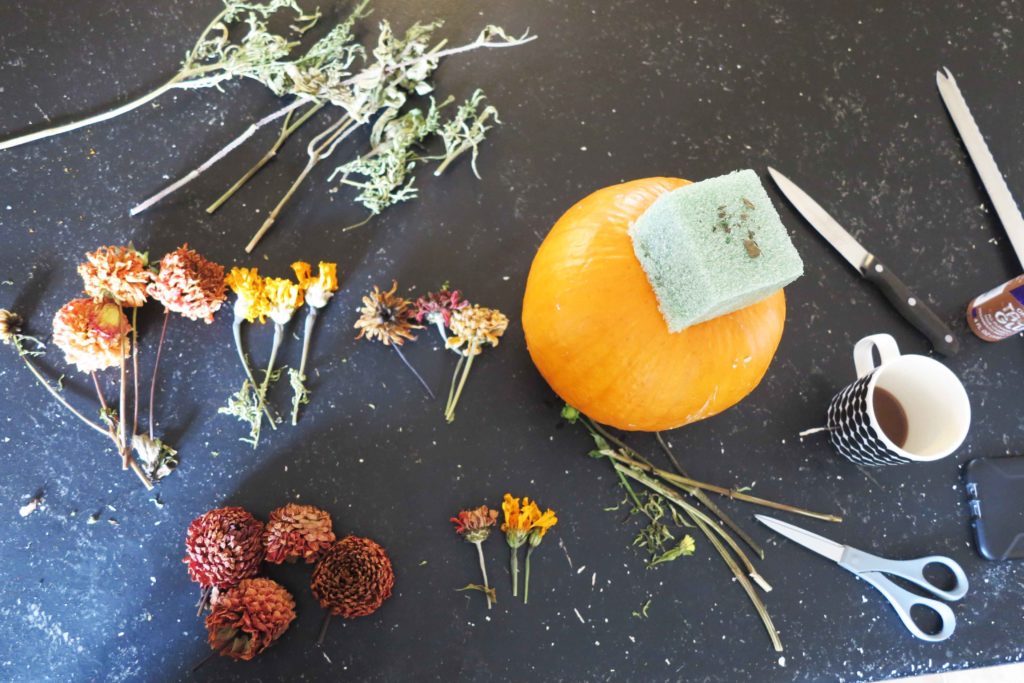
Above is a picture of the supplies you will need for the DYI pumpkin centerpiece. –
- pumpkin
- flower foam
- a knife for cutting
- craft glue (any brand)
- a variety of dried flowers
- grapevine wreath that your pumpkin will fit into
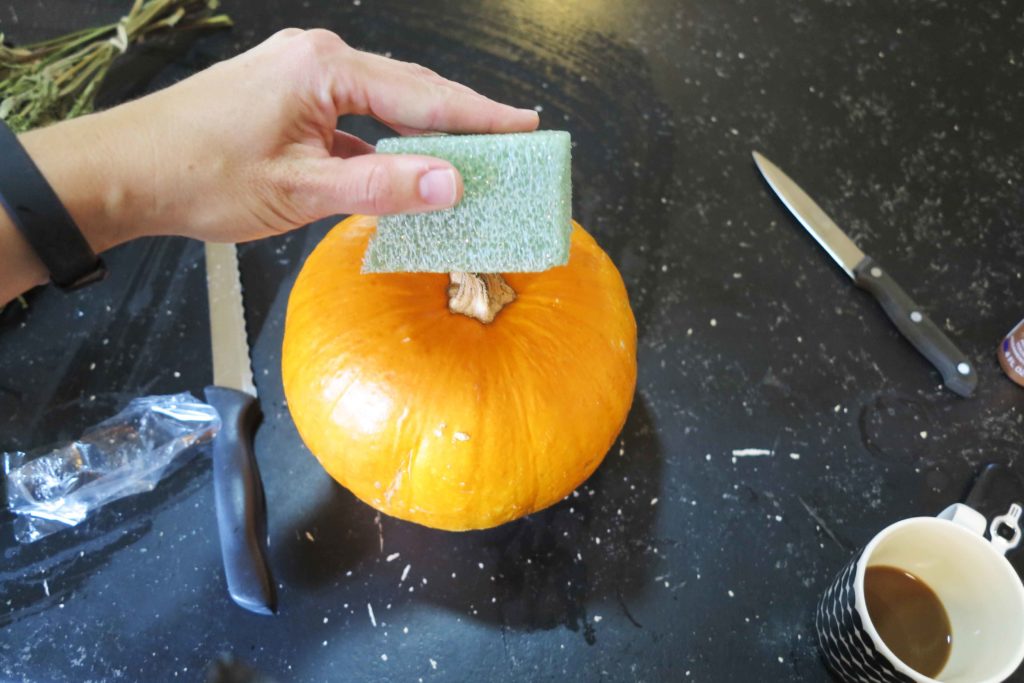
Wash the pumpkin with mild bleach water and wipe dry with a towel. Keep the stem attached. Cut an appropriate sized piece of the foam and press onto the stem. If the stem is really small add a drop of glue on the stem before pressing on the foam.
Cut the dried flowers into groups of various lengths and put your leaves and filler in separate piles.
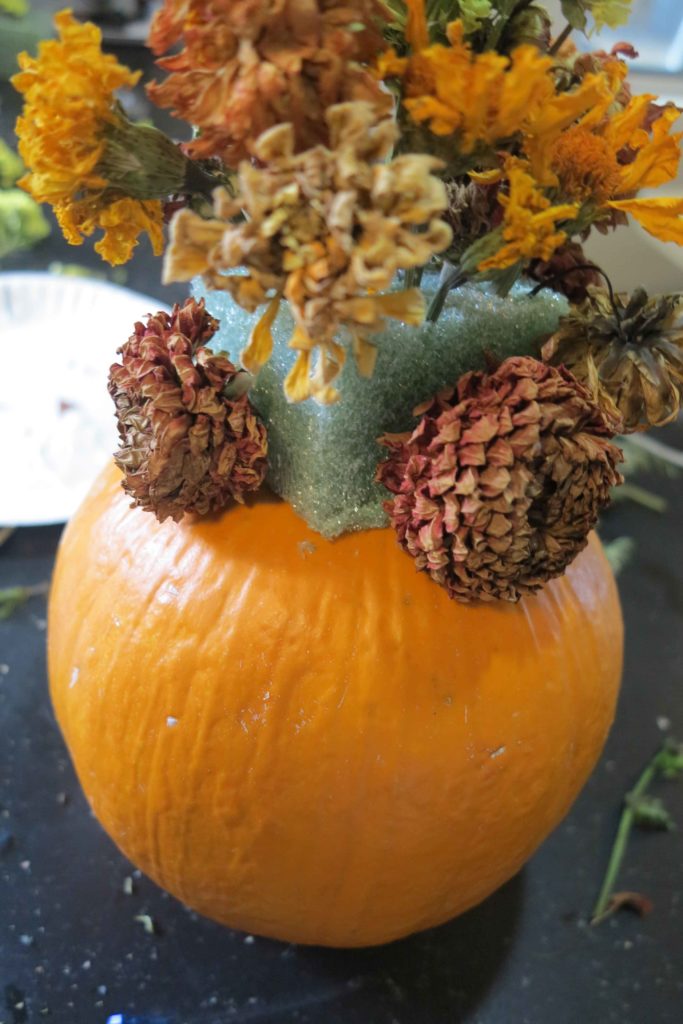
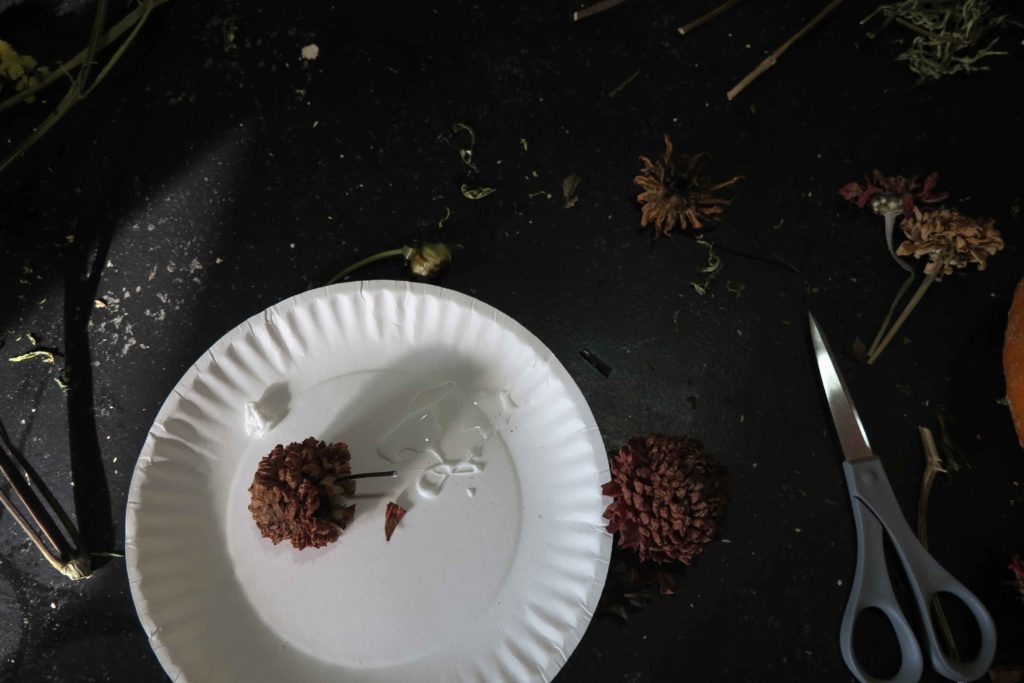
Starting with the taller stems poke a hole into the foam with a sharp thin object. A wooden skewer works great, dip the end of the flower stem into the glue and insert into the hole.
Keep adding the flowers tallest on the top to shortest around the bottom of the foam until you have used all your dried flowers. Use the leaves and filler you have chosen to fill in where you can see the foam until covered. Look at the dried flower arrangement from all angles.
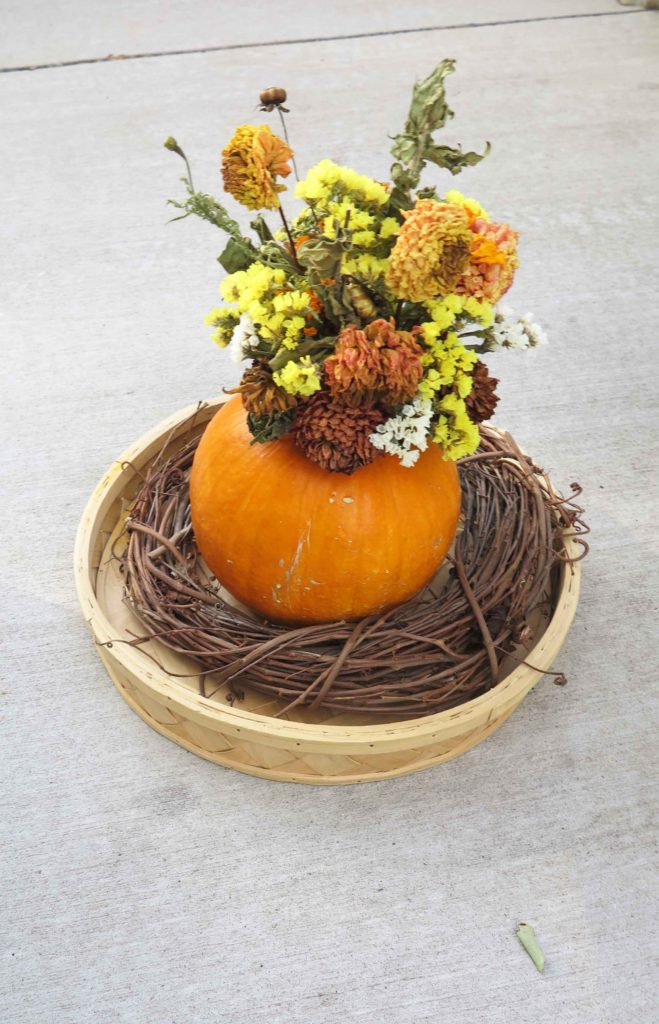

This is such and easy DIY thanksgiving centerpiece project. Enjoy!