So I am going to sum up my first year with a flashback of photos. I am already in next year mode. Trying to slow down….anyone have any tips for that?


So lets just say that I love pulla. Get it out in the open, when it comes to Finnish cardamom bread, I love it! I eat it plain, with butter, toasted, toasted with butter and jam, toasted with butter and cheese and if it gets a little old, dip it in coffee.

Pulla is usually baked as a loaf. However for special occasions the Finn’s or Swedes will braid it into a ring, add a glaze or almonds to the top. This dough is very versatile. You can use it for small single buns or cinnamon buns. I like to make 2 batches and use one for the traditional loaves and one for cinnamon buns.
Pulla is also called Nisu, which simply means” wheat” or depends on who you ask “this bread”. The word Pulla simply put means “bun”. Finnish pulla bread is typically served at most coffee tables throughout Finland. The Finn’s enjoy their coffee at a prepared coffee table set with napkins, cookies, pulla and of course coffee in cute cups. There is a saying in Finland “Parempi leipä kuin kulta” which translates to “better bread the gold” I think I would agree.
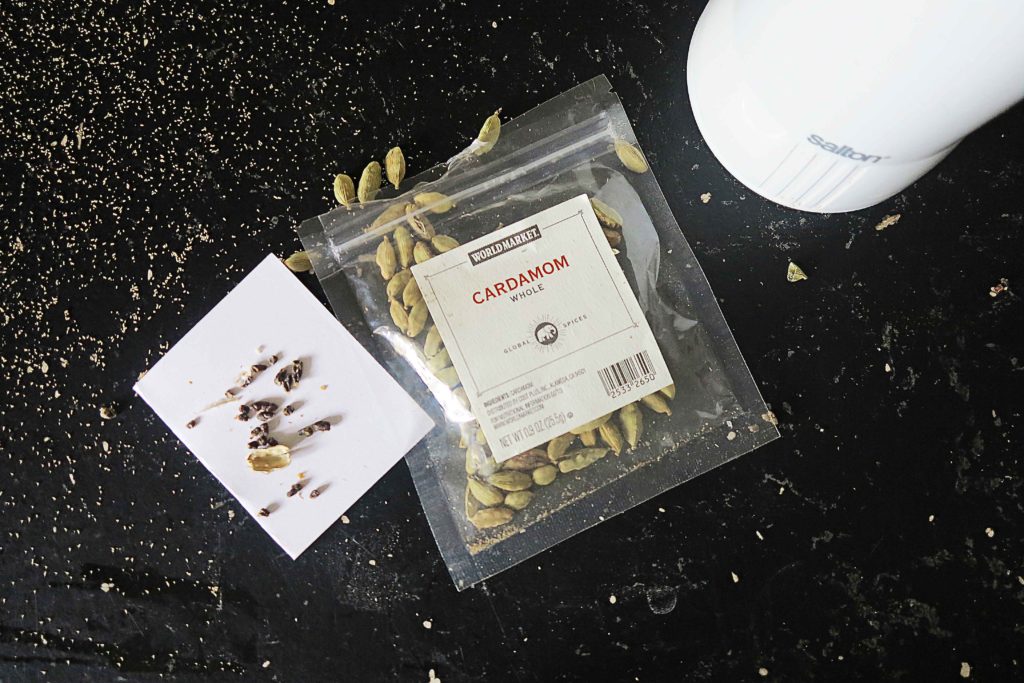
For better results make sure all your ingredients are at room temperature before you start. Also I like to use whole cardamom seeds that I crush with a mortal and pestle or a coffee grinder. It gives much better flavor then the cardamom you buy in the spice section already ground.
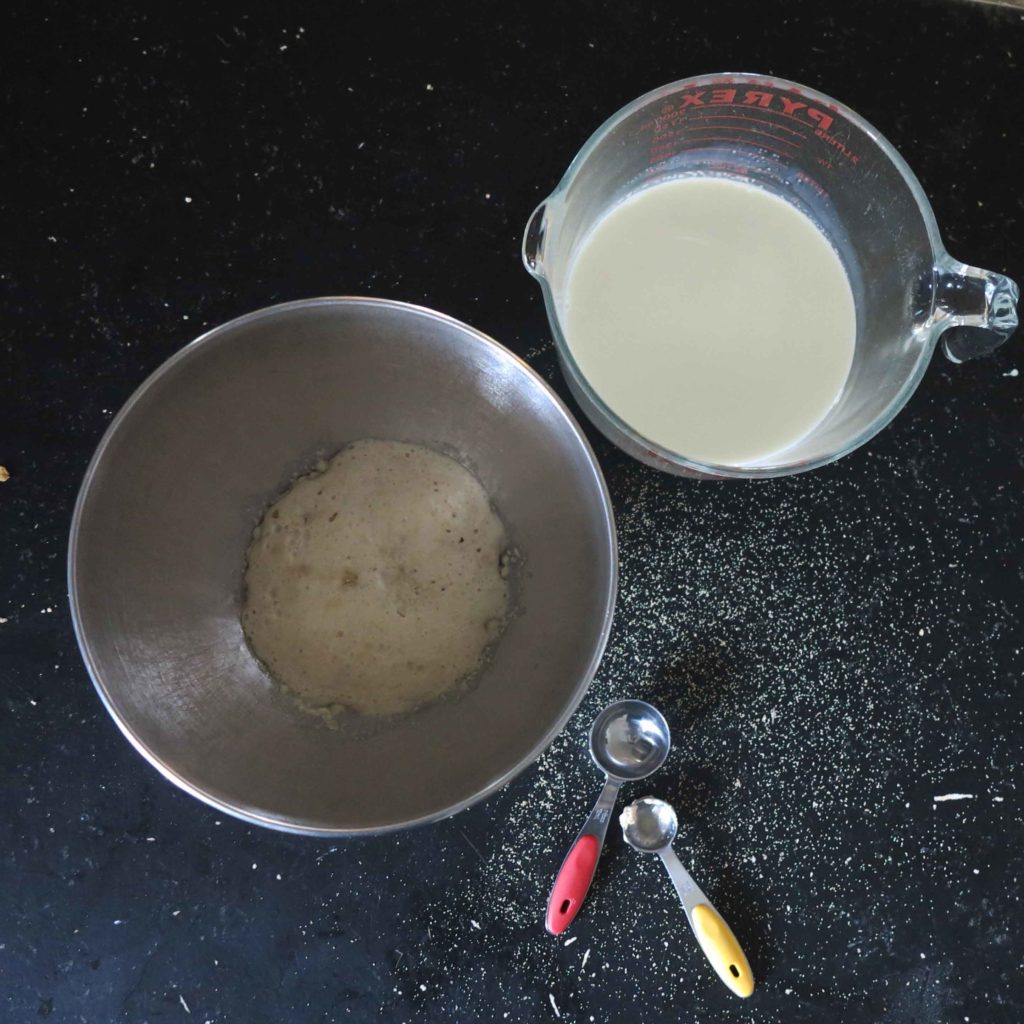
Dissolve yeast and 1 teaspoon of sugar in water fairly hot to touch. Mixture will be light brown in color and foamy.
Pour the milk that has been scalded and cooled to room temperature into the bowl. Mix in eggs, sugar, cardamom and salt.
Add 5 cups of flour. Mix until smooth. Add melted butter. Then add remaining flour 1 cup at a time until dough is smooth to the touch.

Place dough in a greased bowl. Cover with a tea towel and let rise until doubled.
Divide risen dough into 3 equal parts.

Divide each 1/3 into 2 equal parts and roll out until approx 30″.
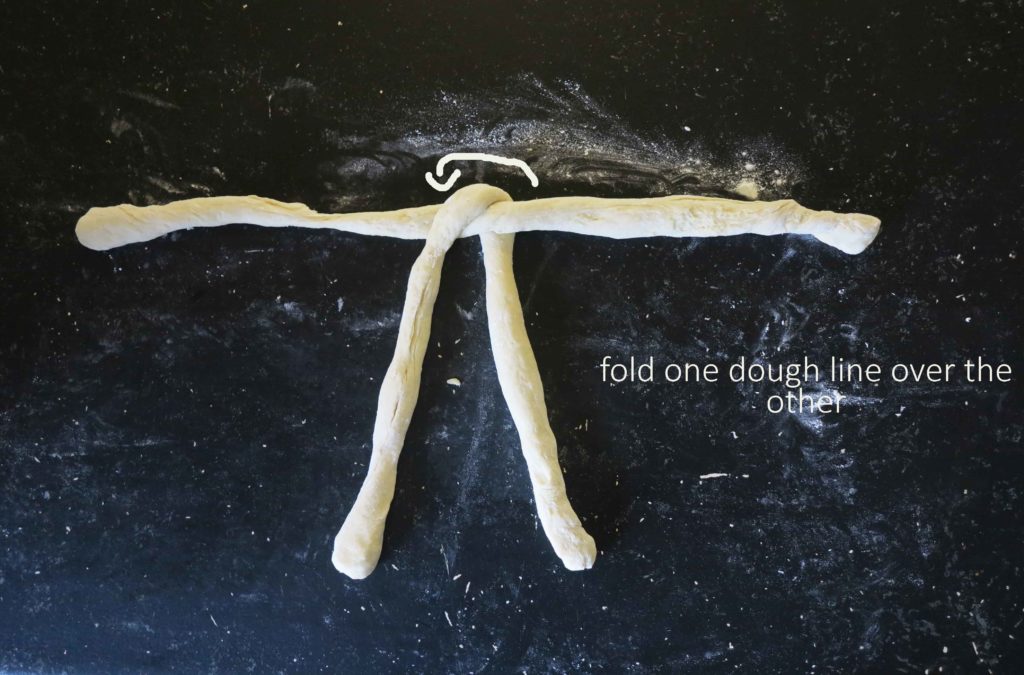
Fold 1 of the rolled pieces of dough over the other. See photo above

Follow the guide above for the traditional braiding. The pulla can also be braided with 3 strands. Braid as you would a regular braid.

Place braided dough onto a parchment lined cookie sheet. Let rise about 20 min. Brush loaves with a beaten egg and sprinkle with pearl sugar. In the photo above I used raw sugar. I have also used a cinnamon sugar mix.
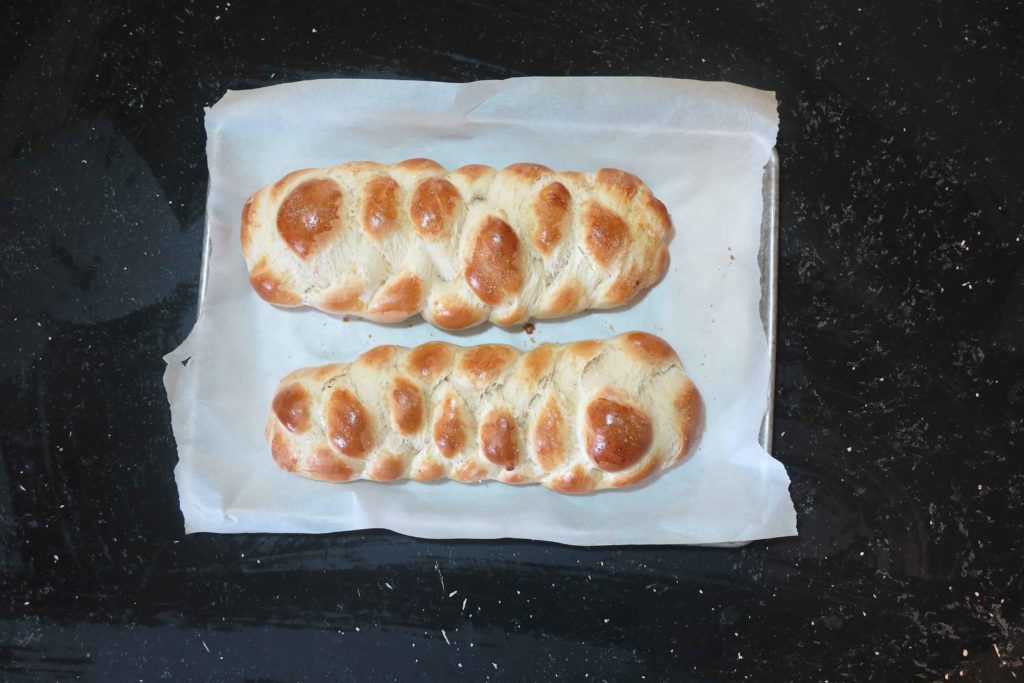
Bake at 375 degrees for 25 min. Cool on racks.
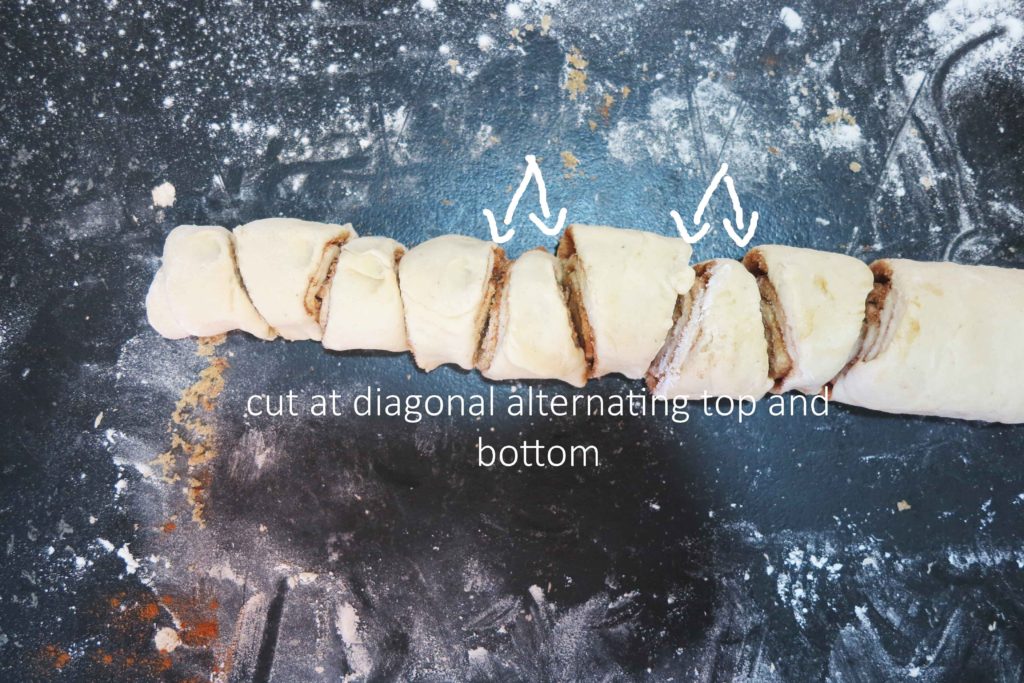
Each 1/3 can be rolled out flat and sprinkled with cinnamon and sugar. Roll up the dough length wise and cut at an angle. See photo.

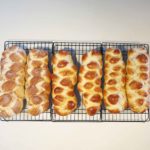
Place each bun onto a parchment lined cookie sheet and press down in the center with your index finger. See photo

Brush with beaten egg and sprinkle with your choice of sugar. Bake at 375 degrees for 15 min.

Enjoy!
A slightly sweet dense cardamom flavored bread.
Scald milk. Let cool to room temperature. Set aside.
2. In mixing bowl add yeast and 1 tsp of the sugar. Pour in warm water and stir. Cover and let site for 5 min.
3. In the mixing bowl stir in milk, sugar, eggs, cardamom and salt. Stir until blended. Gradually stir in 5 cups of the flour. 1 cup at a time. Mix until well blended. Slowly pour in the melted butter until dough is shiny. Add the remaining flour 1 cup at a time.
4.Place dough into a greased bowl. Cover with a towel and let rise until doubled. Approx 45 min. Divide the dough into thirds. Working with a one third at a time. Cut in half or thirds and braid. Move braided loaf onto a parchment paper lined cookie sheet. Let rise 20 min. Brush with beaten egg. Sprinkle with choice of sugar.
5.Bake for 25 minutes in a 375 degree oven.
6.Cool on rack.
I hope that you enjoy this Finnish treat as much as I do. It makes a great gift!
Hey, its time for another installment of a note, a quote and a gloat. If you are new to this blog, I randomly will post little tidbits of flower information, a flower quote and notably a flower joke. aka a gloat. 
This quote is said to originate from The Bishop of Geneva, Saint Francis de Sales (1567-1622), yeah its been around for ages. This quote makes me think of my husband’s aunt. I was blubbering one day about life and she said “girl you gotta bloom where you are planted.” She cut me no slack…I so needed this little reminder at the time and since then. I have told myself hundreds of times….”self remember…bloom”
NOTE
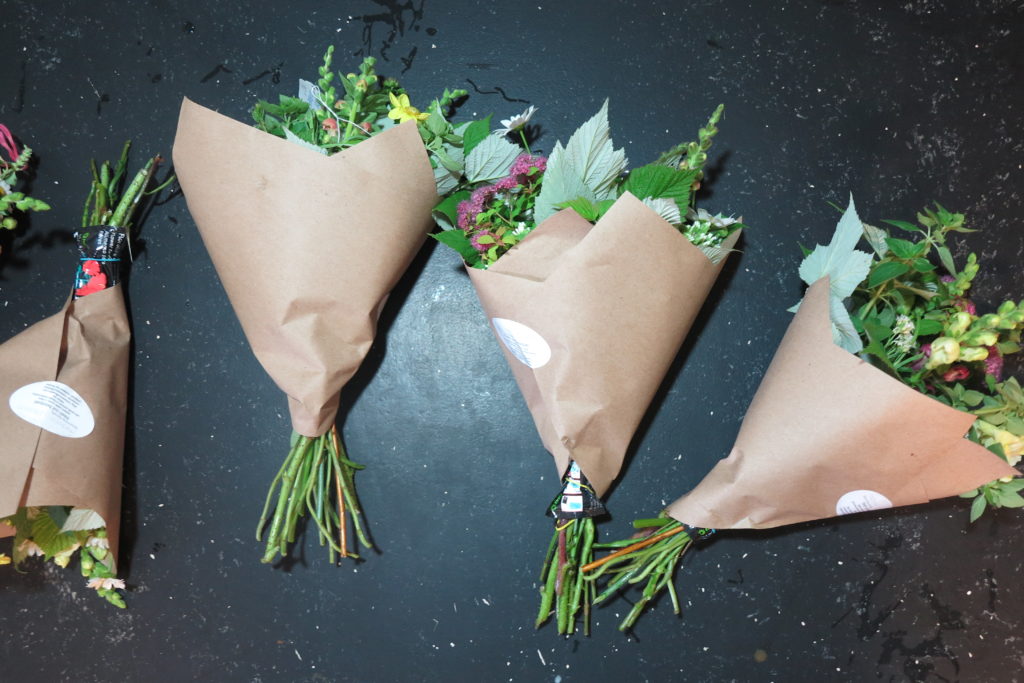
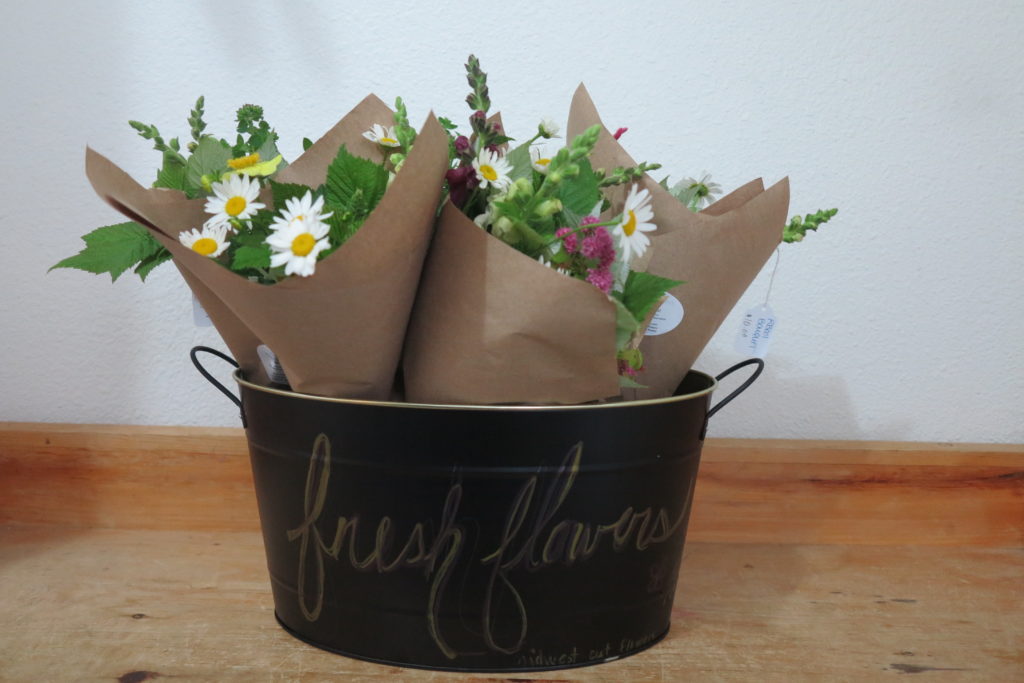
Did you know that 80% of all cut flowers sold in the USA are flown in from other countries. There is a movement slowly moving back to flowers grown here in the USA. Hence my little flower farm. Debra Prinzing has been a great advocate for the local slow flowers movement. Most of the local flowers that are being grown, are being done without the use of pesticides. This way making it safe for both the farmer and consumer. Another plus to this, locally grown cut flowers last longer and look amazingly better. Seriously next time you are out and about and see a flower stand or at a farmers market. Pick up some locally grown cuts and see the difference for yourself.
GLOAT
What did the big flower say to the small flower?
Hey there bud!
If you missed the last a note, a quote and a gloat here it is post # 1
Hope you enjoy your day.
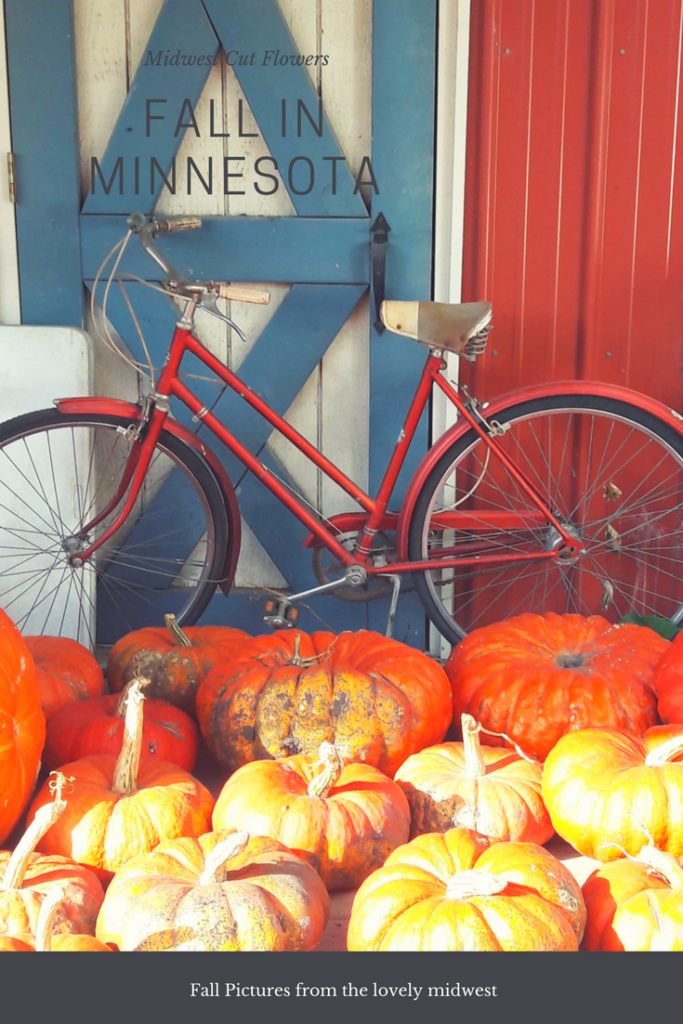
Fall in Minnesota is such a wonderful thing. After sweltering hot summer days and buzzing mosquitoes we are quite ready for fall. Fall in Minnesota brings amazing flowers!! They to are enjoying the cooler temps. Here are a few pictures of what is going on around here in the midwest.
My daughter is having a great time working at Nistler farms this fall. They grow such awesome quality produce.

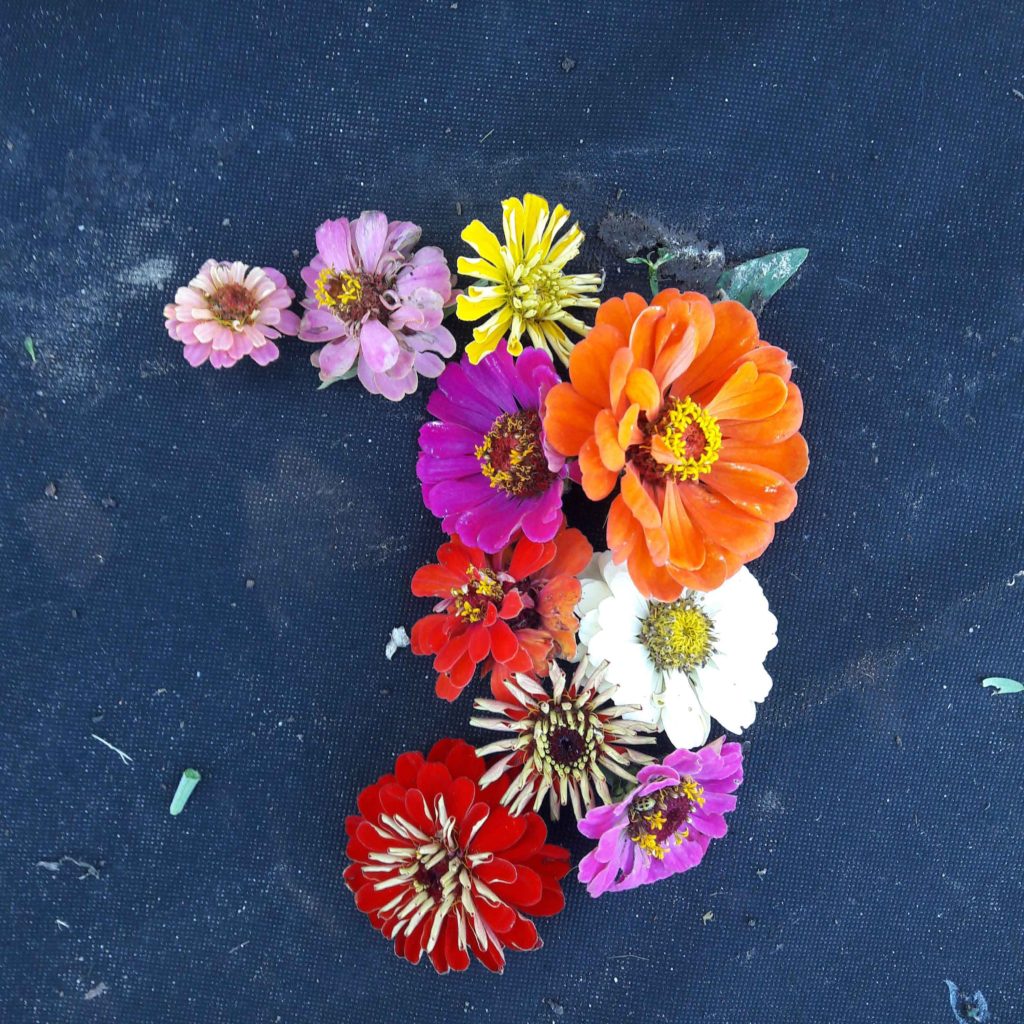
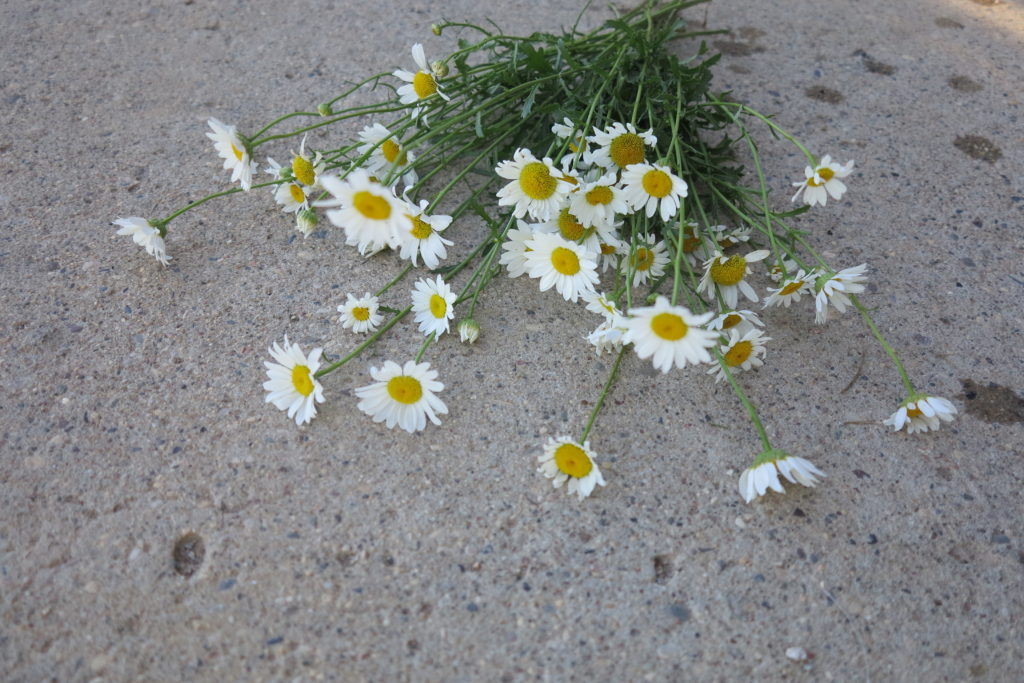
This was my last cut for the flower stand this season!
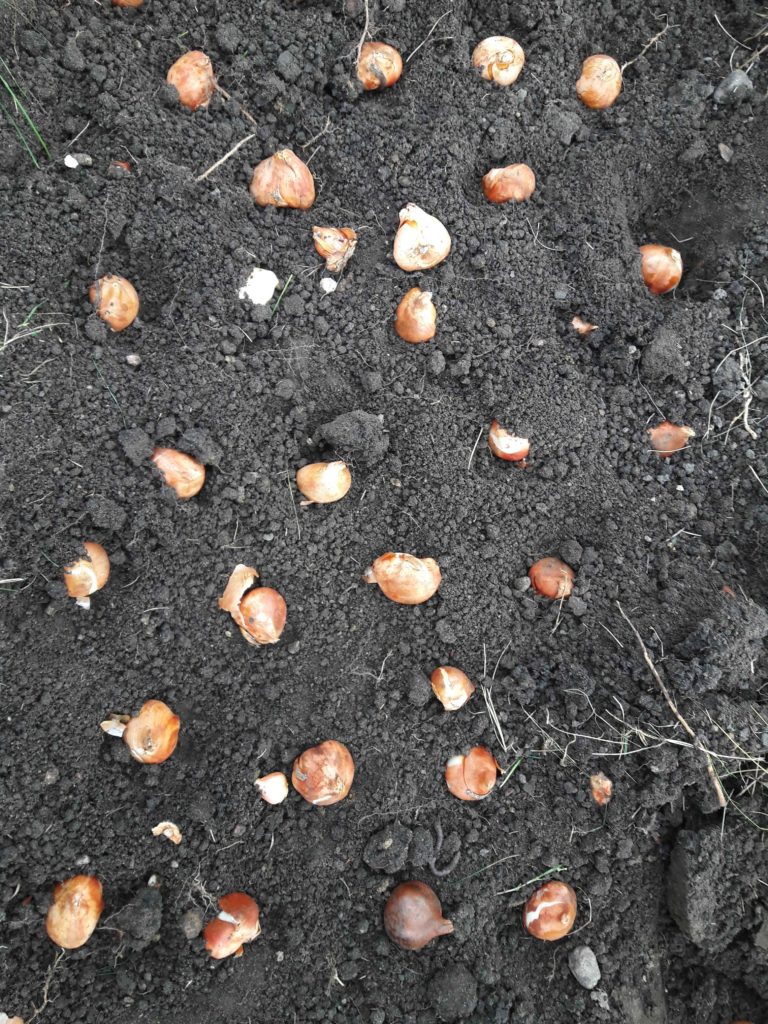
I have planted quite a few tulips this fall. I still have one more bag to go. These lovelies were a gift from a friend!! Perfect, Thanks Heidi.
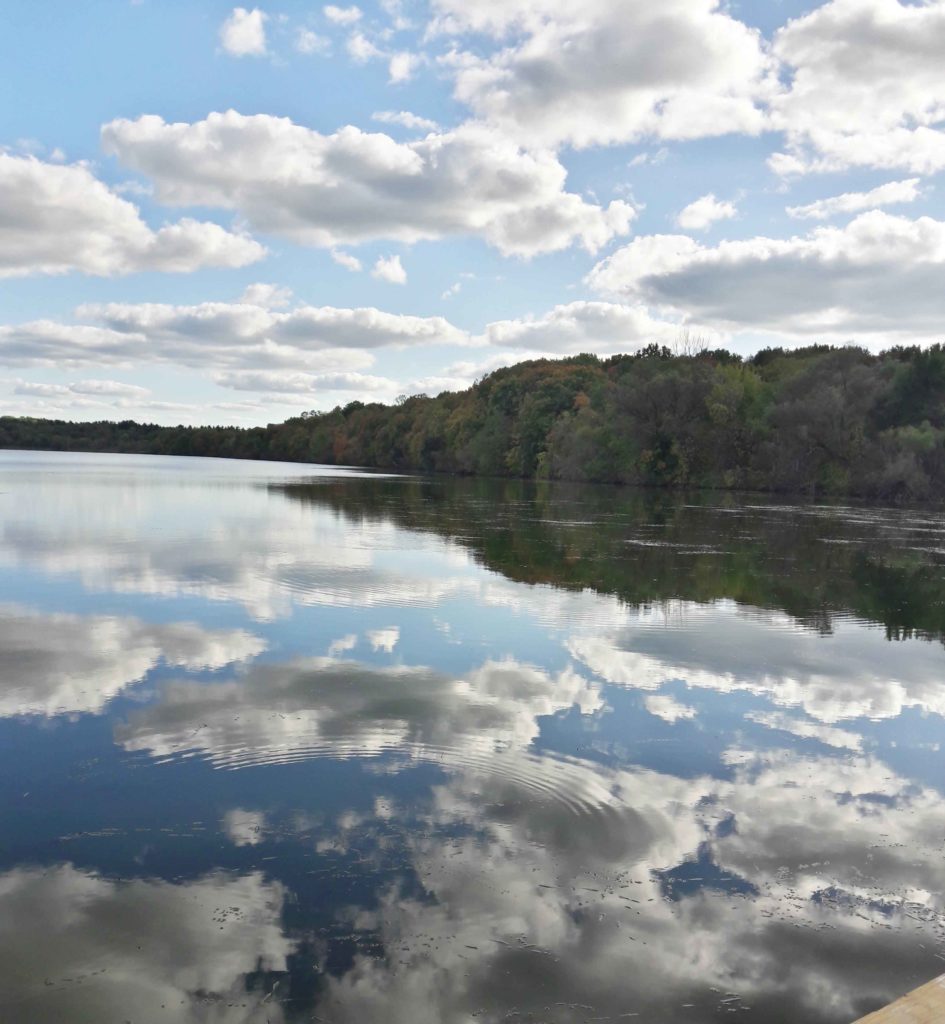
This picture was taken at Lake Rebecca park. We are lucky to live by this awesome park. There are biking and walking trails. Canoe and kayak rentals on the weekend. Picnic areas, play area etc. Check it out!
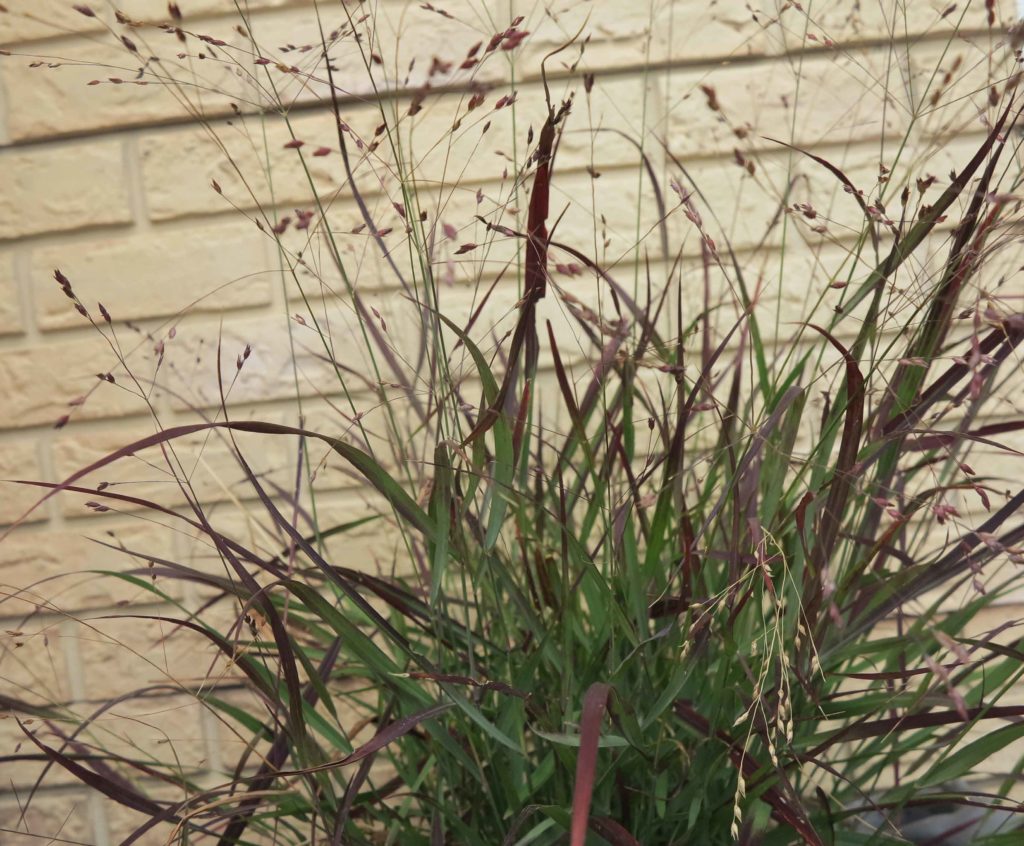
Some ornamental grass that I planted last year! So cool. I am planning on taking pictures of my garden this weekend, so next week I will post what that is looking like.
With fall upon us and the cut flower season almost over, I thought I would share a post using the flowers I have dried. This DYI pumpkin centerpiece will be the talk of your thanksgiving table. Nothing says fall like orange pumpkins and the leaves changing colors. The muted colors of the dried flowers go perfect with the fall palete of pumpkins. Use your imagination and have fun. This is great project to do over coffee with your friends. 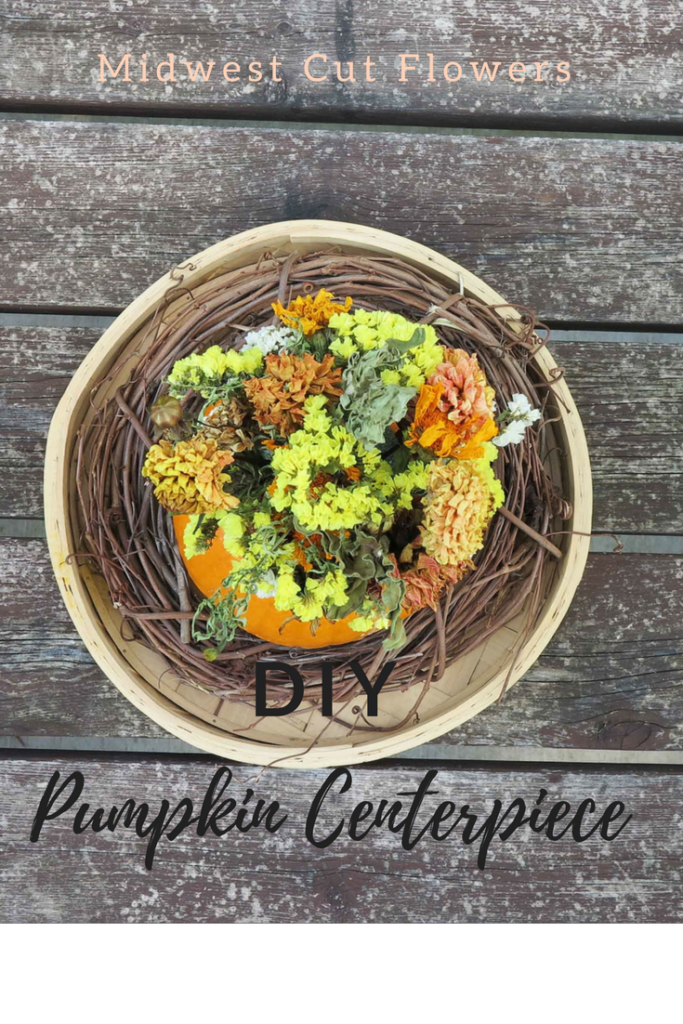
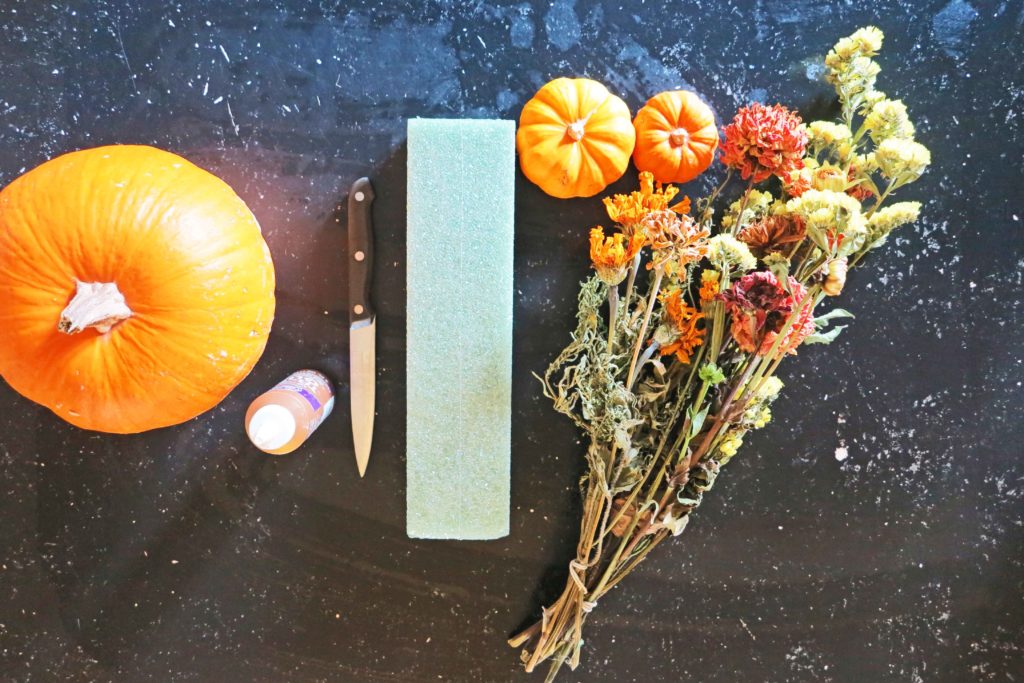
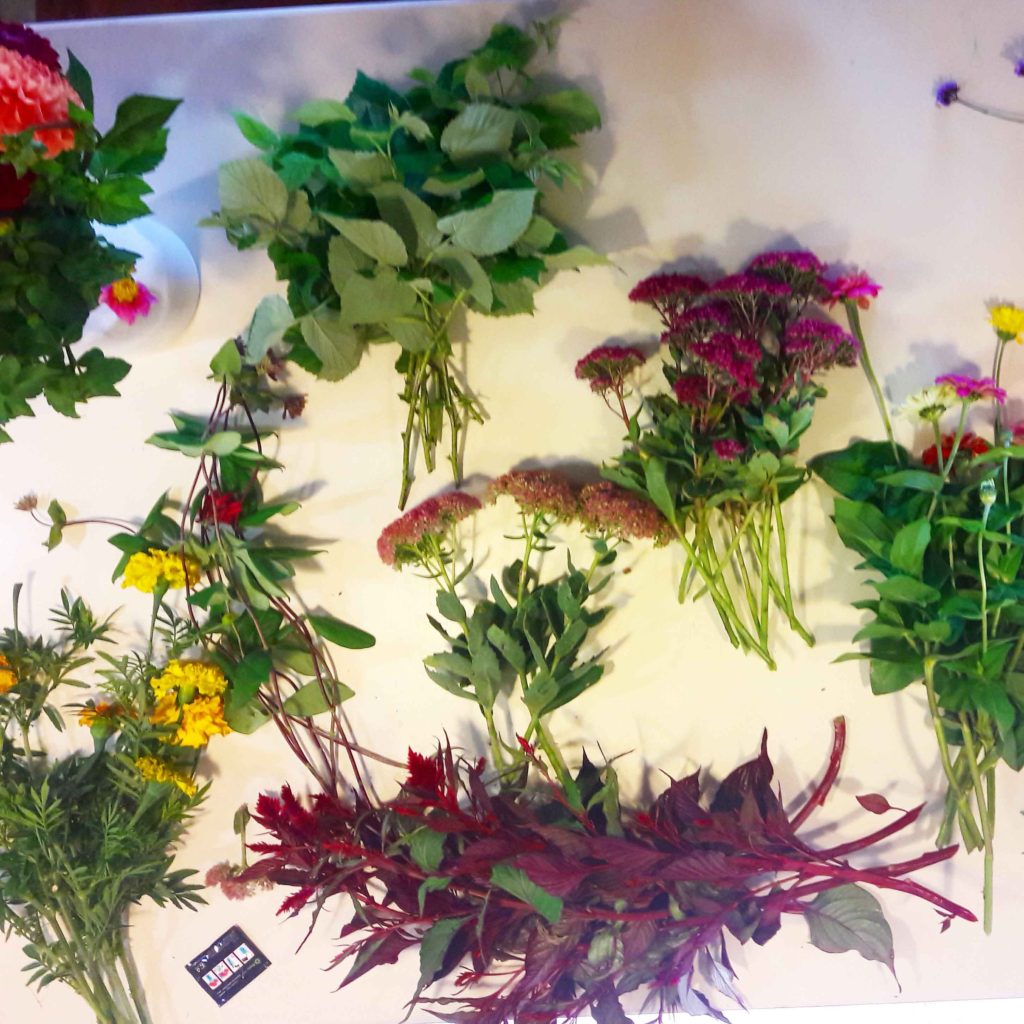
Above is a picture of the supplies you will need for the DYI pumpkin centerpiece. –
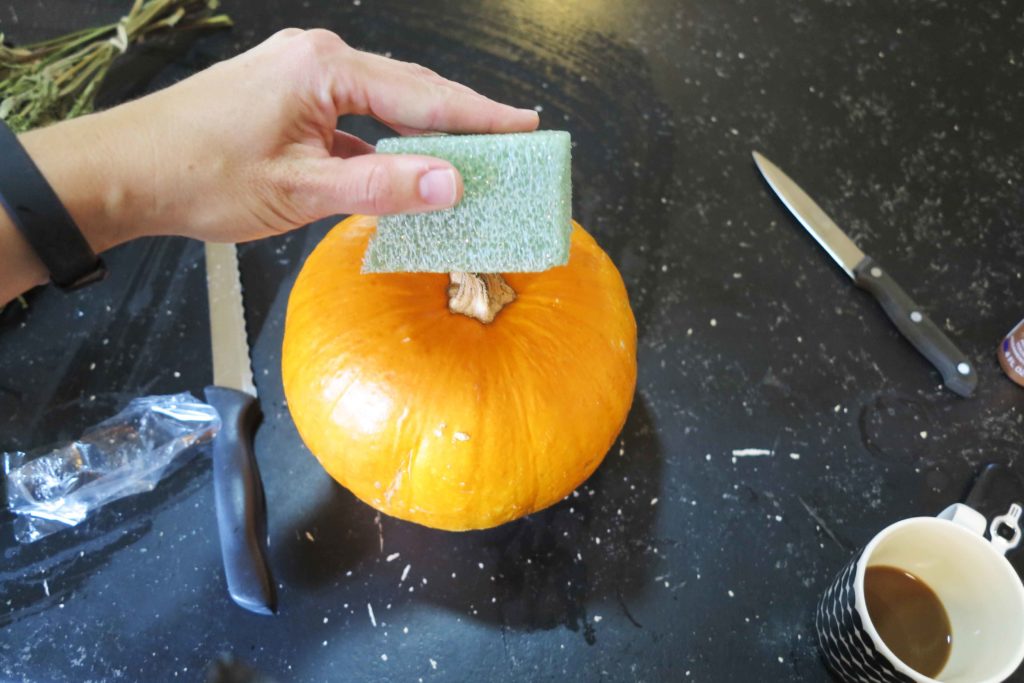
Wash the pumpkin with mild bleach water and wipe dry with a towel. Keep the stem attached. Cut an appropriate sized piece of the foam and press onto the stem. If the stem is really small add a drop of glue on the stem before pressing on the foam.
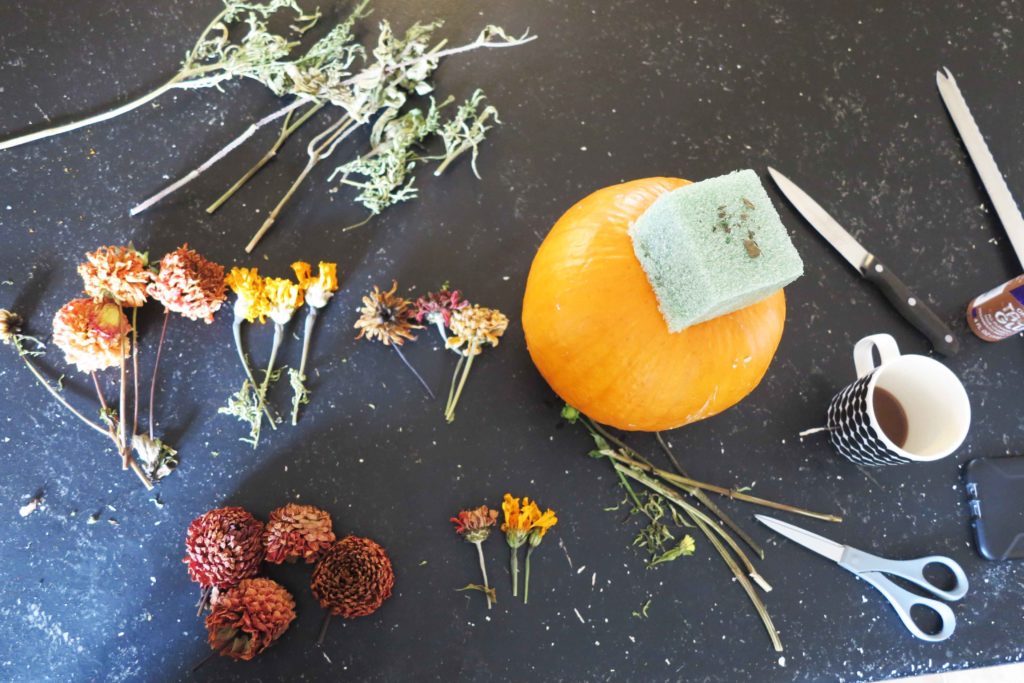
Cut the dried flowers into groups of various lengths and put your leaves and filler in separate piles.
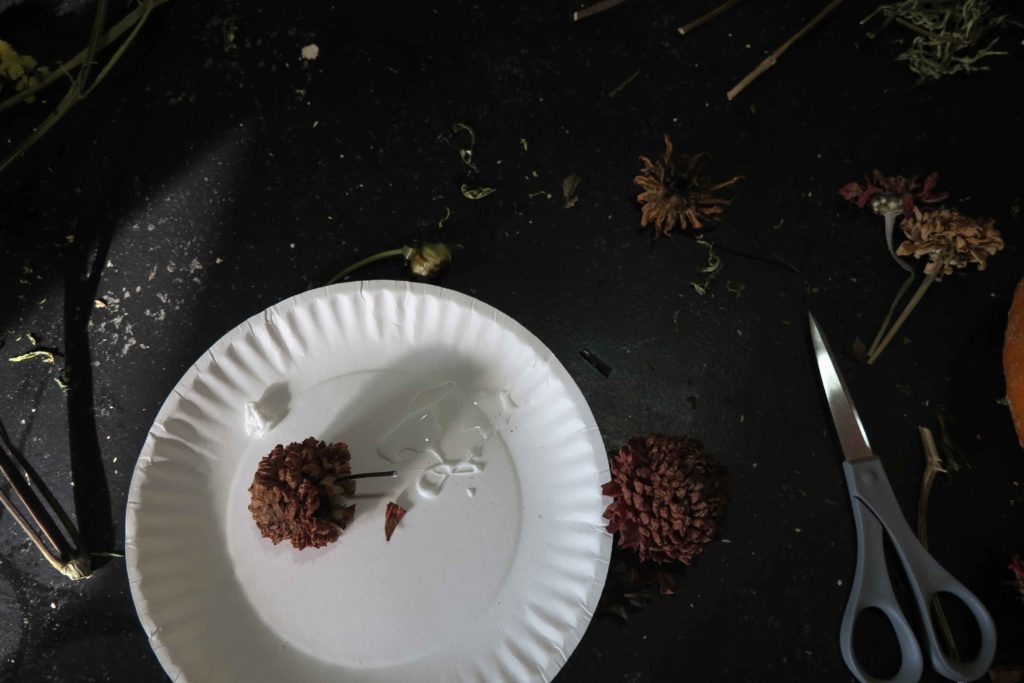
Starting with the taller stems poke a hole into the foam with a sharp thin object. A wooden skewer works great, dip the end of the flower stem into the glue and insert into the hole.
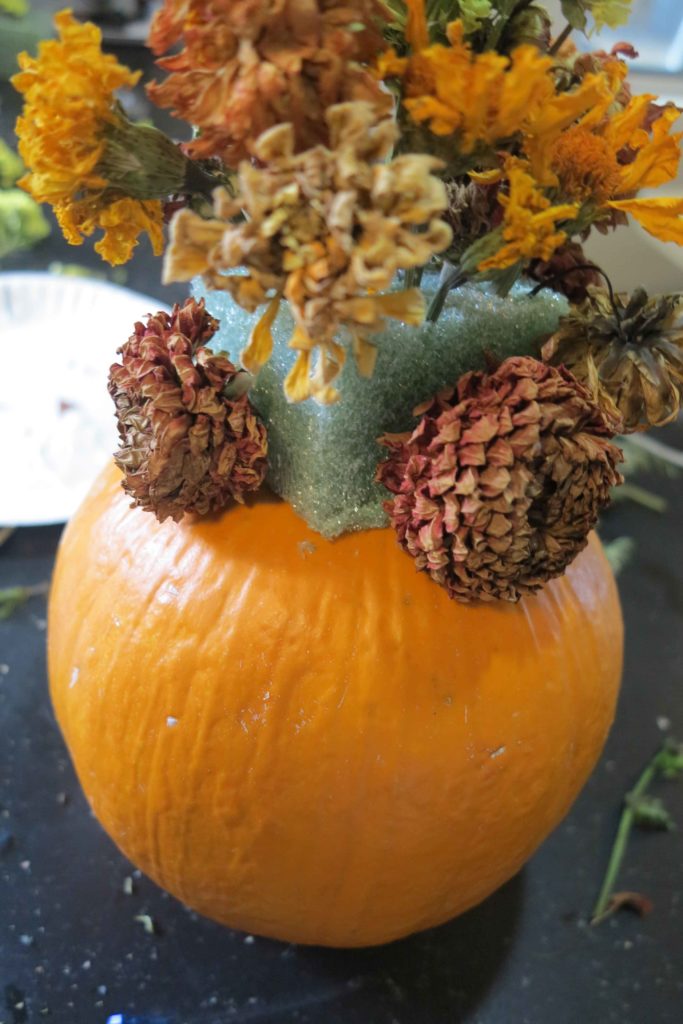
Keep adding the flowers tallest on the top to shortest around the bottom of the foam until you have used all your dried flowers. Use the leaves and filler you have chosen to fill in where you can see the foam until covered. Look at the dried flower arrangement from all angles.
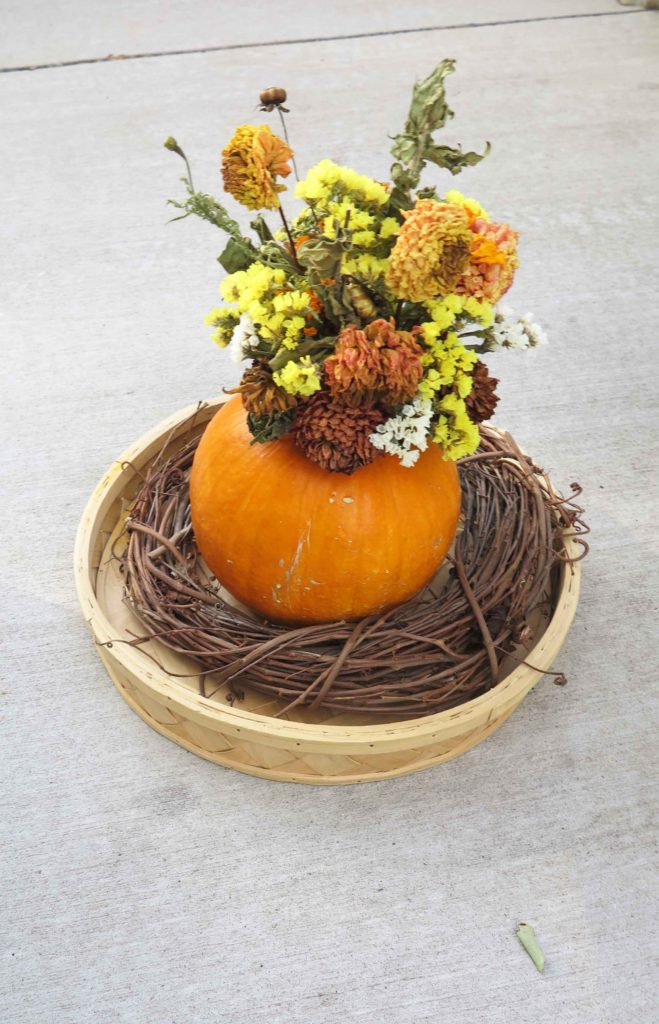

This is such and easy DIY thanksgiving centerpiece project. Enjoy!
Hey, I have added a new products page to my blog. Here I will be selling linen aprons and market bags. Here is the linen apron in the photo below. Guarenteed to be your favorite. I also have a fettish for Marimekko fabric. I will sure be adding products made from that to the page also.
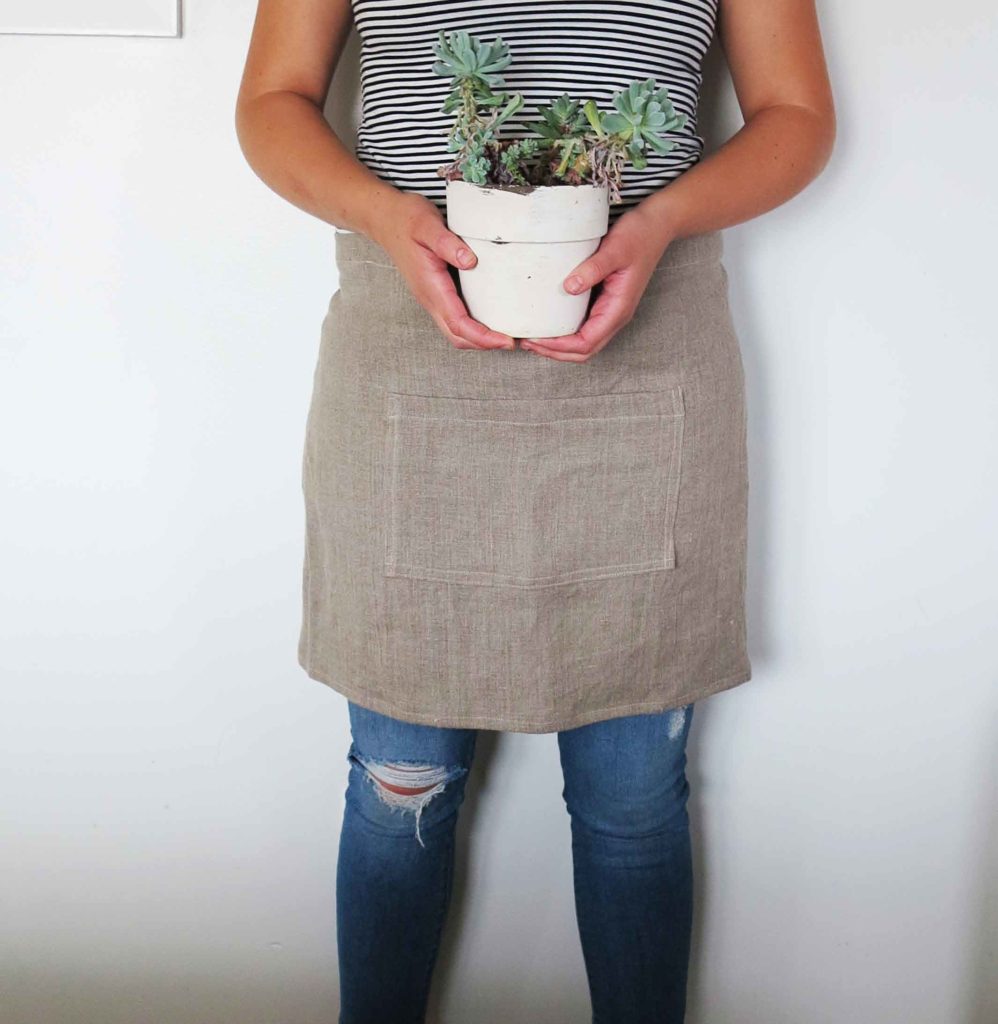
Fun, versitile and becomes softer after every wash! Follow me to see newly added products. Check out the page here. I am trying to move my Etsy shop onto my blog to keep everything together. My Etsy shop has been a great experience. If anyone wants to try it you should. It is easy to use. With the garden and the blog I do not have space in my brain to also do Etsy. I will keep my shop open for the remainder of the year.
Here are a few quick pics from the garden.
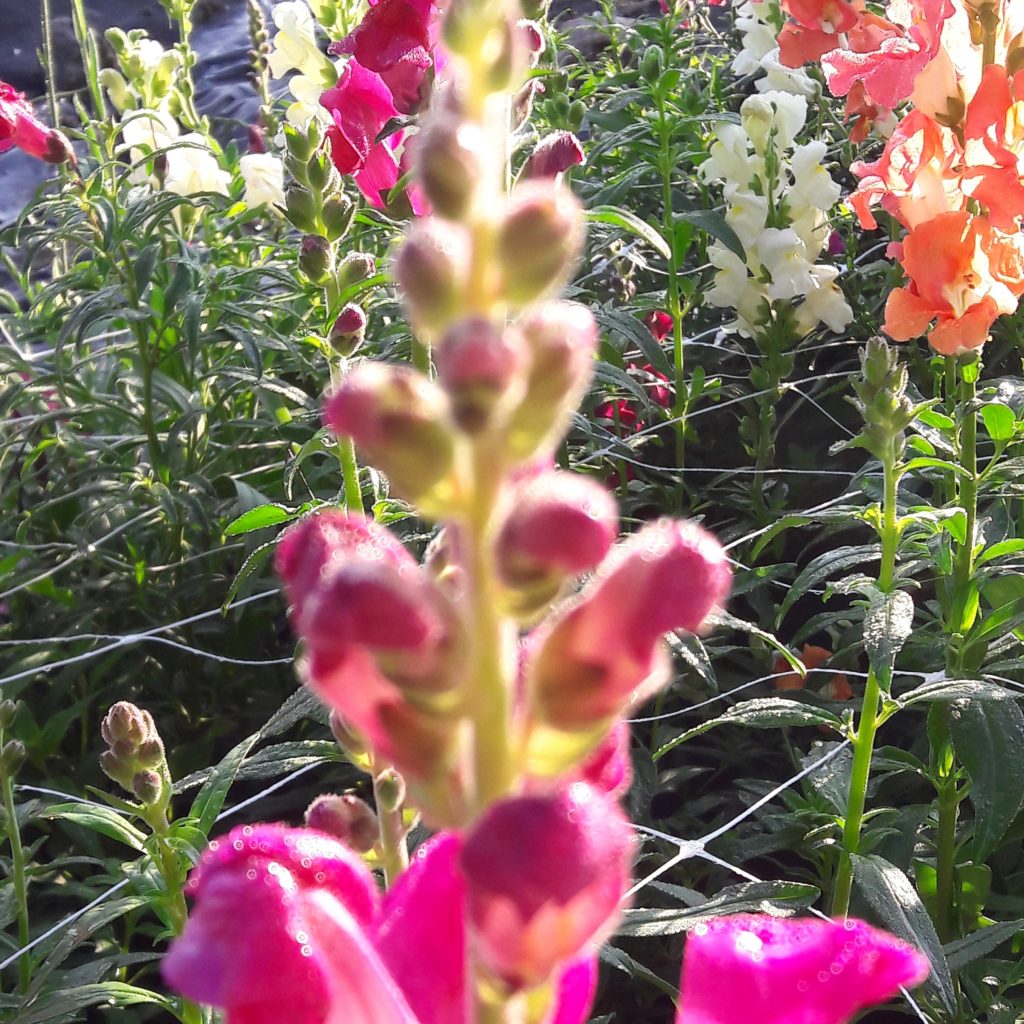

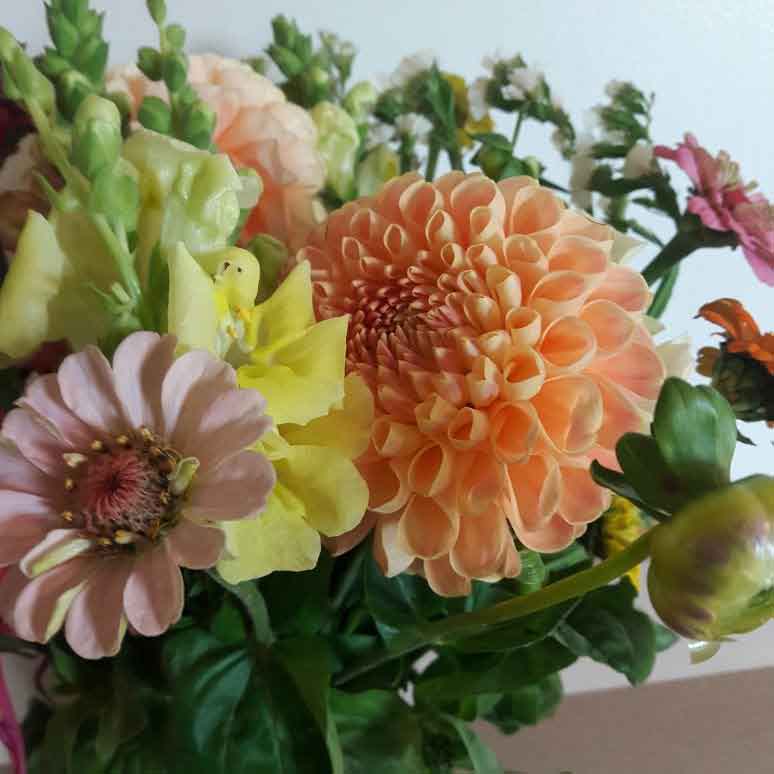
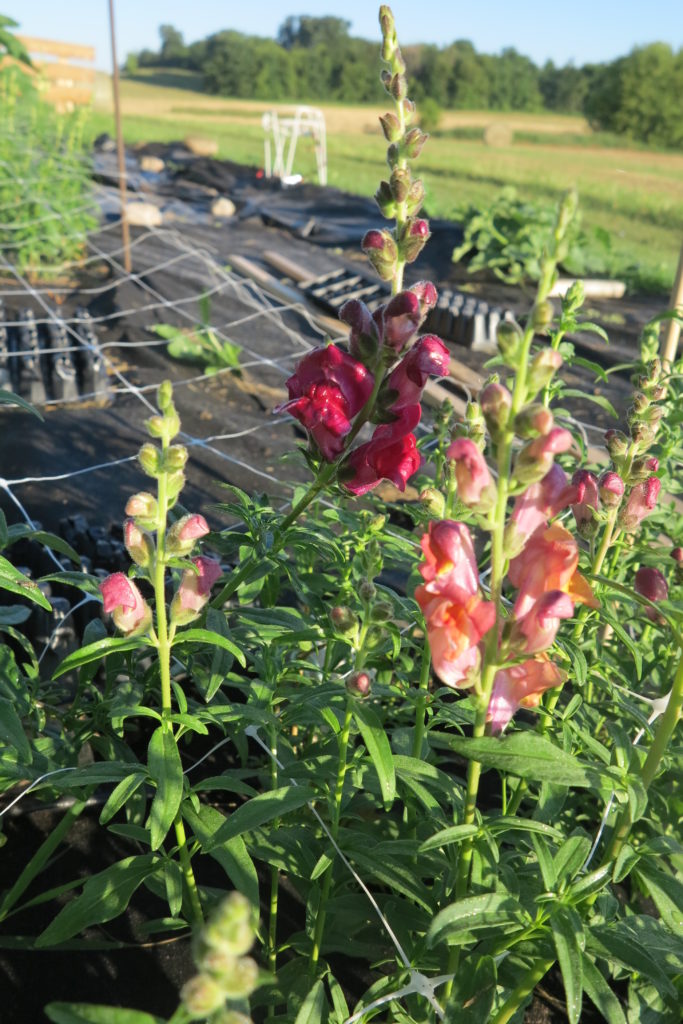
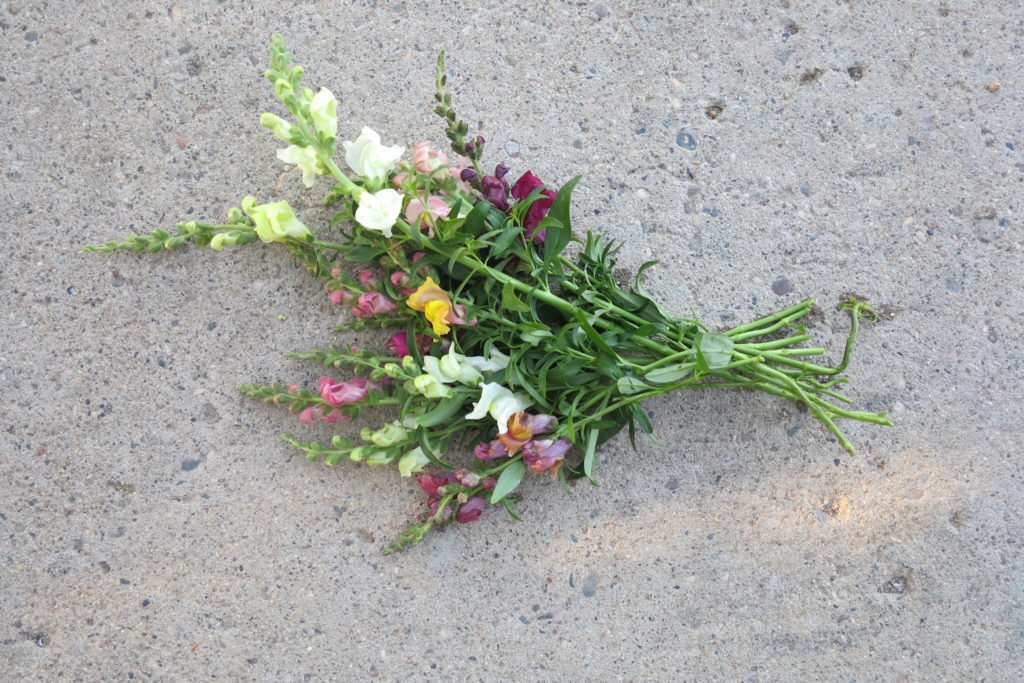
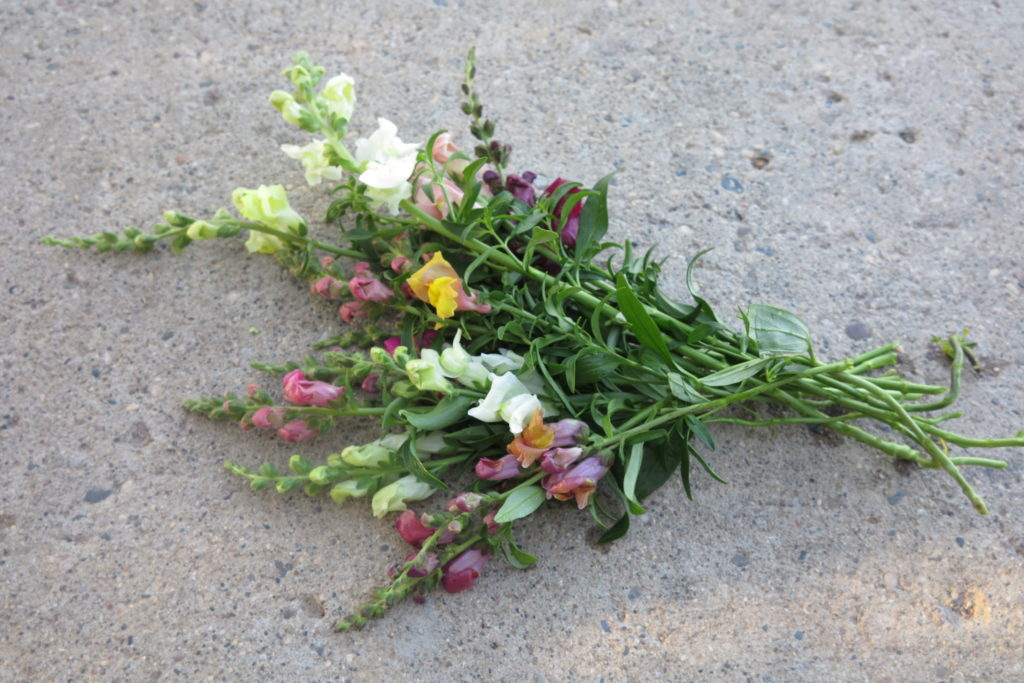
Summer is quickly passing…..it has been totally crazy around here. Here are some pictures of the gardens. The flowers are showing their stuff. It is so amazing that I grew most of these from a tiny little seed!!! The snapdragons keep rewarding me and coming back. This is the first year that I grew them and expected them to only last until the heat came.
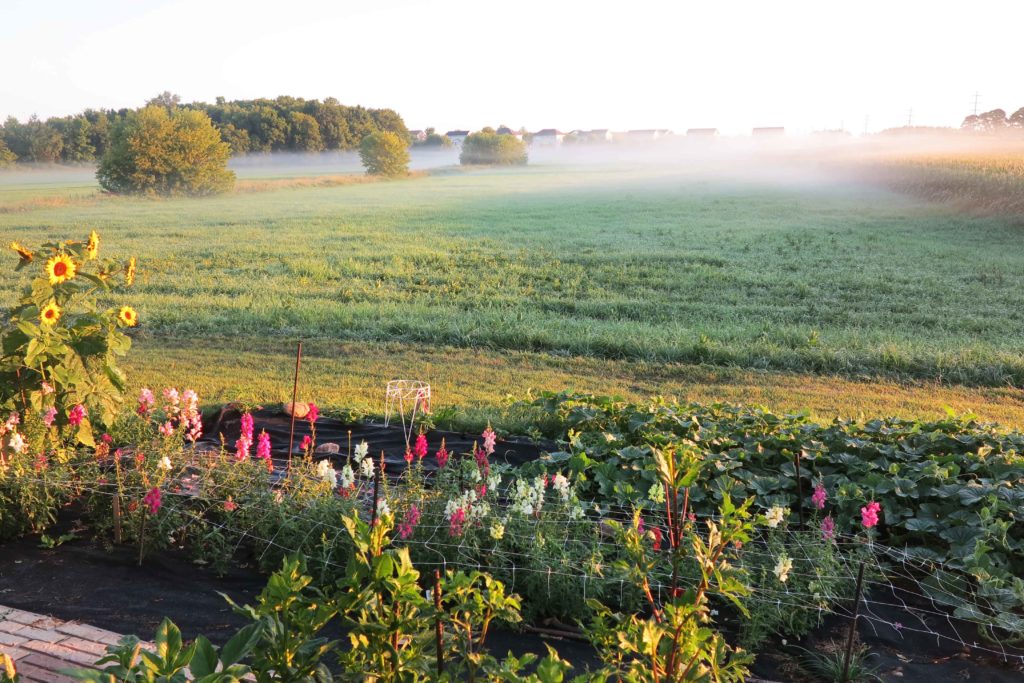
This picture was taken just as the fog was beginning to lift. The sunflower in the picture overwintered and I have been loving the blooms. Some have been way to big for a bouquet but the smaller ones are awesome.
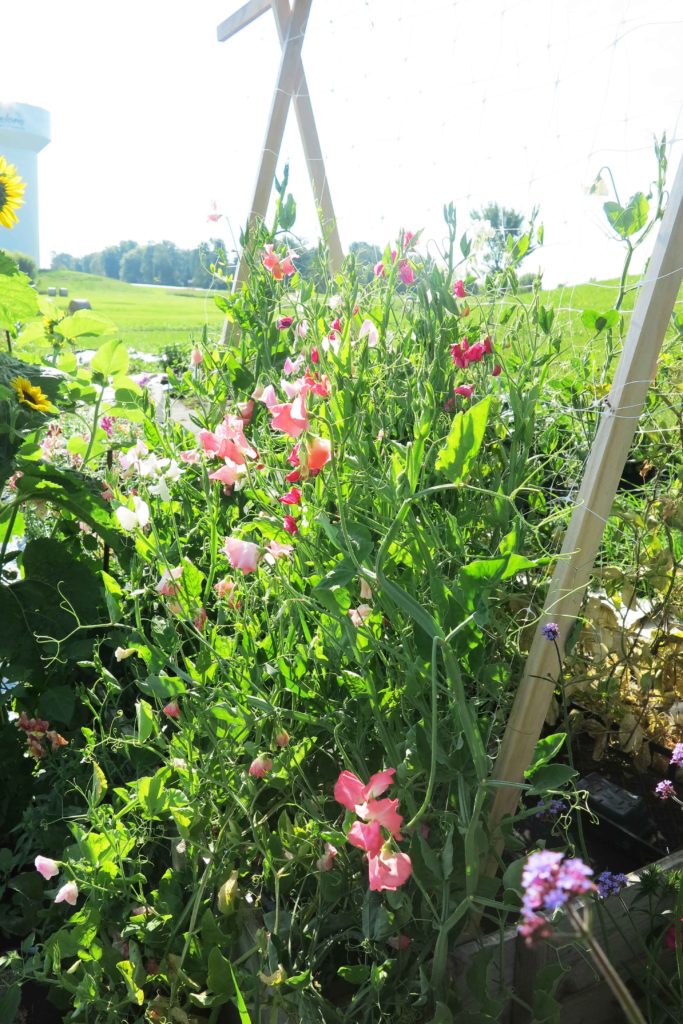
The sweet peas did great. They are fading now but the fragrance is still there!!

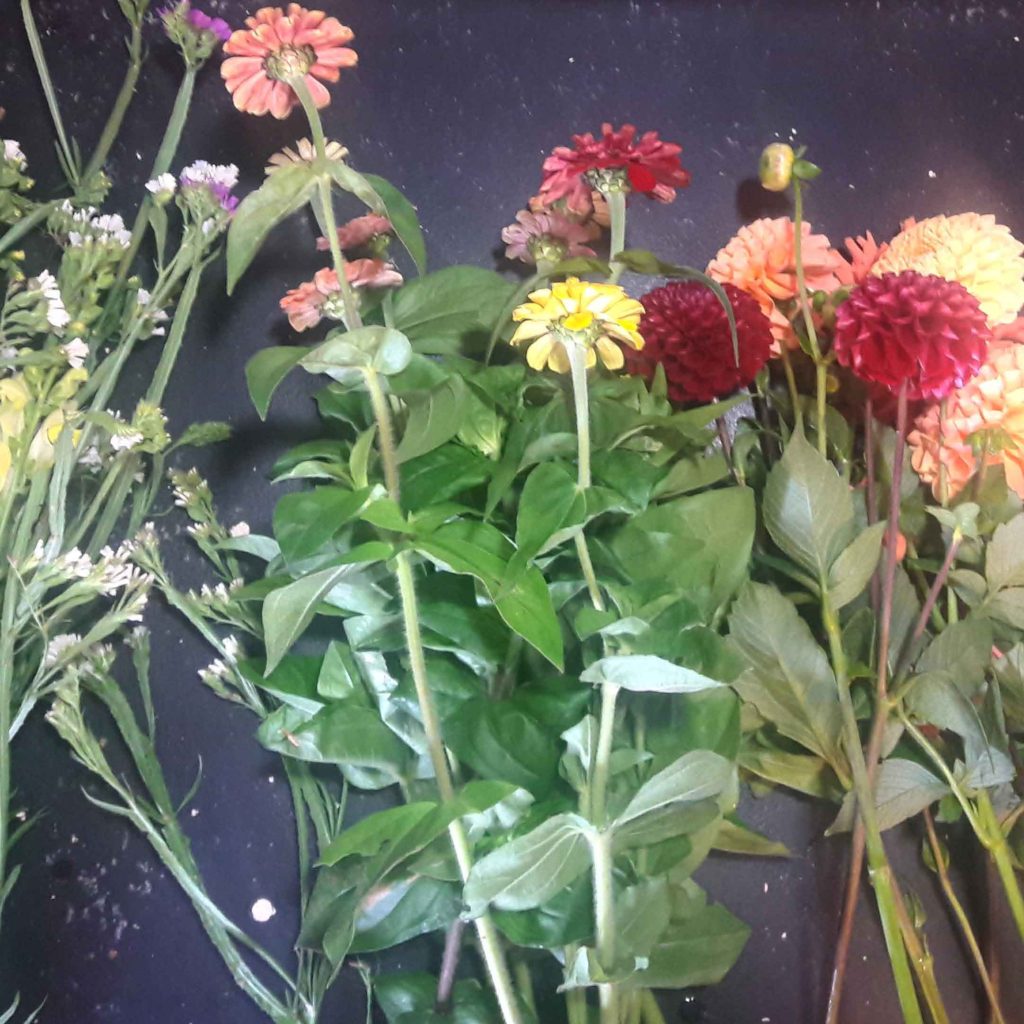
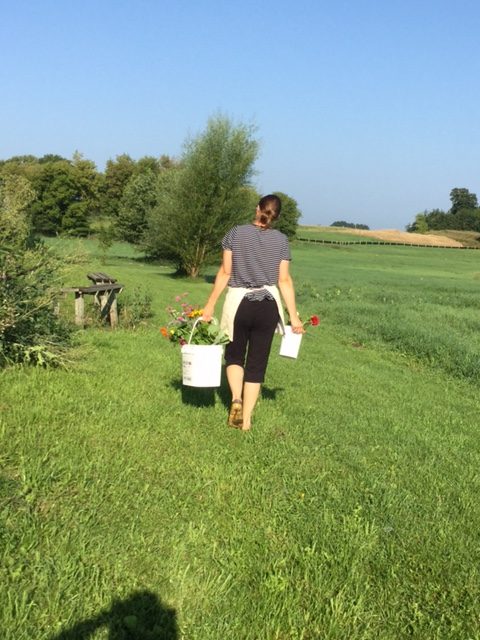
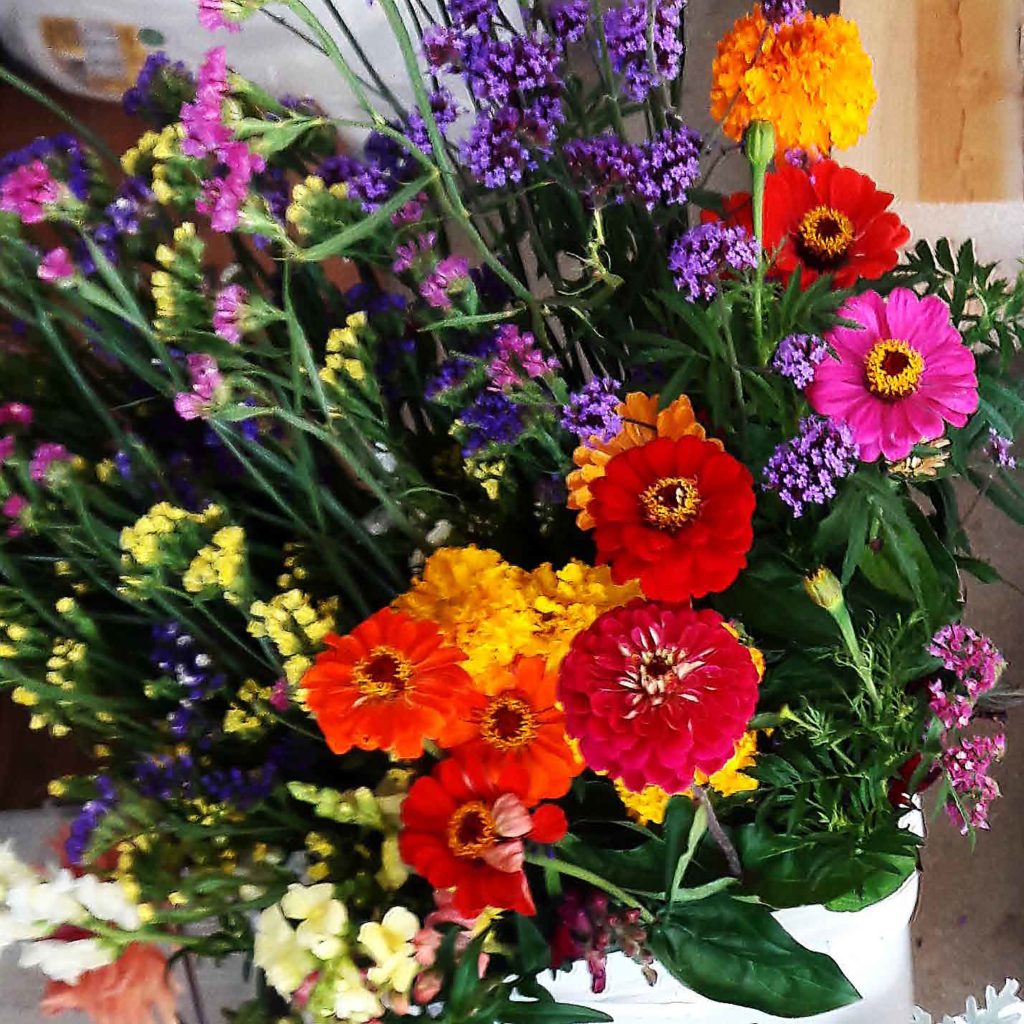
I never tire of seeing all the harvested blooms in a bucket. Notice the much needed coffee:) I try to cut early in the morning before the heat affects the blooms.
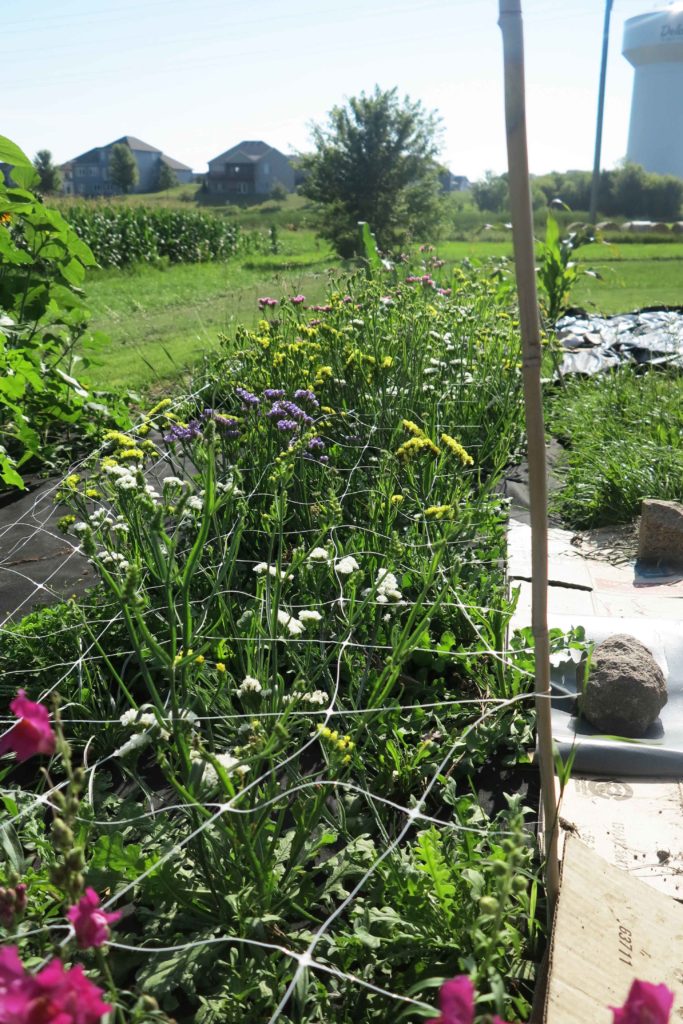
I am going to for sure plant statice again next year. I makes an awesome filler and dries awesome for dried bouquets.
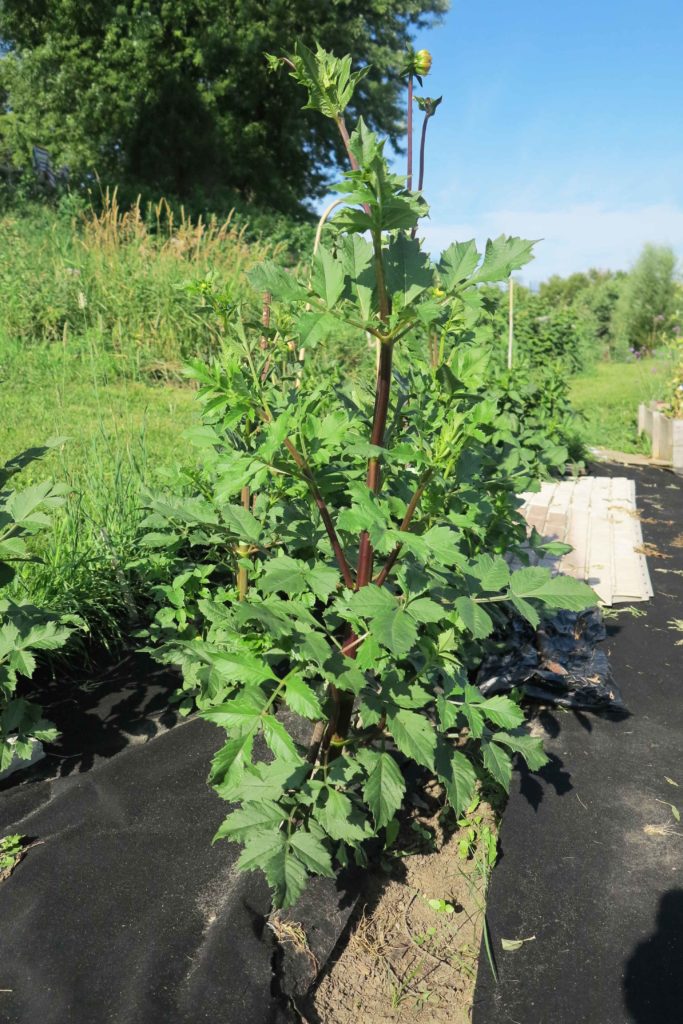
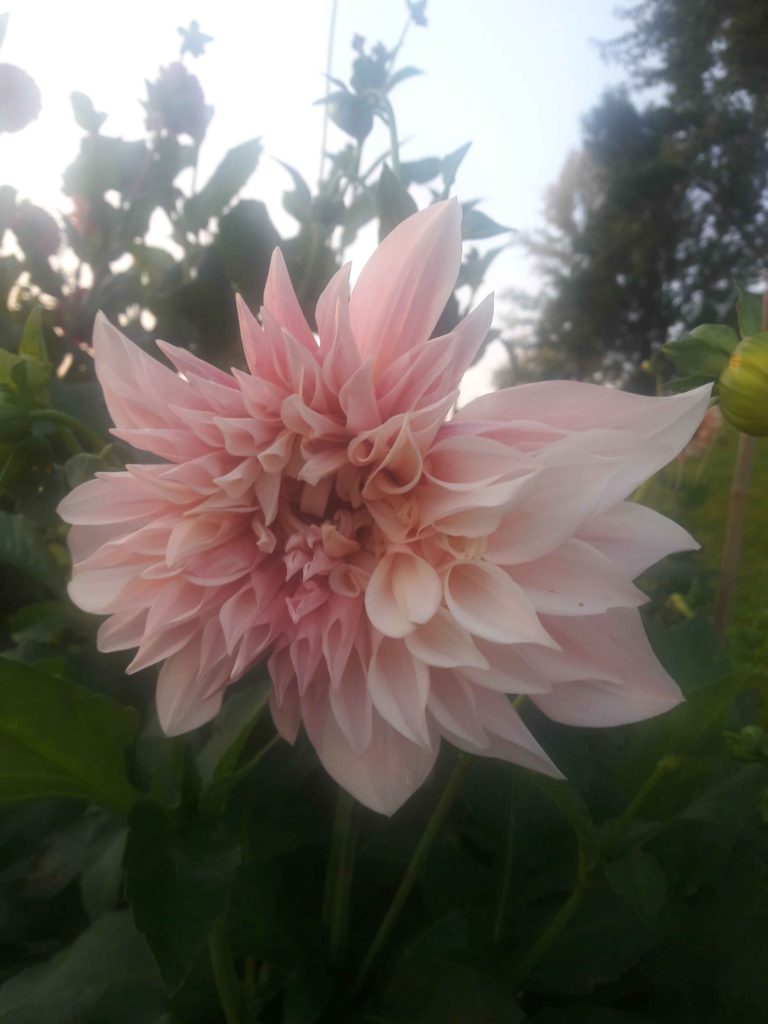
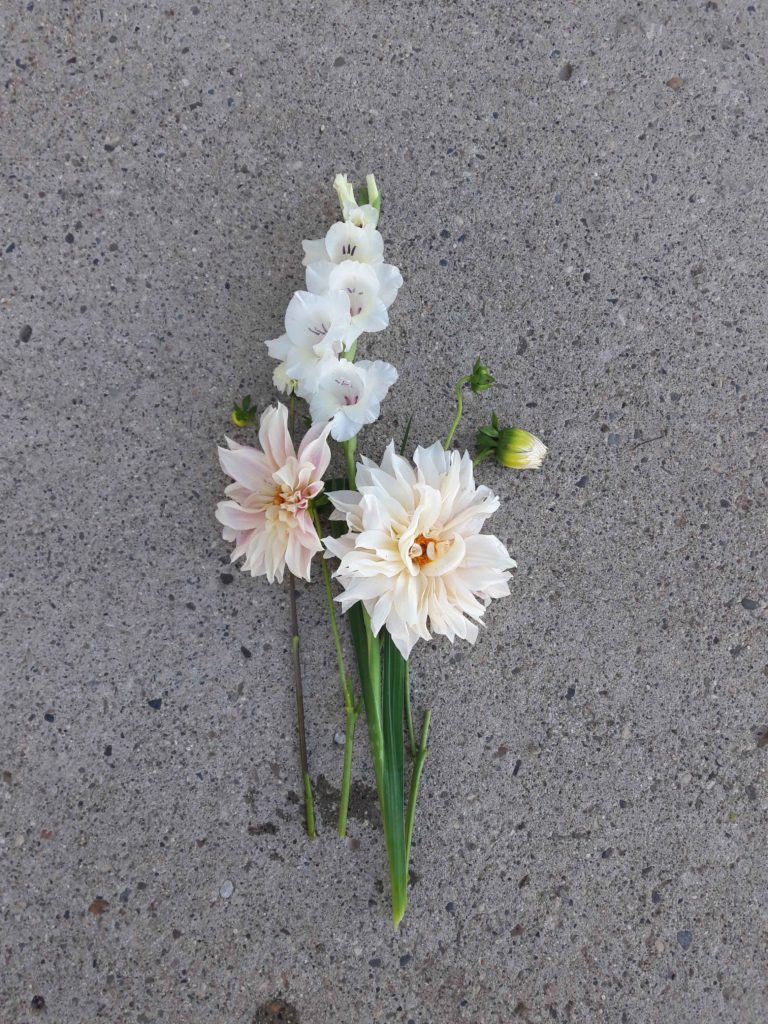
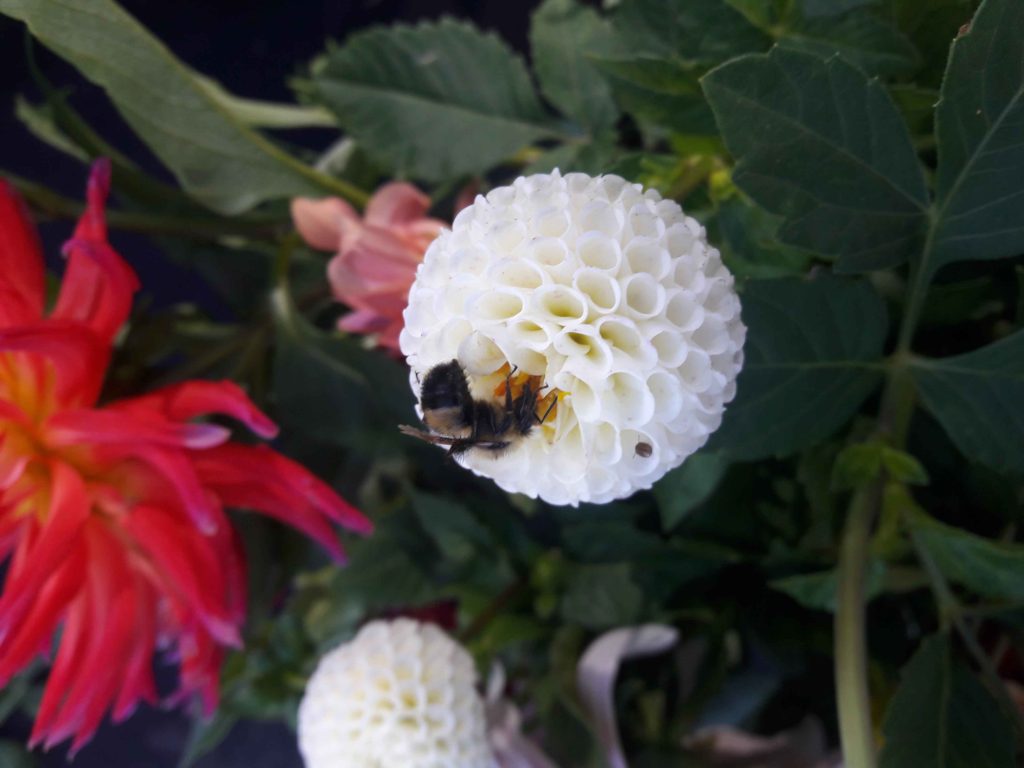
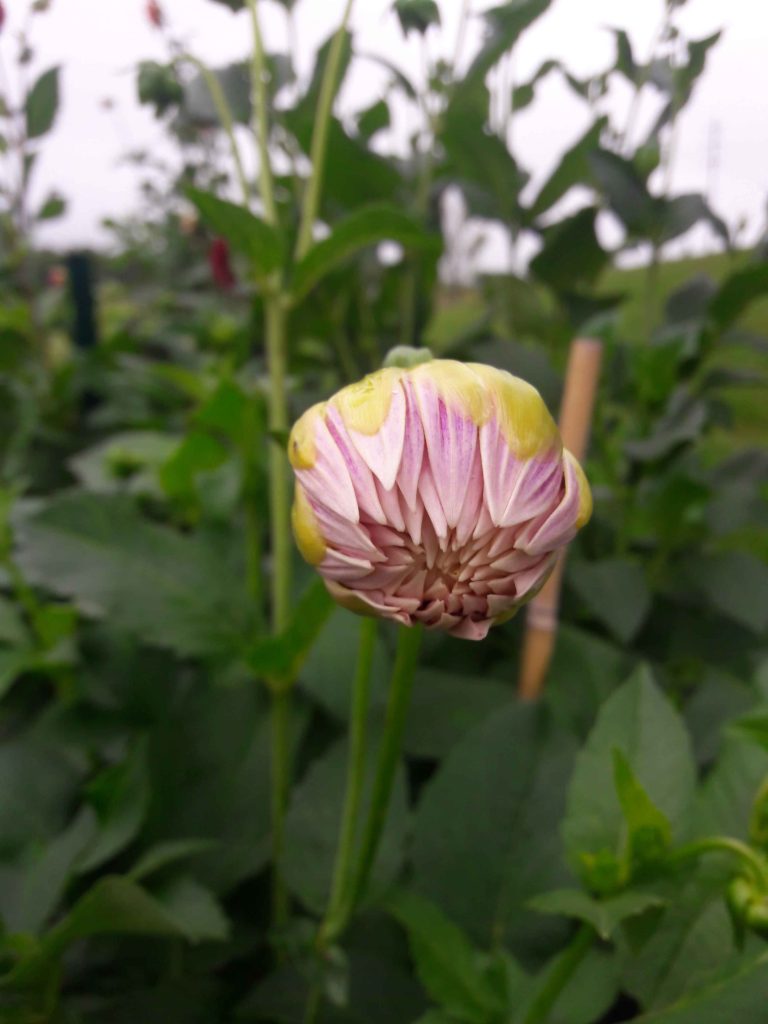
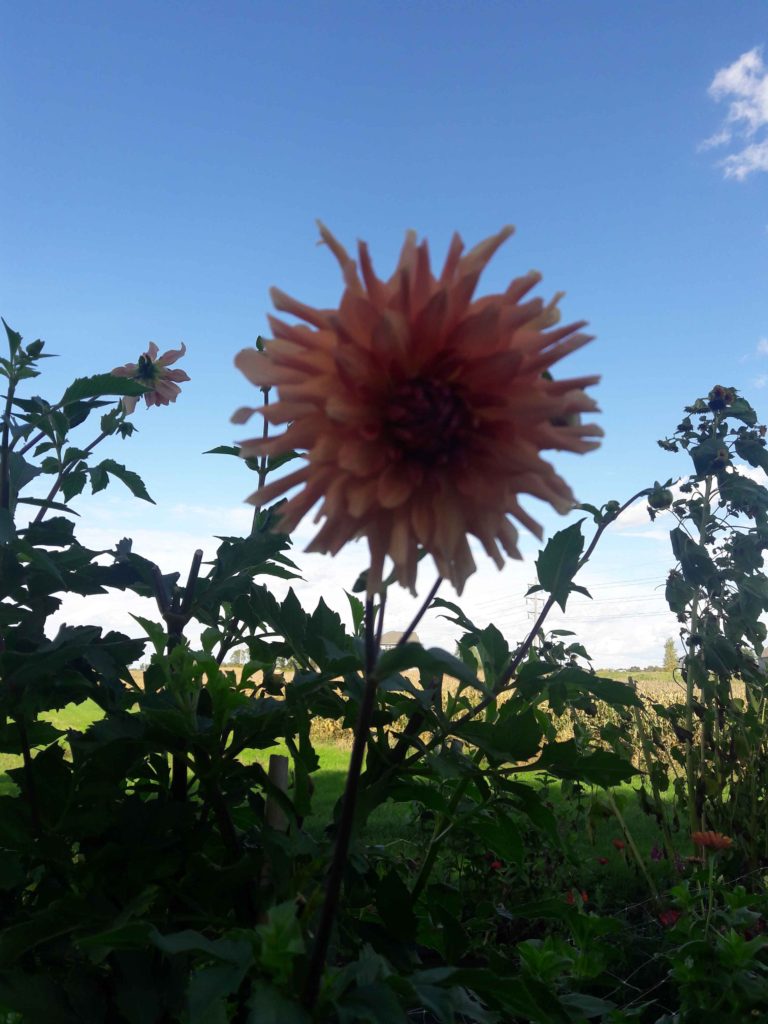
I absolutely love Dahlia’s. I bought these bulbs from Floret. All but 2 grew great. They are so amazing. You should do yourself a favor and plant at least one bulb next spring. My guess is that you will fall head over heels for them.
Hey, happy summer. It is flying by!!! It has been to long since I have posted anything for you all to read. I am so sorry:) We were on vacation and when I got home my flowers literally exploded. I totally missed the perfect window to bring 2 varieties down to the flower exchange in St Paul!! Oh well, better luck next year self!


actually to tell you the truth, these pictures are a few weeks old. I am headed out with my trusty canon right now to capture some more…….hopefully post those early next week with a little more explanation about what you are looking at. I am hoping to do my first farmers market on Saturday… stay tuned:)
Hi, its been awhile. I thought I would do a quick flower farm update. It has been a learning curve for sure. I think I have flowers on my mind 24/7. I hope you enjoy all the pictures.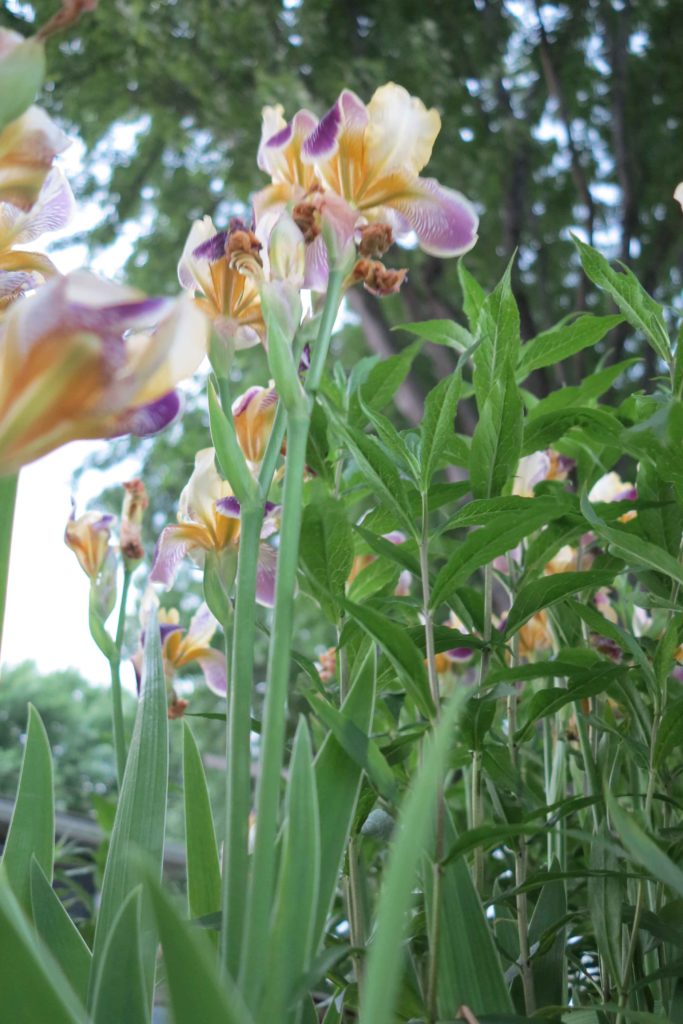 Here are some lovely iris’. I have a whole new appreciation for this old-fashioned flower!! They have such an amazing scent!!
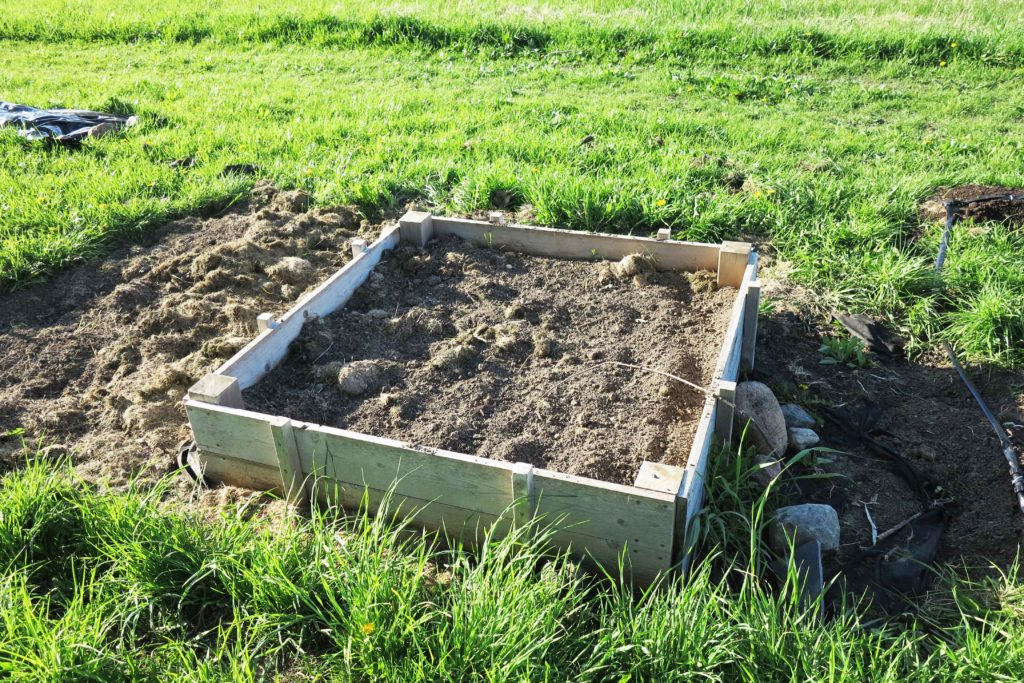
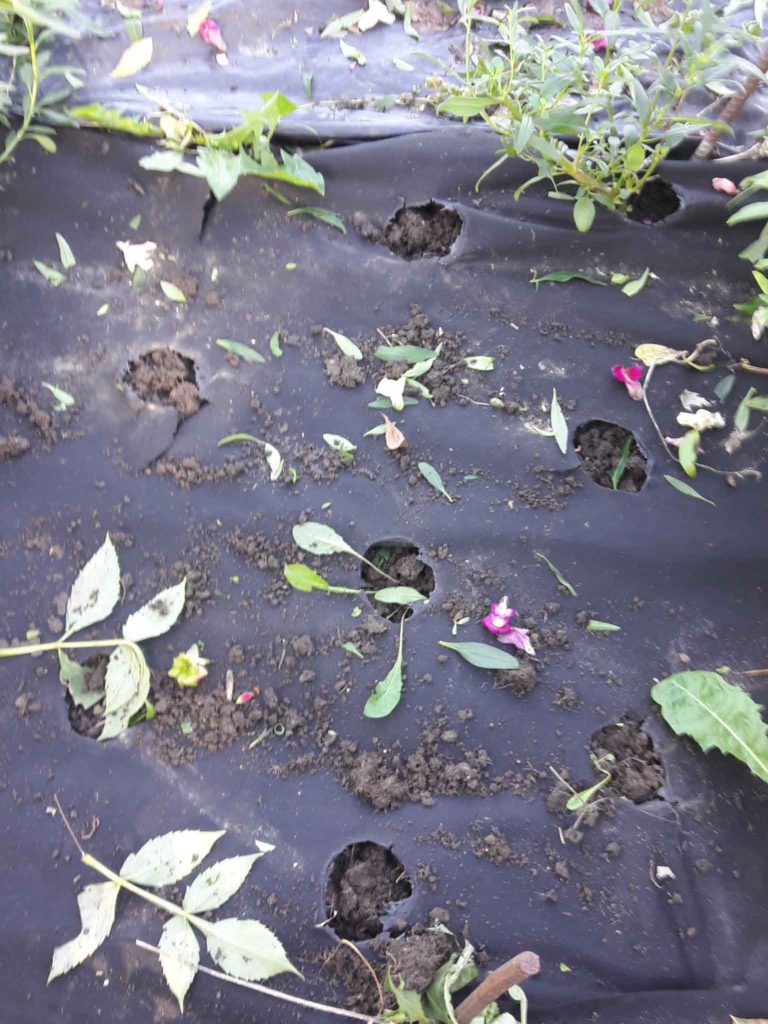
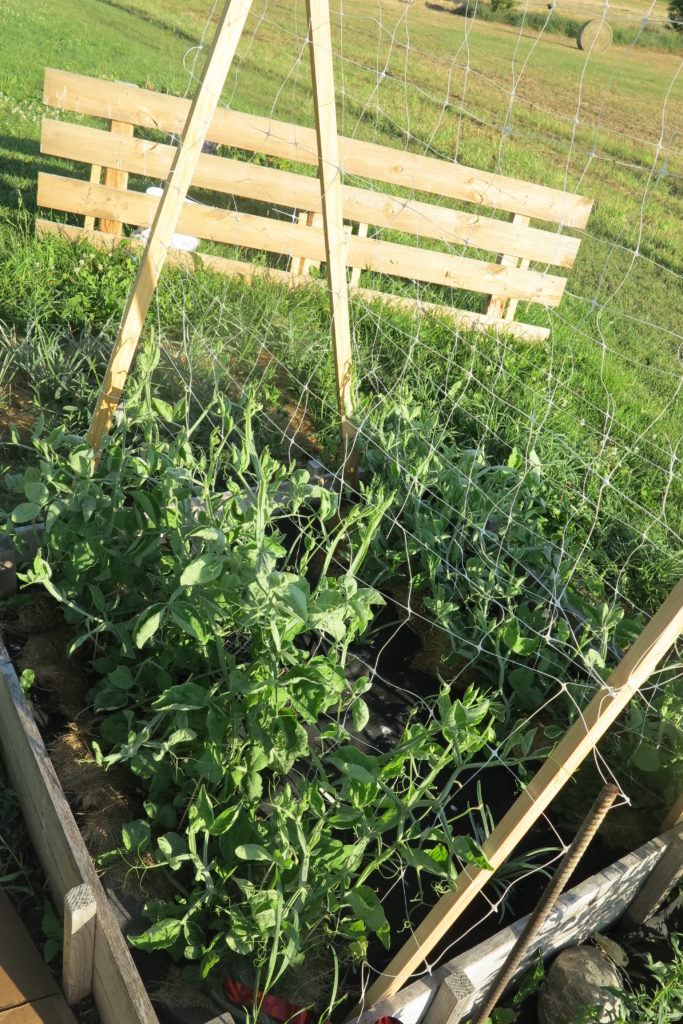
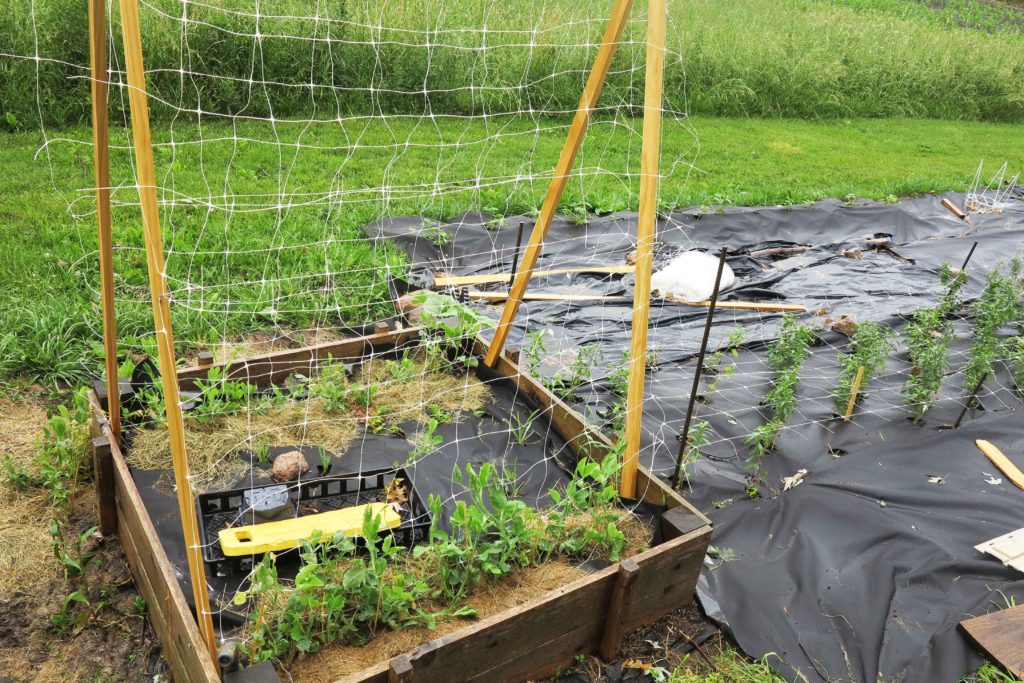 This little raised bed is where I have planted my sweet peas. I didn’t realize that they had such an attitude. I am thinking that they are a little behind then most so I am not sure if I am going to get any flowers from them or not. Lesson for next year. Do not start inside as early, they got a little leggy and plant them out a little earlier in the season…….and give them a little cover.
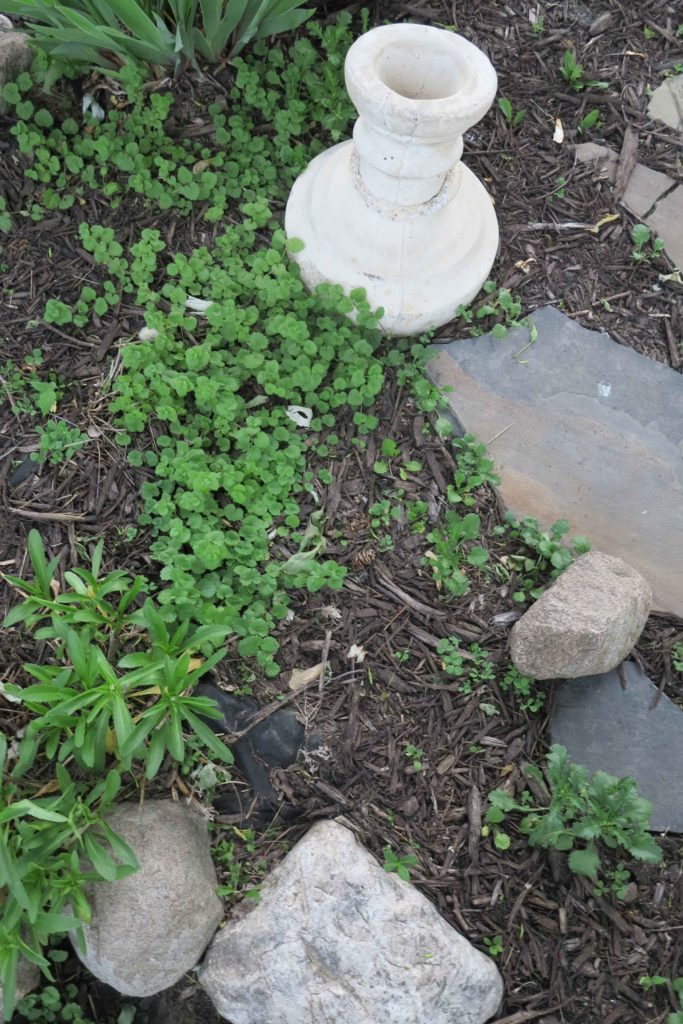
 This is just a random shot of my side garden. I am loving the spreading Sedum.
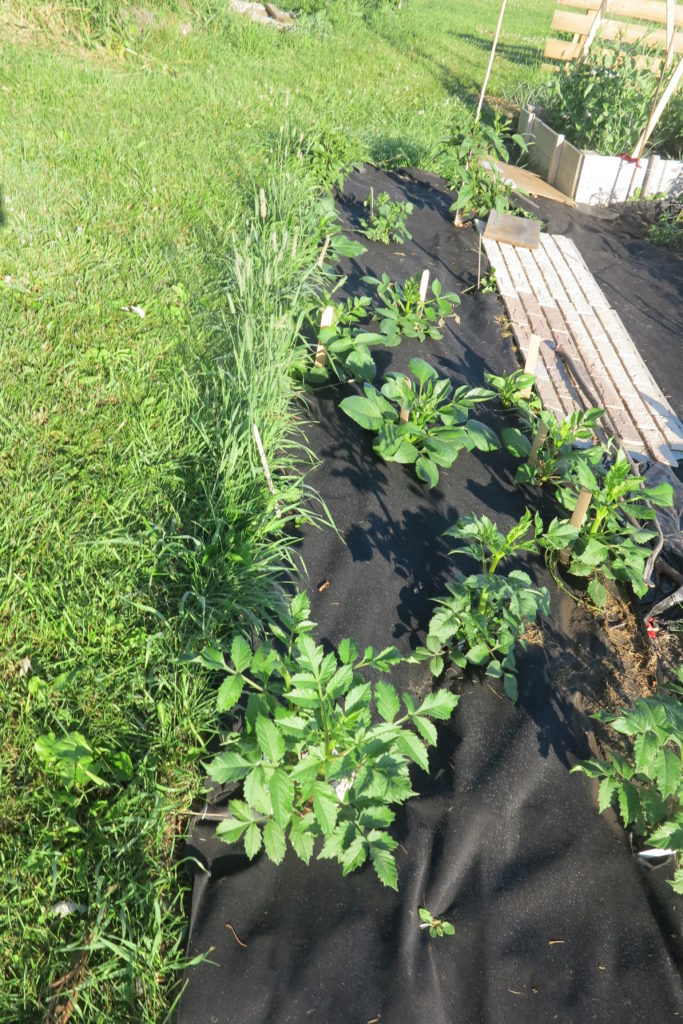
 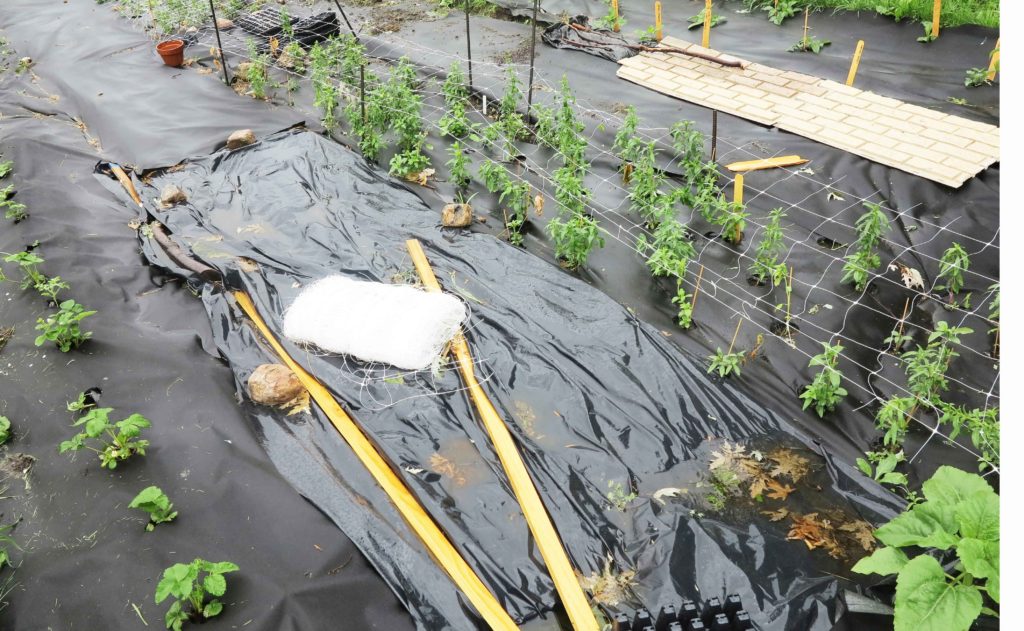 Here is a peek of the snapdragon and the strawberries. Both are growing slowly. I think I will get a few berries this year. Like with the sweet peas….some lessons learned with the snaps, therefor I will take notes and hopefully learn from my mistakes.
 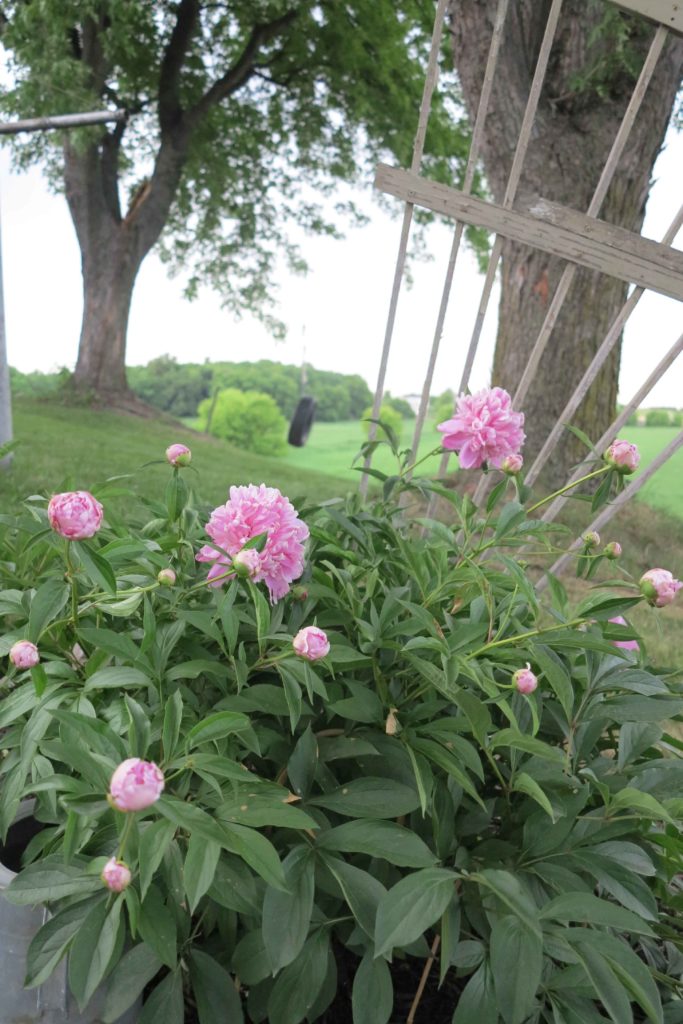 My peony bush in bloom and they smelled so heavenly. I am hoping to plant a bunch more of these wonderful shrubs this fall. I will have to wait a few years to get many blooms but it will be worth it.
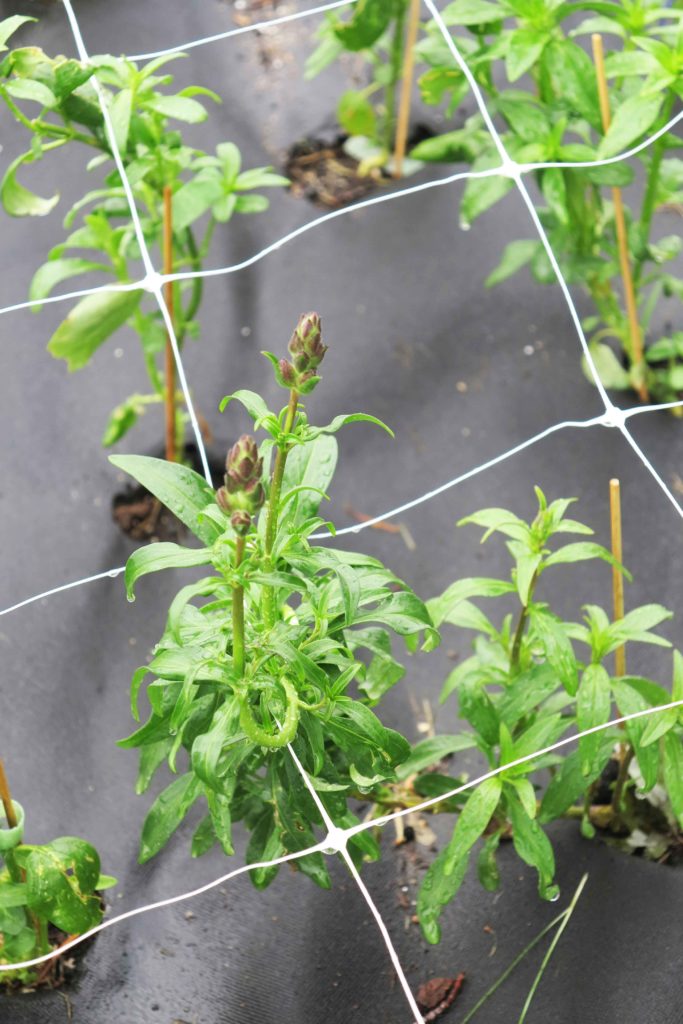 This is a snap of a snap. My first blooming one!!! So exciting even if it is slightly bent.
 Bloom number 2….also bent out of shape:)
 The dusty miller is doing pretty good. I think I need to start these a little earlier next year.
Wrap up
I have had a little tiny experience with hail and crops…..we had a hail storm come through and it shredded leaves on my tiny wonders…it was so disappointing. My hydrangea shrubs and dogwoods suffered leaf damage also. I am holding my breath that I have quite a few blooms in a few weeks. I have my first delivery to Mama’s Happy in Independence Mn.
Hey there! Here is my first post of ” A note, a quote, a bloat” Periodically I will be listing a fun fact about flowers, a notable quote and a bloat ( aka a joke).

NOTE
Did you know that dandelions are a good source of vitamins? Yes those lovely yellow weeds that poke their heads up at once! The are actually high in vitamin A and C. Who would have thought. Just think….here we are spraying them with all kinds of stuff trying to get rid of them….well now just add them to your salad.. Is it the greens or the flower? According to this article, it sounds like the root, the leaves and the flower all have value.
QUOTE
A weed is a plant that has mastered every survival skill except for learning how to grow in rows. Doug Larson
BLOAT
I went to the zoo on Sunday afternoon, and I was suddenly surrounded by lions! Hundreds of them.
Well not lions….dandilions!!
