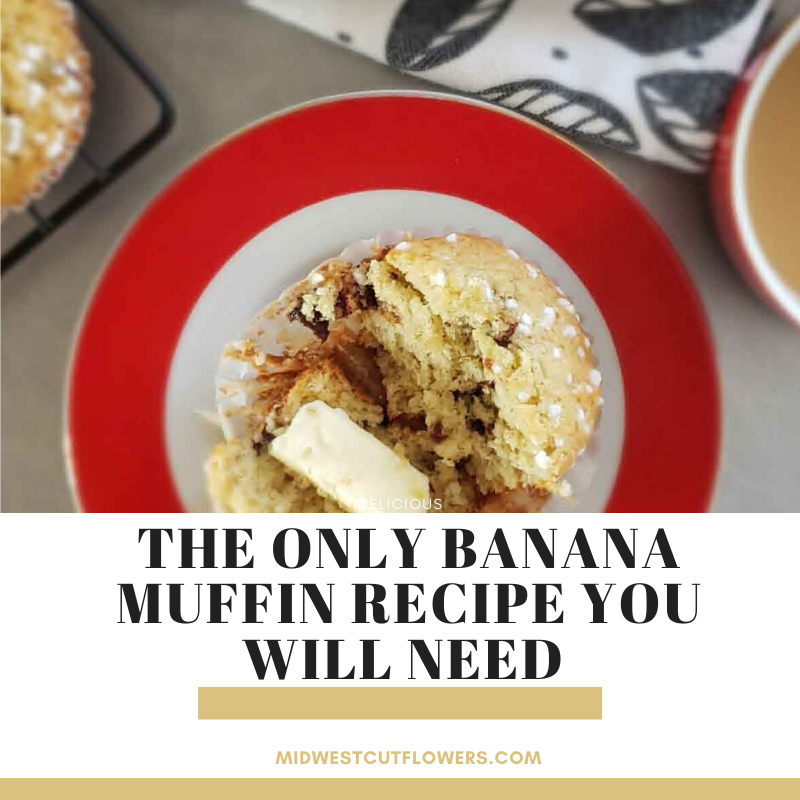
So who likes a rotten banana? Not my kids, but they will sure gobble up these banana muffins. This is the only recipe for banana muffins that you will need. I promise. They turn out every time, or 98% of the time. I suppose I should leave a 2% margin of error.
Supplies
- muffin tins
- paper muffin cups
- mixer
- spatula
- measuring cups
- measuring spoons
- mixing spoons
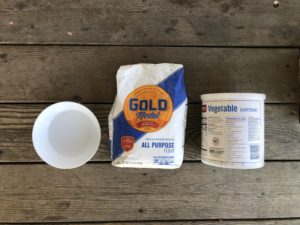
Ingredients
- all purpose flour
- rotten (ripe) bananas
- granulated sugar
- butter
- eggs
- baking soda
- baking powder
- salt
- chocolate chips
- sour cream
- brown sugar
How to make banana muffins
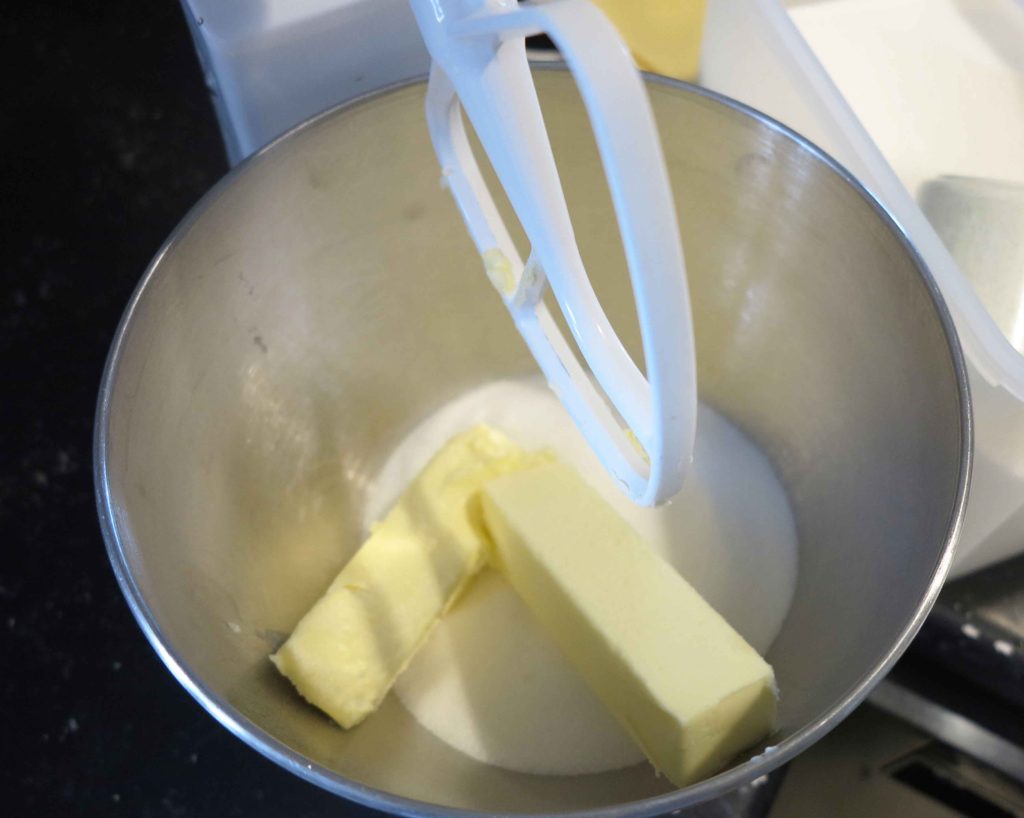
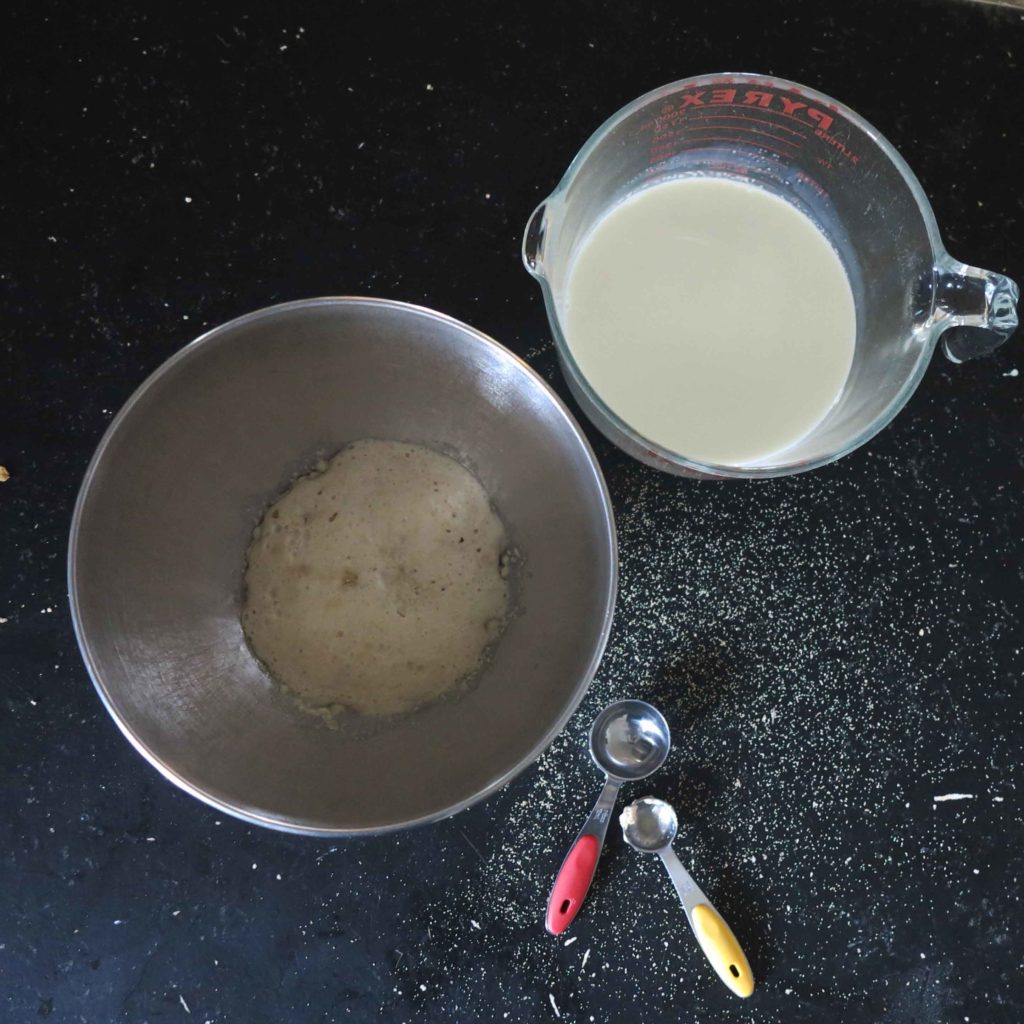
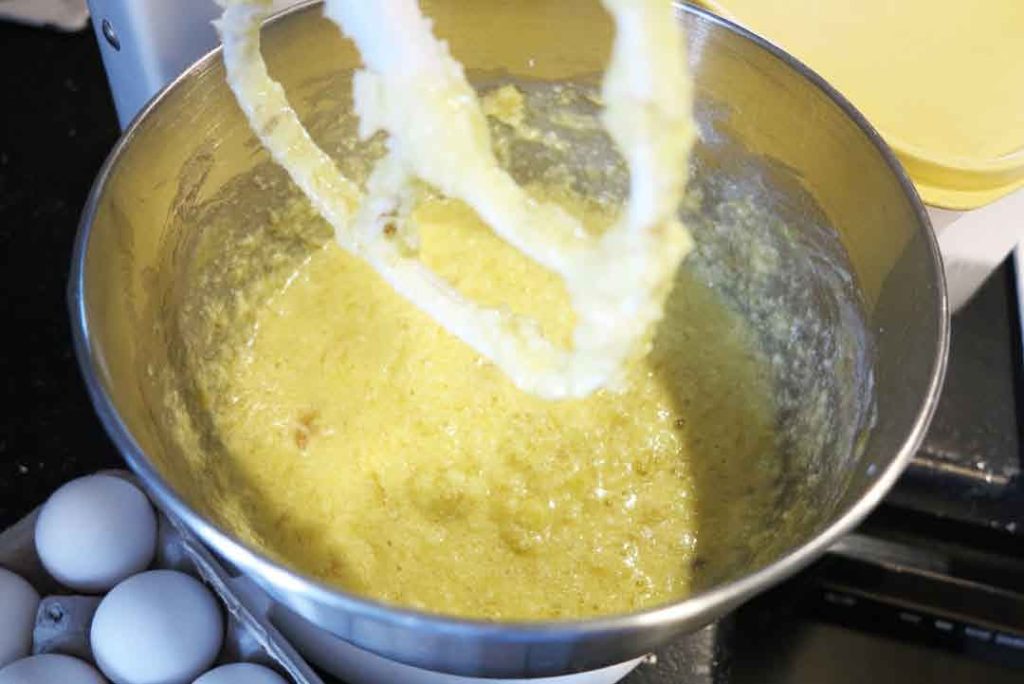
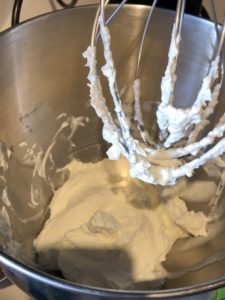
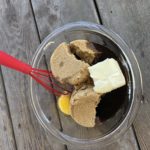
Cream together butter and sugar until creamy
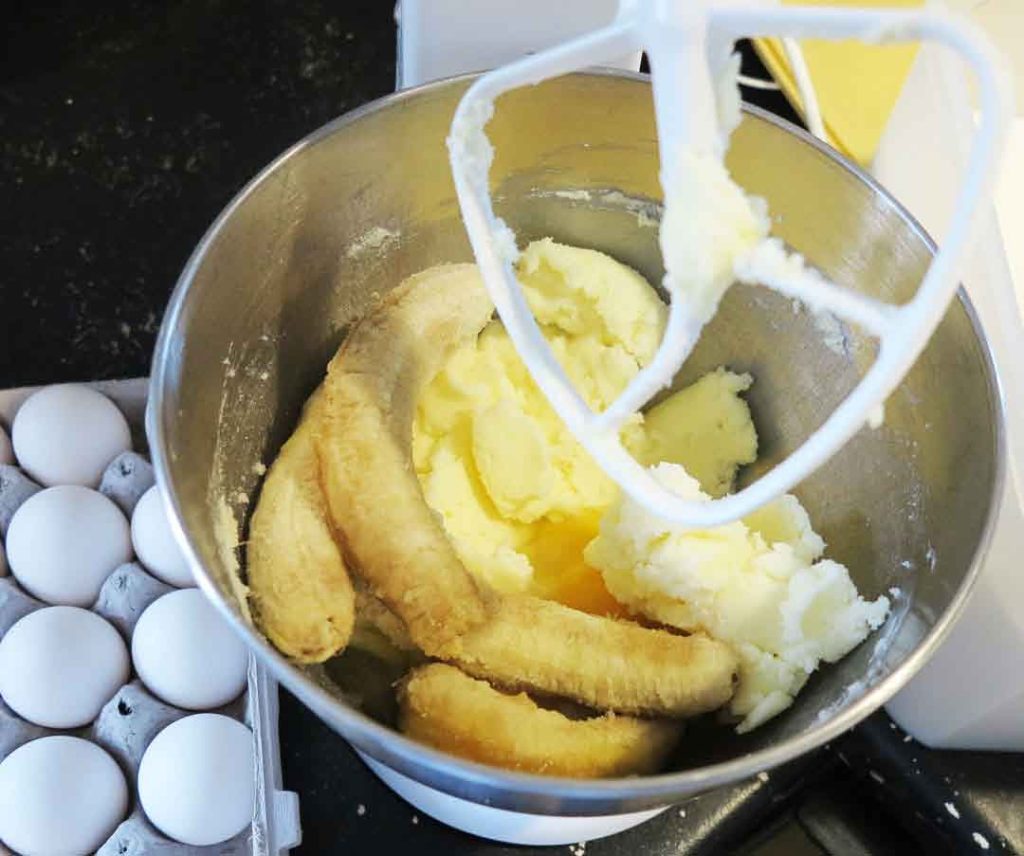
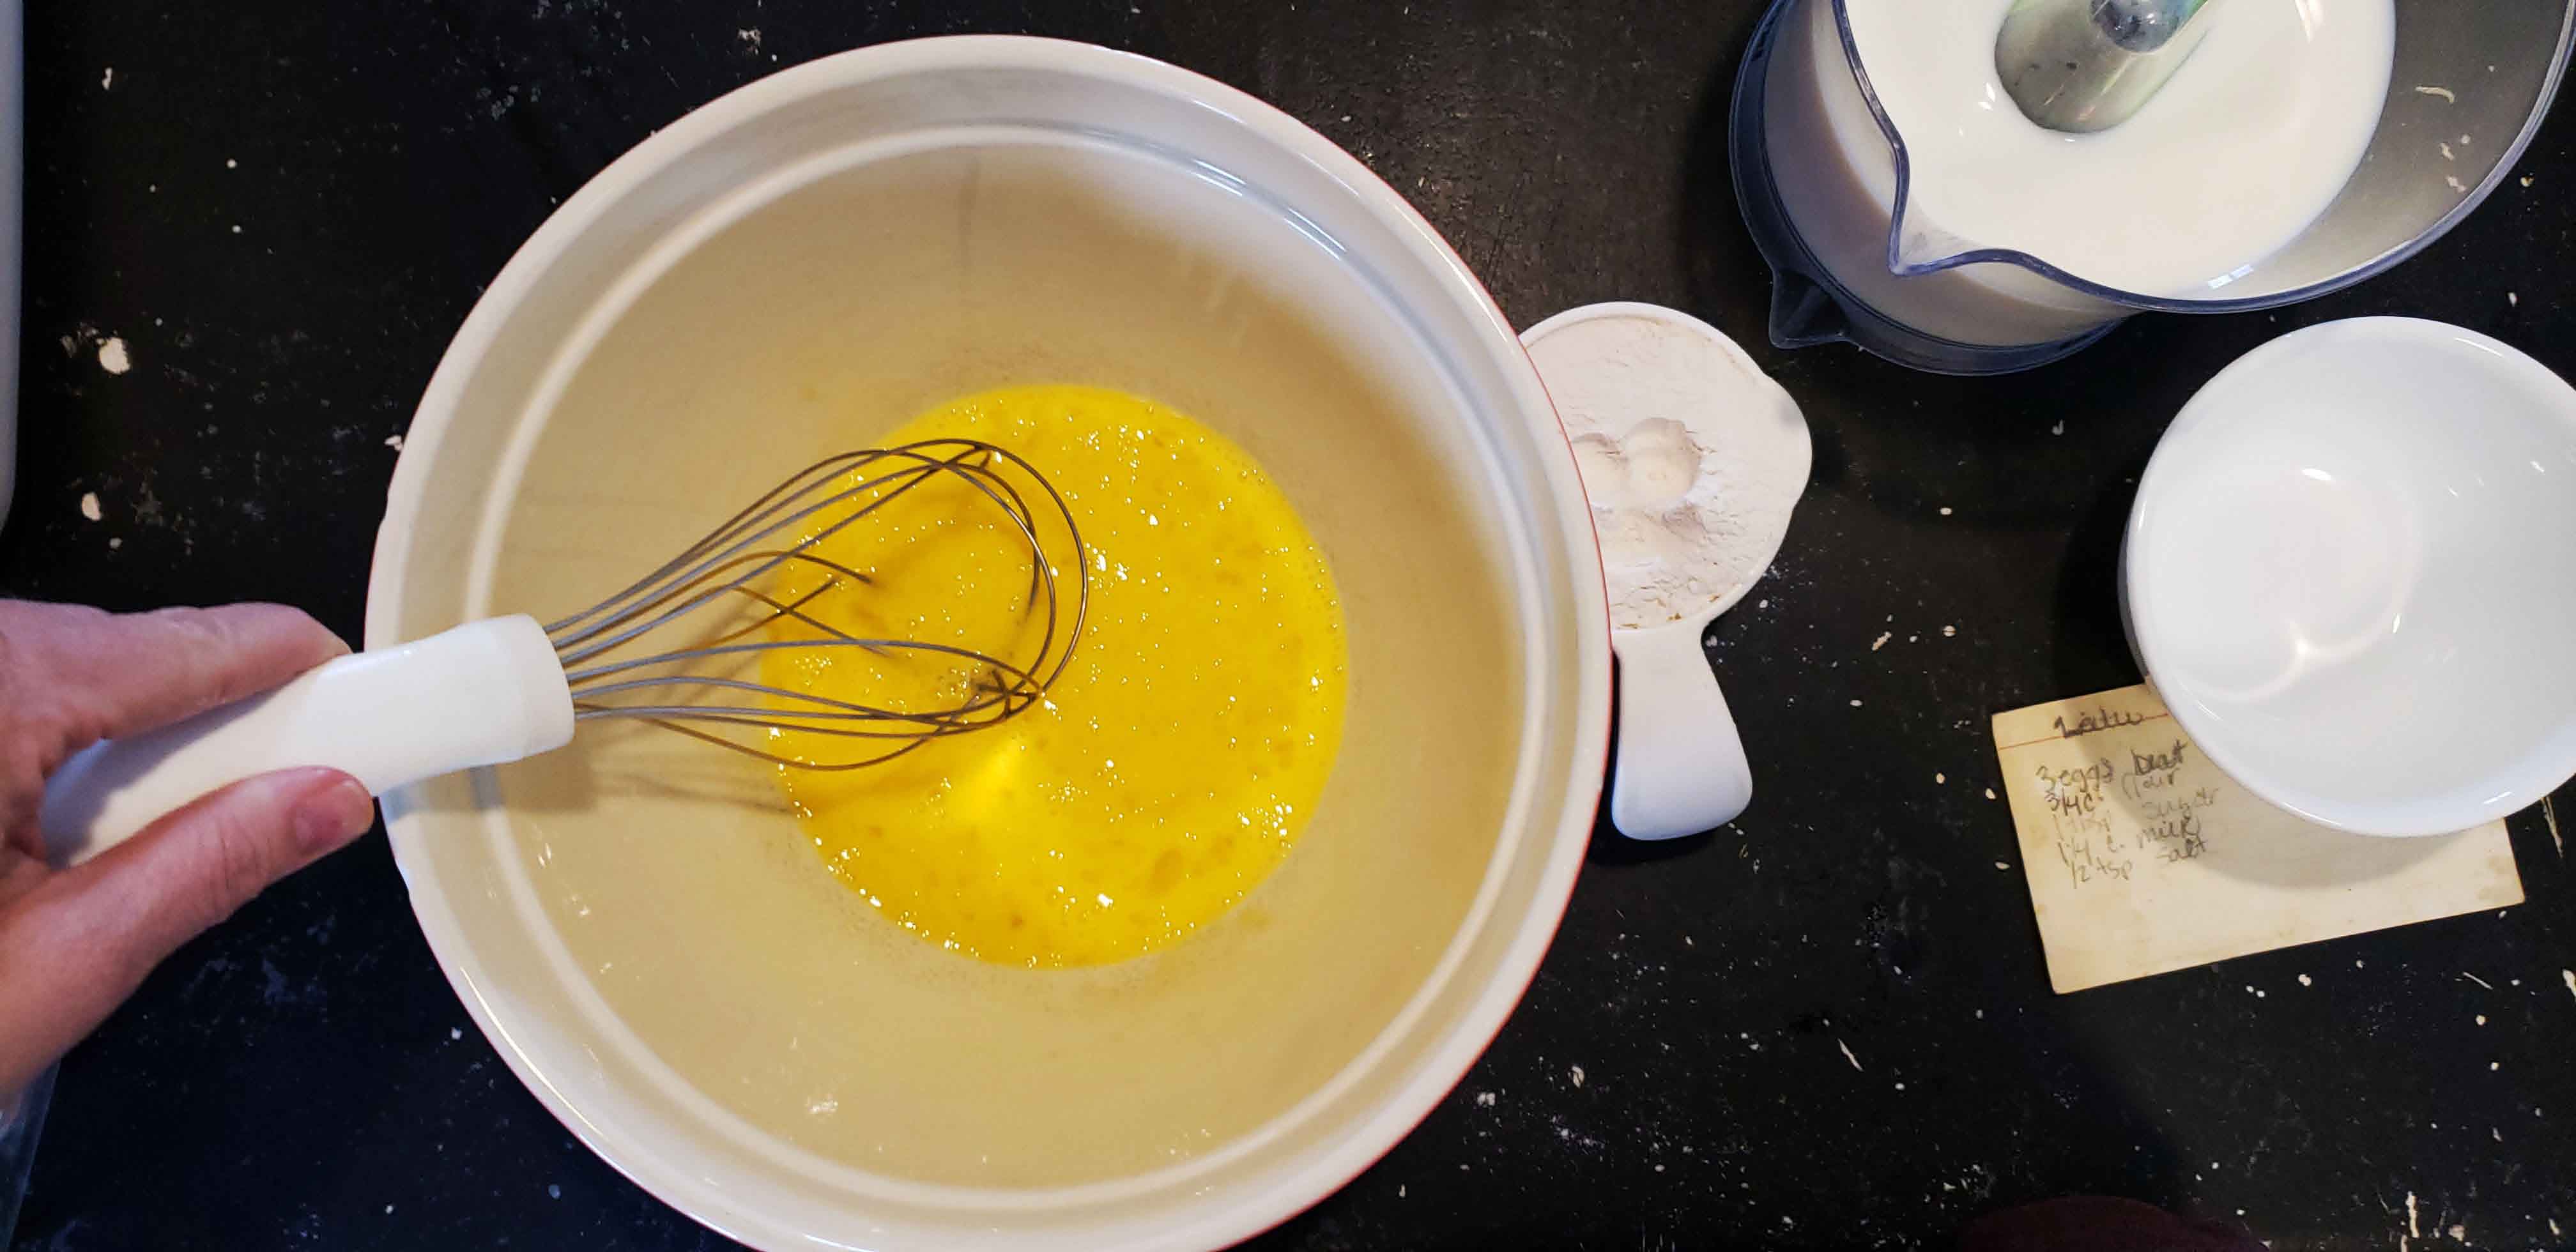
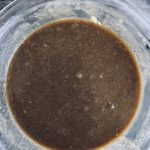
Add the ripe bananas and eggs. Mix well
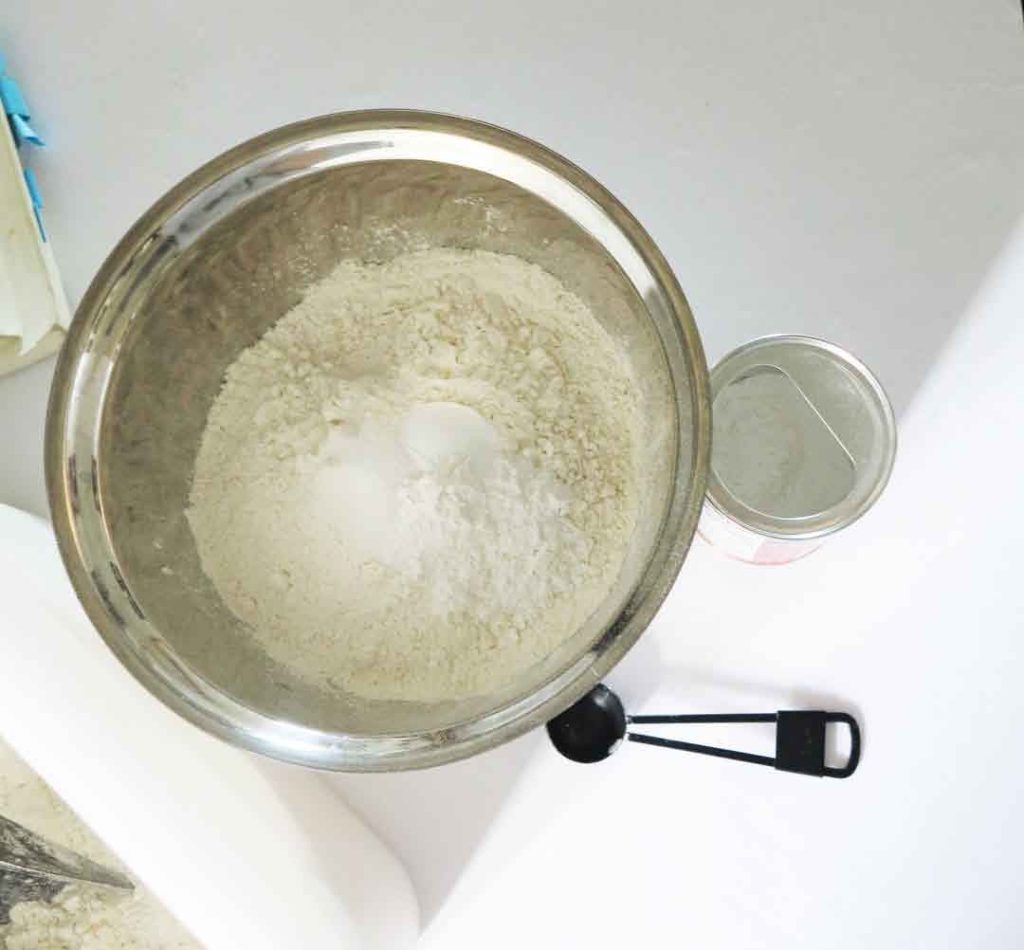
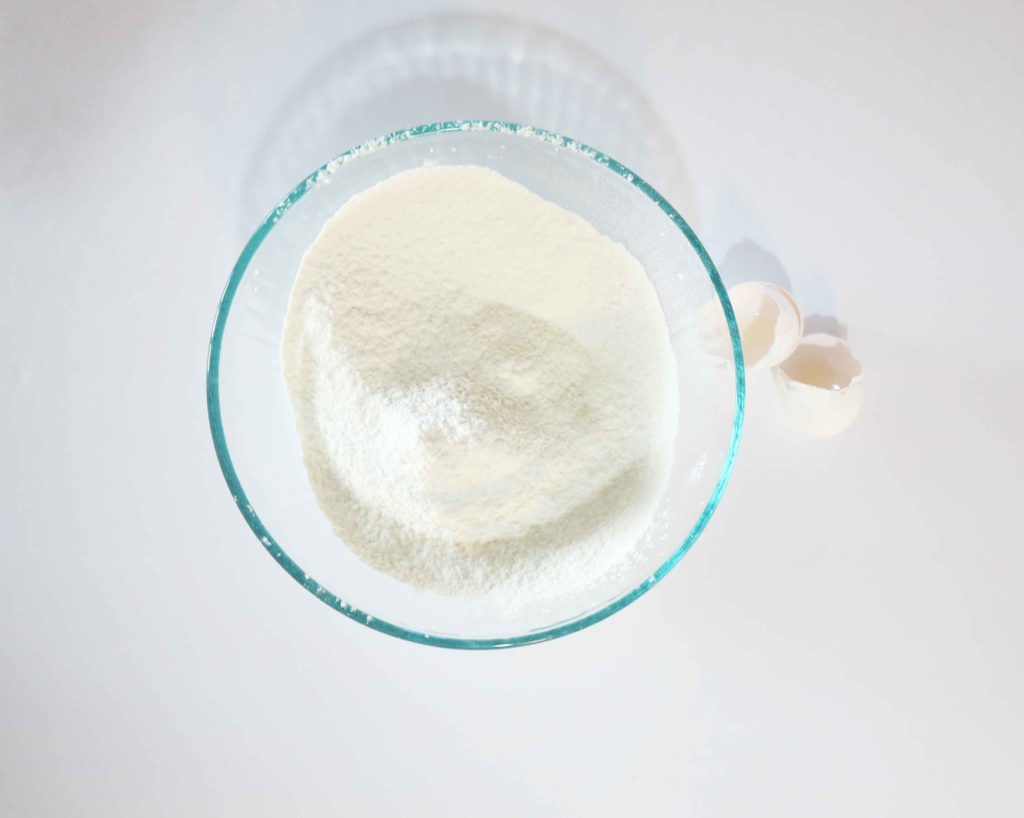
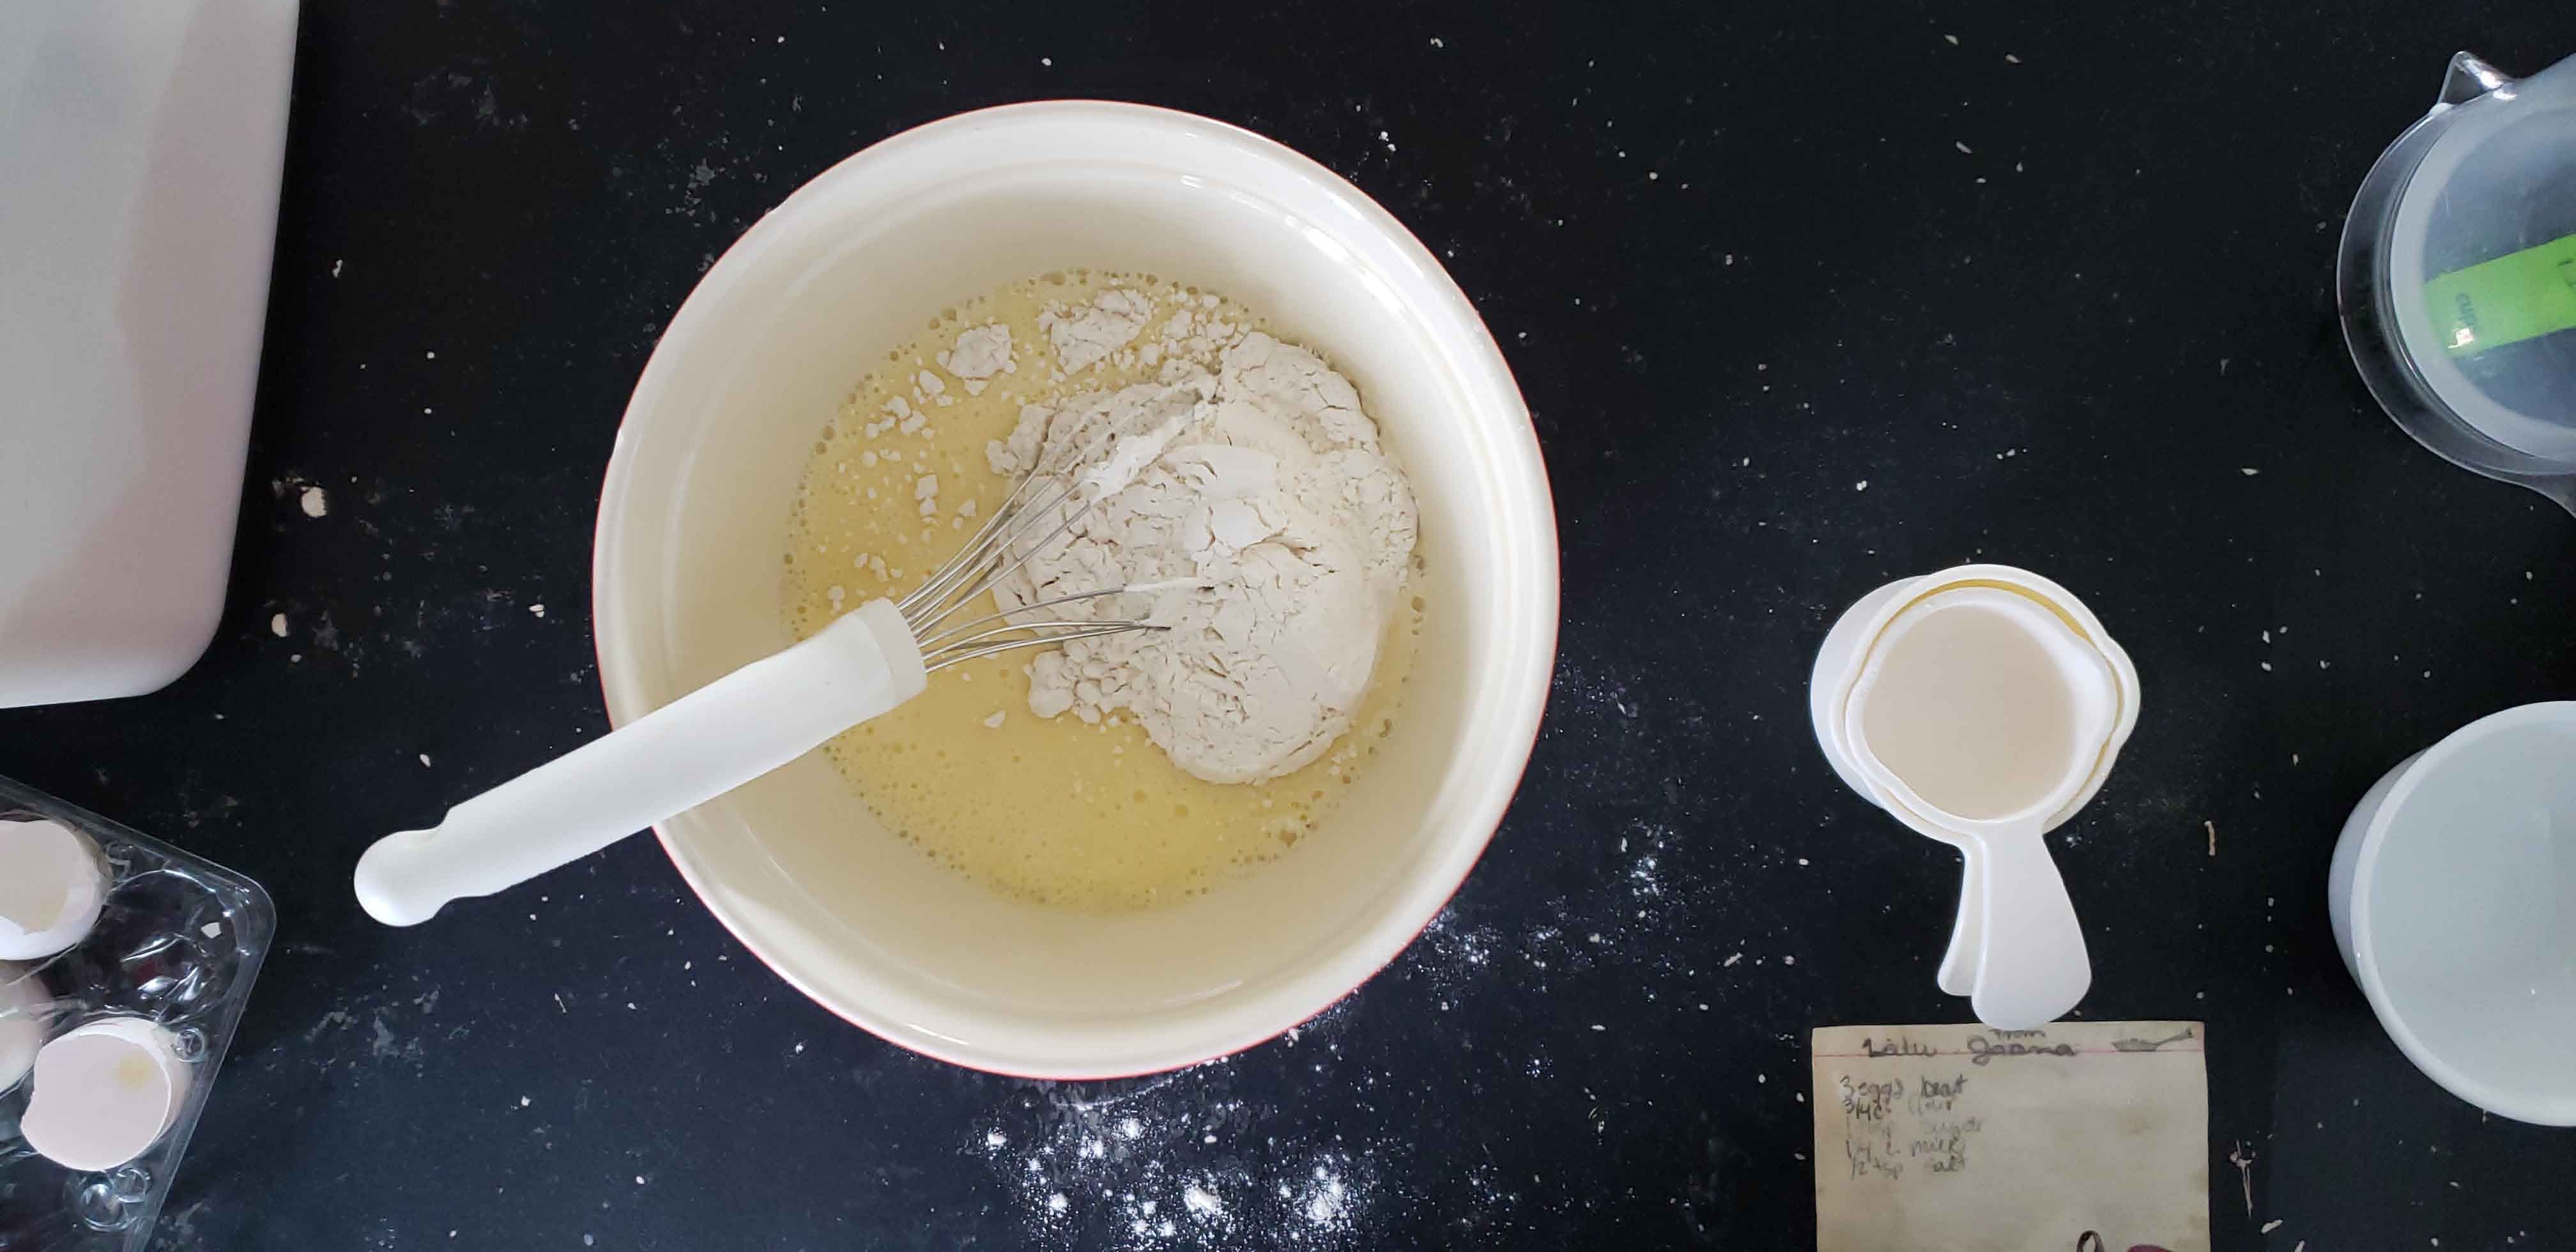
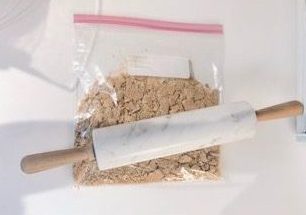
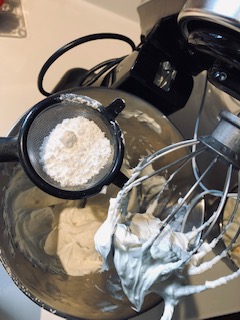
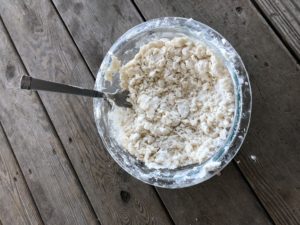
In a medium sized bowl. Add all the dry ingredients and mix together.
Add dry ingredients into the mixing bowl with and mix until combined. Mix for 1-2 minutes on medium speed until batter is light and fluffy.
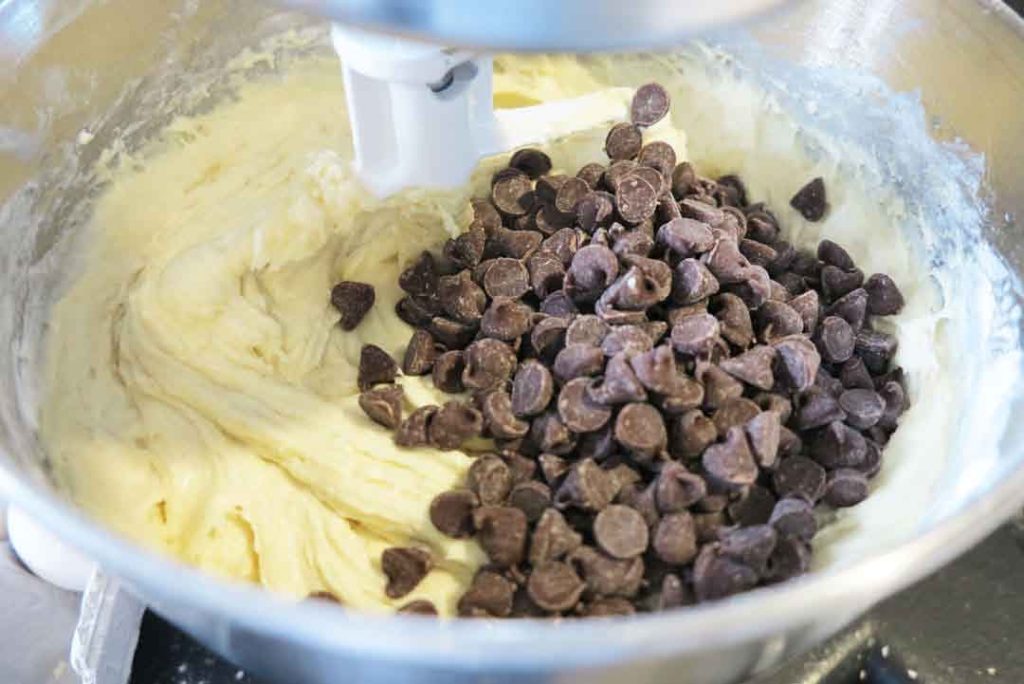
Add the sour cream. Mix until blended then mix in the chocolate chips.
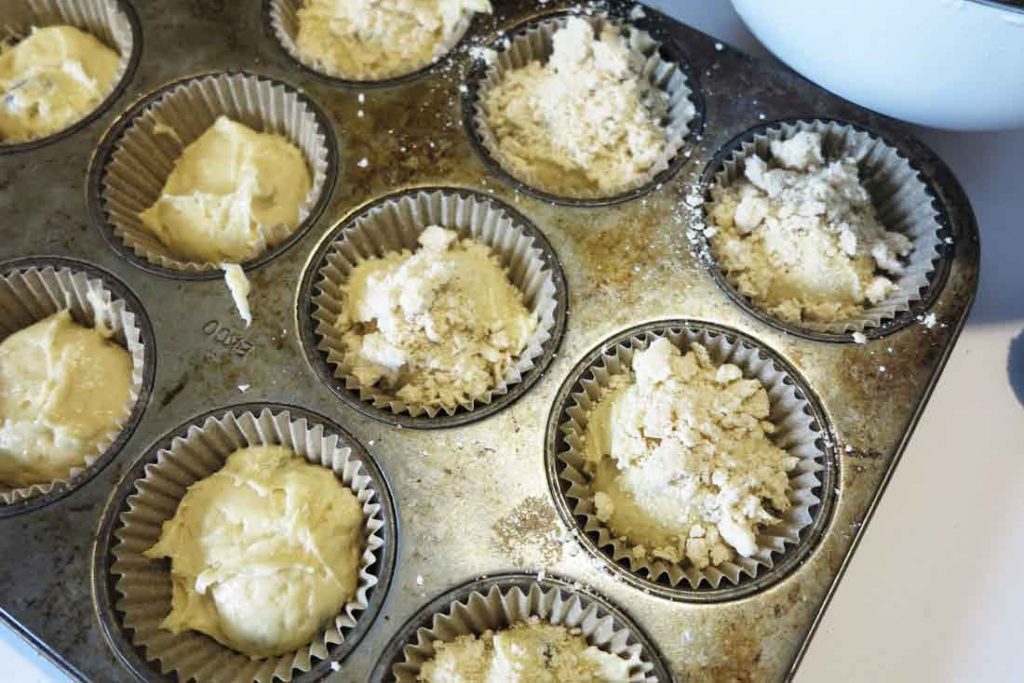
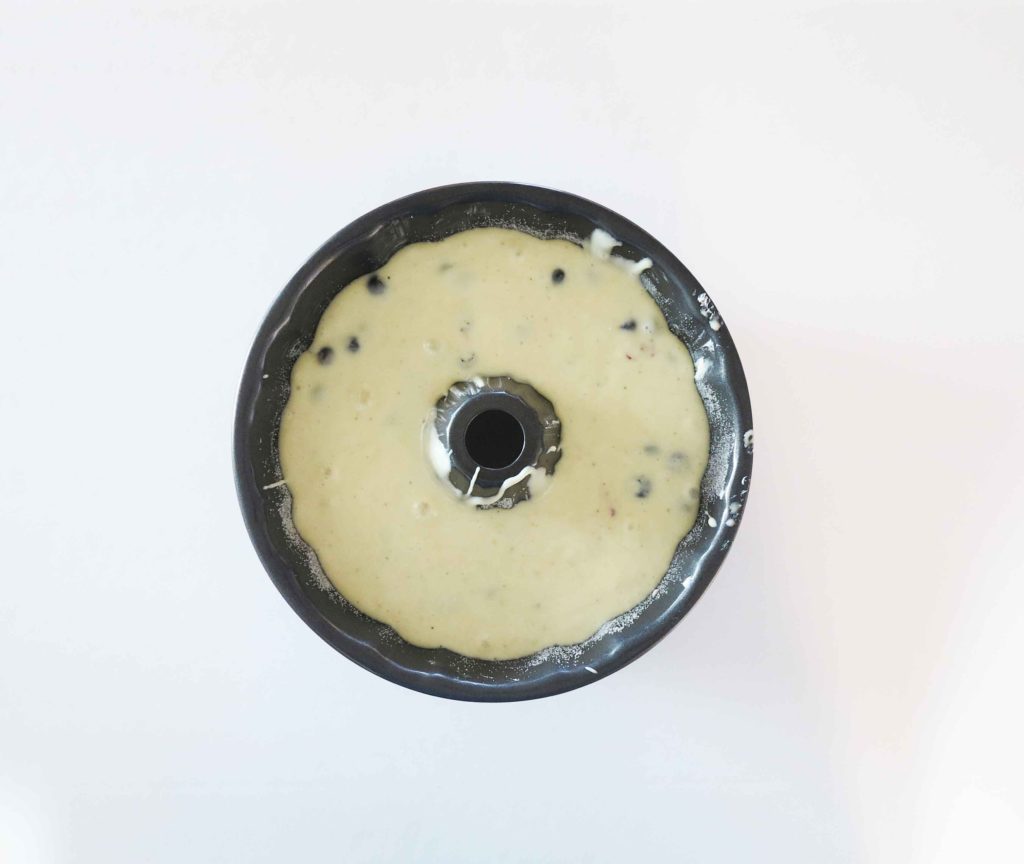
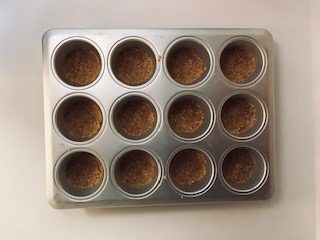
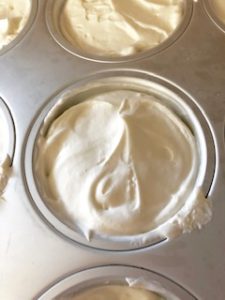
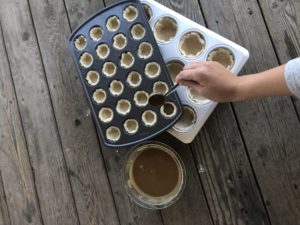
Fill each muffin cup approx 3/4 full.
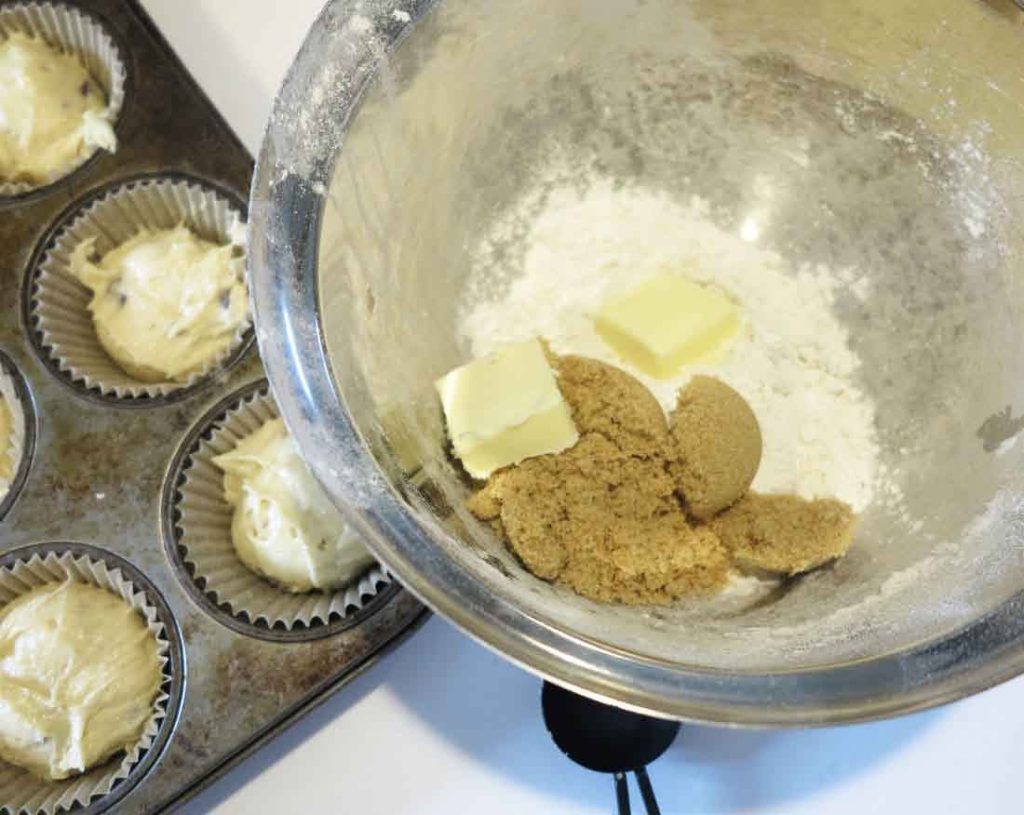
Combine flour and brown sugar. Cut in the butter until crumbly. Sprinkle over muffins.
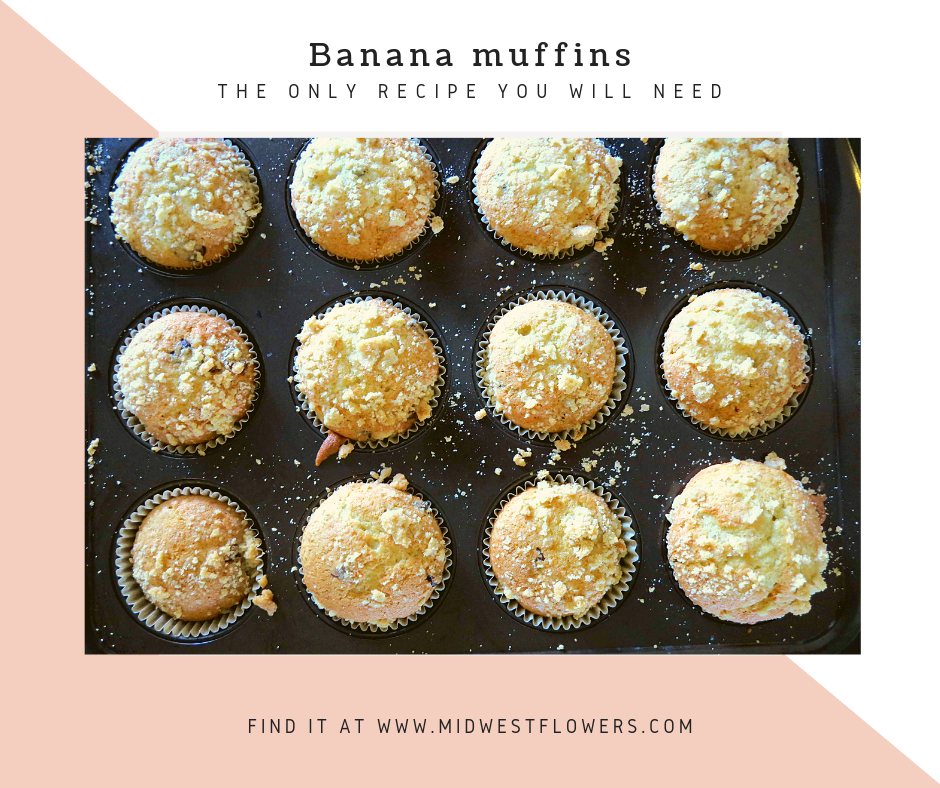
Banana muffins
This is the only banana muffin recipe you will ever need.
Ingredients
- 1/2 cup butter room temp
- 1 cup granulated sugar
- 3 med ripe bananas
- 2 eggs
- 1/2 tsp baking soda
- 1 tsp baking powder
- 1/2 tsp salt
- 2 cups all purpose flour
- 2 cups semi sweet chocolate chips
- 3 tbsp sour cream
- 1/3 cup all purpose flour
- 3 tbsp brown sugar
- 2 tbsp butter
Instructions
-
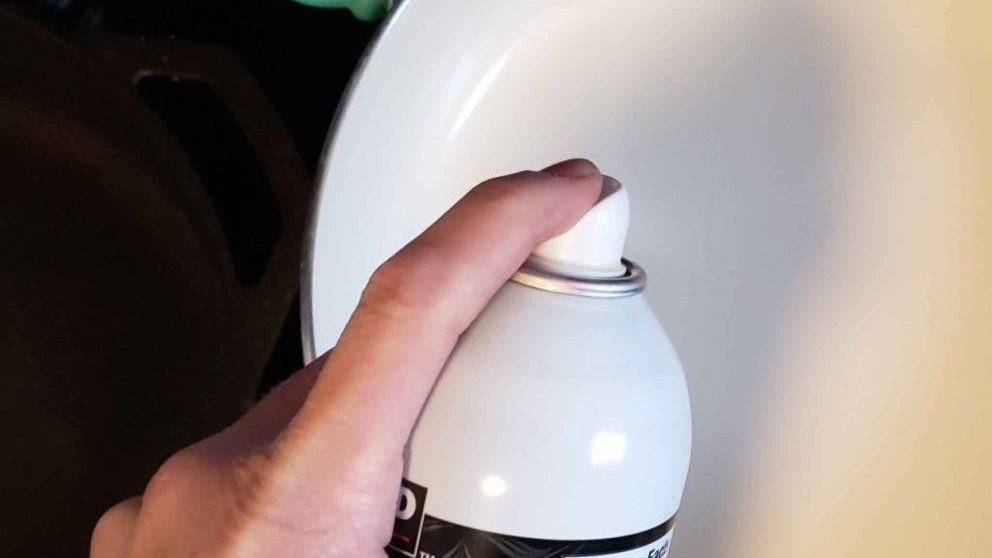
Line the muffin pan with the muffin cups.
Set oven temp to 350 degrees.
In a mixer. Cream together butter and sugar until fluffy. Add the bananas and eggs and mix well.
In a medium bowl combine flour, baking powder, baking soda and salt. Add this to the banana mixture.
Mix on medium speed 1-2 minutes until batter is light in color and fluffy.
Add the sour cream. Mix until combined.
Pour in the chocolate chips and mix by hand to incorporate.
With a large spoon fill the muffin cups 3/4 full with the banana muffin batter. Sprinkle with the streusel.
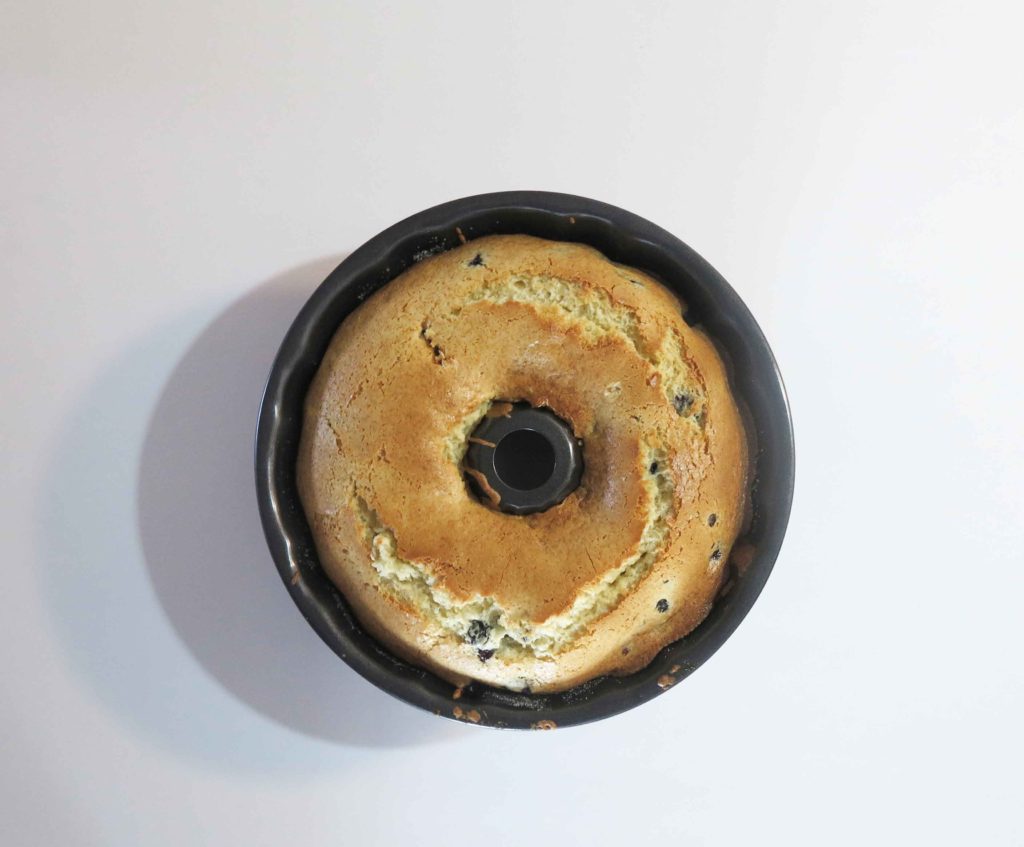
Bake for 20 min or until toothpick comes out clean.
Cool
Enjoy.
Questions?
Can I use shortening instead of butter?
Yes you can.
Do I have to line the muffin tins with paper muffin cups?
No, but remember to grease liberally.
Can I use milk chocolate instead of semi sweet?
Yes. Please use whatever you want.
Are these healthy?
Better then a twinkie!
Can I add nuts?
Are you crazy! J/K add nuts if you are nuts:)
Here is a recipe for lemon blueberry cream cake. Yum.
What is happening on the farm?
Well we are busy babying the seedlings. It is a job to keep them watered and happy. I had a case of some fungus gnats but was able to get rid of them. Cross fingers.
I am hopefully going out this week to lay down the rest of the black landscape fabric over my beds. My soil was supposed to be covered in the fall but time got away from me. I want to have it covered soon to help with weed control. Check out this little video on why tarps are helpful.
Don’t forget to subscribe to our email. Keep us with us with what is happening here.
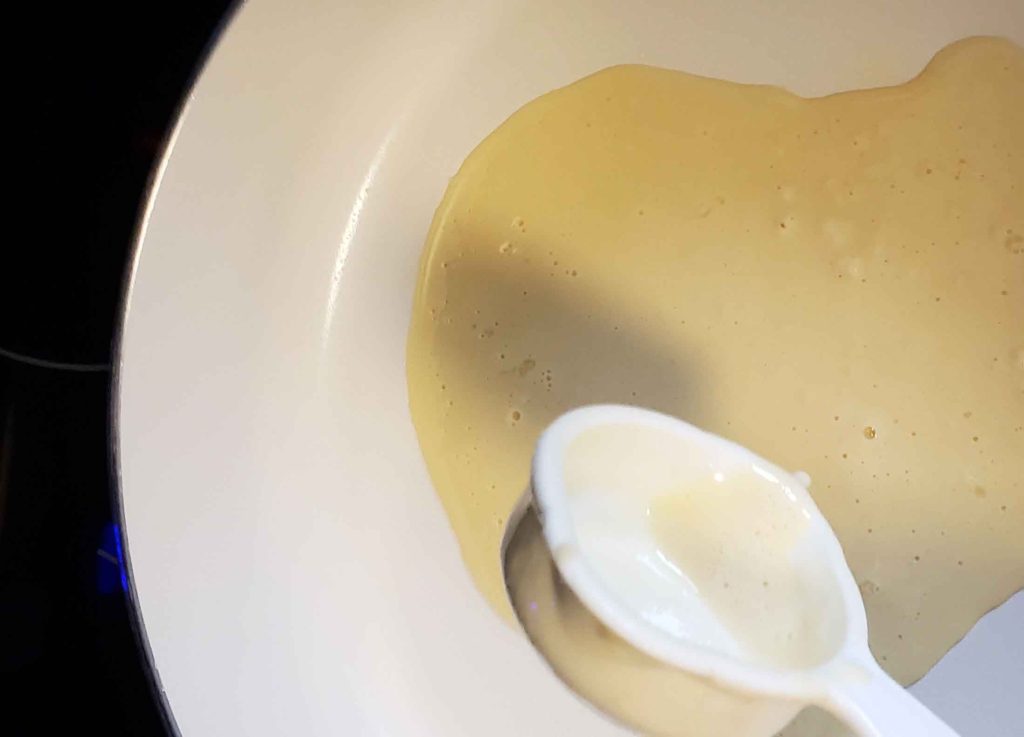
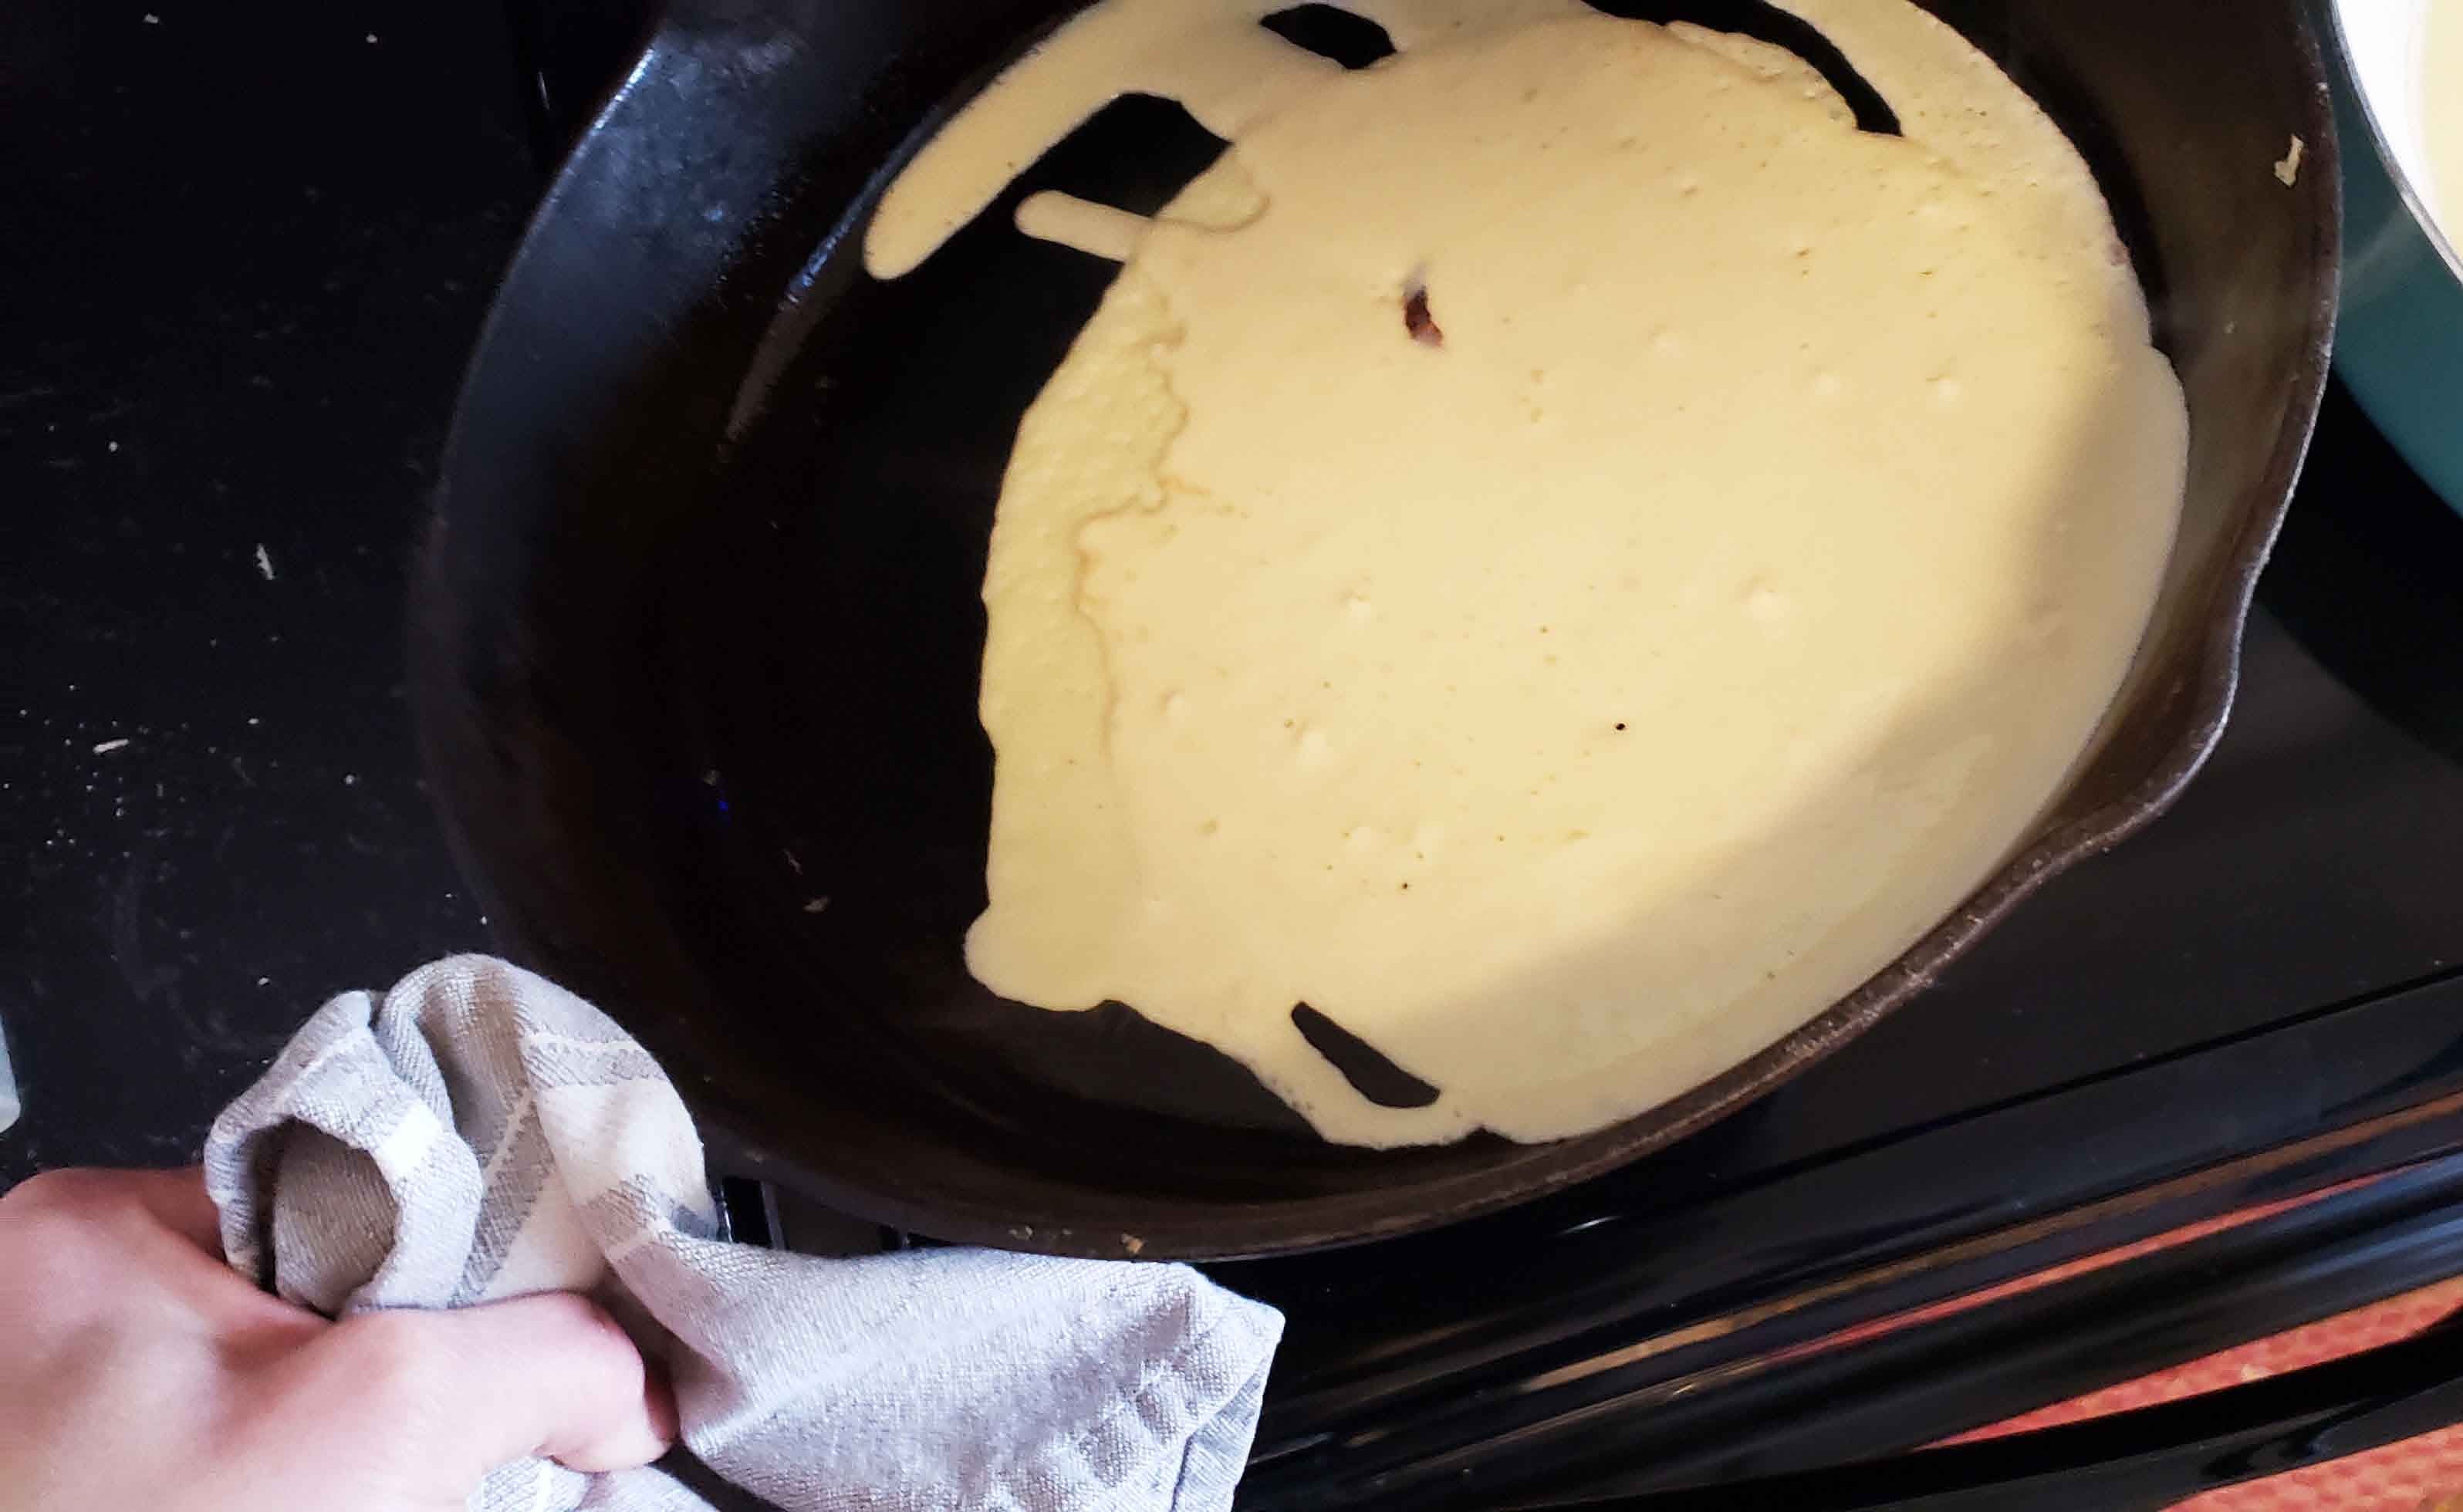
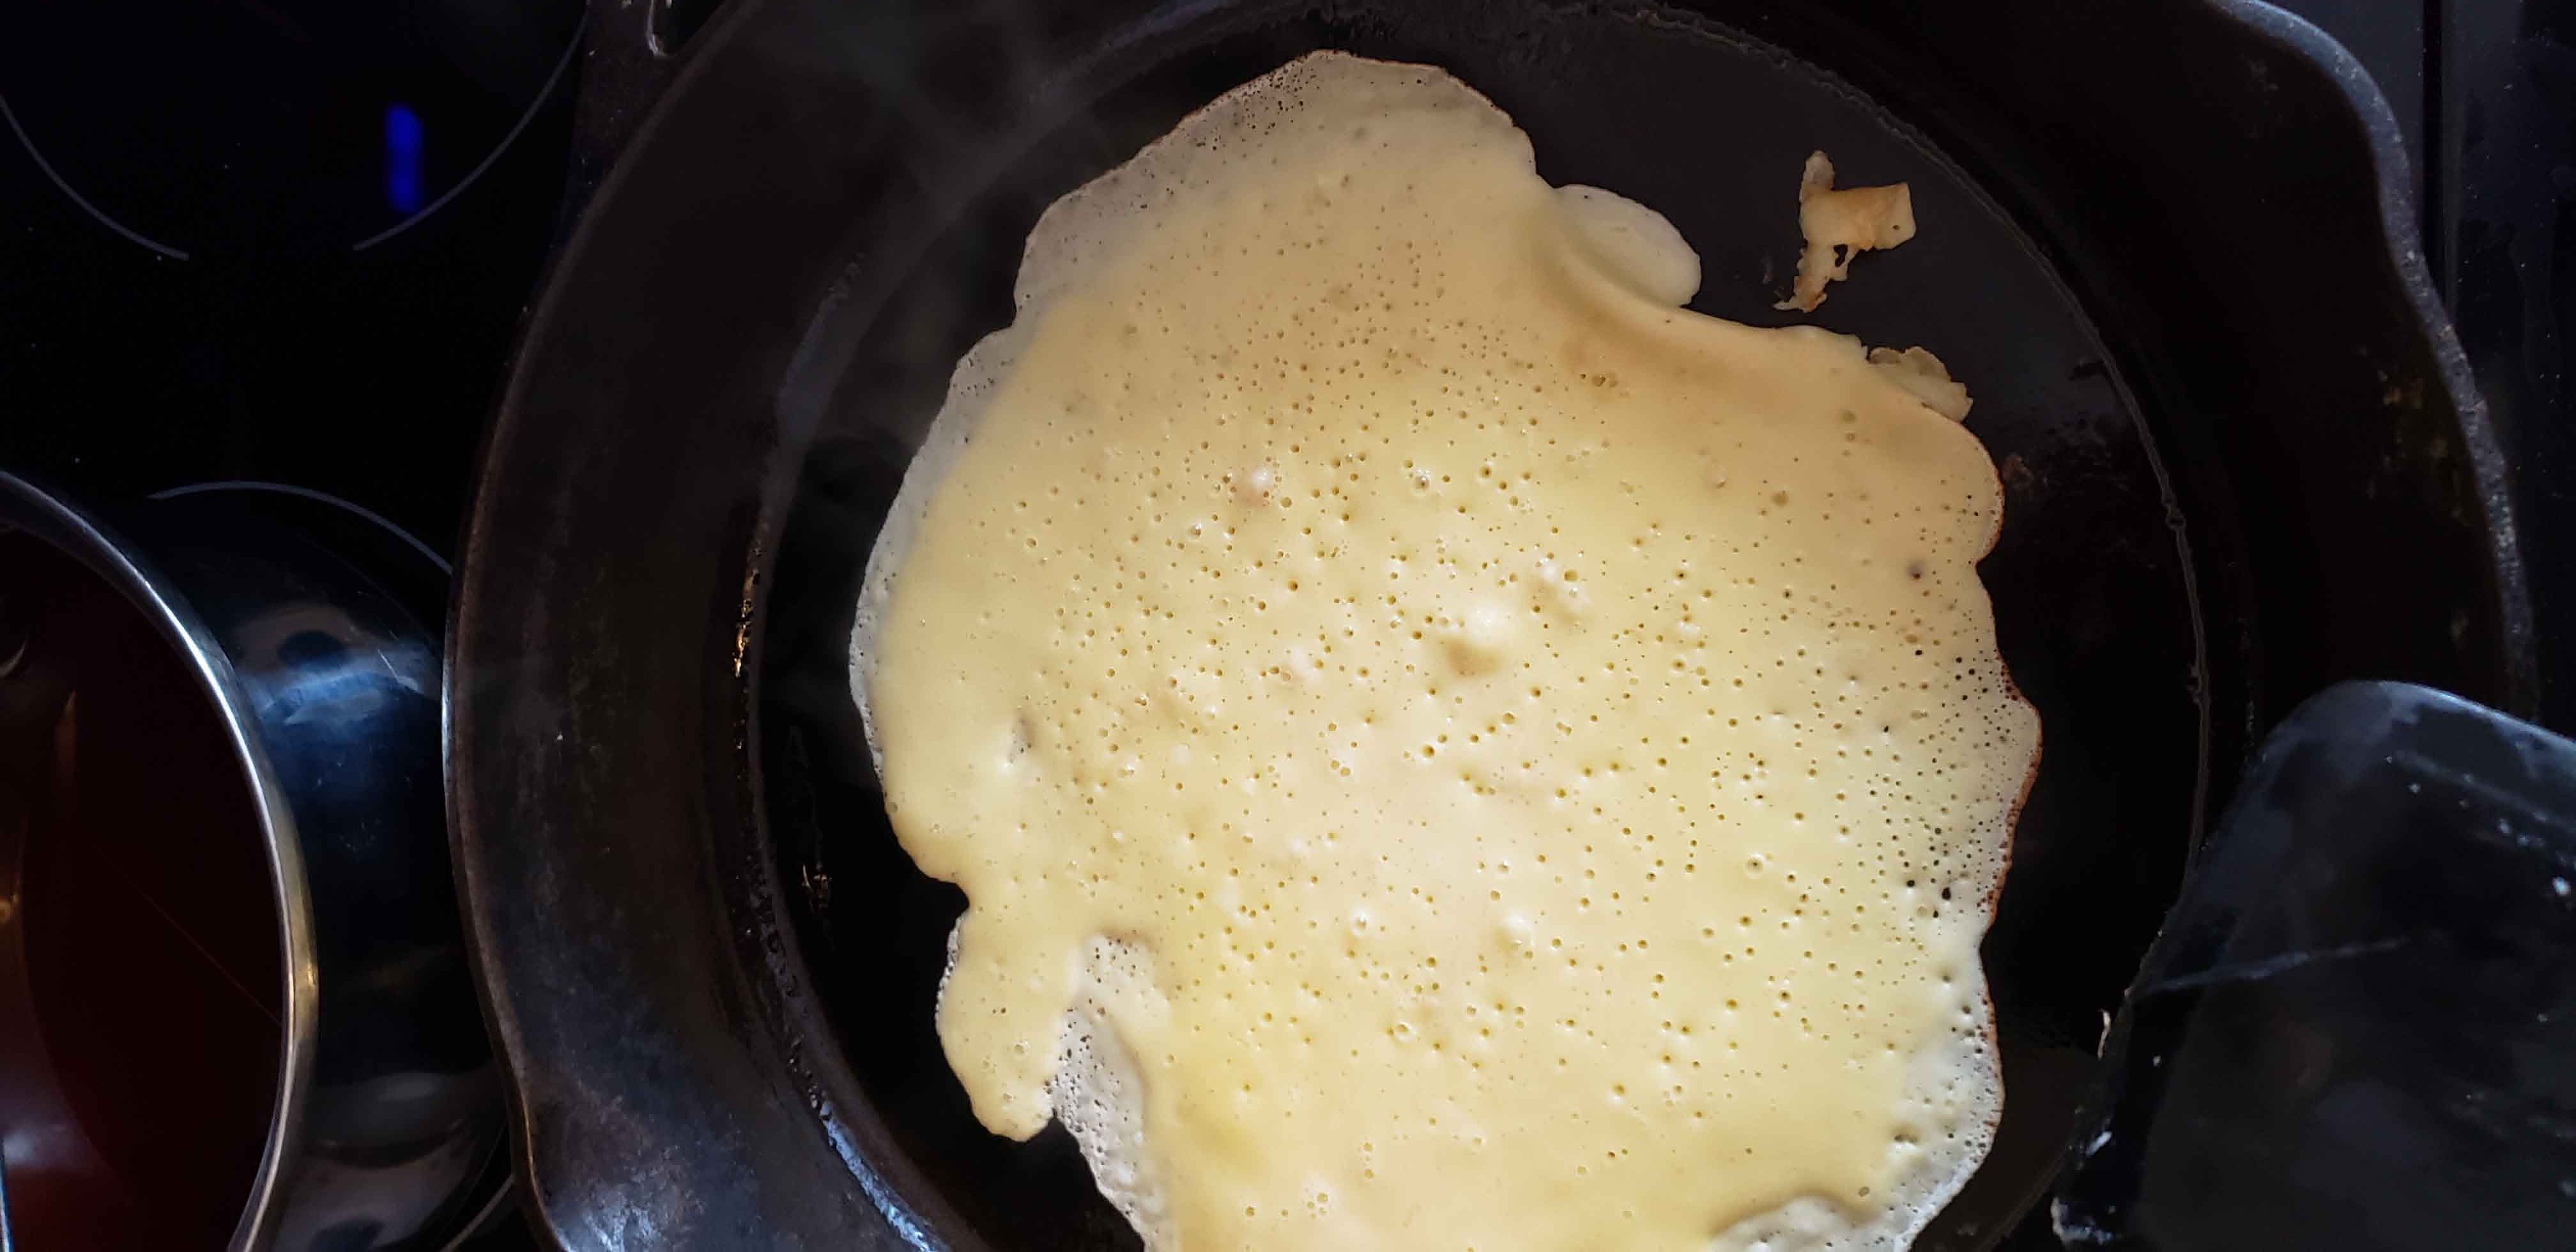
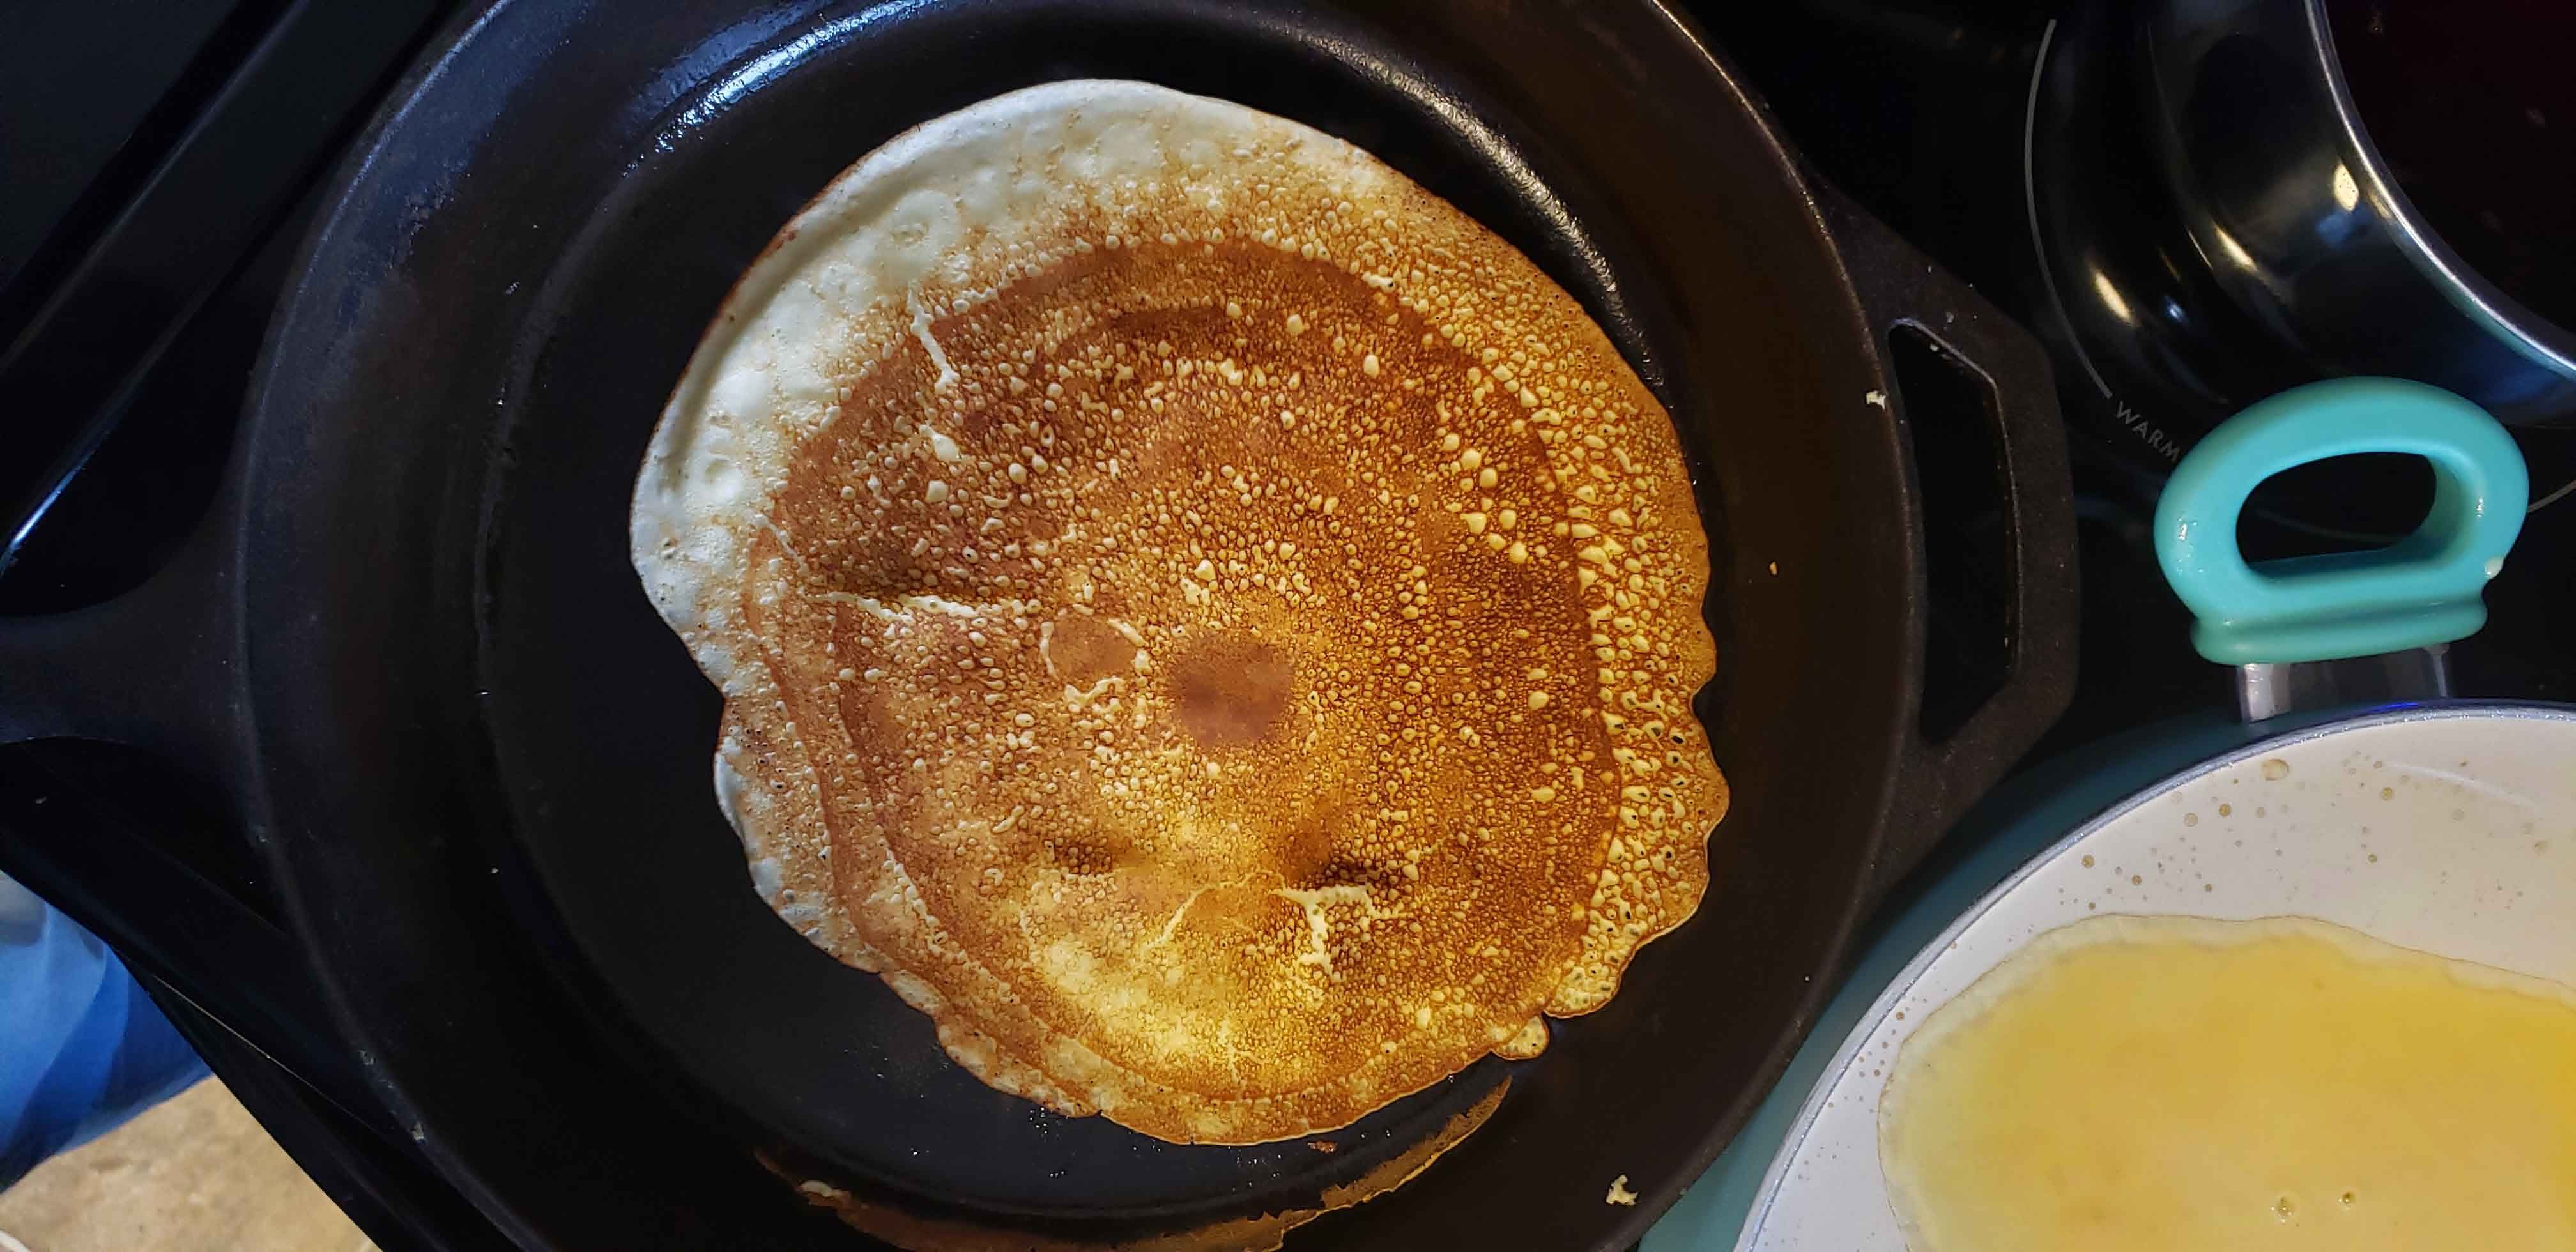
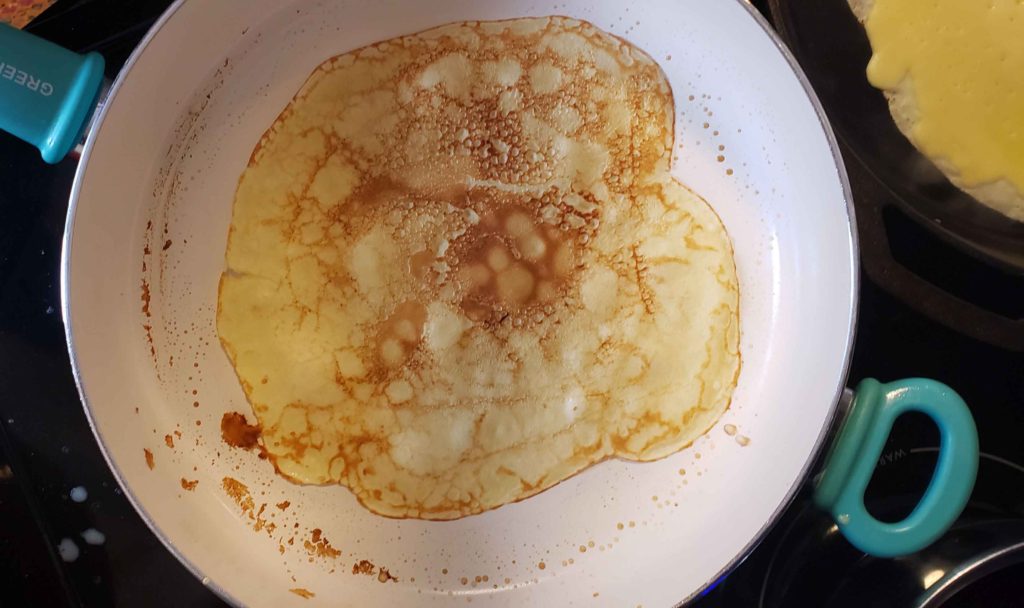
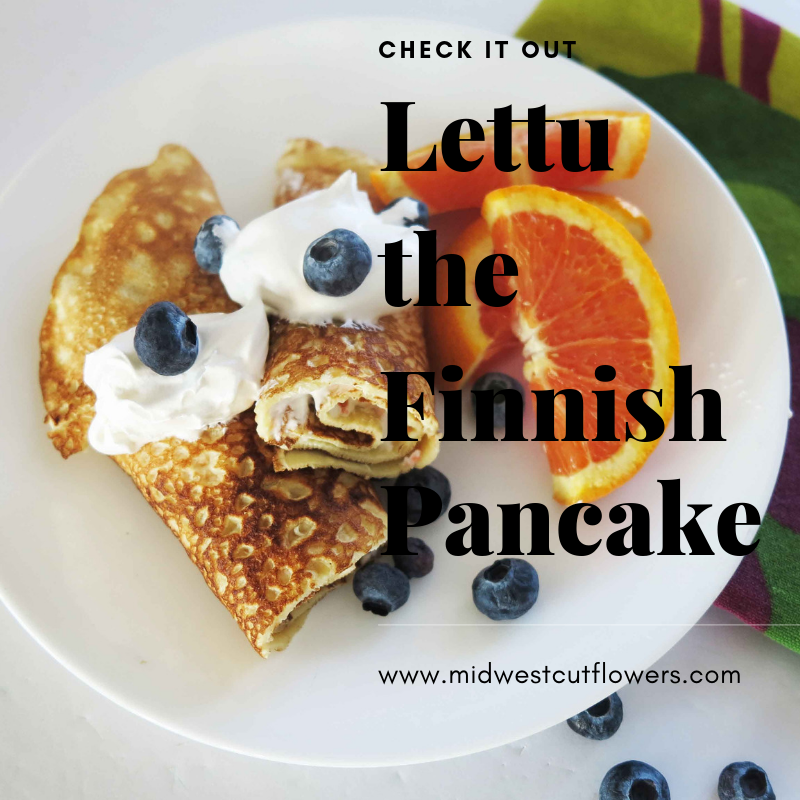 You know the things that your mom made growing up, that no matter what, hands down, its the best! Well that is Lettu. I am pretty sure that my whole family would agree that Lettu is the bomb! There is not a lot to Lettu the Finnish pancake, so what makes it so great? Not sure actually, just try it. Some people have these “rules” on how you are supposed to eat Lettu the Finnish pancake. Well that’s nice, but I say eat it how you want. With just butter. Syrup and butter. Peanut butter and syrup. Jam. Whipped cream and jam. Whipped cream and berries. Berries mixed with whipped cream. Cold. Hot. Whatever you want. Love Lettu. Did you get that??
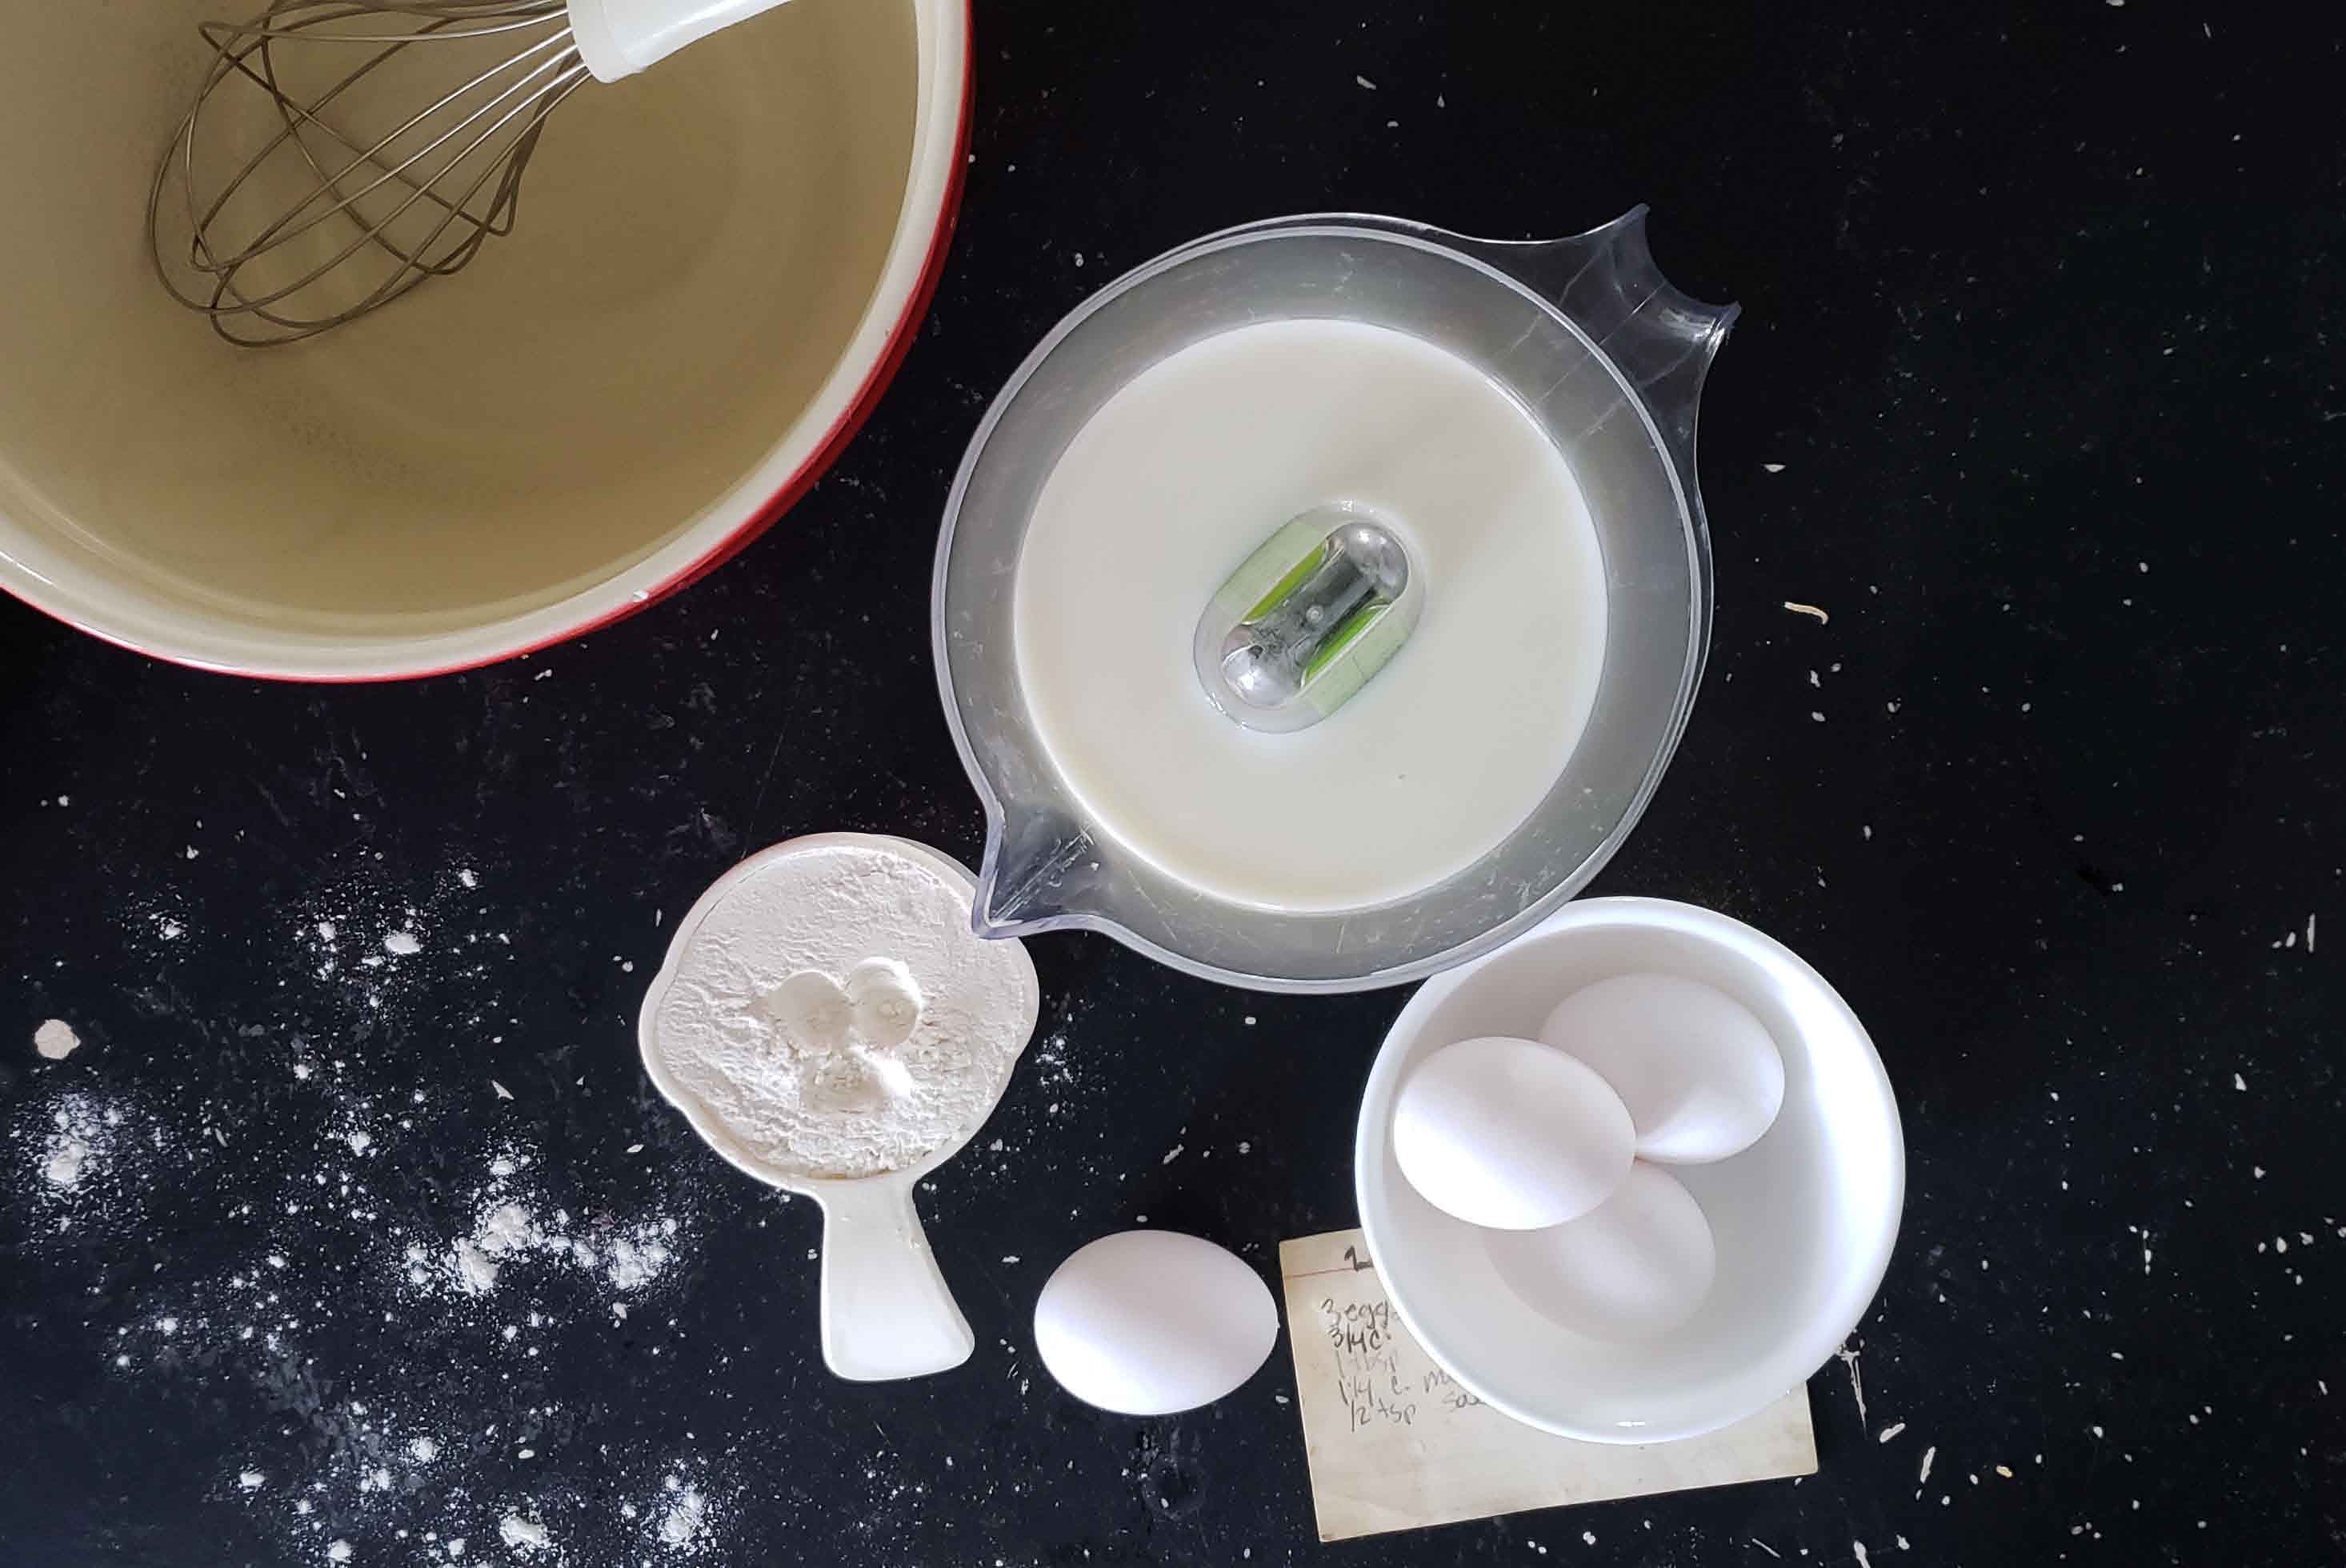
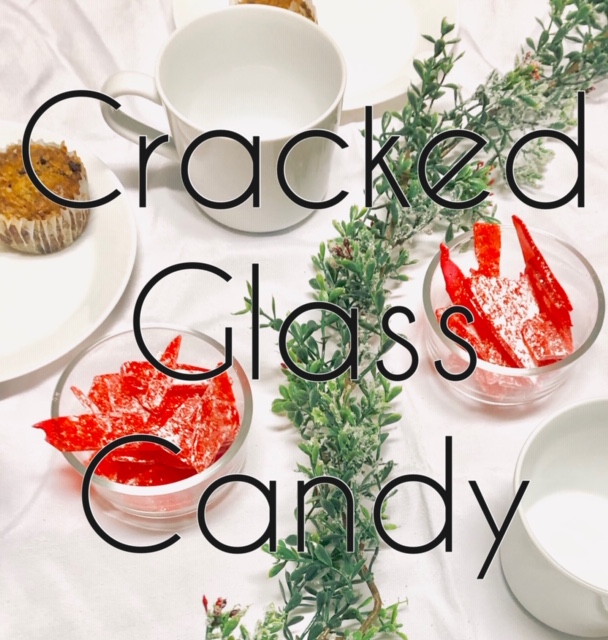 Cracked glass candy is a fun and delicious candy that is easy to make and hard not to taste! You can make this glass candy with any flavor you find in your local craft store and color it to your liking. A few of my favorite flavors are black licorice, cinnamon and butter rum. Add a splash of color to your Christmas desserts this holiday season by adding cracked glass candy to your list of must bake items.
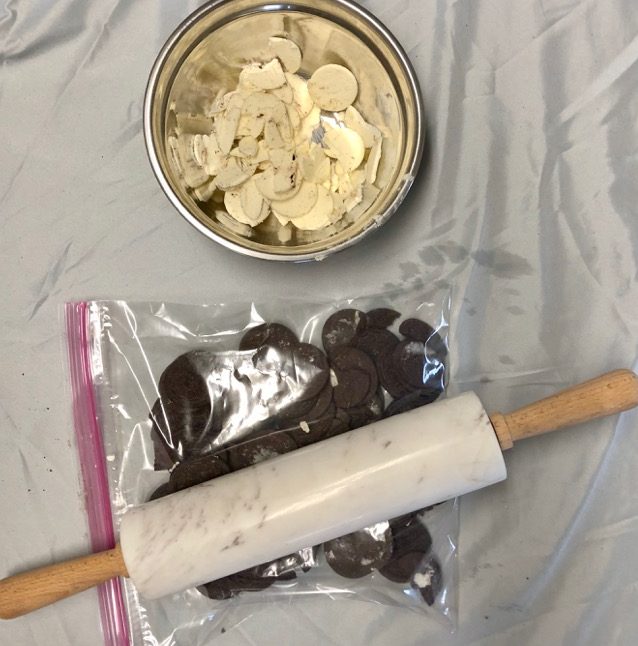
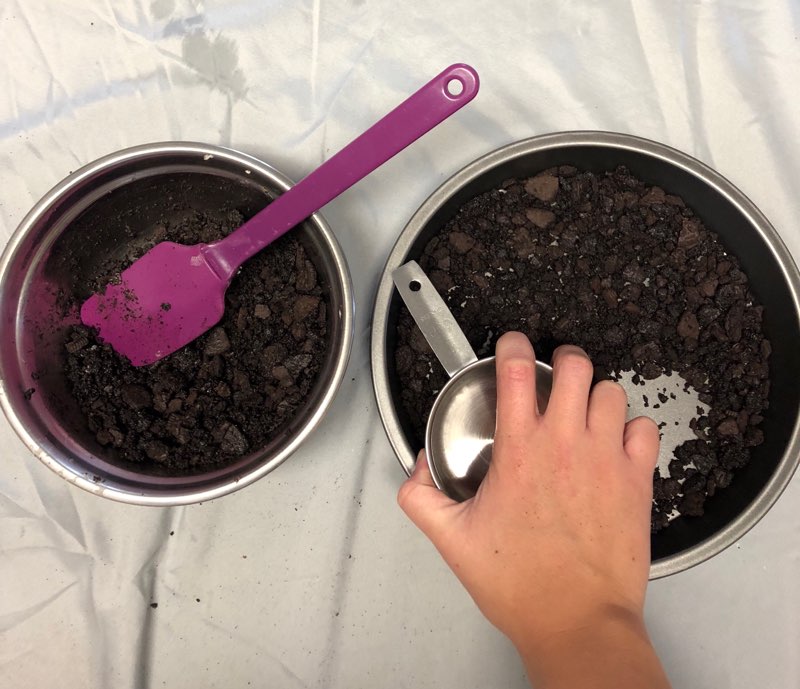
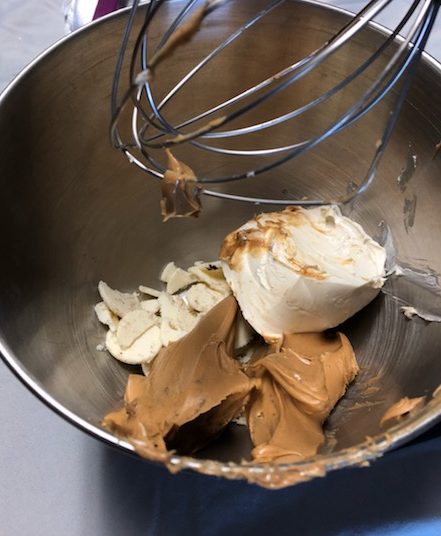
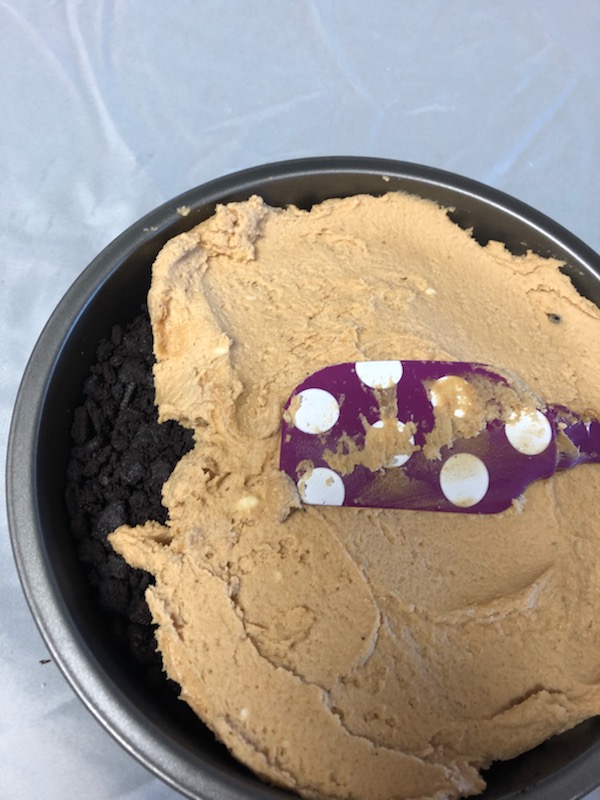
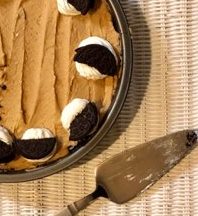
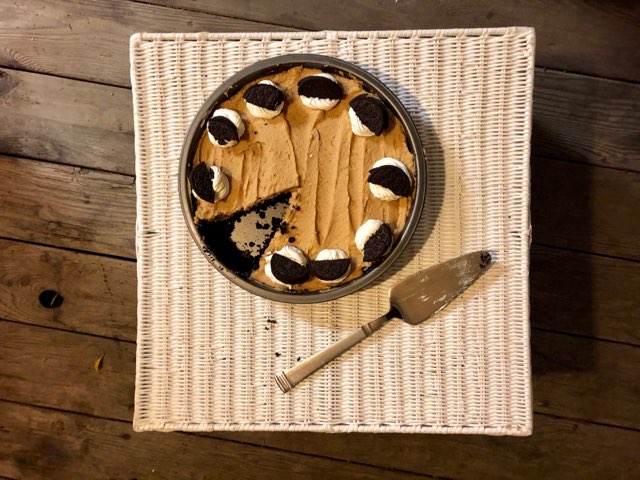 Okay you peanut butter lovers, this one is for you. What satisfies a sweet tooth more than a smooth rich piece of Oreo peanut butter pie. I got my inspiration for this Oreo peanut butter pie from my dad. Although all he can do is look at my pie in pictures, due to the fact that we live 1700 miles apart. My dad is the guy at thanksgiving that passes the classic apple, pumpkin, or pecan pie and heads straight for the richest, peanut butteriest, chocolatiest looking pie. One of the biggest things that draws me towards making this pie around the holidays is the small ingredient list. There is nothing better than whipping up a good looking pie in no time at all!
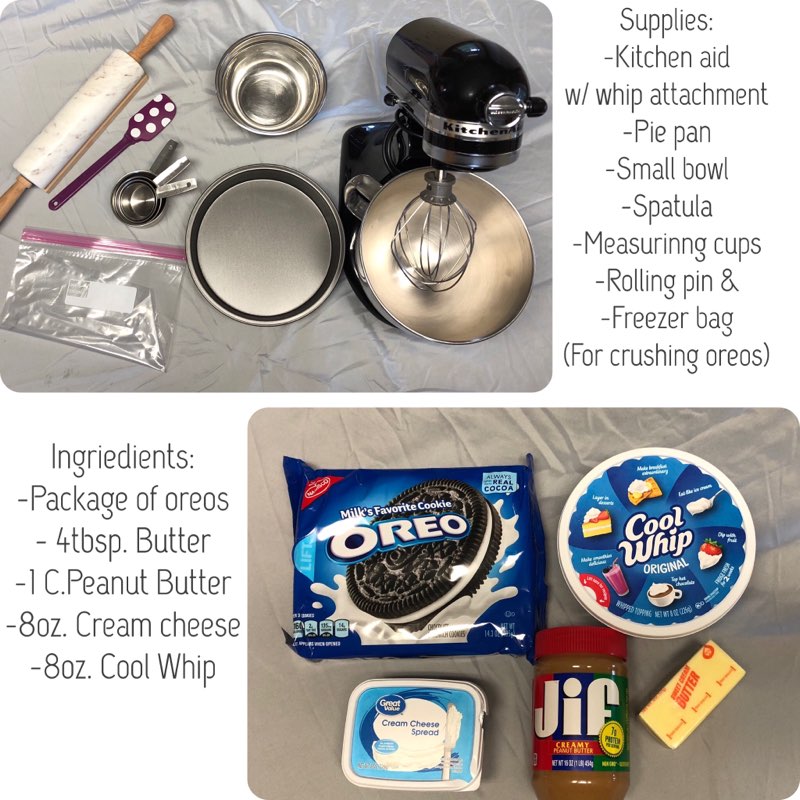
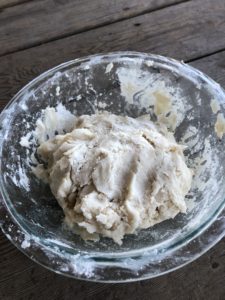
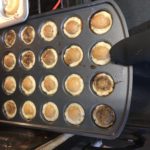
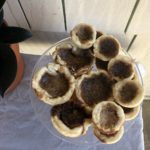
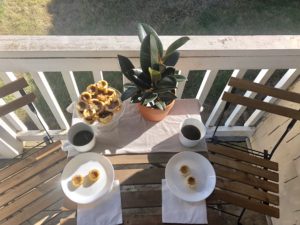
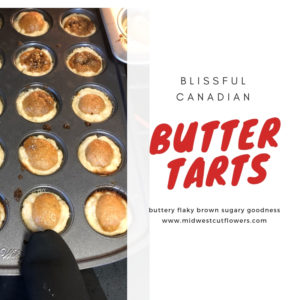 It’s that time of year when my thoughts turn to how fast summertime went and all the while trying to enjoy this beautiful fall weather. Baking traditional Canadian desserts is one of my families “must haves” at this time of year. Butter tarts first came to Canada in the early 1900’s from France. Growing up in Canada, we had butter tarts every holiday season, with some for special occasions throughout the year.
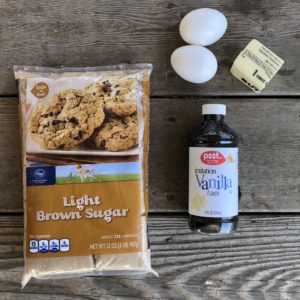

 This is cheesy beef and bacon soup is a new family favorite. We loved it so much I wanted to share it with you! Our family is a huge fan of bacon. Serve it up along side of your favorite salad and it will be one of your go to meals.