Easy DIY Card with dried flowers

Easy DIY card made with dried flowers.

DIY card with dried flowers
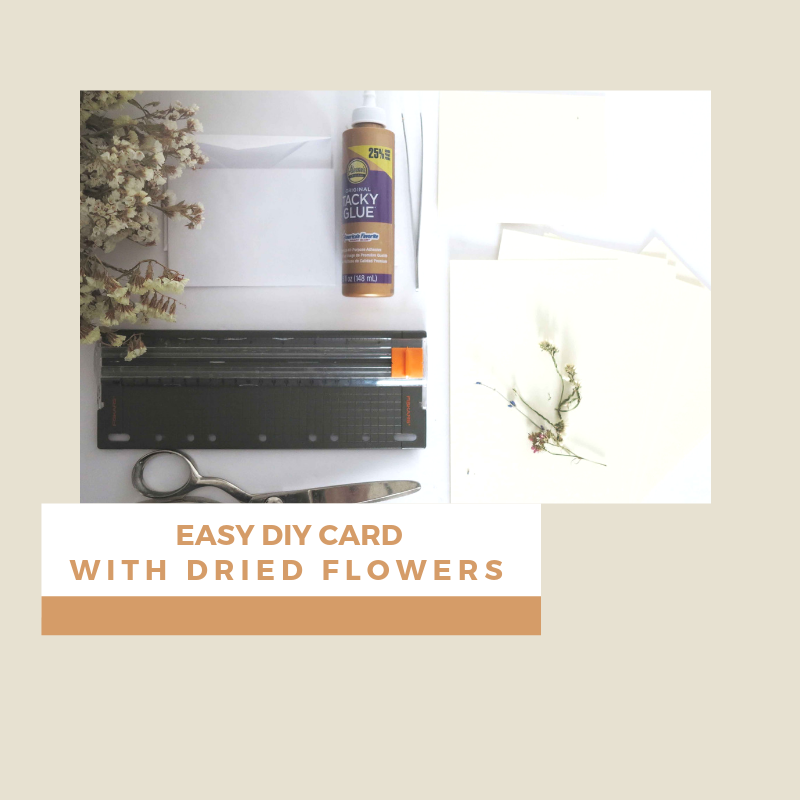
Are you a DIY’er? Even if you are not this Easy DIY  Card made with dried flowers will be a joy to make and give. The DIY card is perfect for every occasion.

Giving cards is a custom that dates back many years. The tradition can be traced by to the early Chinese, who gave greetings of goodwill on cards for the new year. These cards were only sent during this time, unlike today were we give cards for many occasions. The card giving traditions of today really took off after the introduction of the postage stamp and new technologies in the printing world. This gave people a more affordable avenue to send greeting to their loved ones.

Now we have the ability to send messages on our cell phones but….I love getting cards in the mail.

How about you? Does a good slow mail day lift your spirits?

DIY card with dried flowers

Like all of my tutorials. I encourage you to use this as a guide. Let your creative mind take over and apply your own touches to your project.
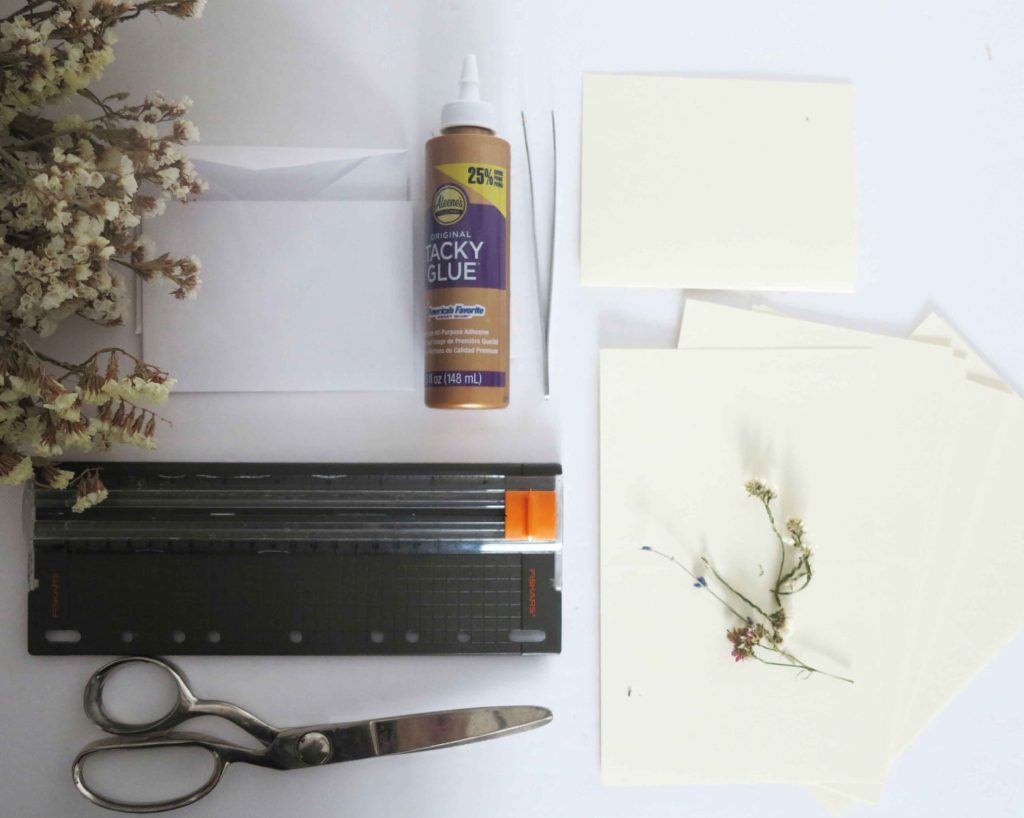
DIY card with dried flowers

Supplies

8″ x 11″Card Stock

Envelopes (invitation size)

Glue ( that will dry clear)

Scissors

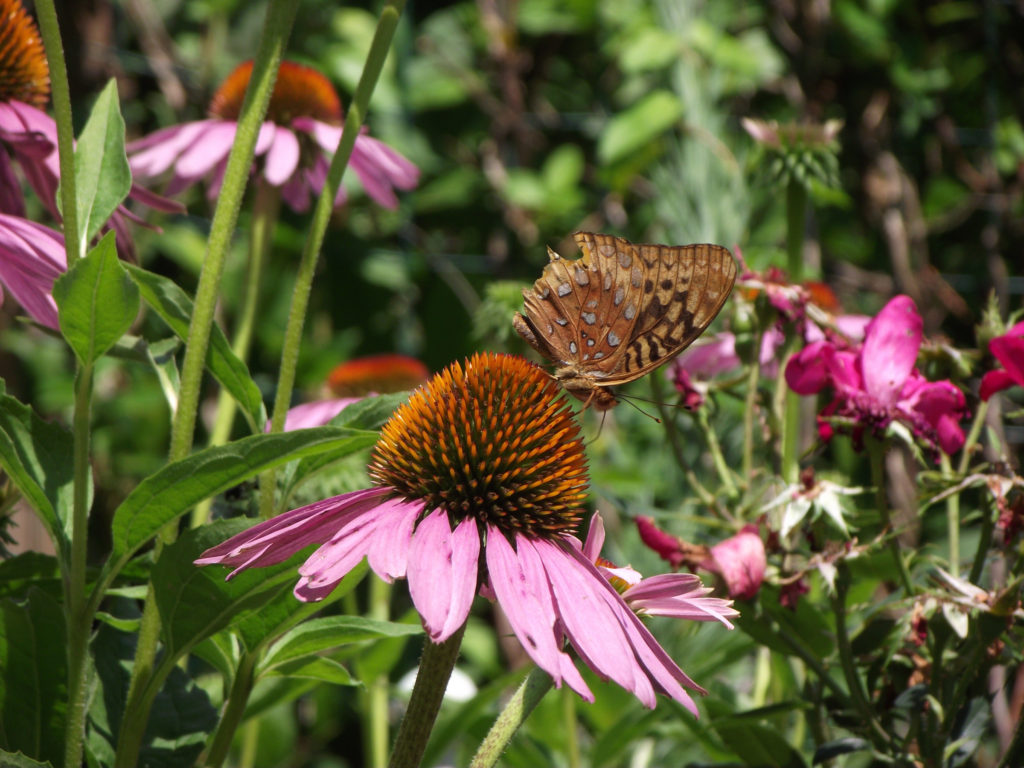
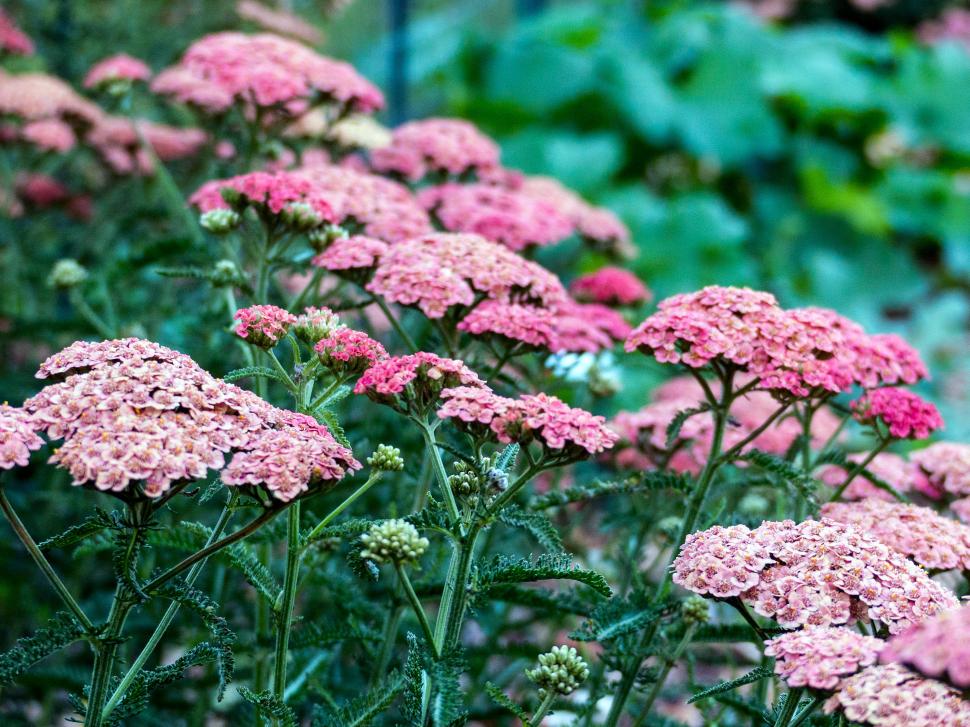
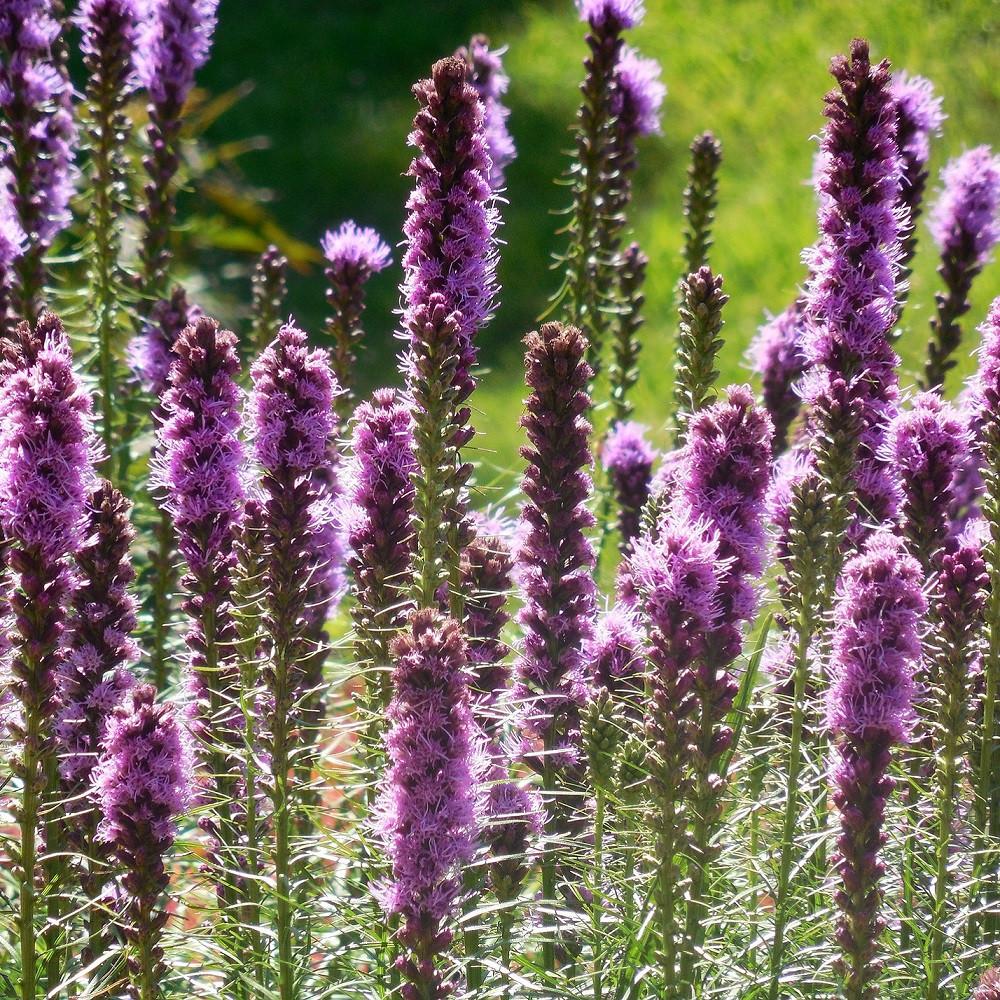
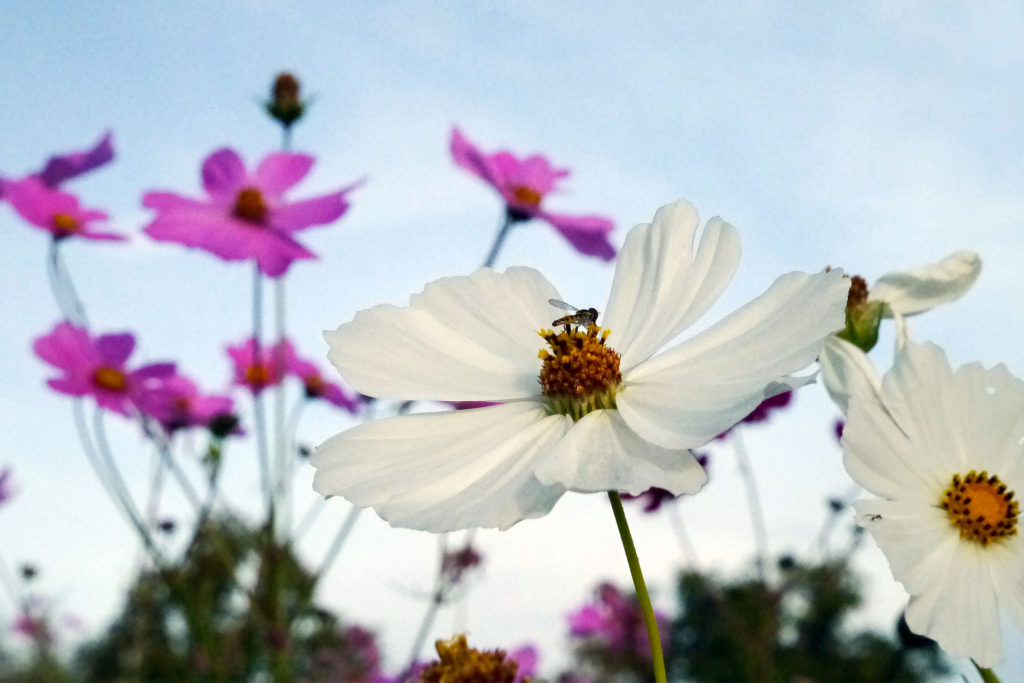
Dried Flowers ( the flatter the better)

Ruler or paper-cutter

Pencil

tweezers

Directions

handmade card with dried flowers
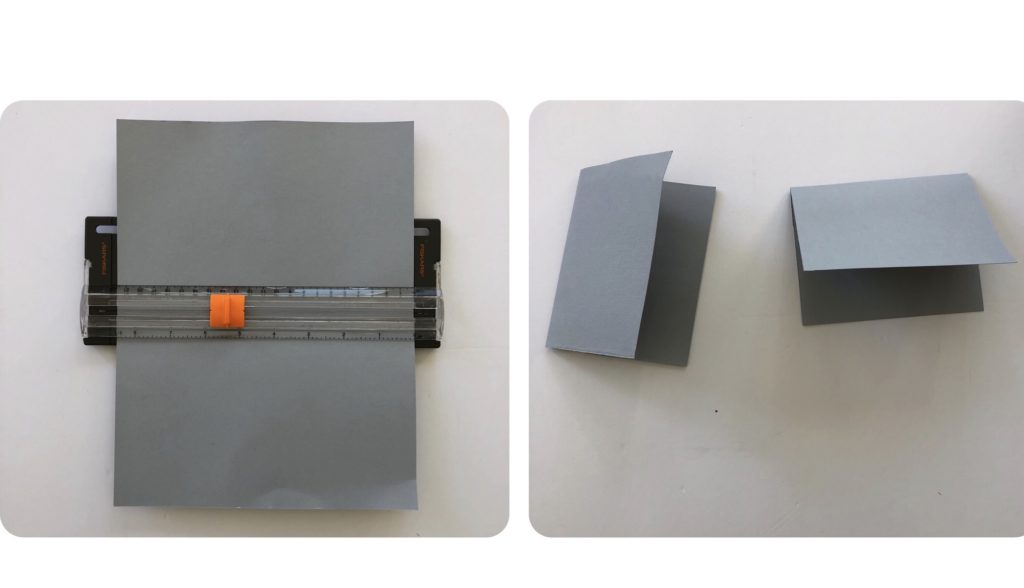
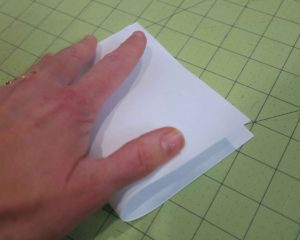
1. Bend the card stock in half, short side to short side as if you are going to crease the fold. Pinch the end where you would crease.

how to make a card with dried flowers

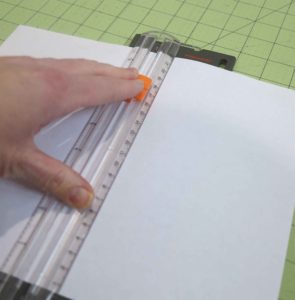
2. Using your paper-cutter line up the crease and cut the card stock in half. If you are using scissors, draw a light line with your ruler and pencil from the center where you pinched your card stock and cut along that line.

how to make a card with dried flowers

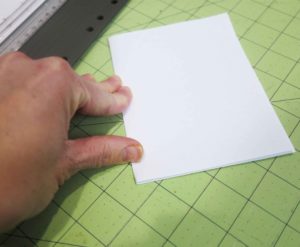
3. Now fold your cut card stock in half, running your finger firmly along the crease.

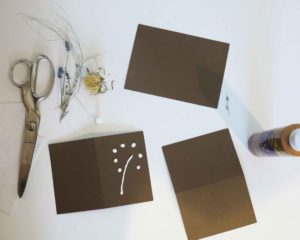
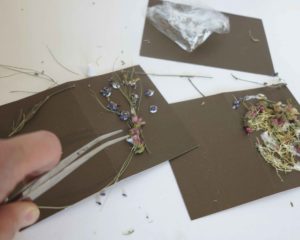
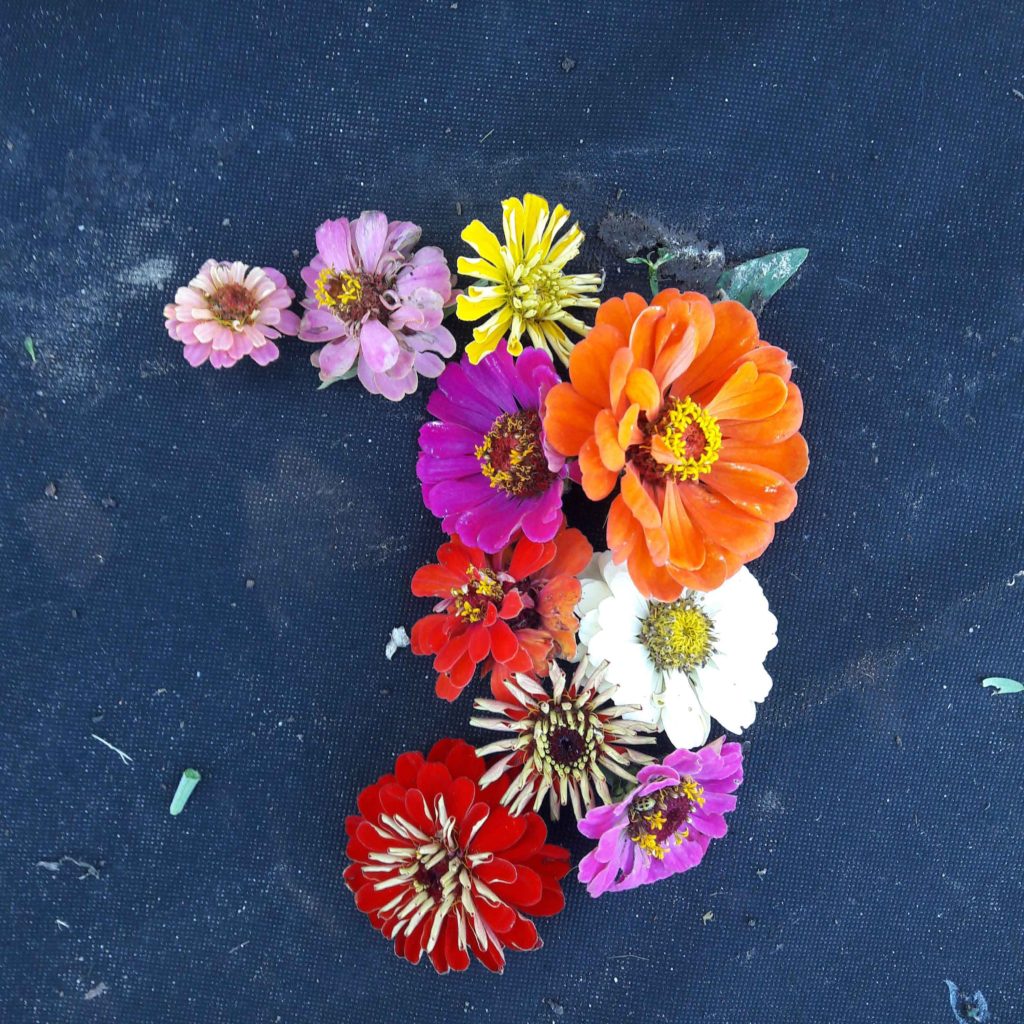
4. Take your dried flowers and play around with your design. The flatter your design the better. Experiment with pulling the petals off, flattening the flowers and moving the flowers around. Using your pencil mark a very light mark where you are going to glue your dried flowers.

DIY card

5. Trace your design with the glue. Make sure you apply a nice amount. The flowers need to be pressed into the glue.

Easy DIY card with dried flowers

diy card

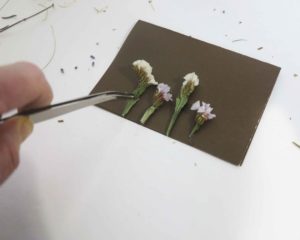
6. Place your dried flowers on the glue and firmly yet carefully press the flowers into the glue. The glue will squish out a bit but leave it, do not try to wipe it off. The glue will dry and encase the flowers, securing them to the card.

Easy DIY card using dried flowers

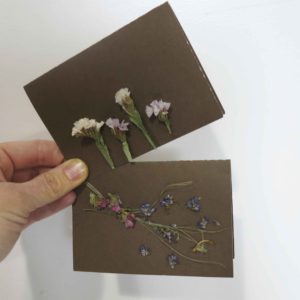
7. Let dry for 1 hour.

Easy DIY card with dried flowers

So that is it. Easy peasy. This is a great easy craft to do with kids. It is so special to receive a handmade card.

Want more flower tutorials? Subscribe to our email to be notified of the newest post.

What kind of projects do you do with dried flowers? Please share in the comment section. I would love to know.

Q&A

Do I have to use card stock?

Yes I would use card stock because you need a firm backing for the flowers.

Can I used pressed flowers?

Yes! Pressed flowers would be awesome.

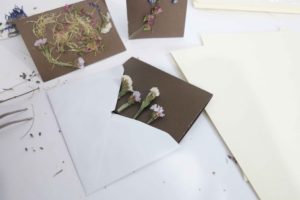
Can I send these cards through the mail?

Yes you can. It would be good to put a piece of waxed paper on top of your flower design to protect it.

Here is another one of our card tutorials. Enjoy?

Share your cards with us! We would love to see them.


Easy Cut Flower Garden for beginners with free printable plan

Easy cut flower garden for beginners
Easy cut flowers to grow

Hello, happy 2019! Wow the time sure has gone fast. The Holidays are over and we are all looking forward to new beginnings.  One new thing you could do this year is start your own cut flower garden. My easy cut flower garden for beginners, is easy to follow. The plants that I have picked for you to plant are super easy to grow and do not require a whole lot of attention.

Perennials

A perennial is a group of plants that come up year after year. You can cut down the plant in the fall or spring and it will regrow in the spring. For beginners I recommend cutting down in the fall, this way come spring time you do not have to do anything.

Easy to grow perennials for cutting

  • purple coneflower
  • liatris
  • yarrow
  • shasta daisy
  • perennial sage
  • garden phlox
  • lilies
purple coneflower
photo source freerange

The purple coneflower is a great perennial to grow. It is considered a wild flower and produces pinky purple flowers throughout the summer. They like full sun. Cut often to keep the flowers producing.

yarrow
yarrow photo source freerange

Yarrow is another easy to grow perennial. This plant is also great for dried flowers. The most common color for yarrow is yellow, but pinks are becoming more popular. Yarrow also likes full sun.

photo source Easy to grow bulbs


Annuals

Annuals are a group of plants that need to be replanted each year. You buy them from you local nursery in the spring and plant them into your garden for the growing season. After your first frost. Dig up the plant and put it in you compost pile or throw it away.

Easy to grow annuals for cutting

  • zinnia
  • cosmos
  • marigold
  • sunflower
  • rudbeckia

Zinnia is an awesome annual cut flower to grow. These annual flowers are super easy to grow. Direct seeding is a breeze but you can buy plants from the nursery. The more you cut the more they bloom.

annual cut flower cosmos
White cosmos flowers grows in a field. Photo source freerange

I love cosmos. They are so delicate. Cosmos comes in a variety of colors. They love to self seed. Self seeding means, that when the blooms die and the flower goes to seed, the seeds drop and usually will surprise you by overwintering and coming up next year.

Easy cut garden for beginners

Here is a link to download the Easy cut flower garden plan.

Easy cut garden plan for beginners. 

The easy cut flowers for beginners plan is super simple to follow. I have chosen these easy flowers because of their hardiness. Please like anything else I share….if you want to try something else feel free.

Check out my last growing year here.

Popular questions and answers

Where do I buy my plants?

You can buy your plants at any nursery or big box store. These are really common plants so they should have them.

Do I have to use organic compost and where do I buy this?

No you do not have to use organic. That is just what I prefer. You can get this wherever you buy your plants.

How deep do I plant my plants.

Every plant that you buy will come with instructions on how deep to plant and how much space you should use.

What do I use to cover the landscape fabric?

You can use bagged mulch or shredded leaves.

Do I need to water and fertilize?

Yes you should water your garden at least once a week unless you have had rain. You do not need to fertilize. These plants should do well without it.

Please feel free to ask any other questions that you have.

Enjoy your cutting garden.


Quick and easy Christmas Centerpiece.

Easy Christmas Centerpiece tutorial

Quick and Easy Christmas Centerpiece

Suddenly here it is!  Doesn’t it seem like we blink and the time truly flies. This quick and easy Christmas centerpiece will get you through the Christmas season and who knows….maybe a bit longer. The Easy Christmas centerpiece is easy to throw together and like my other tutorials….use your imagination. Add things you would like to add. Keep things out that you don’t like.

I like to use things that I have around the house. Dig in that cupboard and find a cute bowl that you never use. Or dust off that old red table runner and rethink what you can do with it.


Quick and Easy Christmas Centerpiece
Supplies for Quick and Easy Christmas Centerpiece


Supplies for a quick and easy Christmas Centerpiece

  • assorted pine cones
  • floral wire
  • pliers
  • 3 glass vases or bowls
  • faux greenery
  • branches from your yard
  • gold spray paint
  • table runner of your choice
  • newspaper

Directions

wired pinecones
pine cones and wire

Cut the wire with the pliers into 4 10″ pieces. Wrap the wire around the base of the pine cone and twist to secure.

spray painted pine cones

In the garage or well ventilated area lay down the newspaper. Place the branches and pine cones on the news paper and spray them with the paint. Let dry and turn the items and respray where the paint never got the first time.

When the paint is dry. Twist the wire around the branches to secure the pine cones to the branches.

Easy Christmas Centerpiece

Lay out your table runner.

Place the 3 glasses vases in a triangle shape and fill with the pine cones.

Place the painted branches one on each side of the vases.

Tuck the greenery around the bottom of the glass vases.

Christmas Tablescape
Easy Christmas Tablescape

You can use this easy centerpiece idea for your table. Just switch out the fall items with pine cones.

Here are some more Christmas centerpiece ideas.

I also loved this idea for a centerpiece.

and this is so gorgeous and simple.

DIY Christmas centerpiece
Easy Christmas Centerpiece

So you are wondering what is going on with the flower farming…well the yard is put to sleep and I have no plants growing at the moment but…check out what a winter yard can look like.

frost on greenery


cedar tree with hoar frost
Cedar tree with hoar frost
hoar frost
Hoar frost


The winter season can be long. Try looking for the beauty in each day. It might be a bird at your feeder or a yard full of frost. Bundle up and take a walk. The cold air is so refreshing!

Merry Christmas

Easy DIY countdown to Christmas calendar

diy countdown to Christmas
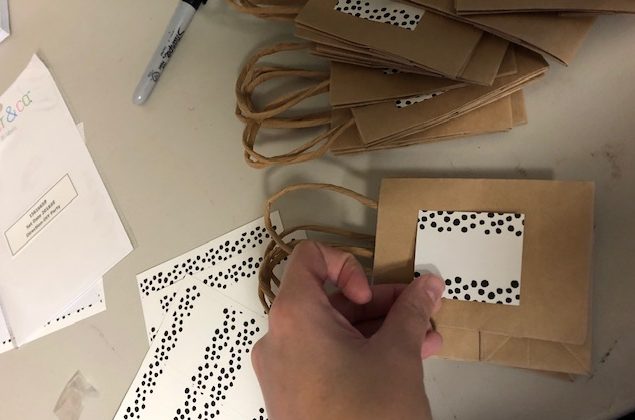
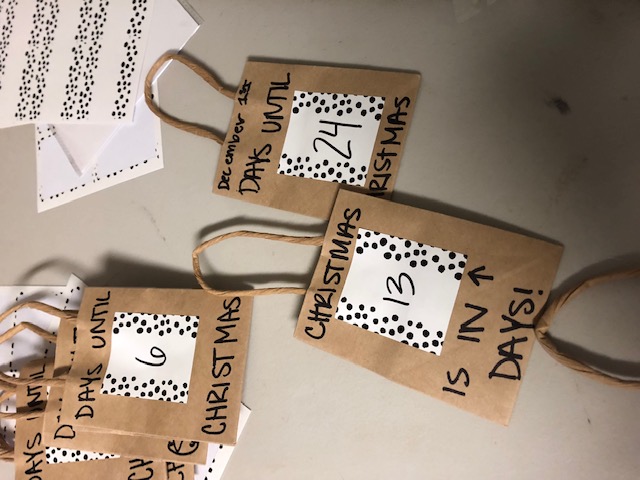
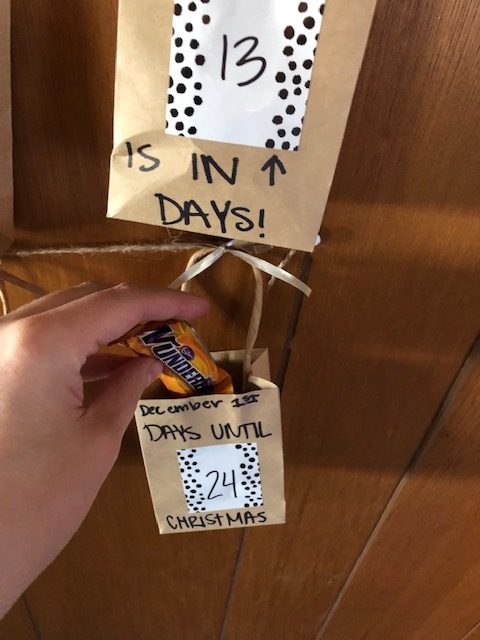
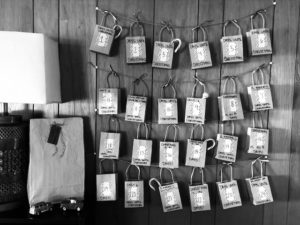
Hello! The countdown for Christmas has begun! This easy diy countdown to Christmas calendar is a fun, memorable way for you and your family to keep track of how many days until that special holiday is finally here. With only a few simple steps you can create this countdown calendar that will give you an easy go-to for the “how many days until Christmas” question that gets asked multiple times a day.

DIY countdown to Christmas


To start you will need:

  • Little gift bags
  • Stickers
  • Markers
  • Ribbon or string
  • Thumb tacks
  • Treats

supplies for DIY countdown calendar

Step one:

Place a sticker on each bag and number the bags from one to 24.

making DIY countdown calendar

Step two:

Add some fun little quotes, sayings, or facts to your bags. Here are some suggestions:

  • ___ days until Christmas
  • Christmas is in ____ days
  • Only ___ days until Christmas
  • I can almost count on my 10 fingers, 11 days until Christmas
  • Christmas means expressing surprise. __ days until Christmas.
  • It’s the most wonderful day of the year in ___ days


Step three:

Hang up 4 rows of ribbon with your thumb tacks and tie the numbered bags to each row. Have fun here, you can put the bags in order as I did; or you can scramble all the numbers so you have to find the correct bag each day.

Step four:

Add a treat to each bag. I used some delicious Canadian chocolate bars that a family friend brought down for us, as well as some candy canes, mini Hershey bars, hi chews, gobstoppers, and dum dum suckers.

countdown to Christmas calendar


This holiday season create a new family tradition with this easy diy countdown to Christmas calendar. The best part about using these little gift bags is you can reuse them year after year or decorate the other side next year for a different look.

Don’t forget to subscribe to receive some happy mail.

Enjoy your thanksgiving everyone.

Check out some other easy projects here.


Easy Thanksgiving Centerpiece

easy thanksgiving centerpiece
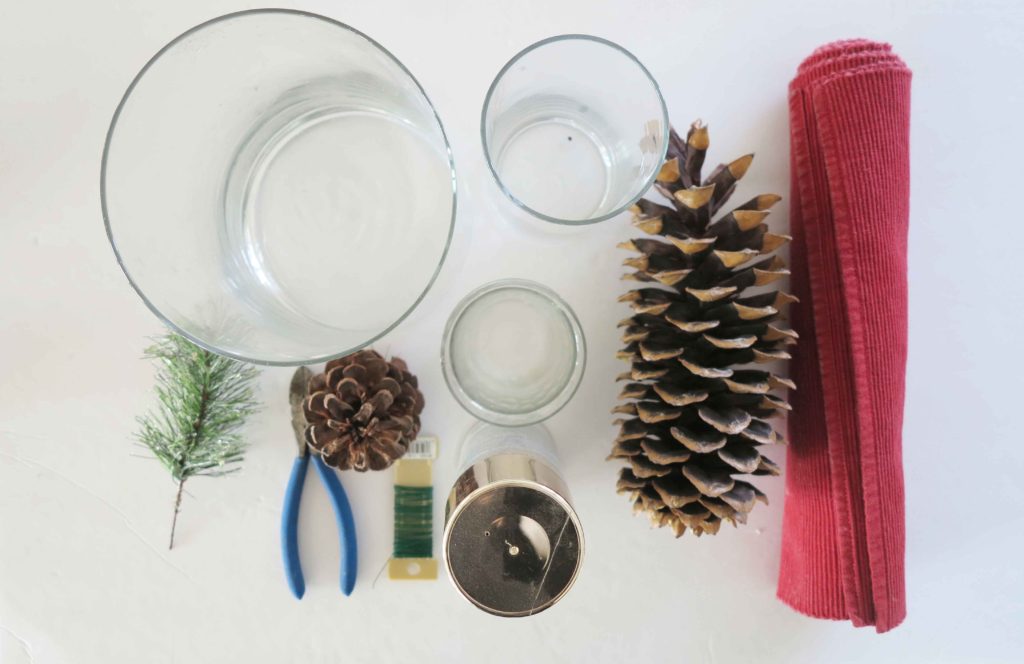
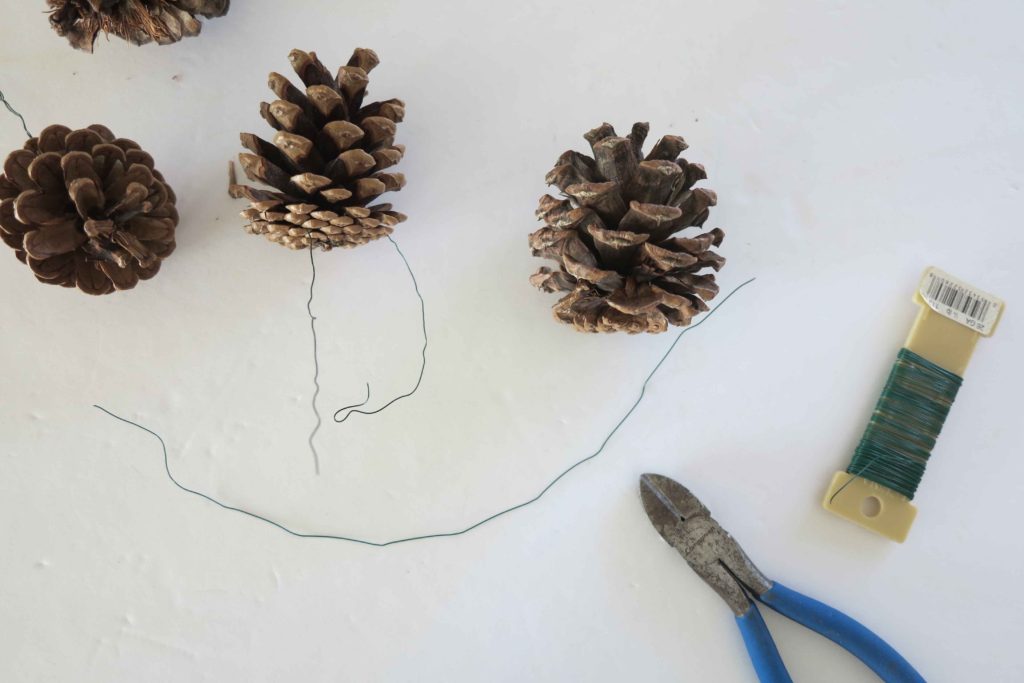
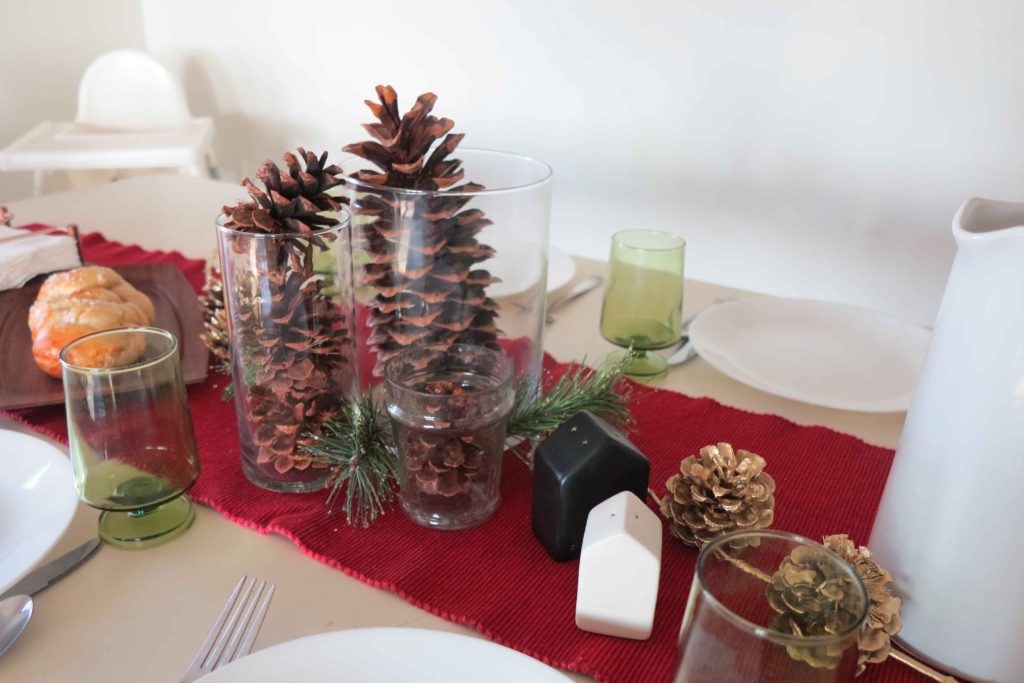
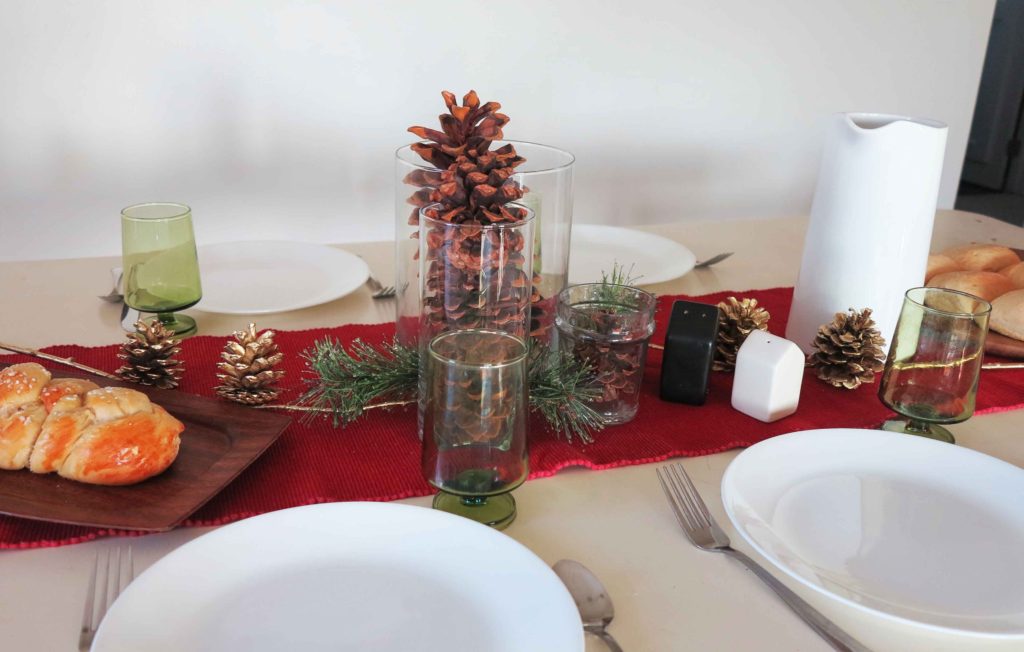
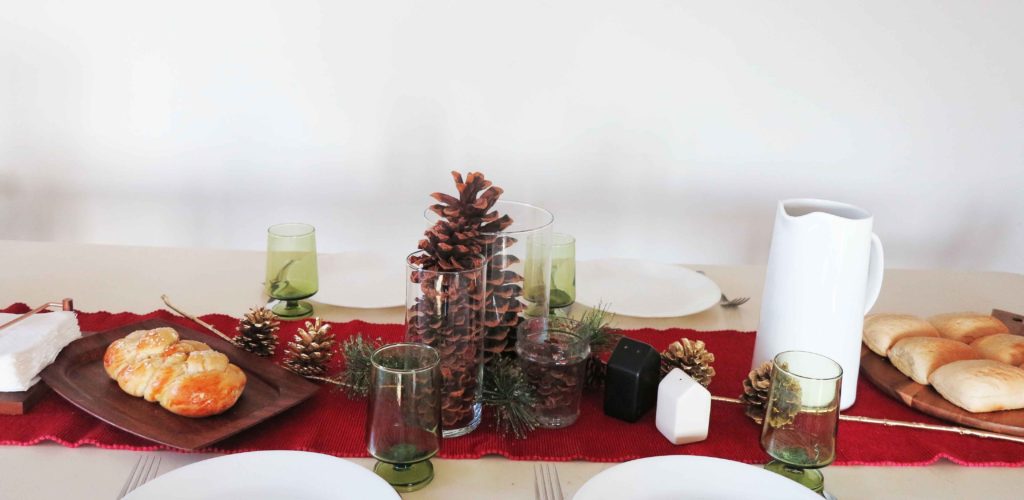
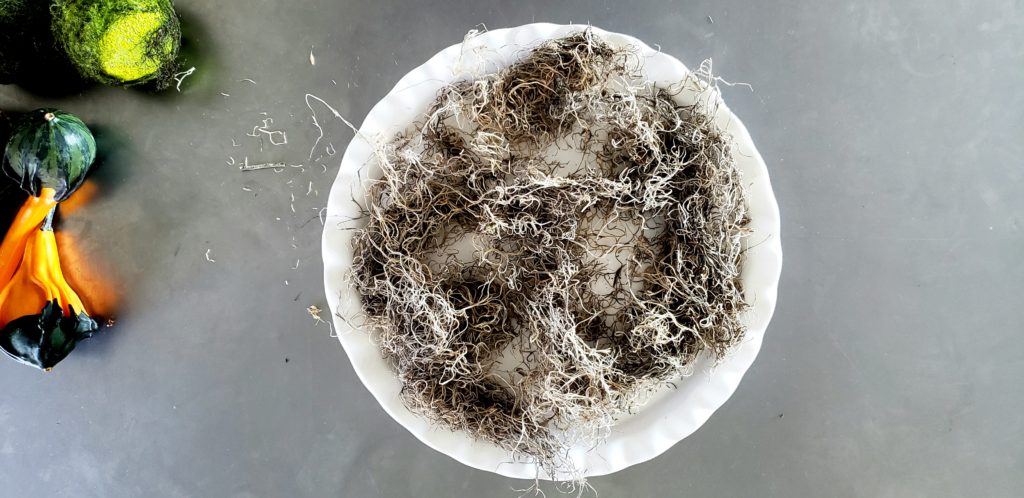
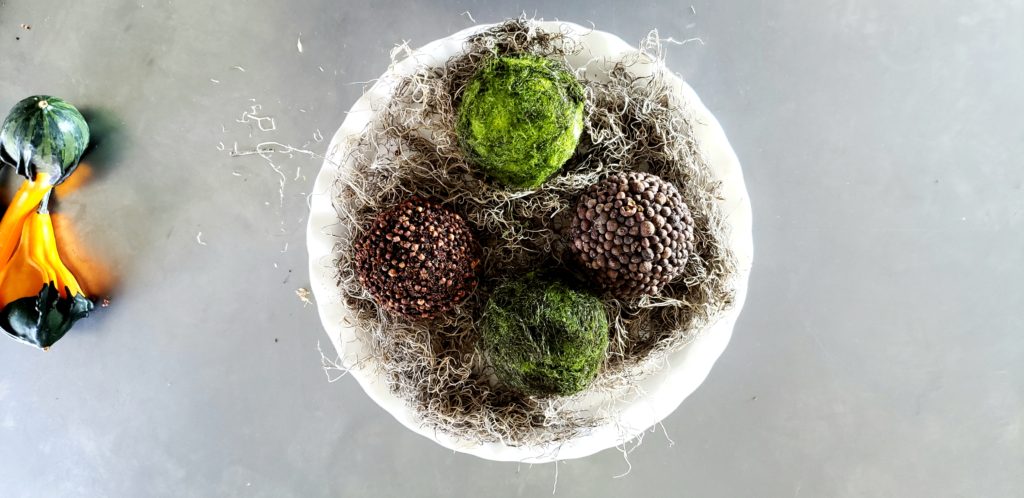
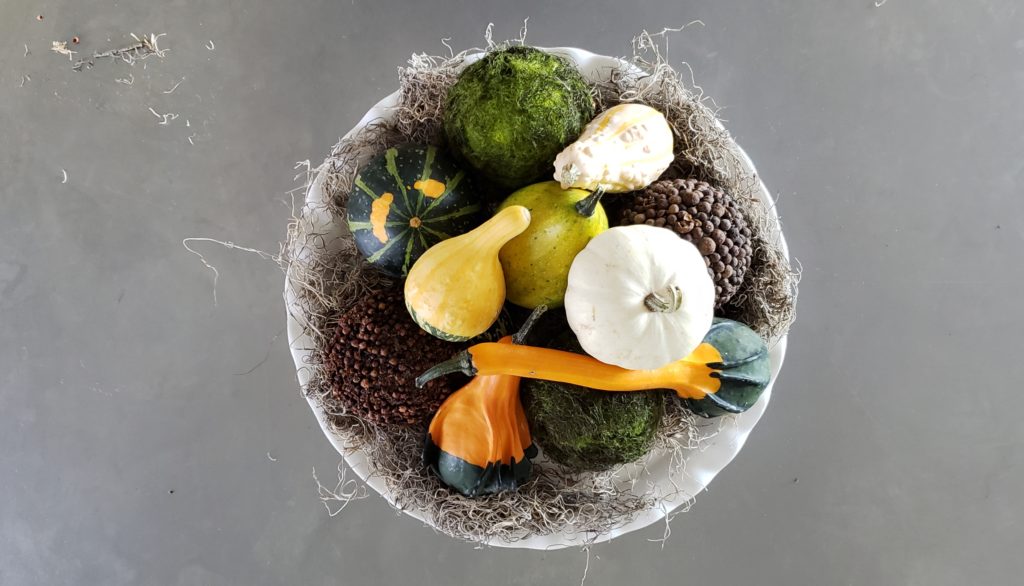
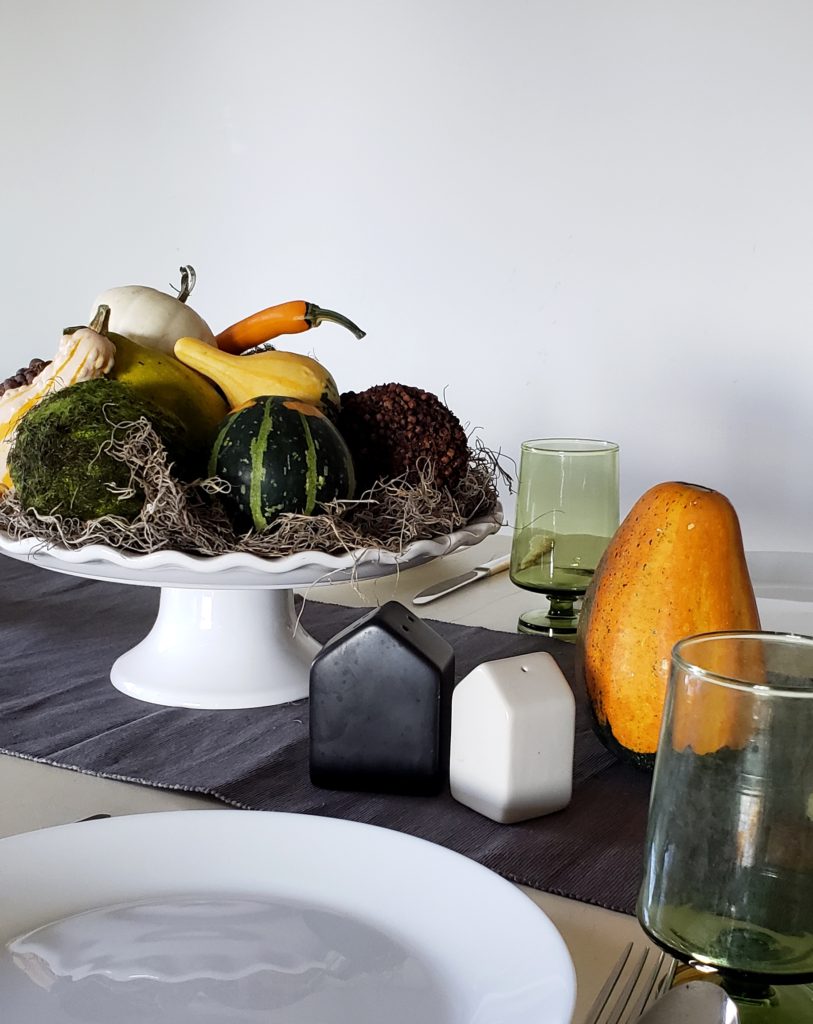
Hey, hey! Turkey day is almost here. This year we are hosting the big shindig. I thought I would share an easy Thanksgiving centerpiece with you. I am all for simple, simple, simple. I don’t do well with to many things and pieces….how I manage everyday life is quite a mystery! Anywho….back to the easy thanksgiving centerpiece.

I do not like really large centerpieces where you can’t see the person you are across from. Of course this works pretty good with bickering teenagers…. I prefer to keep the centerpieces low.

thanksgiving center piece supplies

Like most of my DIY’s, I encourage you to use your imagination. You can use this as a guide… if you do not have everything that is called for…use something else.

Supplies for the easy thanksgiving centerpiece:

  • cake platter or pedestal bowl
  • Spanish moss
  • moss balls ( found at craft stores)
  • textures balls (I made mine but found at craft stores)
  • small gourds
  • table runner

spanish moss base

Place the Spanish moss onto your base. Spread it around until you are happy with the amount.

spanish moss


With your fingers, make small openings in the moss where you will set your first 4 items. This will help hold the balls in place.

moss balls

Put your moss and textured balls into the indents you have created. This will be your base of the arrangement.

gourds in centerpiece

Take your gourds and put them around and on top of the balls. You can add as many or few as you would like. Also if you want, you can place any extra gourds on the table runner next to the centerpiece.

thanksgiving centerpiece

I found the Spanish moss at Jo-Ann Fabrics.

My cake platter came from Target

The moss balls can be found at Michael’s

Here are some textured balls

and a cute grey table runner.

Gourds can be found at any grocery store.

These links are not affiliated.

What do you like to put on your table at Thanksgiving?

Check out this easy DIY holiday project.  These cards will be the finishing touch for your gifts this year.


DIY Nature-stamped Holiday Cards

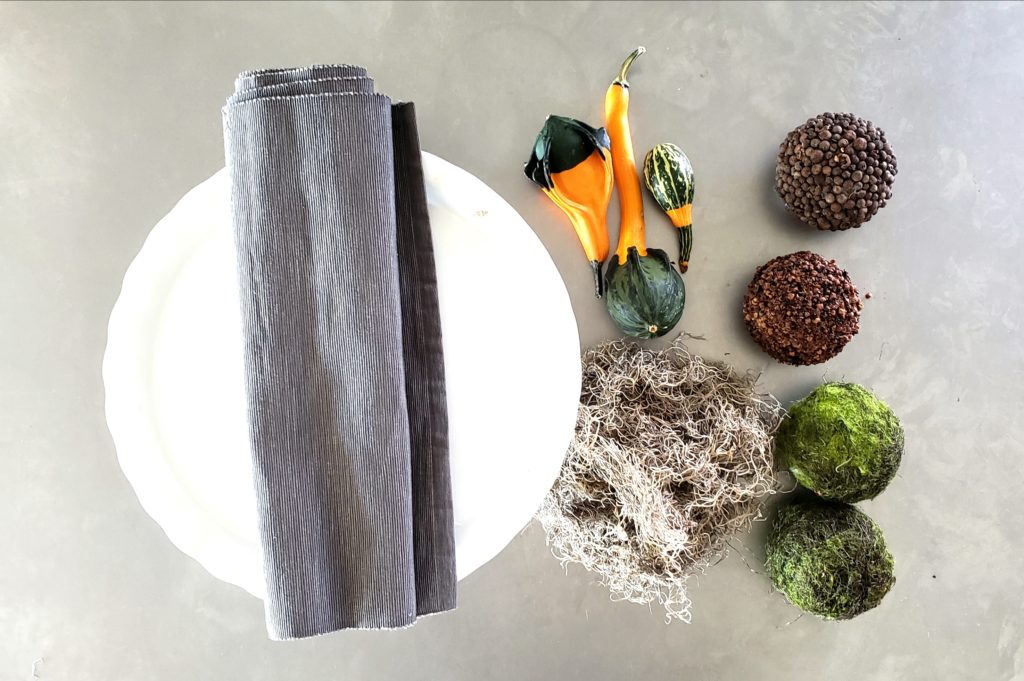
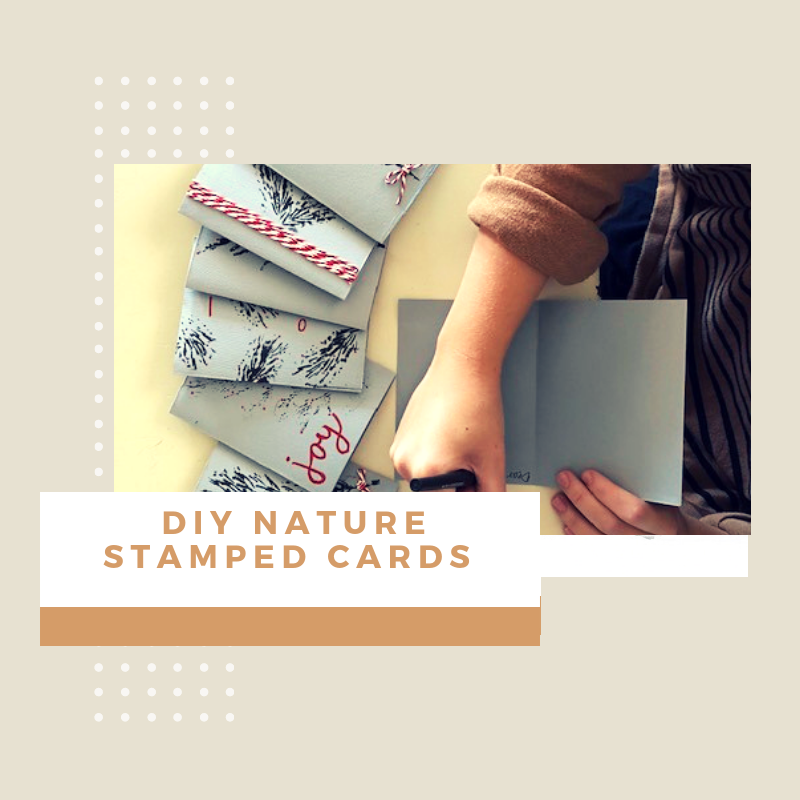
Well, well those greeting cards are going to start filling your mailboxes before you know it. Nature-stamped holiday cards are fun and easy to create. The best thing about these cards is each one is different and you can add your own personal touch. We were inspired by our love of nature and DIY personality. The holiday season will be here before we know it, so get ahead of the busy time and start with making these fun and easy cards.

Supplies

stamped card supplies
DIY card supplies
  • Card stock
  • Nature inspired stamps (pine tree twigs, leaves, pine cones, evergreen twigs,etc)
  • Paper cutter
  • Speedball block print ink
  • Plexiglas for ink rolling (any flat surface works)
  • Ink roller
  • Pens, markers, ribbon

Optional:

  • gloves to avoid getting ink on hands
  • Newspaper for work area
  • Stickers, glitter, etc.

Step 1:

cutting card stock

Cut card stock in half and fold each half in half to create 2 cards. Set aside.

Step 2:

Spread ink evenly onto prepared space.

Step 3:

Press twig into ink. Make sure the entire twig gets emerged into the ink to ensure the full effect of the stamp.

Step 4:

Press twig firmly onto card stock. Set aside and let dry.

Step 5:

Add your creative touch with markers, ribbon, glitter, and stickers.

nature stamped cards

With the holiday season quickly approaching, get ahead of the game and make your holiday cards early. We hope you enjoy making these easy nature-stamped holiday cards. Remember, let your creative mind sore! Enjoy your last few days of fall.

foraged wreath from your yard DIY

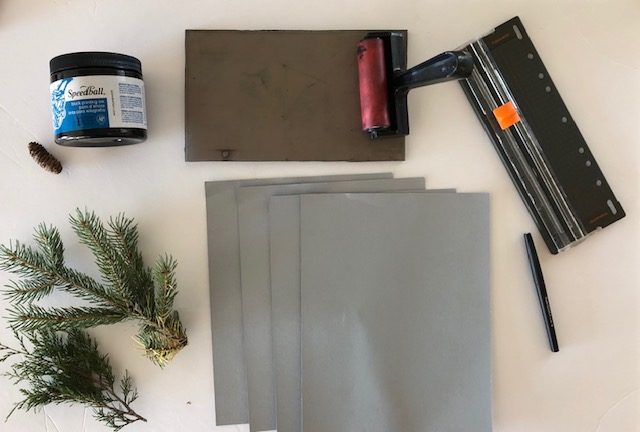
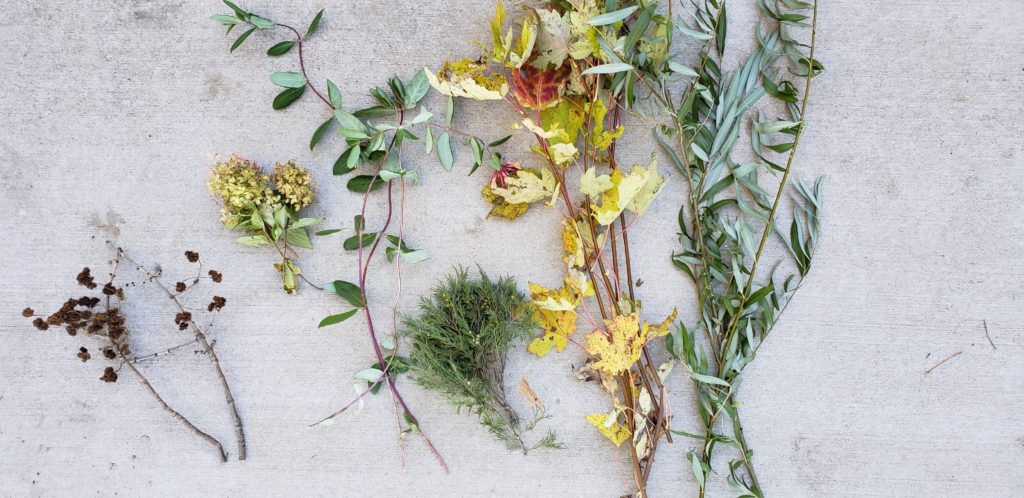
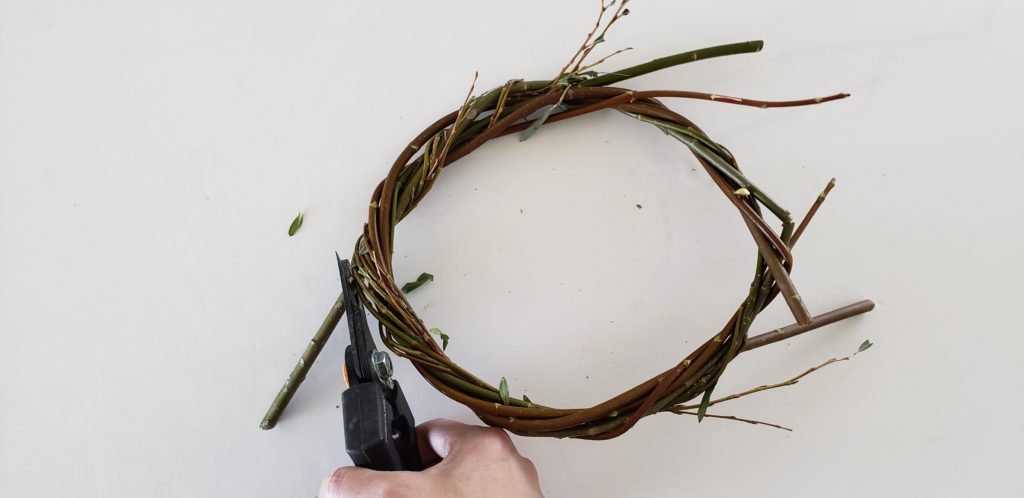
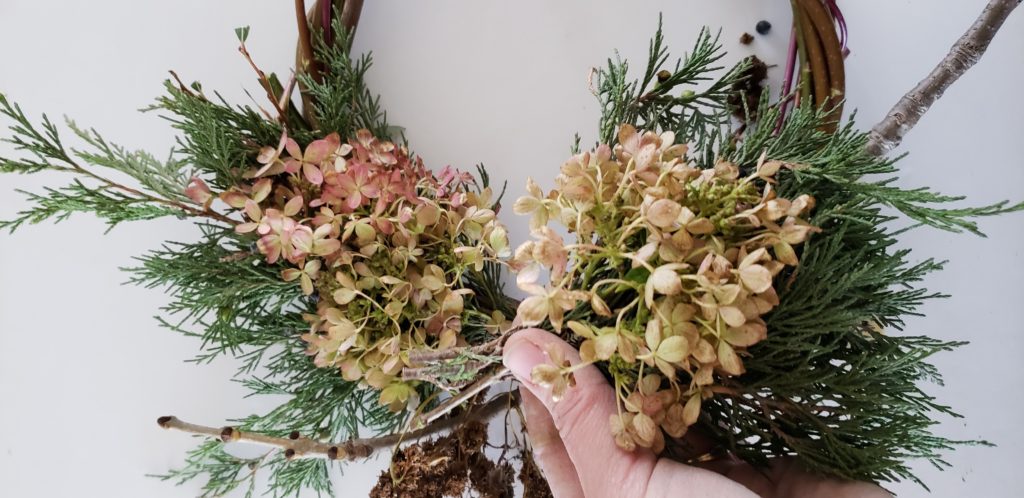
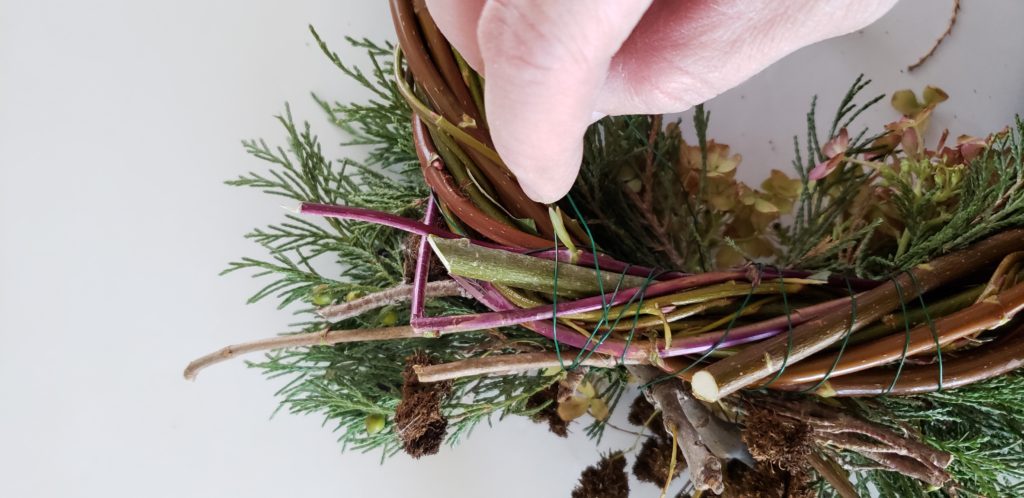
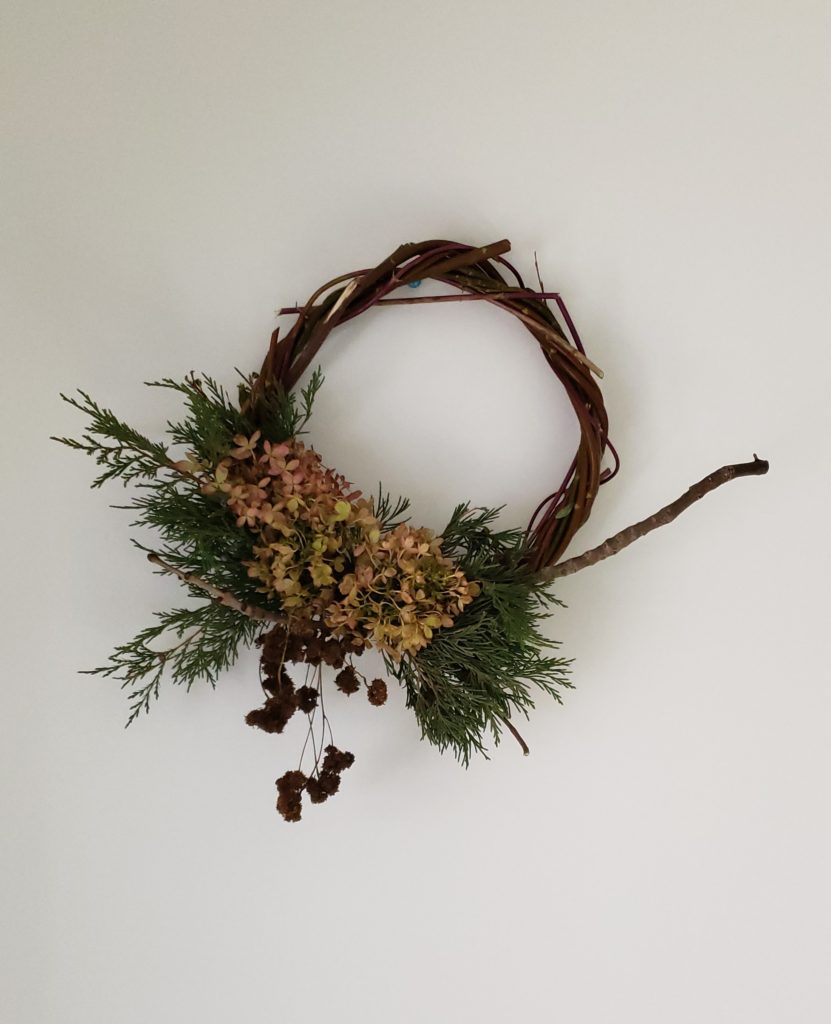
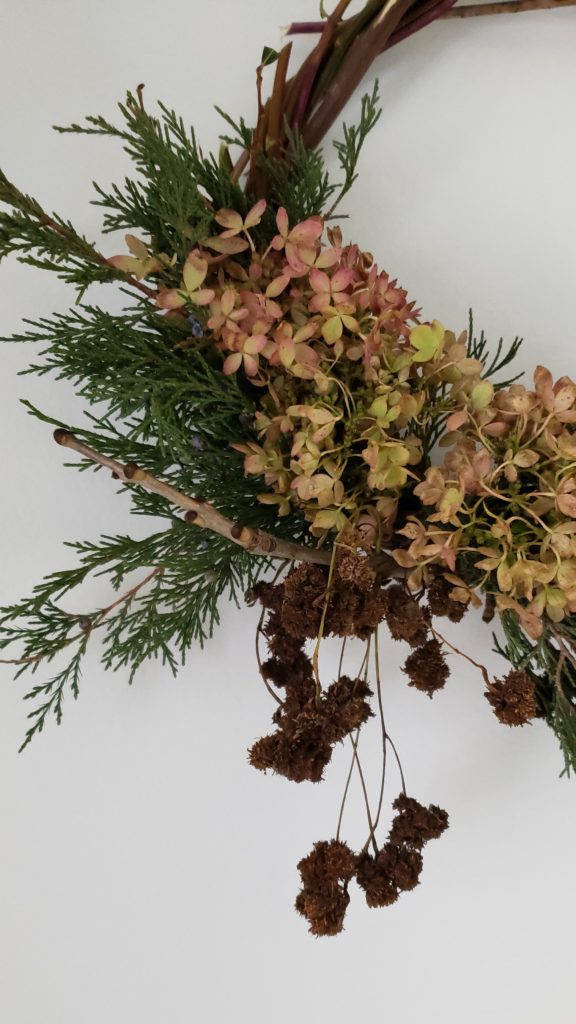
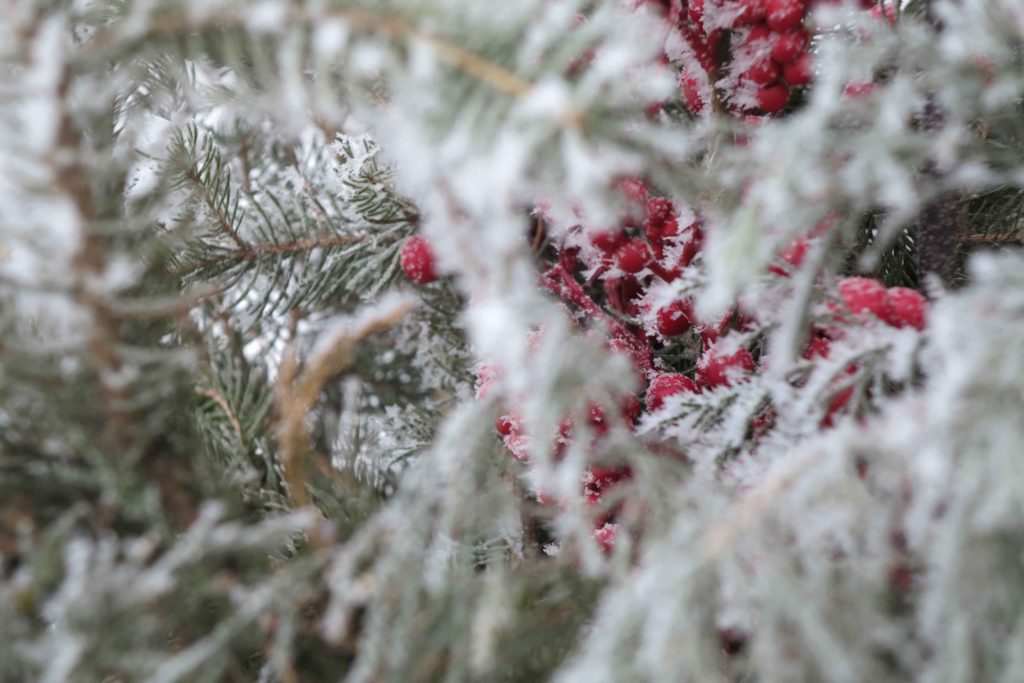
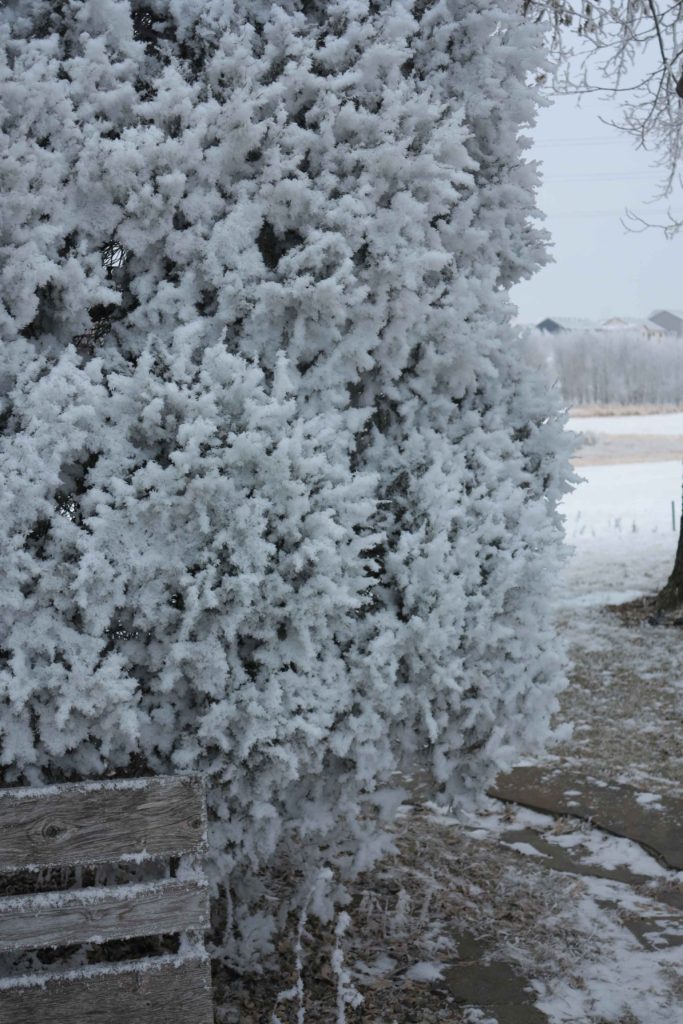
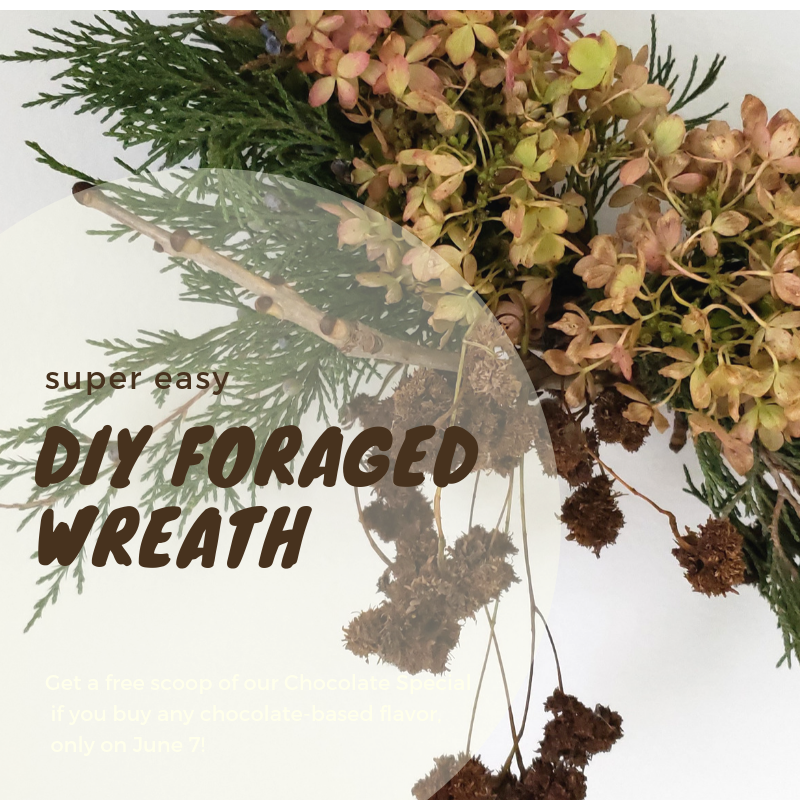
Do you look for a new wreath every season? Did you know you can make a foraged wreath from you own yard…or your neighbors? With a few foraged twigs and leaves you can put together a wreath in no time at all.

Foraged wreaths are so amazing. Each one is unique. The best thing about a foraged wreath from your yard..or your neighbors is that you made it!! A foraged wreath does not need to be perfect.

What is a foraged wreath? The word forage basically means “in search  of” . In this case we are in search of natural materials for our wreath.

I am going to give you a supply list. This list is just the basics that you need for making your wreath. Please feel free to add anything you find to your wreath. We are making this wreath without a wreath form.  The form will be made from foraged materials.

DIY foraged wreath
foraged goodies

Supplies

  • floral wire
  • needle nosed pliers
  • clippers
  • bendable twigs/branches
  • foraged goodies

In the above photo, I foraged hybrid willow branches, young maple branches,  hydrangea blooms, cedar clippings and ash twigs with seeds

Step 1 making the wreath form

willow branch wreath

Take your longest bendable branch and make the desired size circle leaving the rest of the branch free. With your non dominant hand hold the branch together where you connect the circle, then with your dominant hand wrap the remaining branch in and around the circle.

willow wreath

To add your next branch. Insert the thickest end of the branch through the base about 6 inches. Hold the branch with your non dominant hand to the top inside of the wreath.  With your dominant hand wrap the branch in and around the base until you have wrapped the entire branch. Weave the end of the branch into the wreath. Continue adding branches until you reach you desired thickness. Use the clippers to cut off the ends of the branches that are sticking out. Like I mentioned earlier. There is no rules! Make your wreath as thick or thin as you like.

Step 2 Adding foraged materials

foraged materials

Divide your foliage and flowers into small bunches and secure with a small piece of the floral wire.  For my wreath I used 3 bunches. It works best to have your greenery in the back of the bunch and your focal floral in the front.

wreath making

Attach the floral wire to your wreath base. Lay your bunch on the base and wrap securely several times around with the wire. Add your next bunch just below your first secured bunch and wrap with the wire.

wreath making

If you are only going to put the bunches part way around the wreath base. Attach the last one in the opposite direction as the rest to give the end a clean finish.

Add other items you have foraged the same way with the wire.

Finishing

To finish the wreath. Wrap the remaining end of the wire around the stems on the back of the wreath form.

Cut a piece of wire about 4″ in length. On the back of the wreath at the top weave the piece of wire through some branches and back out. Twist the 2 ends together. This will be your hanger for your wreath.

wreath making

foraged wreath