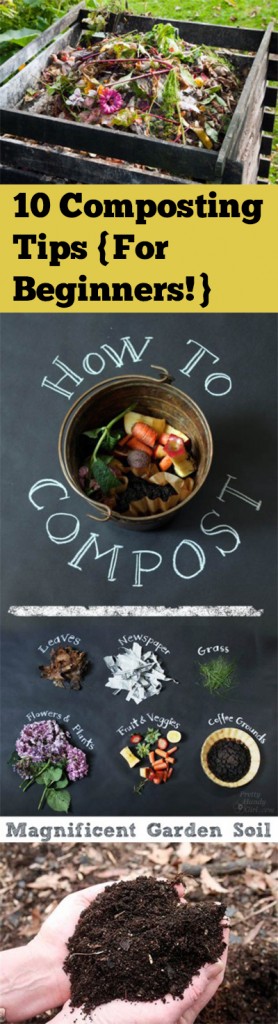
 Hello! The countdown for Christmas has begun! This easy diy countdown to Christmas calendar is a fun, memorable way for you and your family to keep track of how many days until that special holiday is finally here. With only a few simple steps you can create this countdown calendar that will give you an easy go-to for the “how many days until Christmas” question that gets asked multiple times a day.

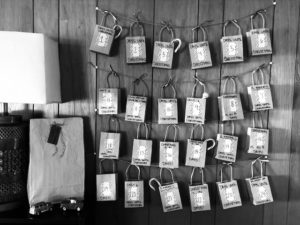
To start you will need:
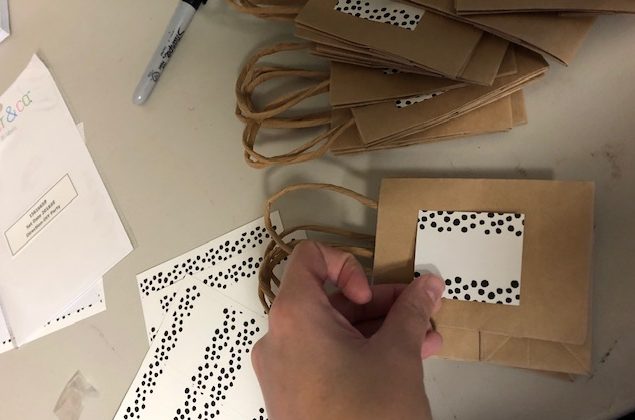
- Little gift bags
- Stickers
- Markers
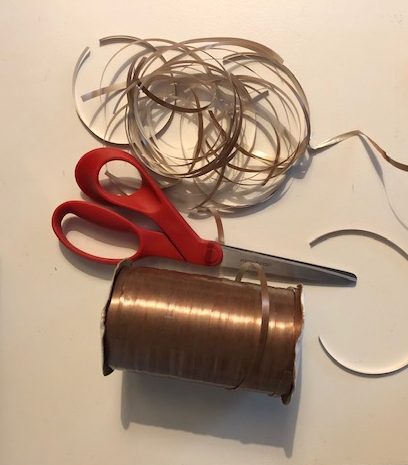
- Ribbon or string
- Thumb tacks
- Treats
Step one:
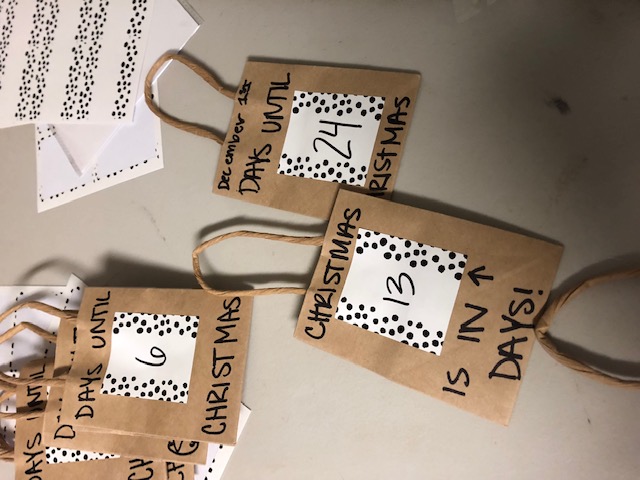
Place a sticker on each bag and number the bags from one to 24.
Step two:
Add some fun little quotes, sayings, or facts to your bags. Here are some suggestions:
- ___ days until Christmas
- Christmas is in ____ days
- Only ___ days until Christmas
- I can almost count on my 10 fingers, 11 days until Christmas
- Christmas means expressing surprise. __ days until Christmas.
- It’s the most wonderful day of the year in ___ days
Step three:
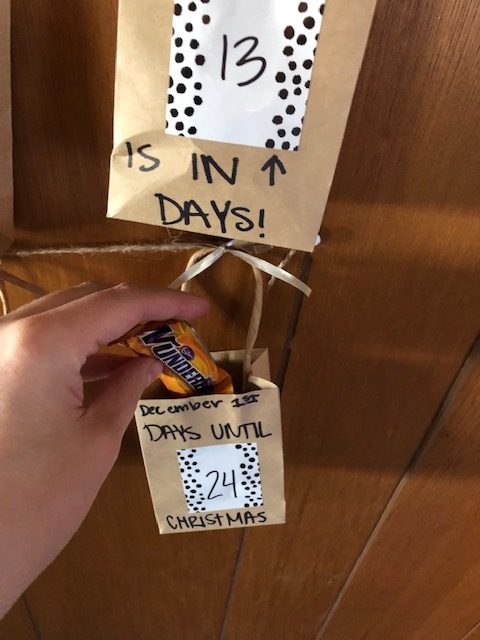
Hang up 4 rows of ribbon with your thumb tacks and tie the numbered bags to each row. Have fun here, you can put the bags in order as I did; or you can scramble all the numbers so you have to find the correct bag each day.

Step four:
Add a treat to each bag. I used some delicious Canadian chocolate bars that a family friend brought down for us, as well as some candy canes, mini Hershey bars, hi chews, gobstoppers, and dum dum suckers.
This holiday season create a new family tradition with this easy diy countdown to Christmas calendar. The best part about using these little gift bags is you can reuse them year after year or decorate the other side next year for a different look.
Don’t forget to subscribe to receive some happy mail.
Enjoy your thanksgiving everyone.
Check out some other easy projects here.
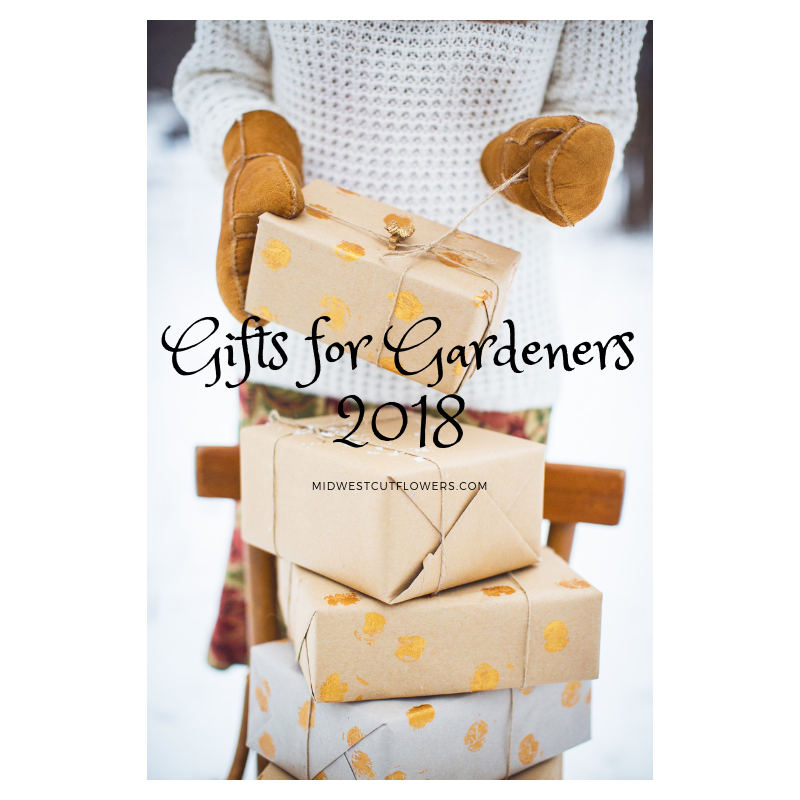 Here it is. The gifts for gardeners 2018 list.The Christmas shopping season is upon us! It feels like I just did a
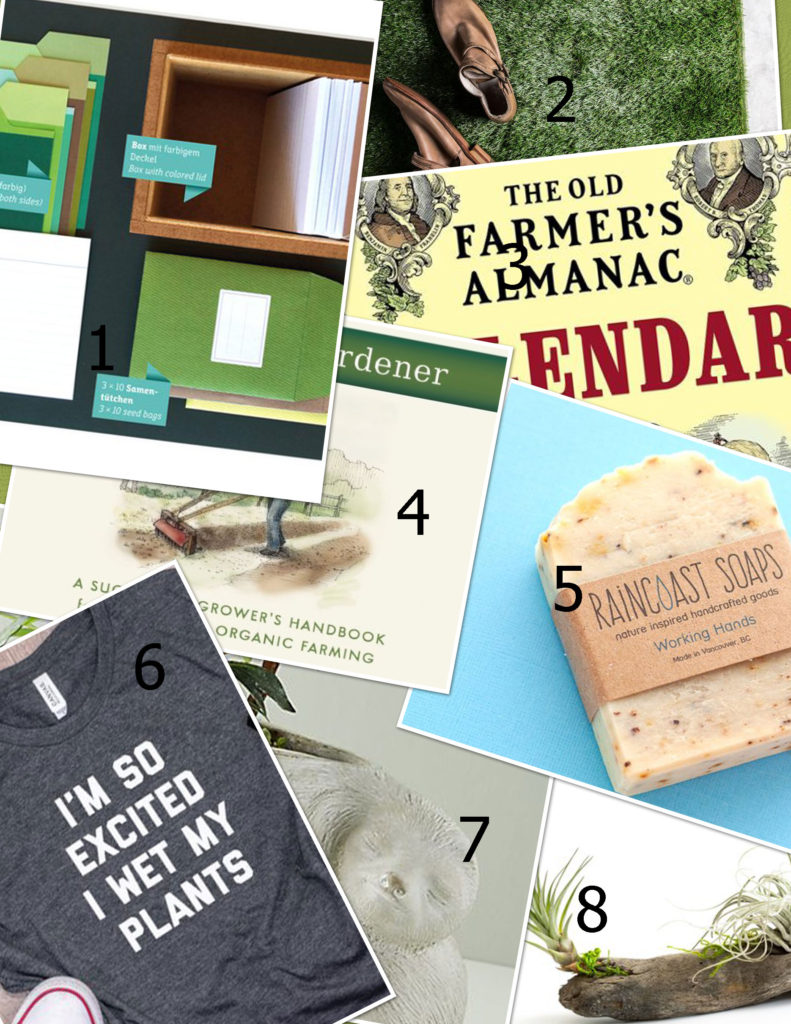
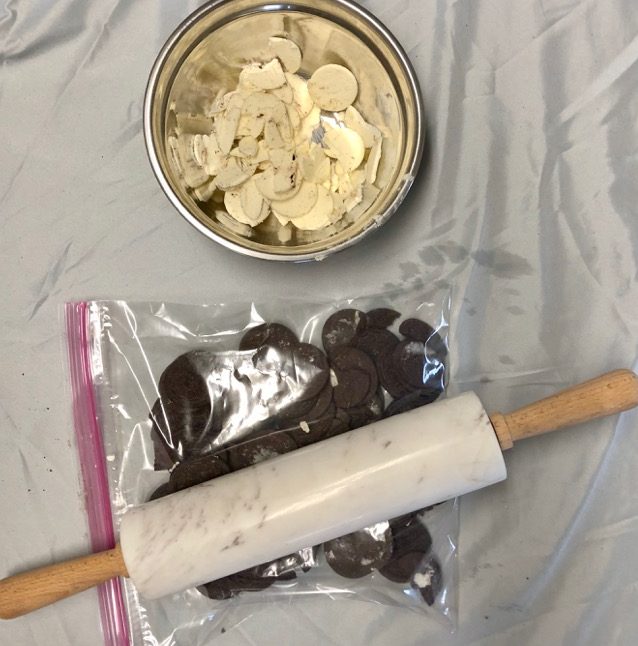
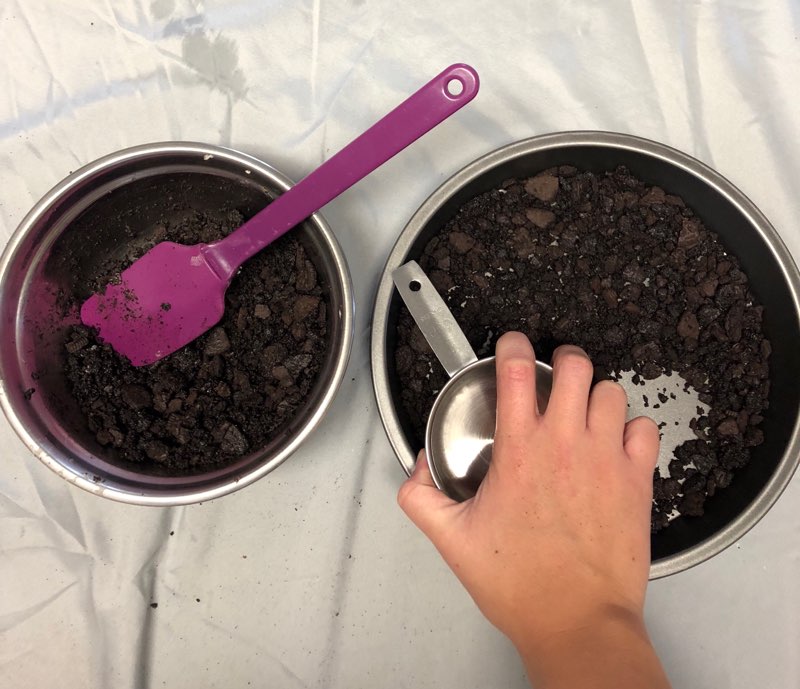
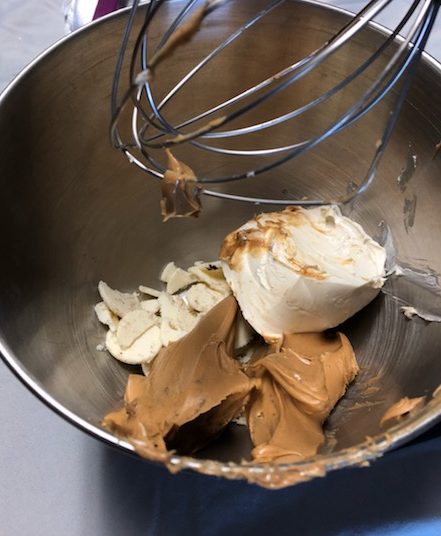
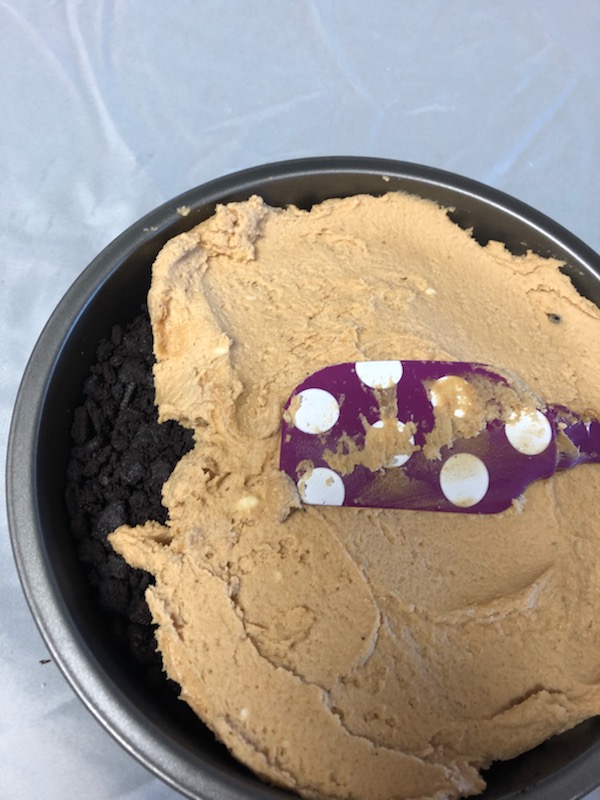
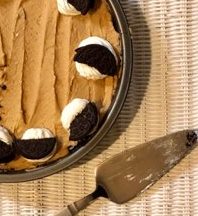
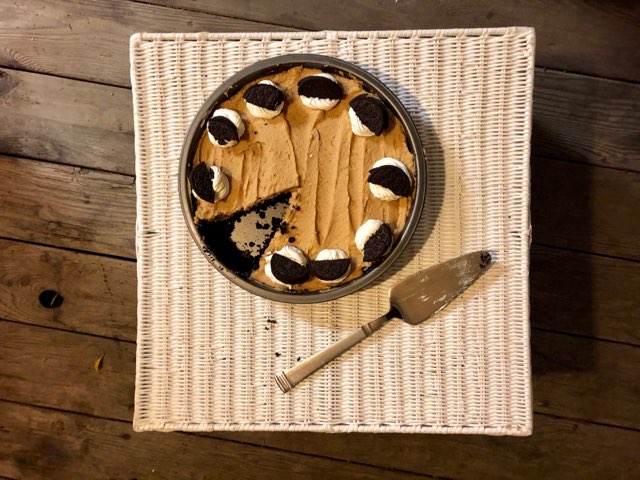 Okay you peanut butter lovers, this one is for you. What satisfies a sweet tooth more than a smooth rich piece of Oreo peanut butter pie. I got my inspiration for this Oreo peanut butter pie from my dad. Although all he can do is look at my pie in pictures, due to the fact that we live 1700 miles apart. My dad is the guy at thanksgiving that passes the classic apple, pumpkin, or pecan pie and heads straight for the richest, peanut butteriest, chocolatiest looking pie. One of the biggest things that draws me towards making this pie around the holidays is the small ingredient list. There is nothing better than whipping up a good looking pie in no time at all!
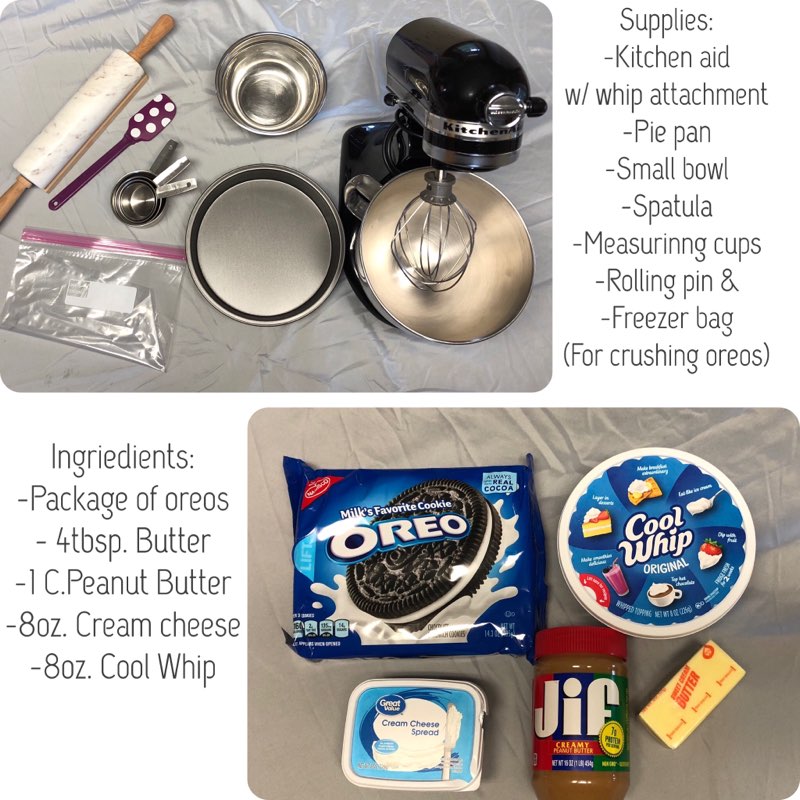
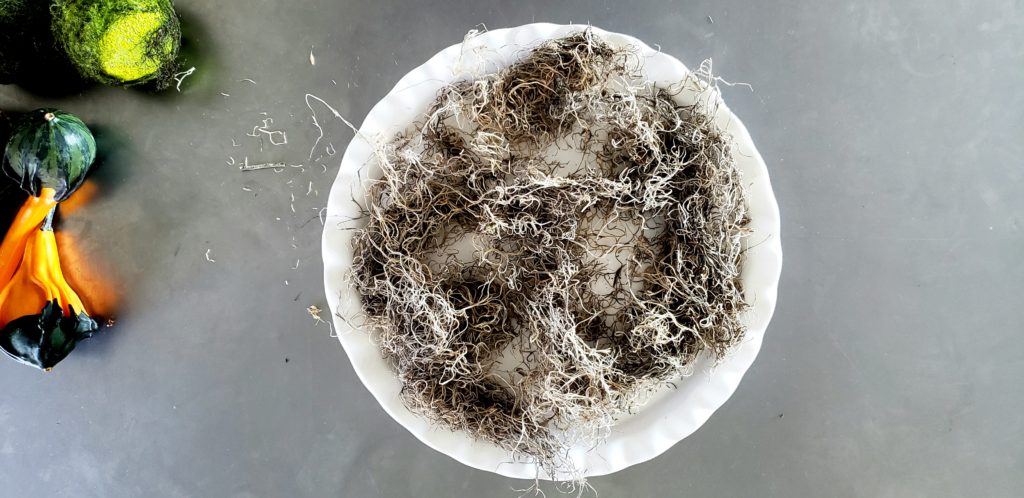
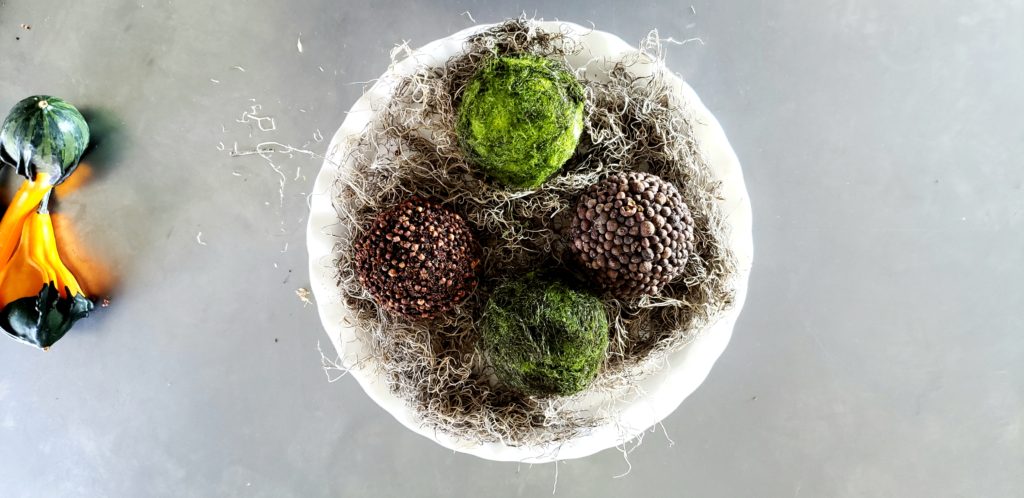
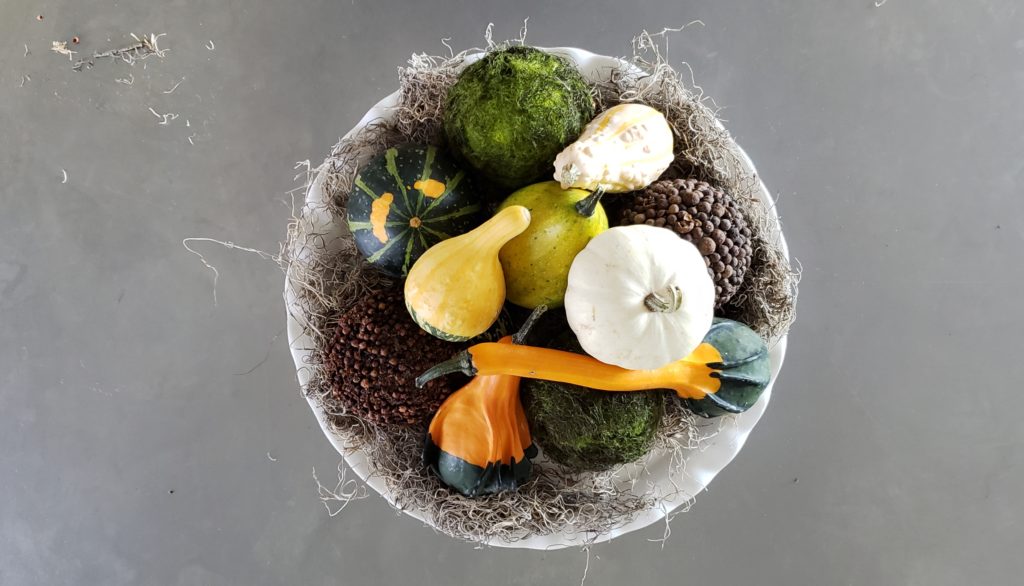
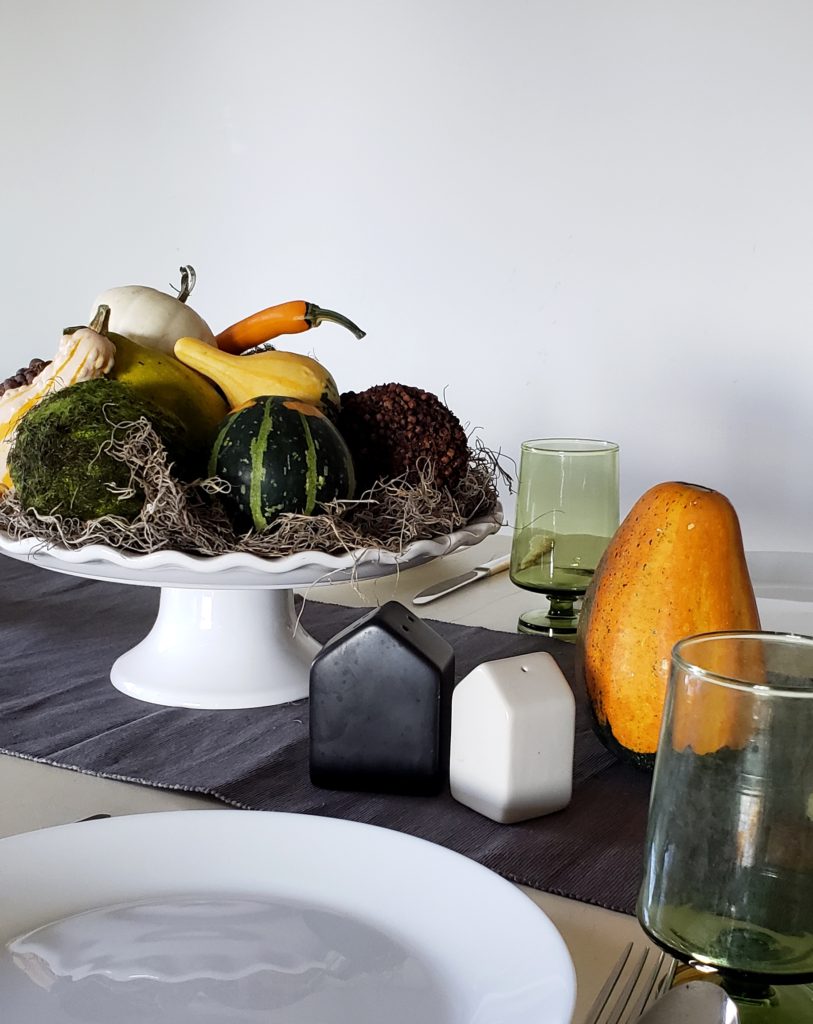
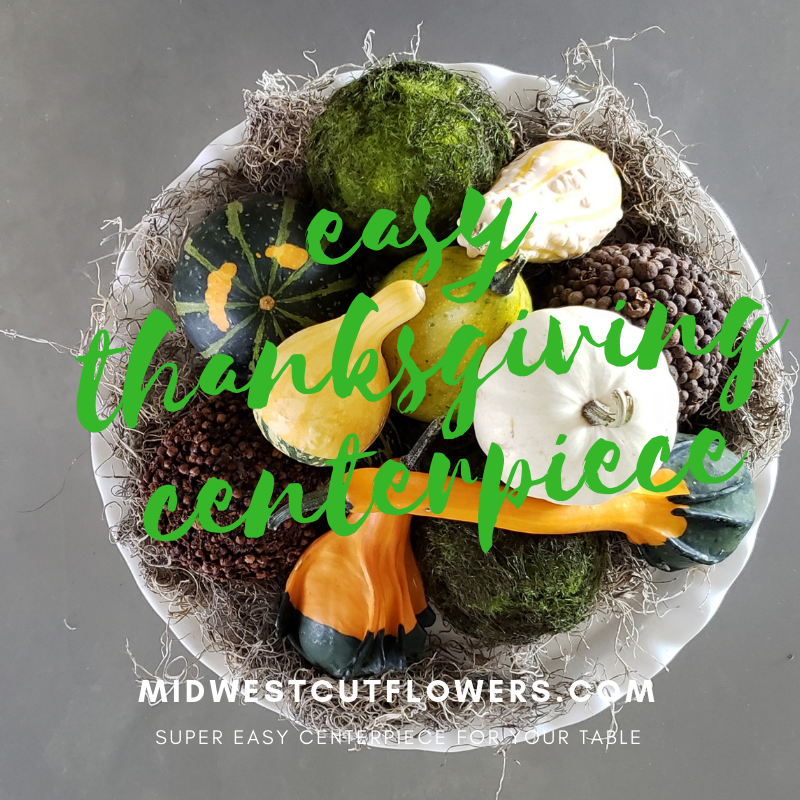 Hey, hey! Turkey day is almost here. This year we are hosting the big shindig. I thought I would share an easy Thanksgiving centerpiece with you. I am all for simple, simple, simple. I don’t do well with to many things and pieces….how I manage everyday life is quite a mystery! Anywho….back to the easy thanksgiving centerpiece.
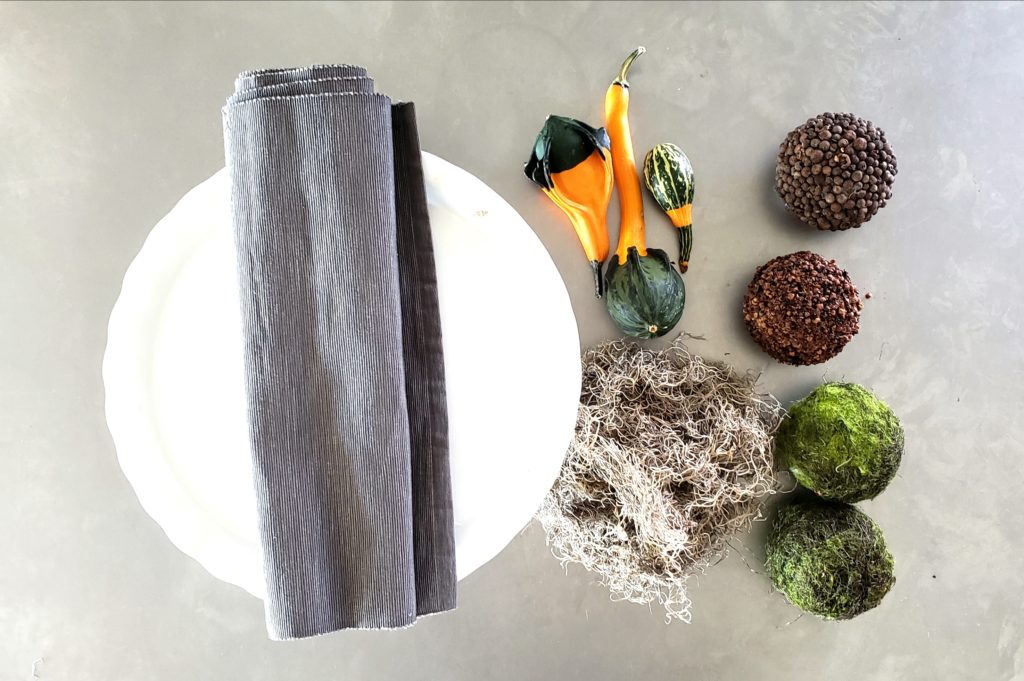

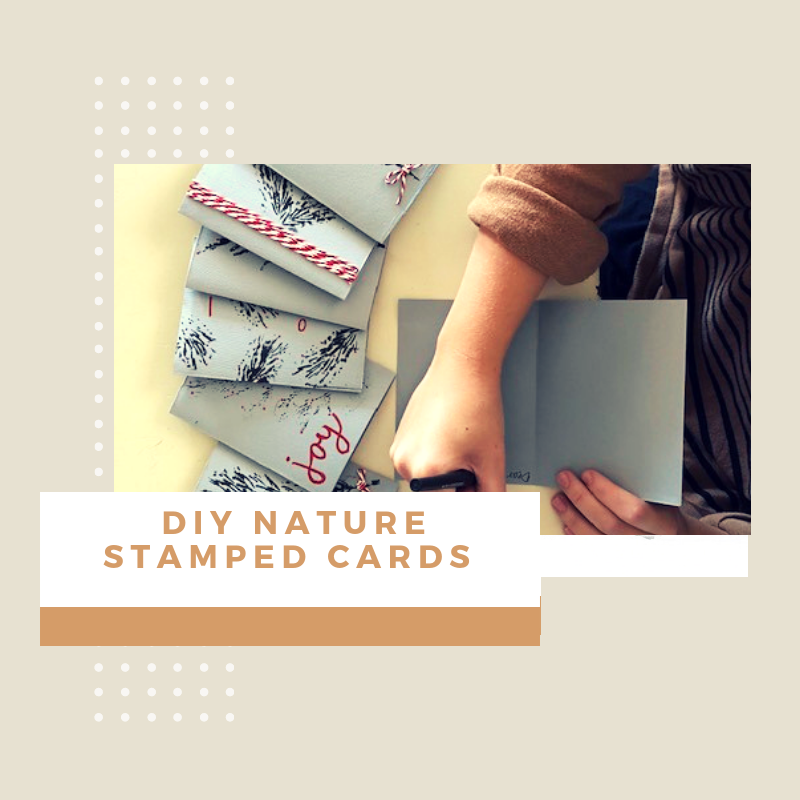 Well, well those greeting cards are going to start filling your mailboxes before you know it. Nature-stamped holiday cards are fun and easy to create. The best thing about these cards is each one is different and you can add your own personal touch. We were inspired by our love of nature and DIY personality. The holiday season will be here before we know it, so get ahead of the busy time and start with making these fun and easy cards.
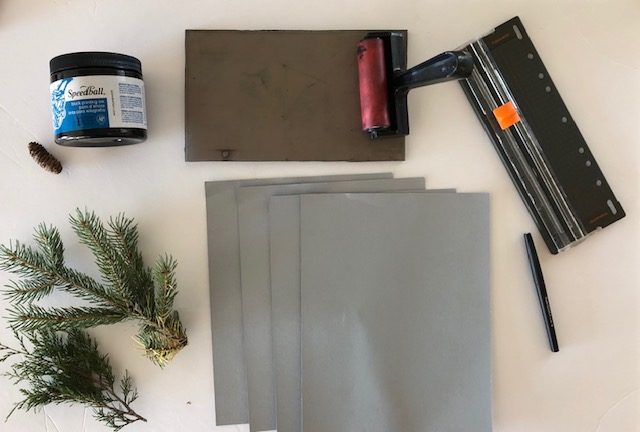


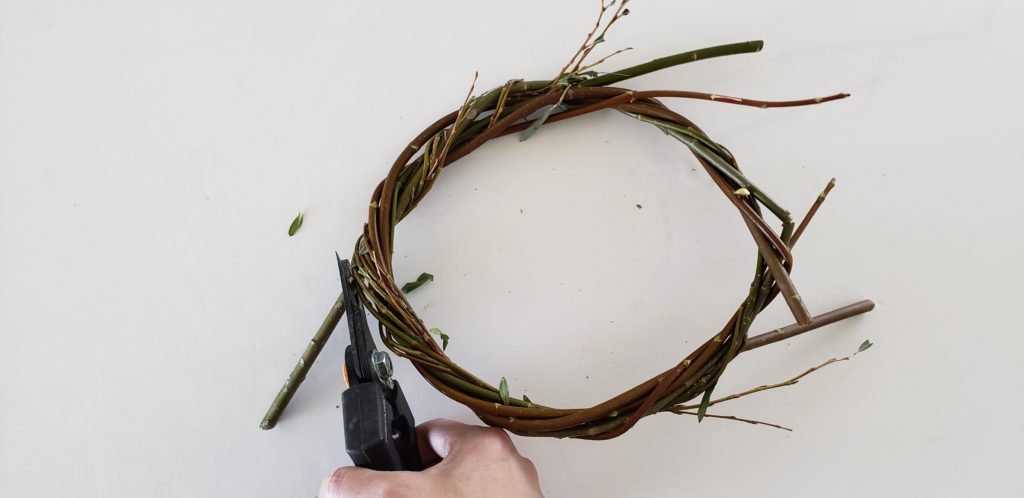
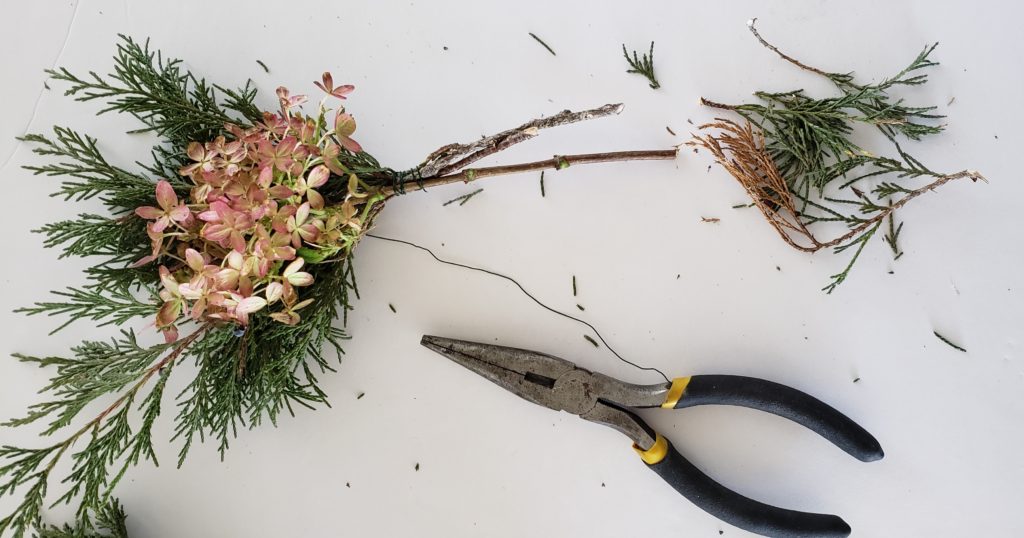
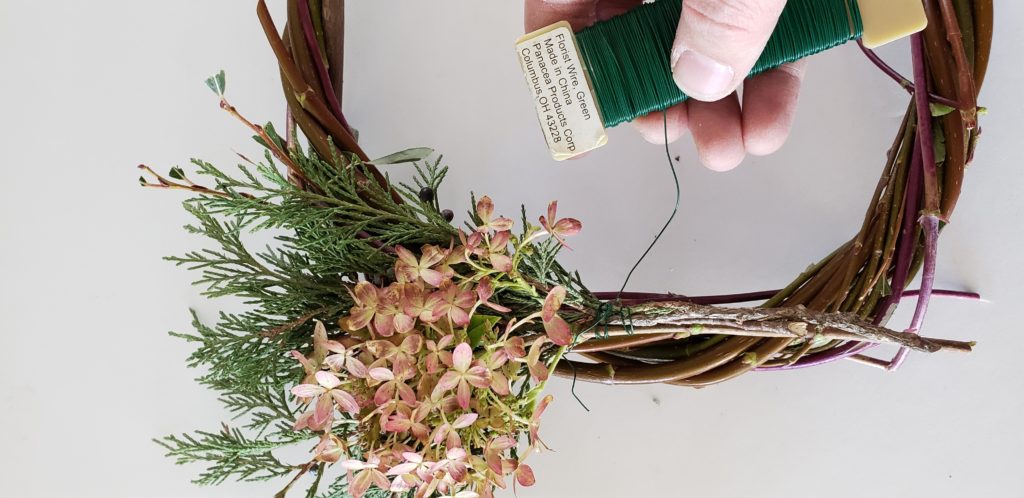
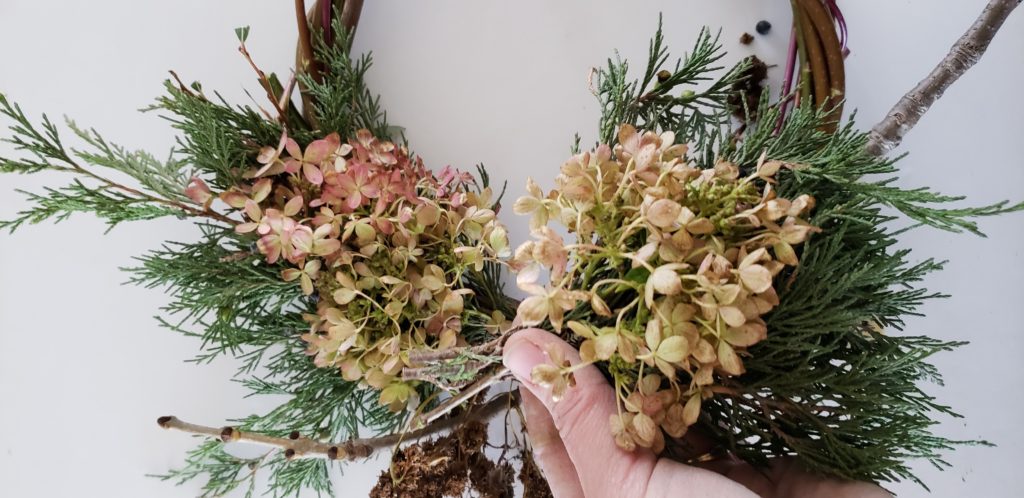
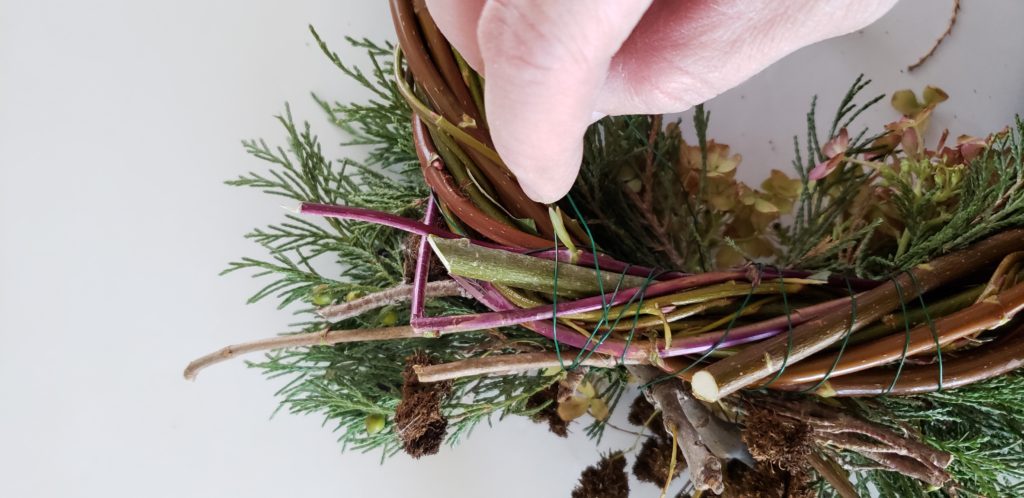
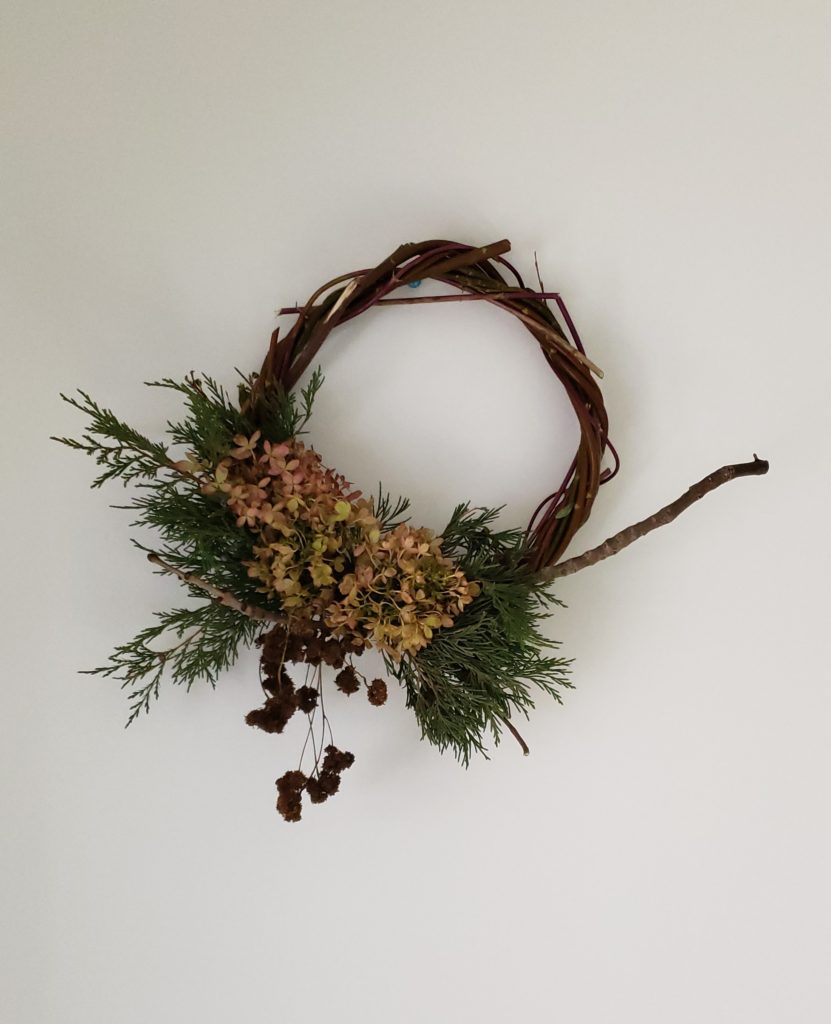
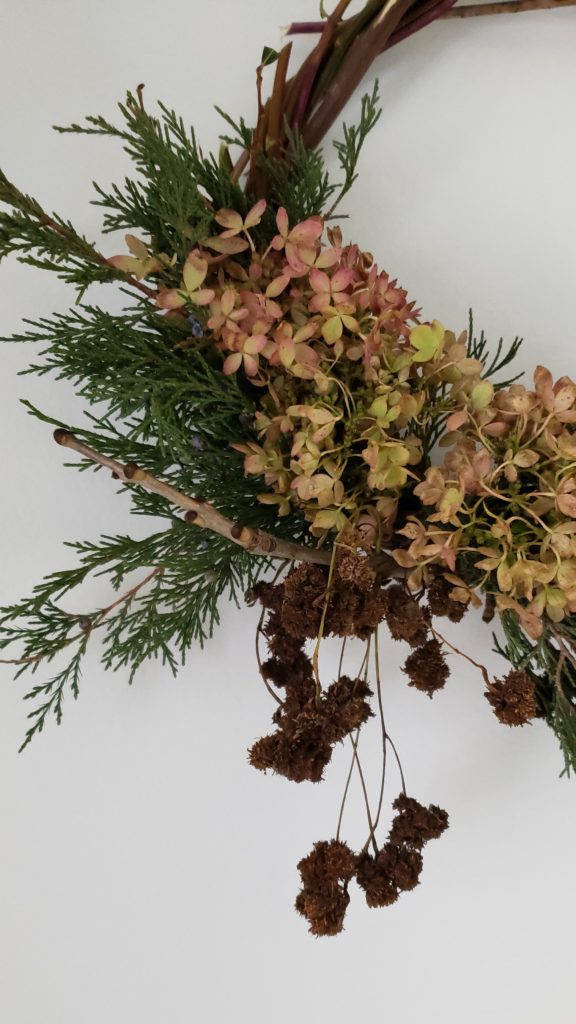
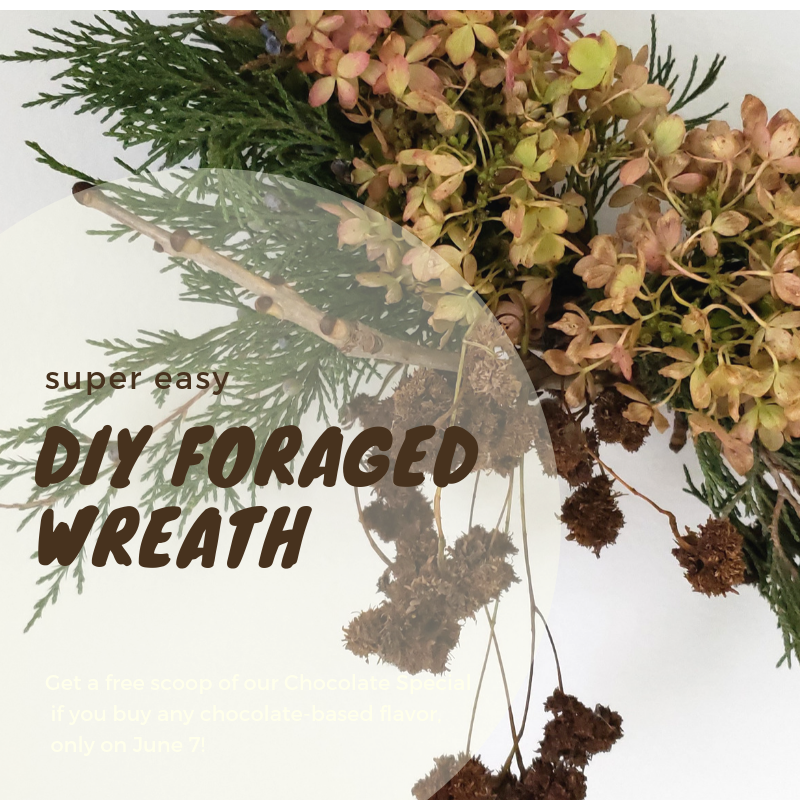 Do you look for a new wreath every season? Did you know you can make a foraged wreath from you own yard…or your neighbors? With a few foraged twigs and leaves you can put together a wreath in no time at all.
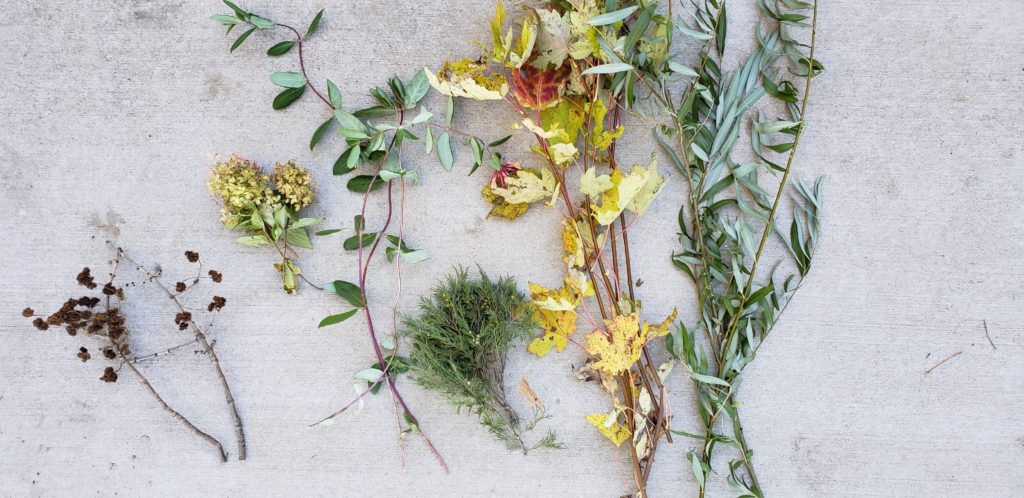

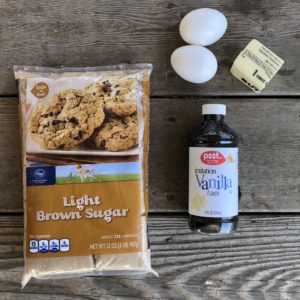
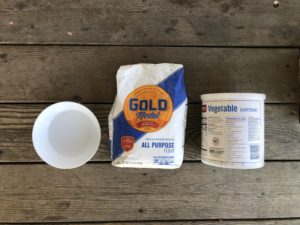
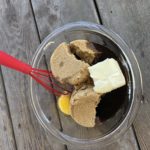
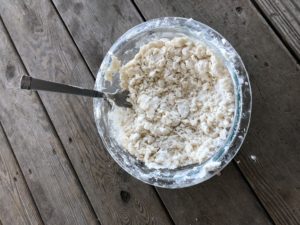
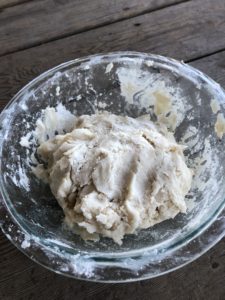
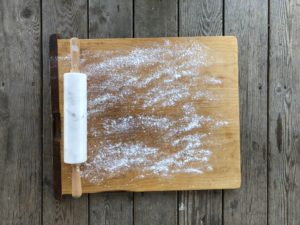
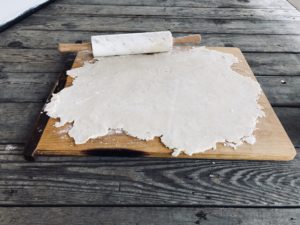
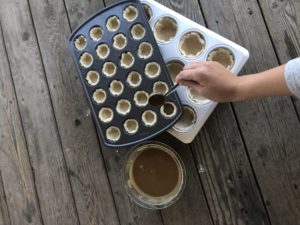
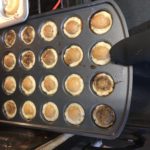
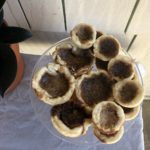
 It’s that time of year when my thoughts turn to how fast summertime went and all the while trying to enjoy this beautiful fall weather. Baking traditional Canadian desserts is one of my families “must haves” at this time of year. Butter tarts first came to Canada in the early 1900’s from France. Growing up in Canada, we had butter tarts every holiday season, with some for special occasions throughout the year.