Easy DIY Card with dried flowers

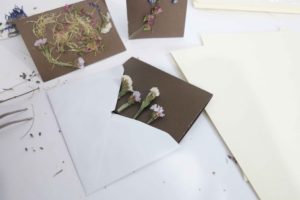
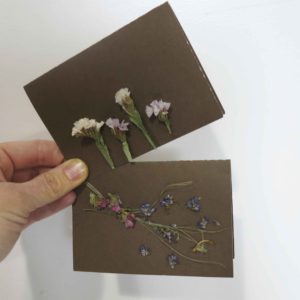
Easy DIY card made with dried flowers.
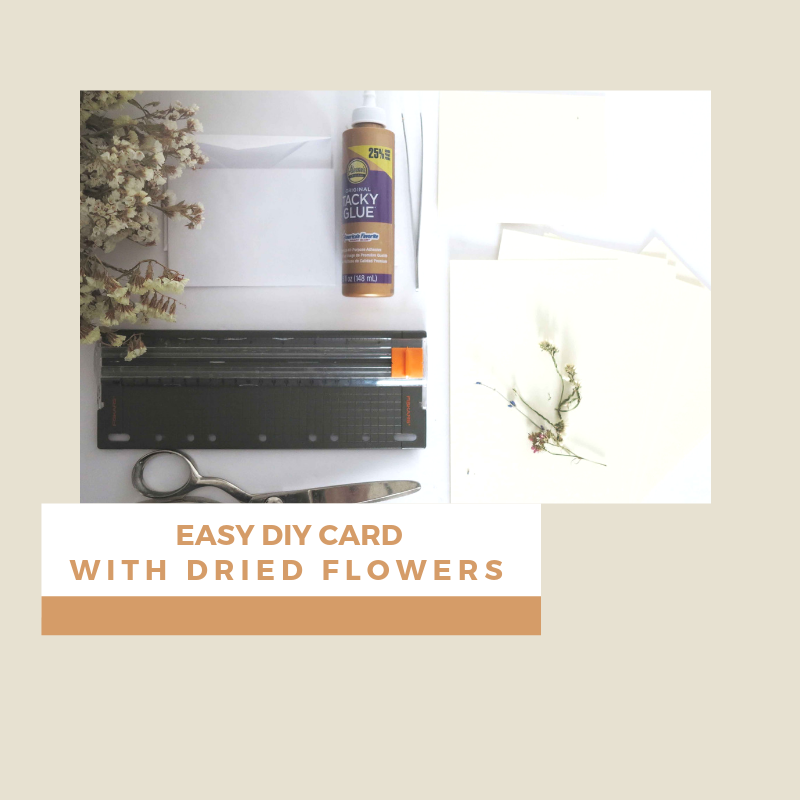
DIY card with dried flowersAre you a DIY’er? Even if you are not this Easy DIY  Card made with dried flowers will be a joy to make and give. The DIY card is perfect for every occasion.

Giving cards is a custom that dates back many years. The tradition can be traced by to the early Chinese, who gave greetings of goodwill on cards for the new year. These cards were only sent during this time, unlike today were we give cards for many occasions. The card giving traditions of today really took off after the introduction of the postage stamp and new technologies in the printing world. This gave people a more affordable avenue to send greeting to their loved ones.

Now we have the ability to send messages on our cell phones but….I love getting cards in the mail.

How about you? Does a good slow mail day lift your spirits?

DIY card with dried flowers

Like all of my tutorials. I encourage you to use this as a guide. Let your creative mind take over and apply your own touches to your project.
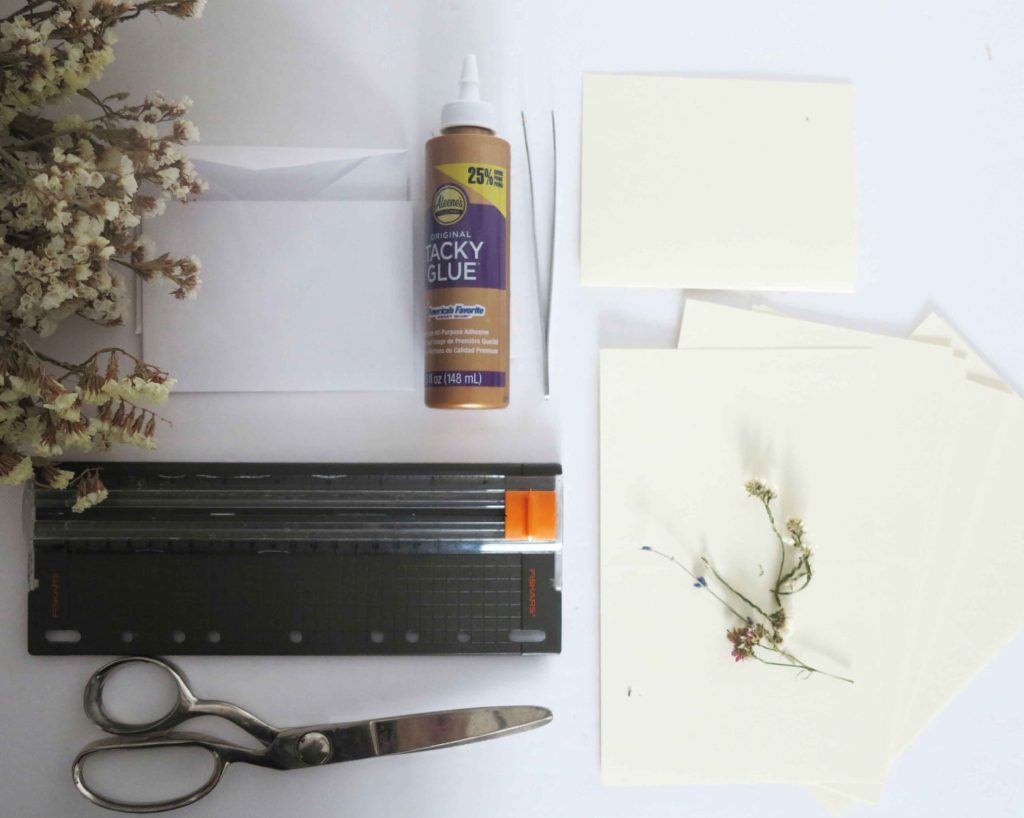
DIY card with dried flowers

Supplies

8″ x 11″Card Stock

Envelopes (invitation size)

Glue ( that will dry clear)

Scissors

Dried Flowers ( the flatter the better)

Ruler or paper-cutter

Pencil

tweezers

Directions
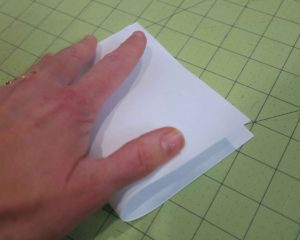
handmade card with dried flowers1. Bend the card stock in half, short side to short side as if you are going to crease the fold. Pinch the end where you would crease.
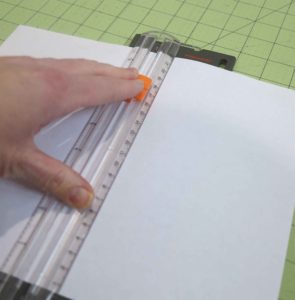
how to make a card with dried flowers

2. Using your paper-cutter line up the crease and cut the card stock in half. If you are using scissors, draw a light line with your ruler and pencil from the center where you pinched your card stock and cut along that line.
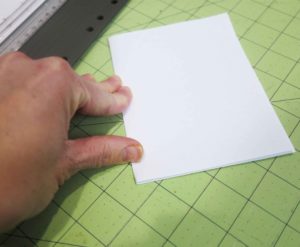
how to make a card with dried flowers

3. Now fold your cut card stock in half, running your finger firmly along the crease.

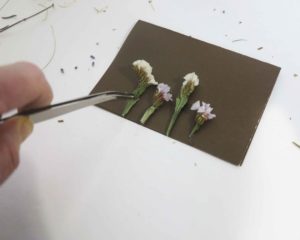
4. Take your dried flowers and play around with your design. The flatter your design the better. Experiment with pulling the petals off, flattening the flowers and moving the flowers around. Using your pencil mark a very light mark where you are going to glue your dried flowers.
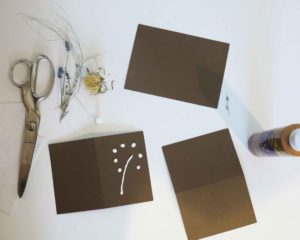
DIY card

5. Trace your design with the glue. Make sure you apply a nice amount. The flowers need to be pressed into the glue.
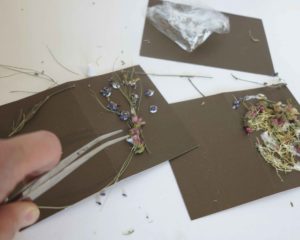
Easy DIY card with dried flowers

diy card

6. Place your dried flowers on the glue and firmly yet carefully press the flowers into the glue. The glue will squish out a bit but leave it, do not try to wipe it off. The glue will dry and encase the flowers, securing them to the card.
Easy DIY card using dried flowers

7. Let dry for 1 hour.

Easy DIY card with dried flowers

So that is it. Easy peasy. This is a great easy craft to do with kids. It is so special to receive a handmade card.

Want more flower tutorials? Subscribe to our email to be notified of the newest post.

What kind of projects do you do with dried flowers? Please share in the comment section. I would love to know.

Q&A

Do I have to use card stock?

Yes I would use card stock because you need a firm backing for the flowers.

Can I used pressed flowers?

Yes! Pressed flowers would be awesome.

Can I send these cards through the mail?

Yes you can. It would be good to put a piece of waxed paper on top of your flower design to protect it.

Here is another one of our card tutorials. Enjoy?

Share your cards with us! We would love to see them.


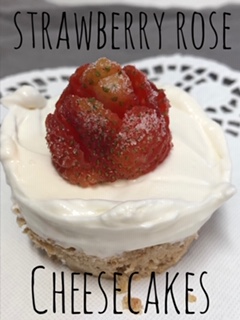
Strawberry Rose Cheesecakes

Strawberry rose cheesecake cupcakes

Strawberry Rose Cheesecakes

Valentine’s Day is coming up and we have the perfect dessert to serve your friends, coworkers, or family! These strawberry rose cheesecakes are a fun twist to your traditional personal cheesecakes. With the strawberry covered in sugar on the top it gives the cake a fun and loving feel.

So get your Valentine’s Day shopping list started by adding these ingredients:

Crust:

2 c. Graham cracker crumbs

1/4c. Sugar

1/2c. Butter (melted)

Filling:

8 oz. Cream cheese(softened)

1 c. Heavy whipping cream

1/2 c. Sour cream

2/3 c. Powdered sugar (sifted)

2 tsp. Vanilla

Strawberry roses:

12 strawberries

Small bowl of sugar

Directions

Step 1:

Strawberry Cheesecake cupcakes

Strawberry roses


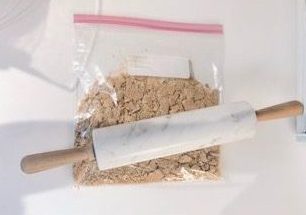
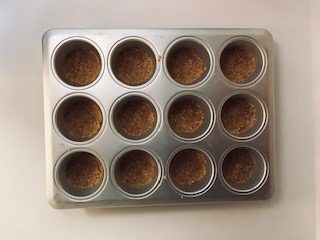
Crush graham crackers. Mix cracker crumbs, sugar, and melted butter until combined. Press 2 tbsp. of mixture into the bottom of cupcake pan. Freeze until firm.


Step 2:


Strawberry cheesecake cupcakes with whipping cream

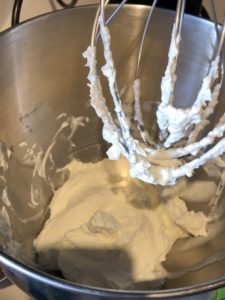
Measure out heavy cream and with an electric mixer mix until cream is at a firm peak. Approximately 3-4 minutes. Transfer whipped cream to another bowl.

Step 3:

Strawberry Cheesecake cupcakes

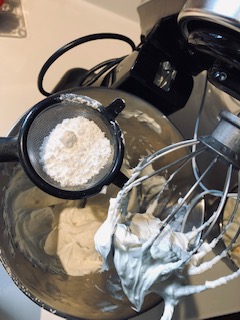
Mix together cream cheese, vanilla and sour cream. Sift in powdered sugar and mix until combined.

Step 4:

Fold in whipped cream until incorporated.

Step 5:

Strawberry rose cheesecake cupcakes

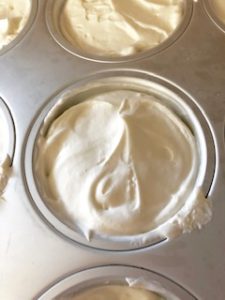
Add 1/3 c. of cheesecake mixture to each graham cracker crust. Smooth with a spatula and set in freezer for 1 hour.

Step 6:

Strawberry roses

Sugar dipped strawberries for cheesecake


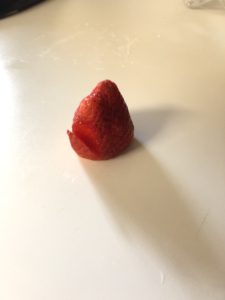
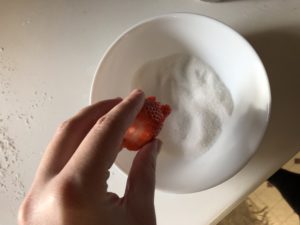
While cheesecakes are chilling prepare your strawberry roses. To do this, wash your strawberries, cut off leaves and pat dry. Start by slicing in a petal at the base of the strawberry. Slice 3 petals around the base. The next petals are going to be a little further up the strawberry, use the same concept as before. Just be careful not to cut the petals completely off. Complete the Rose by cutting a third layer of petals toward the point of the strawberry. The last step is to dip the finished rose into sugar to give it a shimmery look.

Strawberry rose cheesecake

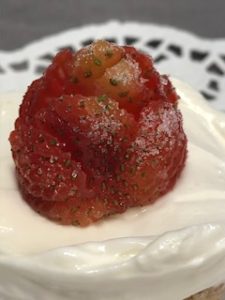
Place a Rose on the top of each cheesecake. Serve and enjoy!

Strawberry rose cupcakes
5 from 1 vote
Print

Strawberry Rose Cheesecakes

Perfect dessert.

Prep Time 1 hour 15 minutes
Total Time 1 hour 15 minutes
Servings 12 people

Ingredients

  • 2 cups graham cracker crumbs
  • 1/4 cup sugar + 3 tbsp
  • 1/2 cup butter melted
  • 8 oz cream cheese softened
  • 1 cup heavy whipping cream
  • 1/2 cup sour cream
  • 2/3 cup powdered sugar
  • 2 tsp vanilla

Instructions

  1. 1.Crush graham crackers. Mix cracker crumbs, sugar, and melted butter until combined. Press 2 tbsp. of mixture into the bottom of cupcake pan. Freeze until firm.

    2.Measure out heavy cream and with an electric mixer mix until cream is at a firm peak. Approximately 3-4 minutes. Transfer whipped cream to another bowl.

    3.Mix together cream cheese, vanilla and sour cream. Sift in powdered sugar and mix until combined.

    4.Fold in whipped cream until incorporated.

    5.Add 1/3 c. of cheesecake mixture to each graham cracker crust. Smooth with a spatula and set in freezer for 1 hour.

    6.While cheesecakes are chilling prepare your strawberry roses. To do this, wash your strawberries, cut off leaves and pat dry. Start by slicing in a petal at the base of the strawberry. Slice 3 petals around the base. The next petals are going to be a little further up the strawberry, use the same concept as before. Just be careful not to cut the petals completely off. Complete the Rose by cutting a third layer of petals toward the point of the strawberry. The last step is to dip the finished rose into sugar to give it a shimmery look.

    7.Place a Rose on the top of each cheesecake. Serve and enjoy!

Nothing is better than a good piece of cheesecake. I served theses personal strawberry rose cheesecakes at a family function not to long ago and by the time I went through the food line they were gone! Cheesecake always seems to be a big hit no matter who your audience is.

These  blissful Canadian Butter Tarts are the hit of the party also. Yum!

Here is another fabulous strawberry cheesecake dessert.


Mood for 2019

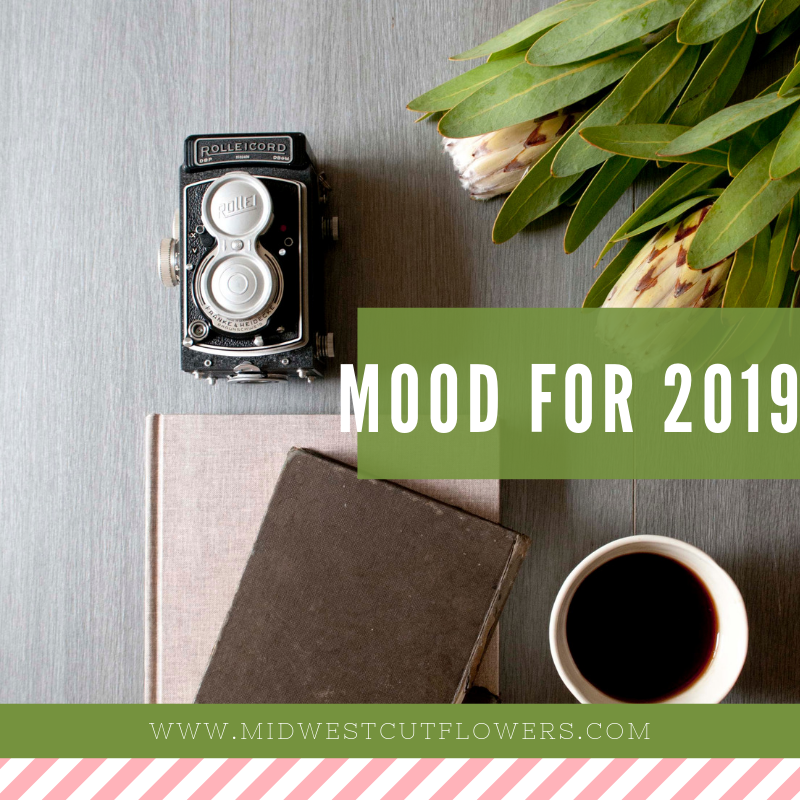
mood board 2019Mood for 2019! Here we go. I thought I would share  Midwest Cut Flowers “mood for 2019” I am so excited for this color scheme this year. I asked Erica to send me some ideas and the color swatch below  was the first thing she sent. Yes! I loved it. Natural, simple and a little moody.
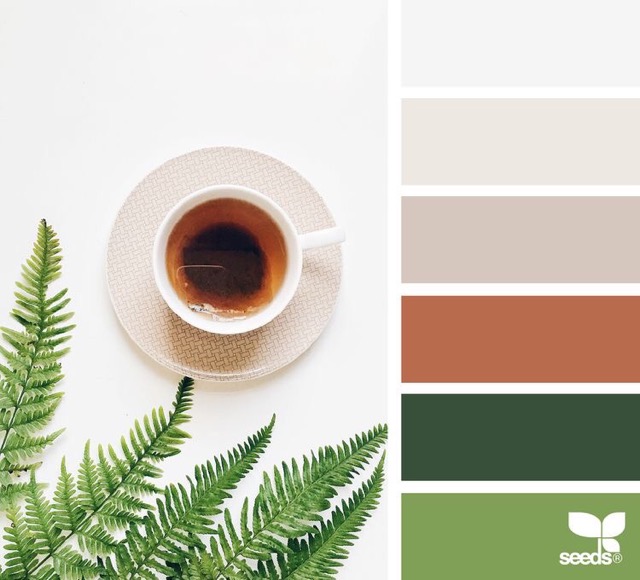

Mood Board 2019


2019 color palette
photo source seeds

Here is Seed Design where she found the inspiration. Check them out. Defiantly going to keep them in mind for branding updates here at Midwest Cut Flowers.

Mood in the house

As I have been looking around me in stores,online and in magazines, I totally feel the nostalgia….90″s colors are everywhere. I did not really think about “green” or “bright bold colors”  as being “in”. Actually, I didn’t really think much about it until I felt myself being drawn to the colors.

I have seen navy blue! I have always loved navy blue. Paired with white Navy blue completes a classic look.  I used to have a ton of navy blue….navy blue dishes, dish towels, clothes etc….love that I see it again.

Bowls from Crate and Barrel.

Chair from Target

Another Target find

Anthropologie kitchen towel. Not quite navy but…love it.

The “hunter green” of the 90’s is back too….well its not called “hunter green” maybe you will see it as emerald green, or dark green but I see a flashback to hunter green.  Here is a fun read about 2019 design trends.

Green bench

West Elm Lamp

West Elm vases…

Tons of natural wood tones…love it, love it.

Here is a beautiful wood bowl from Crate and Barrel.

Love these organic live edge wood shelves.

This serving tray from Target.

If you are a thrifter…..goodwill always seems to have some good wood finds.

Mood in floral design

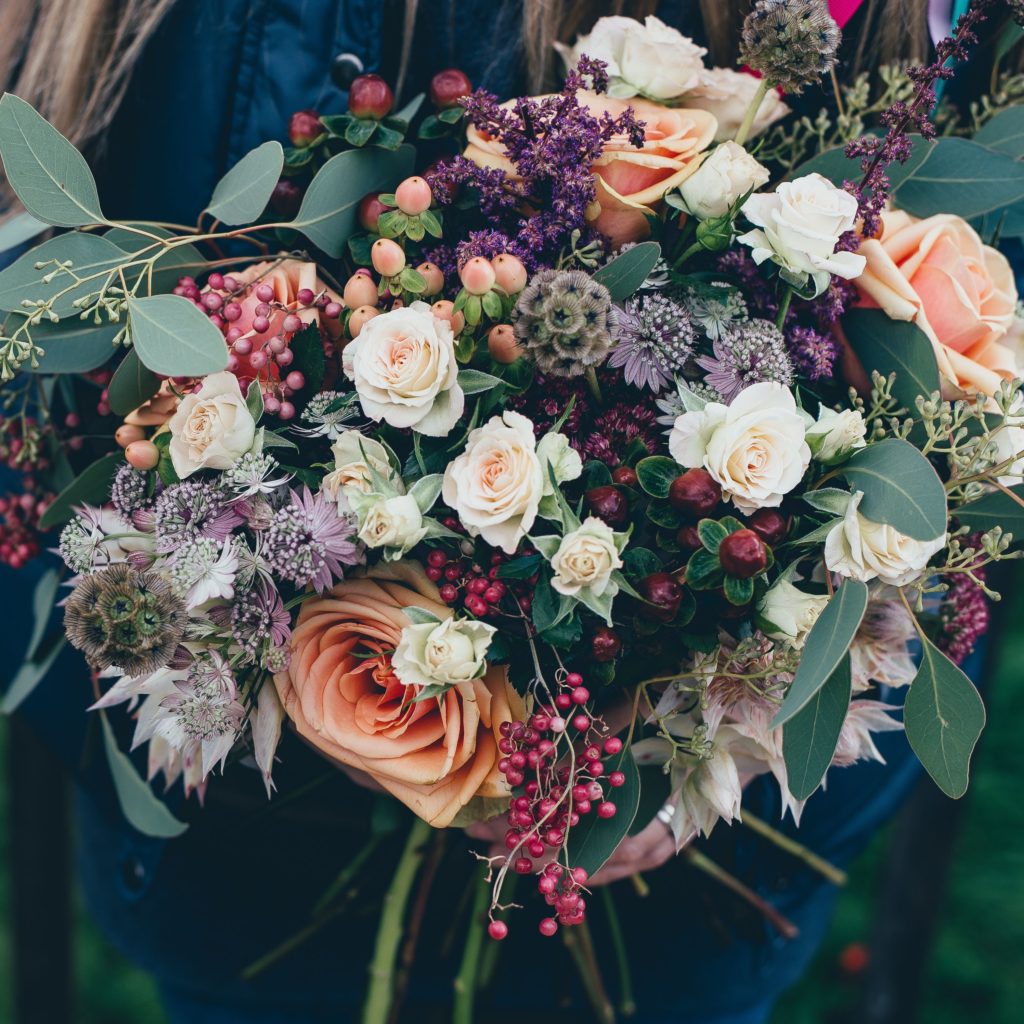
What I see in floral design 2019 is so exciting. There is not a lot of “normal” or “formal”. What I mean by that is, I see a lot of organic life in the designs. Think about walking along the forest floor and all the colors you see. Dark but bold tones. The natural browns of the vines and branches pair perfectly with the bold greens of ferns and other foliage. You can add any other color to this palette and make it work.

Textures are another thing that I love seeing. Dried pods, flowing grasses and small textured flowers like, statice, queen Anne’s lace,celosias and of course seeded eucalyptus. Some of you reading this are probably like “hello, where have you been?” but seriously when you think of a flower arrangement do you think of something like this?


traditional arrangements
photo source: freerange

or….

something a little like this

beautiful flower bouquet
photo: freerange

Mood in the field

Here are some of the varieties of flowers that I am growing this year that go right along side of our “mood”

white statice
photo source Johnnys selected seeds

This seeker white statice is so gorgeous. It dries incredibly well so it will last so long. I love the green stems with the tiny white flowers. I have had good luck growing this variety.

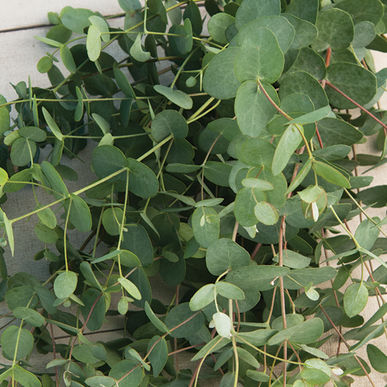
Silver drop eucalyptus
photo source Johnny’s Selected seeds.

We love the color and texture of this silver drop eucalyptus. I am hoping to dry this also. I think I will need to use glycerin to preserve this instead of air drying.

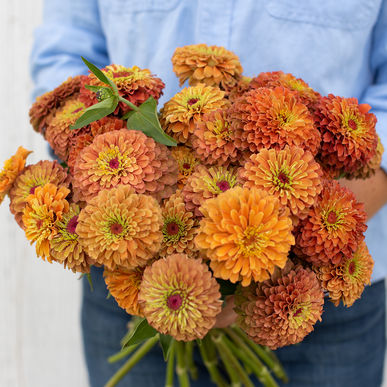
queen lime orange zinnia
photo source Johnny’s Selected seeds

These Queen Lime Orange Zinnias were awesome last year. We are excited to grow them again this year. Zinnias are super easy to grow from seed. They do extremely well direct seeding into the ground. Sow after your last frost. Water and enjoy a season full of cut flowers.

Here is a link to an Easy cut Garden Plan for beginners. It is a guide for you to grow your own cut flowers. We used plants that are super easy to grow. Give it a try.

Don’t want to miss out on what is happening here? Sign up for our email. The only email you get is the new blog post. We love to have you along on this journey. Please feel free to comment! Love hearing from you.

Thanks again for stopping by!

Stop back for more updates and recipes and tips.


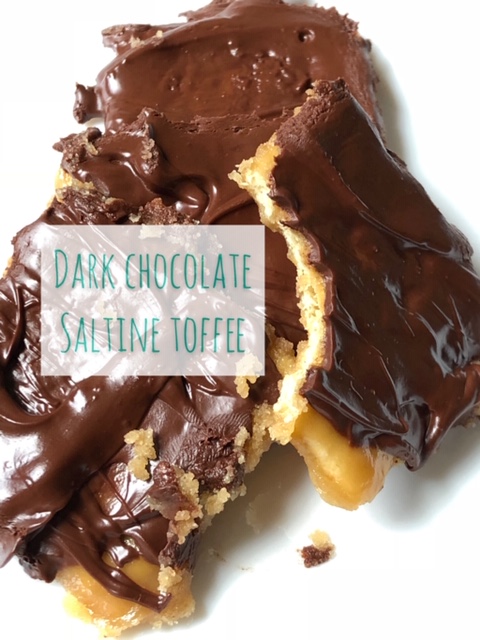
Dark Chocolate Saltine Toffee

Dark Chocolate Saltine toffeeWith Valentine’s Day coming up, serve your party guests a treat they won’t forget. These dark chocolate saltine toffee bars are sure to impress guests of all ages! Not only are these bars delicious but they are also so easy to make!
Ingredients:

✔️10 oz. dark chocolate morsels

✔️40 saltine crackers

✔️1 c. Butter

✔️1 c. Brown sugar

Directions:

📎Set Oven to 350° F

📎Line a cookie sheet with parchment paper and lay out saltines 4 crackers by 10 crackers

📎In a sauce pan melt butter and sugar over medium heat. Bring to a boil and while stirring constantly simmer for 4-5 minutes.

📎pour hot toffee over saltines and spread evenly.

📎Bake for 5 minutes

📎Remove from oven and immediately sprinkle dark chocolate morsels over entire pan. Let sit for 5 minutes. Spread chocolate evenly over toffee.

📎Let cool until chocolate is firm.

Brew up your coffee, call your friends, and bite into a dark chocolate saltine toffee bar for a finishing touch to a nice valentines evening.

Dark Chocolate Saltine Toffee

Ingredients

  • 10 oz Dark Chocolate Morsels
  • 40 saltine crackers
  • 1 cup butter
  • 1 cup brown sugar

Instructions

  1. Turn oven to 350 degrees.

    Line a 10" by 15" Cookie sheet with parchment paper. Lay out the crackers in 10 rows of 4.

    In a small sauce pan add the butter and brown sugar. Melt over medium heat. Stir the mixture often. Bring to a boil and let boil for 4-5 minutes. 

    Gently pour over the crackers and lightly spread.  Bake for 5 min.

    Remove from oven and sprinkle with the dark chocolate chips.

    Spread evenly over toffee.

    Cool

Buying your loved one chocolates for Valentines Day is nice…..but baking them something is awesome. My husband totally appreciates the time and effort it takes to make him something special. These dark chocolate saltine toffee bars would be perfect.

What are your Valentines day traditions?

Do you love Valentines Day or not?

I think a lot of people do not like the pressure of Valentine’s Day. I am on the fence. If I think about it….maybe it is overrated.

Don’t forget to sign up for our email…weekly posts coming up…we would love for you to stay in the loop.

This Peanut Butter Oreo Pie would also be a winner…and of course flowers!!! Here is a link to “why you should give your mom flowers” but it can also be used for Valentine’s Day.


Easy Cut Flower Garden for beginners with free printable plan

Easy cut flower garden for beginners
Easy cut flowers to grow

Hello, happy 2019! Wow the time sure has gone fast. The Holidays are over and we are all looking forward to new beginnings.  One new thing you could do this year is start your own cut flower garden. My easy cut flower garden for beginners, is easy to follow. The plants that I have picked for you to plant are super easy to grow and do not require a whole lot of attention.

Perennials

A perennial is a group of plants that come up year after year. You can cut down the plant in the fall or spring and it will regrow in the spring. For beginners I recommend cutting down in the fall, this way come spring time you do not have to do anything.

Easy to grow perennials for cutting

  • purple coneflower
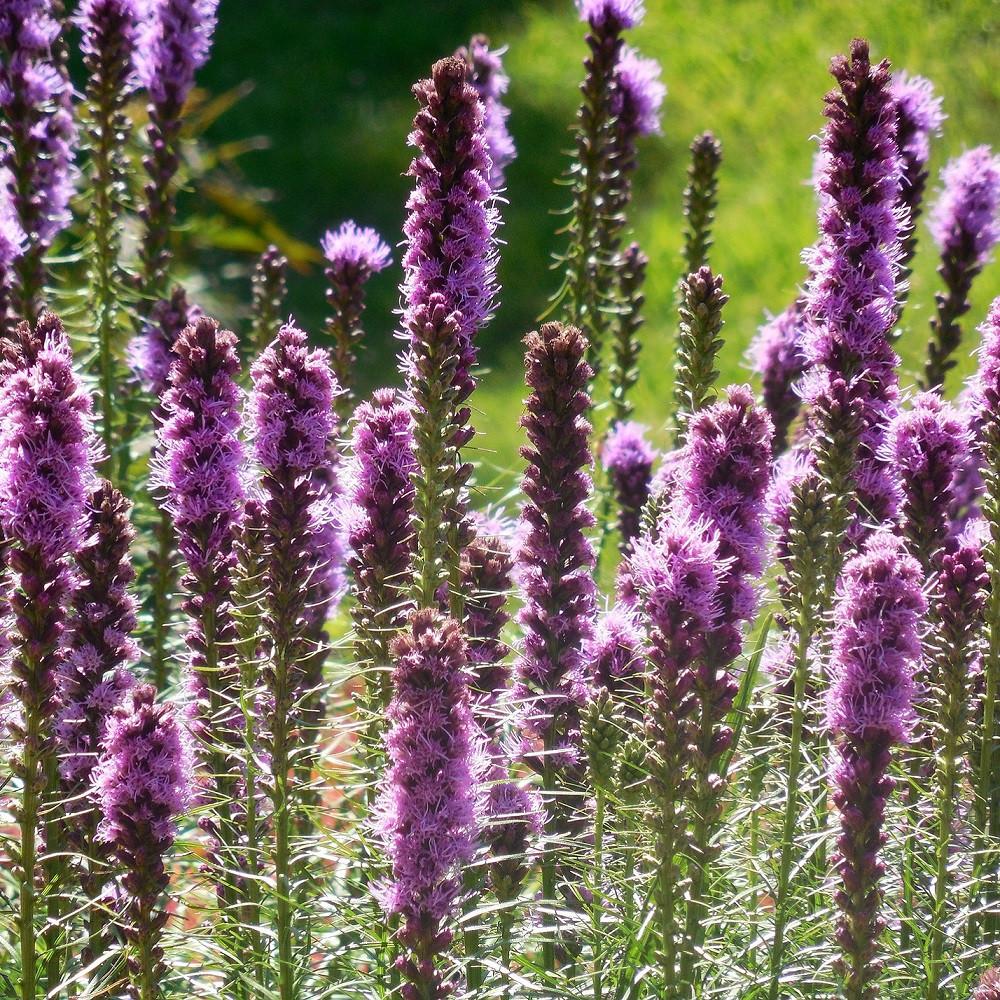
  • liatris
  • yarrow
  • shasta daisy
  • perennial sage
  • garden phlox
  • lilies
purple coneflower
photo source freerange

The purple coneflower is a great perennial to grow. It is considered a wild flower and produces pinky purple flowers throughout the summer. They like full sun. Cut often to keep the flowers producing.

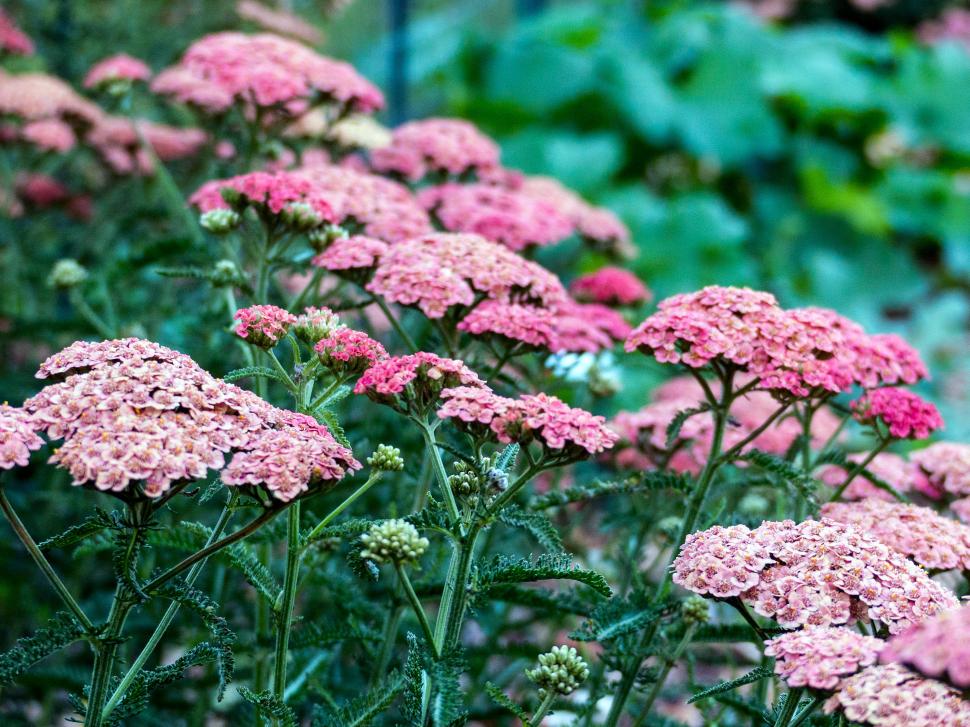
yarrow
yarrow photo source freerange

Yarrow is another easy to grow perennial. This plant is also great for dried flowers. The most common color for yarrow is yellow, but pinks are becoming more popular. Yarrow also likes full sun.

photo source Easy to grow bulbs


Annuals

Annuals are a group of plants that need to be replanted each year. You buy them from you local nursery in the spring and plant them into your garden for the growing season. After your first frost. Dig up the plant and put it in you compost pile or throw it away.

Easy to grow annuals for cutting

  • zinnia
  • cosmos
  • marigold
  • sunflower
  • rudbeckia

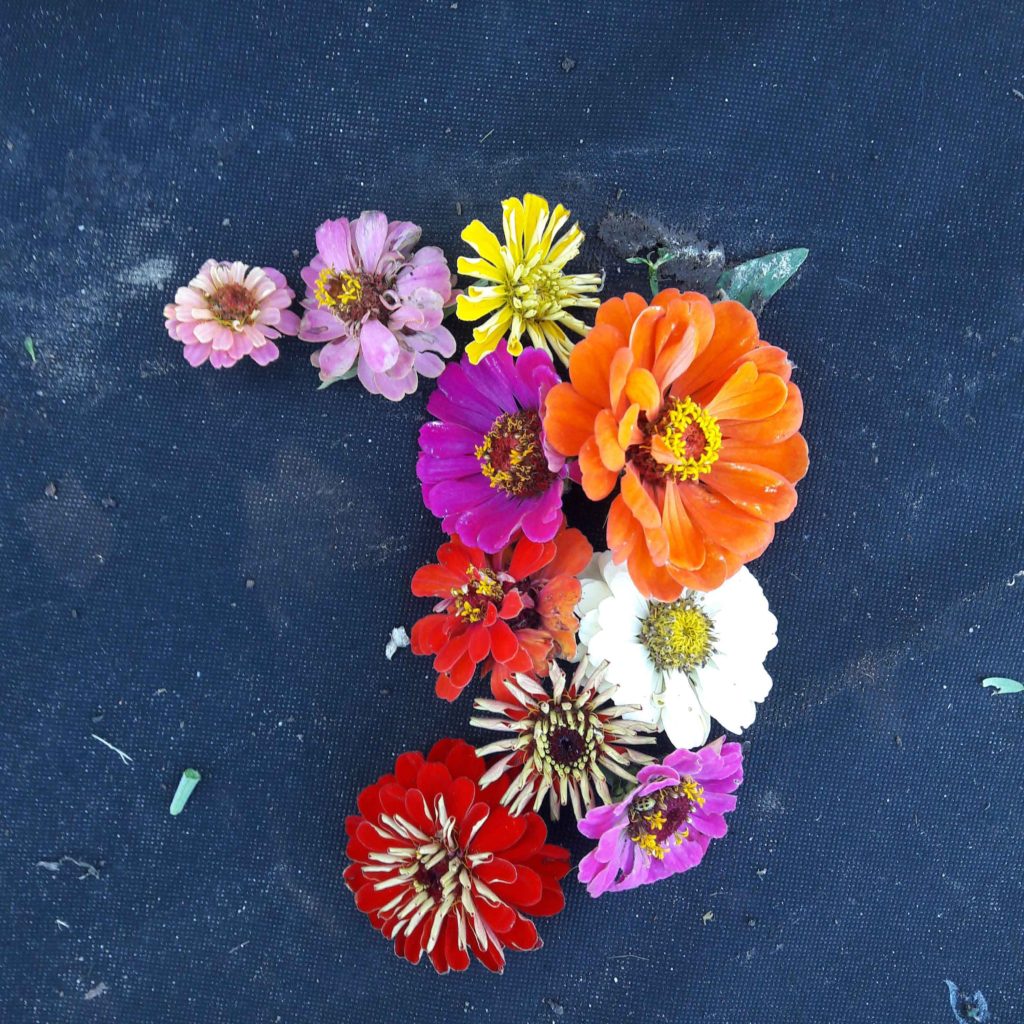
Zinnia is an awesome annual cut flower to grow. These annual flowers are super easy to grow. Direct seeding is a breeze but you can buy plants from the nursery. The more you cut the more they bloom.

annual cut flower cosmos
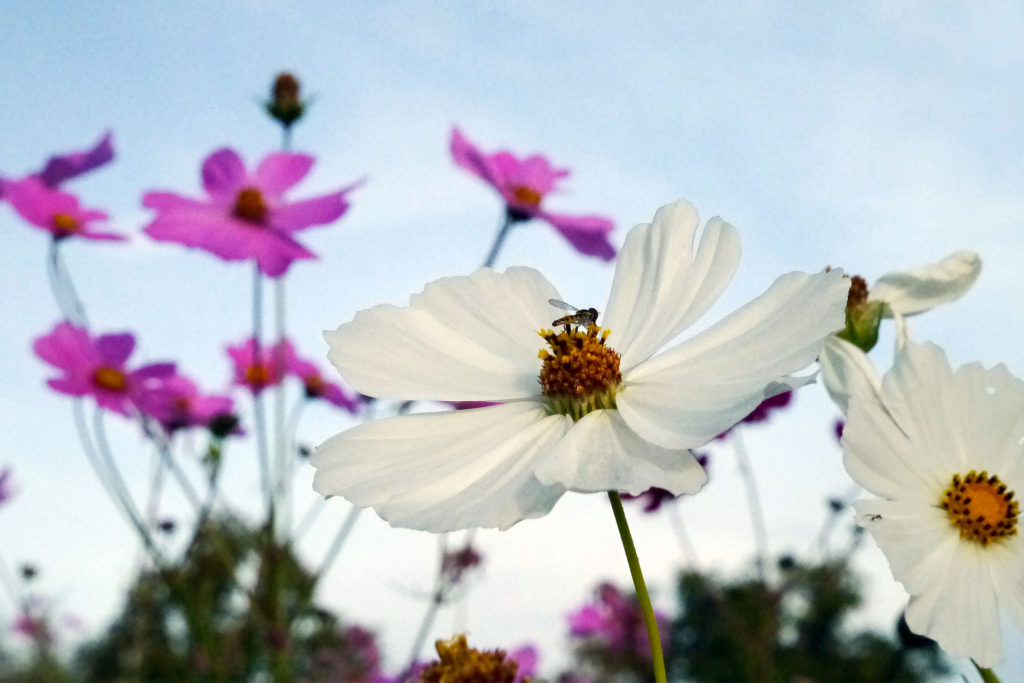
White cosmos flowers grows in a field. Photo source freerange

I love cosmos. They are so delicate. Cosmos comes in a variety of colors. They love to self seed. Self seeding means, that when the blooms die and the flower goes to seed, the seeds drop and usually will surprise you by overwintering and coming up next year.

Easy cut garden for beginners

Here is a link to download the Easy cut flower garden plan.

Easy cut garden plan for beginners. 

The easy cut flowers for beginners plan is super simple to follow. I have chosen these easy flowers because of their hardiness. Please like anything else I share….if you want to try something else feel free.

Check out my last growing year here.

Popular questions and answers

Where do I buy my plants?

You can buy your plants at any nursery or big box store. These are really common plants so they should have them.

Do I have to use organic compost and where do I buy this?

No you do not have to use organic. That is just what I prefer. You can get this wherever you buy your plants.

How deep do I plant my plants.

Every plant that you buy will come with instructions on how deep to plant and how much space you should use.

What do I use to cover the landscape fabric?

You can use bagged mulch or shredded leaves.

Do I need to water and fertilize?

Yes you should water your garden at least once a week unless you have had rain. You do not need to fertilize. These plants should do well without it.

Please feel free to ask any other questions that you have.

Enjoy your cutting garden.


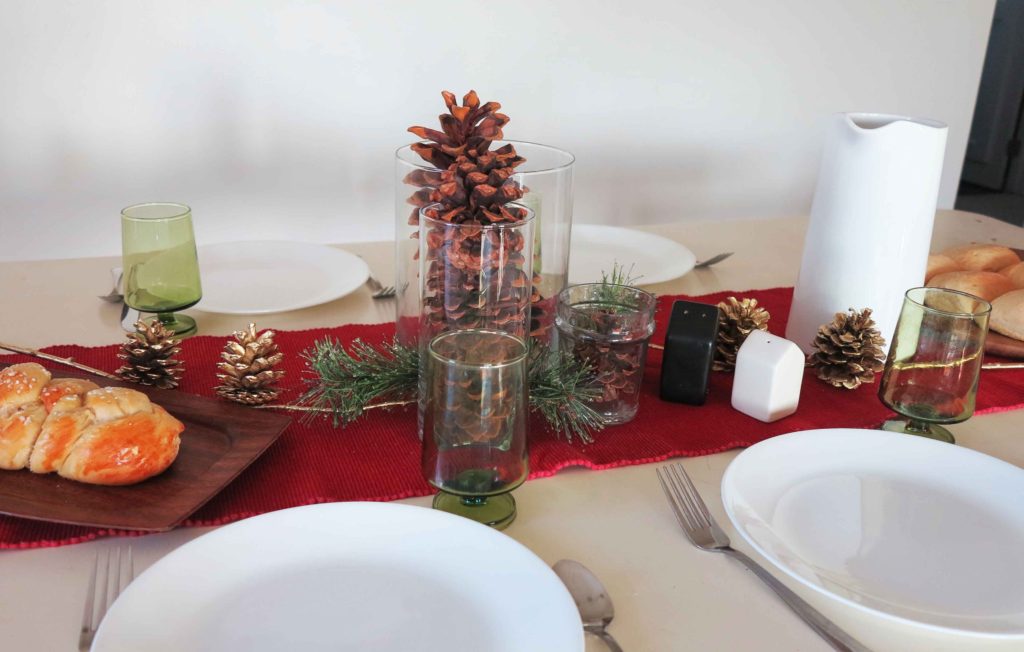
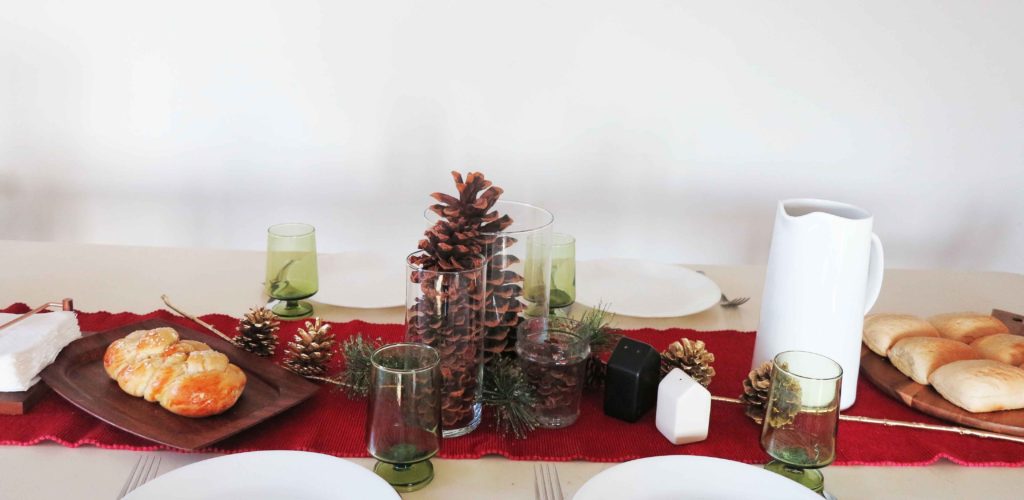
Quick and easy Christmas Centerpiece.

Easy Christmas Centerpiece tutorial

Quick and Easy Christmas Centerpiece

Suddenly here it is!  Doesn’t it seem like we blink and the time truly flies. This quick and easy Christmas centerpiece will get you through the Christmas season and who knows….maybe a bit longer. The Easy Christmas centerpiece is easy to throw together and like my other tutorials….use your imagination. Add things you would like to add. Keep things out that you don’t like.

I like to use things that I have around the house. Dig in that cupboard and find a cute bowl that you never use. Or dust off that old red table runner and rethink what you can do with it.


Quick and Easy Christmas Centerpiece
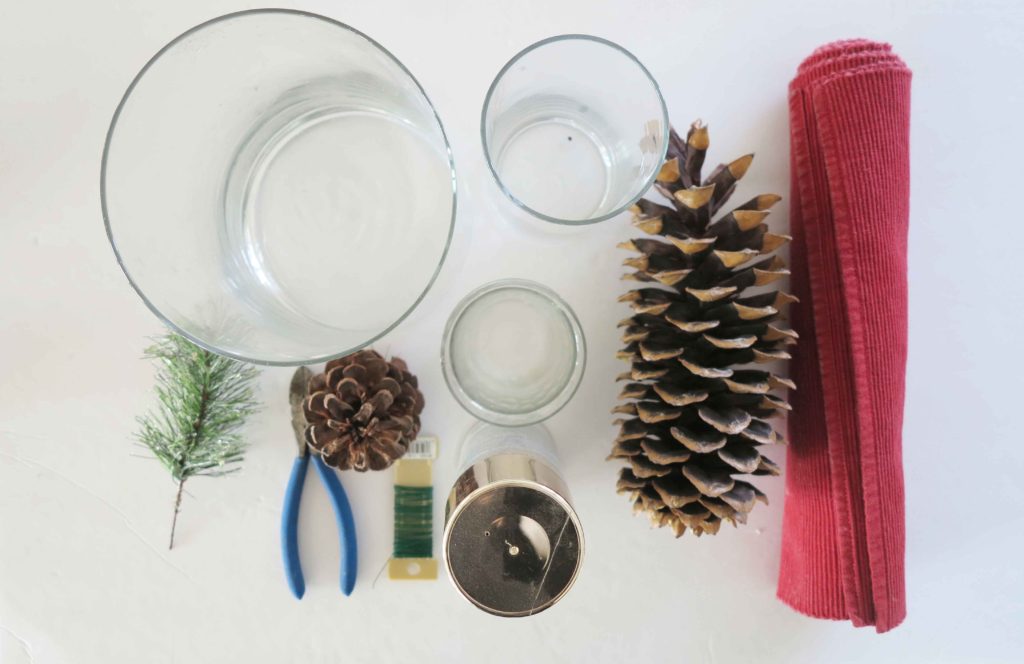
Supplies for Quick and Easy Christmas Centerpiece


Supplies for a quick and easy Christmas Centerpiece

  • assorted pine cones
  • floral wire
  • pliers
  • 3 glass vases or bowls
  • faux greenery
  • branches from your yard
  • gold spray paint
  • table runner of your choice
  • newspaper

Directions

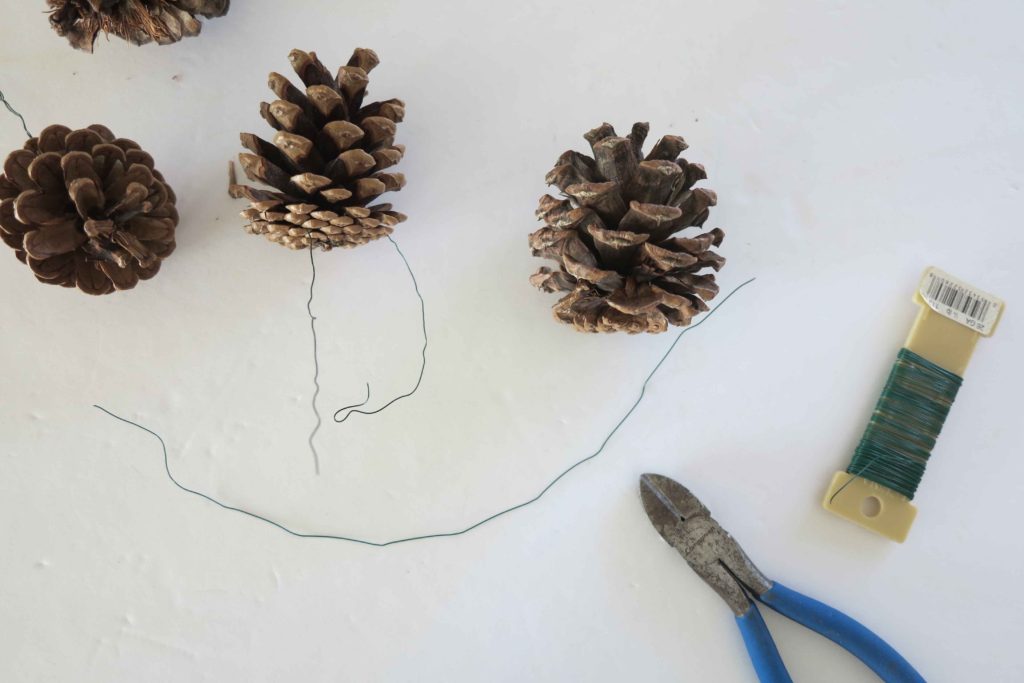
wired pinecones
pine cones and wire

Cut the wire with the pliers into 4 10″ pieces. Wrap the wire around the base of the pine cone and twist to secure.

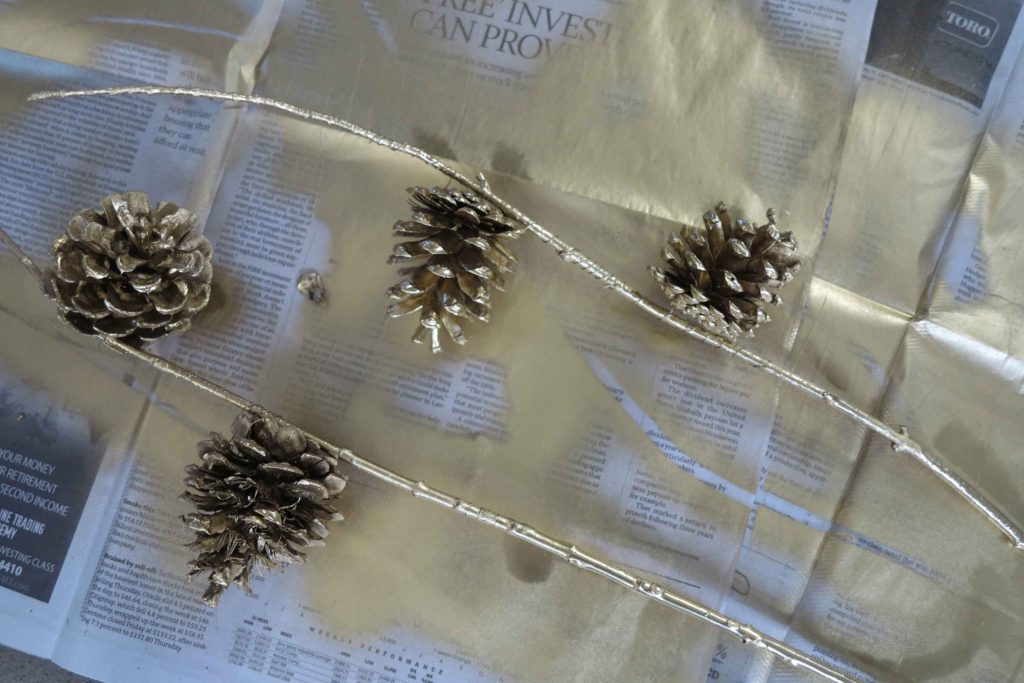
spray painted pine cones

In the garage or well ventilated area lay down the newspaper. Place the branches and pine cones on the news paper and spray them with the paint. Let dry and turn the items and respray where the paint never got the first time.

When the paint is dry. Twist the wire around the branches to secure the pine cones to the branches.

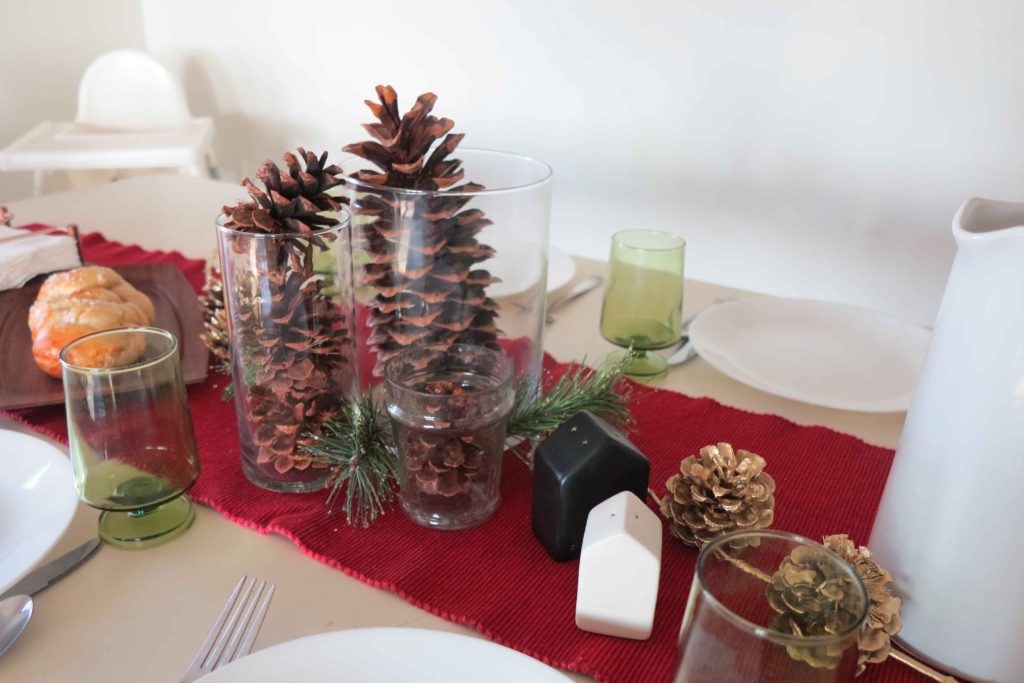
Easy Christmas Centerpiece

Lay out your table runner.

Place the 3 glasses vases in a triangle shape and fill with the pine cones.

Place the painted branches one on each side of the vases.

Tuck the greenery around the bottom of the glass vases.

Christmas Tablescape
Easy Christmas Tablescape

You can use this easy centerpiece idea for your table. Just switch out the fall items with pine cones.

Here are some more Christmas centerpiece ideas.

I also loved this idea for a centerpiece.

and this is so gorgeous and simple.

DIY Christmas centerpiece
Easy Christmas Centerpiece

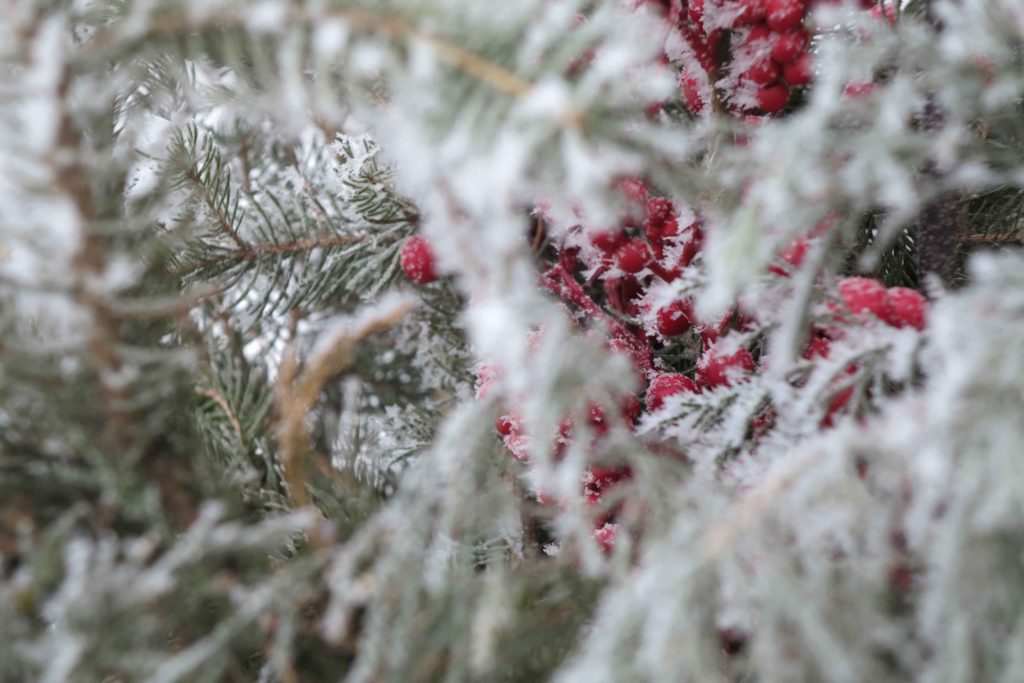
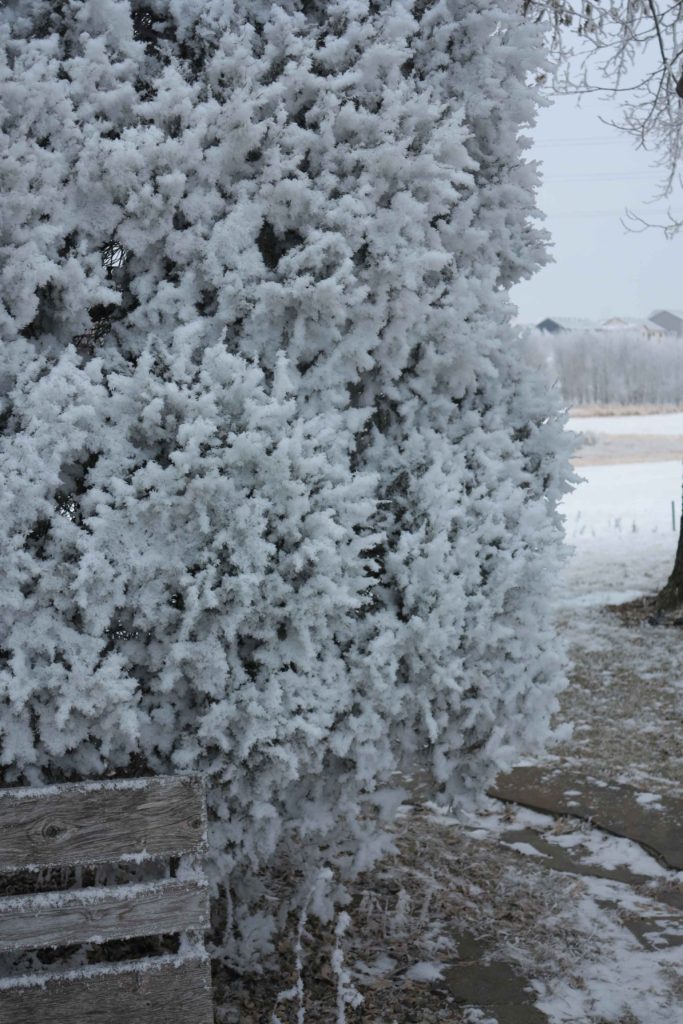
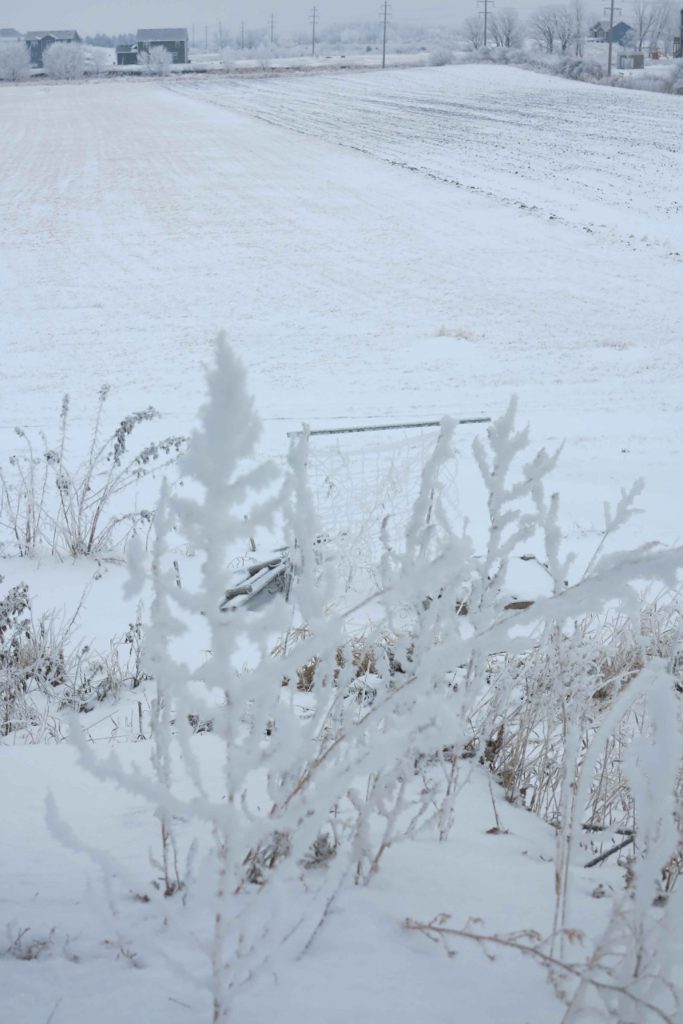
So you are wondering what is going on with the flower farming…well the yard is put to sleep and I have no plants growing at the moment but…check out what a winter yard can look like.

frost on greenery


cedar tree with hoar frost
Cedar tree with hoar frost
hoar frost
Hoar frost


The winter season can be long. Try looking for the beauty in each day. It might be a bird at your feeder or a yard full of frost. Bundle up and take a walk. The cold air is so refreshing!

Merry Christmas

Gingerbread houses

Gingerbread houses
Gingerbread house traditions

Gingerbread House Traditions

Have you ever read “Gingerbread baby” by Jan Brett? It is one of my favorite Christmas stories. Every year my mom brings out the Christmas box and we would all be so eager to read the Christmas books. Once we read a few books our Christmas spirit was hopping. Making gingerbread houses was also a family tradition we had. The fun thing with gingerbread houses is, even when you follow a tutorial there is always something a little different about each one.

This year we decided to have a gingerbread house contest with my husband’s family. Each pair brought their own supplies and we all decorated the night away!

Christmas Traditions

For our house we used graham crackers and ginger bread cement  for the structure. For decorating used spiced drops, tootsie rolls, laffy taffy, candy canes, mini m&ms, sour patch kids, cinnamon bears and vanilla icing. To create the snow effect we used shredded coconut and sugar. I found the little cars at Target and added them as a finishing touch. It was a night of a little tension at times but mostly a whole lot of fun!

Gingerbread House Supplies

  • Graham Crackers
  • frosting or icing
  • lots of small candy
  • Cardboard wrapped in tinfoil for base
  • friends and family

Instructions

  • glue edges of the graham crackers together in desired shape
  • let dry
  • add candy of your choice
  • let your imagination go
  • enjoy

Here is a fun Christmas Candy tradition that you can add to your list of Holiday to do’s.

Want to keep your Christmas sweater free of smears? Check out our Etsy Shop and see what we have for aprons.

Don’t forget to sign up for our emails to be in the “know”


A year of growing. A quick recap video

A year of growing has passed.

Still rewinding and looking over what happened.

Erica put together this little recap of a year of growing,

So fun to see it all in video.

Goals for next growing season

  • farmers market
  • triple garden space
  • finish flower farming school
  • have the stand open 5 days a week in the growing season
  • supply some local florists

The are so many things I would like to do after this year of growing

I need to slow down and prioritize.

Enjoy each moment.

Even if I am knee deep in mud and my boot falls off.

So many opportunities.

Garden Quotes that inspired a year of growing

“In the spring at the end of the day you should smell like dirt.” Margaret Atwood

“To plant a garden is to believe in tomorrow” Audrey Hepburn

“The earth laughs in flowers” Emerson

“If you truly love nature, you will find beauty everywhere” Vincent Van Gogh

Don’t forget to sign up for our emails to follow along the flower farm journey and to get fun recipes and tutorials.

Here is another recap 

check it out


Cracked glass candy- a Dash of color for your Christmas desserts!

Cracked glass candyCracked glass candy is a fun and delicious candy that is easy to make and hard not to taste! You can make this glass candy with any flavor you find in your local craft store and color it to your liking. A few of my favorite flavors are black licorice, cinnamon and butter rum. Add a splash of color to your Christmas desserts this holiday season by adding cracked glass candy to your list of must bake items.

 

Cracked glass Candy

A fun addition to your holiday baking

Ingredients

  • 2 cups granulated sugar
  • 2/3 cup light corn syrup
  • 3/4 cup water
  • 1 tsp flavoring oil cinnamon, black licorice, peppermint etc
  • 7-10 drops food coloring
  • 1/4 cup powdered sugar

Instructions

  1. Step 1:

    Add sugar, corn syrup, and water to your pot. Heat over medium heat. Prepare parchment paper for candy to be spread onto.

    Step 2:

    Bring contents to a simmer and place candy thermometer into pot ( making sure the bottom of the thermometer does not touch the bottom of the pot).

    Step 3:

    When the temperature reaches 270 degrees add 7-10 drops of your desired food coloring. Do not stir. Boiling will incorporate the color. (Bring candy up to temperature takes quite a few minutes)

    Step 4:

    Measure out 1 tsp. of your desired flavoring and add when temperature reaches 290 degrees. Be careful here, the steam is very strong from the flavoring. Stir flavoring into the boiling candy and remove from heat.

    Step 5:

    Pour candy onto prepared parchment paper quickly. Spread as thin as possible with a spatula. Let cool.

    Step 6:

    Break candy using the edges of the parchment to crack into bite size pieces.

    Step 7 :

    Place candy into a gallon size ziplock bag and sprinkle with powered sugar, (This makes so the candy doesn't stick together.) Enjoy!

Utensils for Cracked Glass Candy Making:

  • Measuring cups
  • Candy thermometer
  • Parchment paper
  • Pot
  • Spatula
  • Gallon ziplock bag

This candy is excellent for adding some texture and color to your Christmas desserts and also works as an awesome decoration on gingerbread houses! Christmas time is filled with sweets. Add this to your Christmas baking list, you will not be disappointed.

Happy holidays!

Another thing we like to bake around the holidays is , Finnish Pulla.  The warm loaf coming out of the oven is just the thing to add to that holiday feeling. What is your favorite holiday baking tradition?  Please share them in our comments section.

Don’t forget to sign up for our email to follow along with the flower farm and to receive little exciting tips and recipes.


What I learned this year


What I learned this year farming
What I learned this year

What I learned this year. Well I learned a lot this year…..The 2nd year of growing flowers went by like the first. In a blur. Yes a total blur. Tho I felt I had a slightly better grip on what I was doing, it went just as fast.

Flower field
flowers in Delano Minnesota

Growing flowers

Growing flowers is so rewarding. You buy the seeds, plant them, nurture them, transplant them, watch them grow and tada a beautiful flower. Well growing flowers for selling or for making bouquets is just that but on a much , much  larger scale.

One of the most important things from what I learned this year is…..I need to plant more flowers and succession plant them. That means I need to do at least 2 plantings if not 3 a few weeks apart from one the other. This will enable me to have plenty of blooms when I need them.

Gardening for kids
Gardening for kids

Harvesting flowers

Harvesting flowers to sell is a little different then just harvesting for yourself. I need to know when to harvest the little guys at the right point. Not to early, not to late. Harvesting flowers at their optimal point is key for longer lasting blooms. Some flowers need harvesting before all the petals open and some….yes you guessed it, not until all the petals have opened.

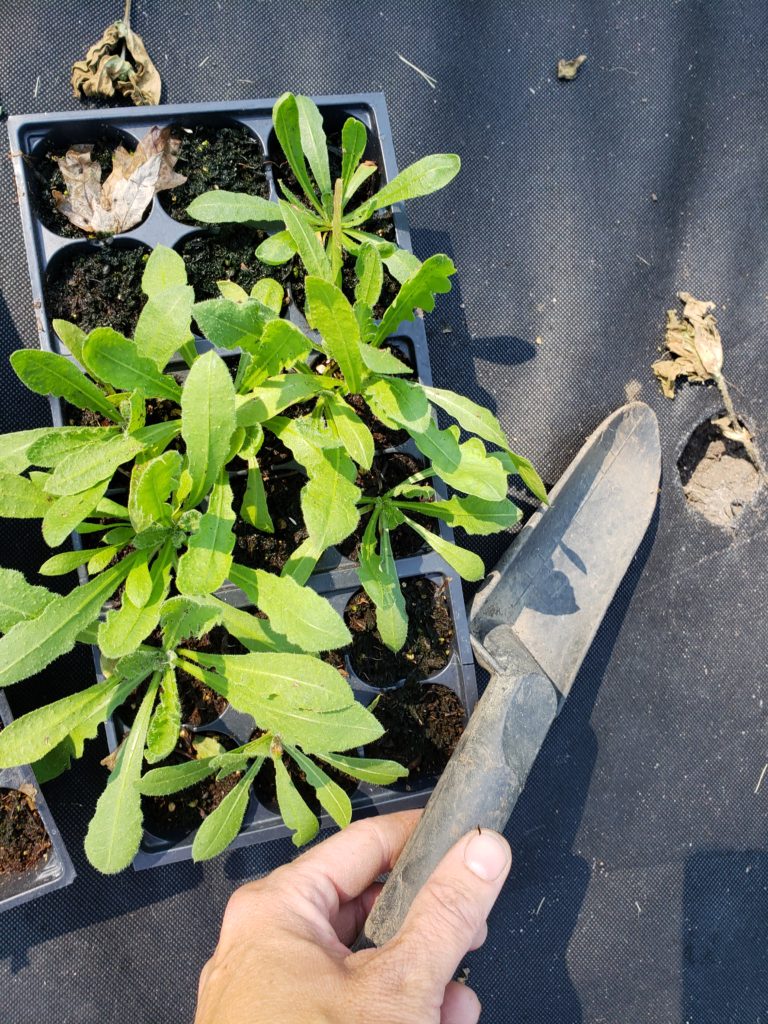
Growing flowers from seed. Transplanting flowers
growing flowers from seed

Growing flowers from seed

This year I grew 95% of my flowers from seed. Growing flowers from seed is another learning curve. What I learned this year from growing from seed is patience, calculations and failures.

  • Plant seeds according to blooming times
  • follow packet directions for light exposure
  • learn how to water the seeds
  • check on them at least every other day
  • rotate the trays
  • keep the soil slightly moist
  • 16 hours of light per day when growing
  • buy potting soil in bulk……small bags do not go far
  • use a worksheet for scheduling sowing times
Locally grown flowers in Minnesota
locally grown flowers in Minnesota
cut flowers for sale near me
locally grown cut flowers

Easy flowers to grow

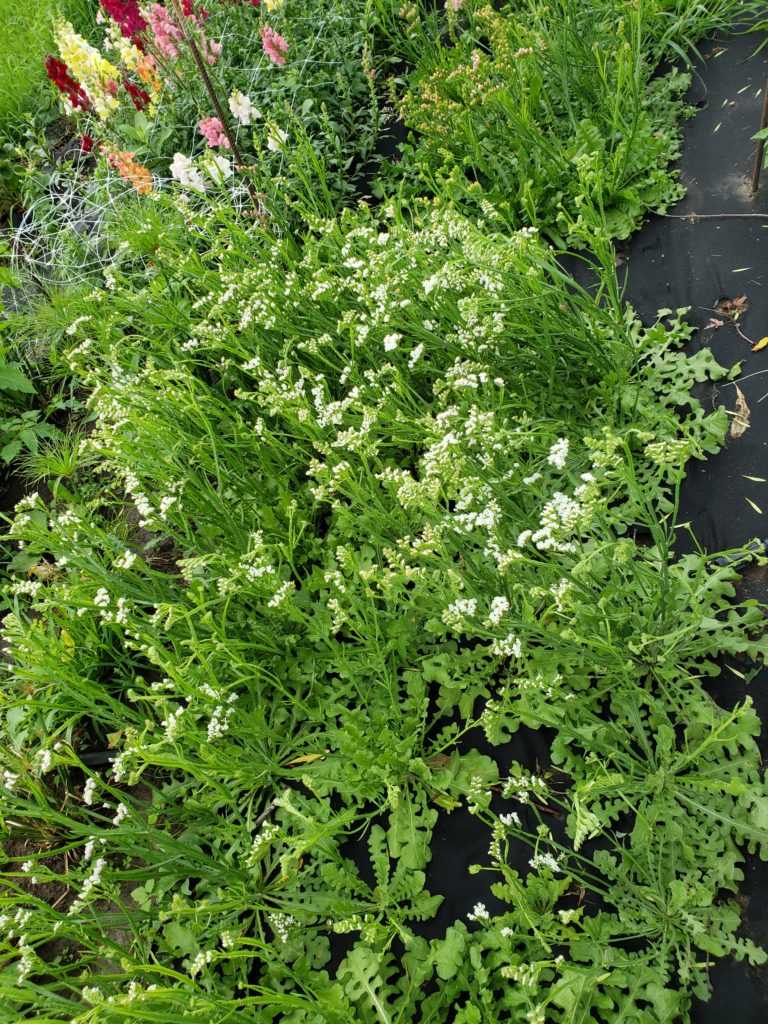
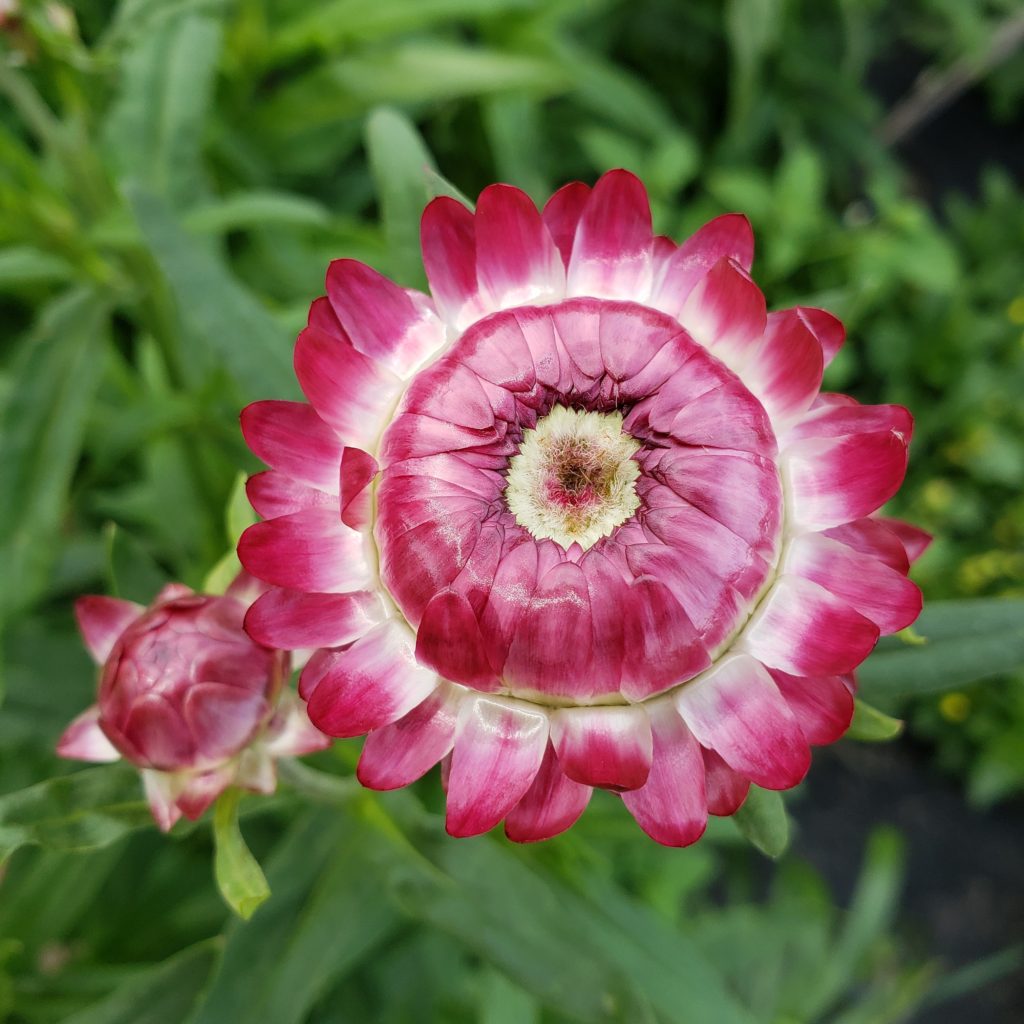
There are several cut flowers that are easy cut flowers to grow. One of my favorite has turned out to be statice and strawflower. These actually fall into the category of everlastings….(more on that in the new year) They have done well for me from seed.

Other flowers that are easy to grow

  • marigolds
  • snapdragons
  • statice
  • dahlia
  • strawflower
  • zinnia

Here is a previous flower farming update.

Don’t forget to sign up for our emails to receive the latest updates from my adventure.

As the year comes to a close I will continue to review what worked and what did not. I have a few different ideas that I am working on for next year.

Stop by My Etsy Shop to see some of my dried flowers.