Tis the season for wreaths. This easy DIY tutorial will show you how to make a wreath. It is easy peasy, all you need is a few supplies and your imagination. Like all my other tutorials and this how to make a wreath tutorial, I encourage you to add your own flare. There is no right or wrong. Have fun.
Wreath making supplies
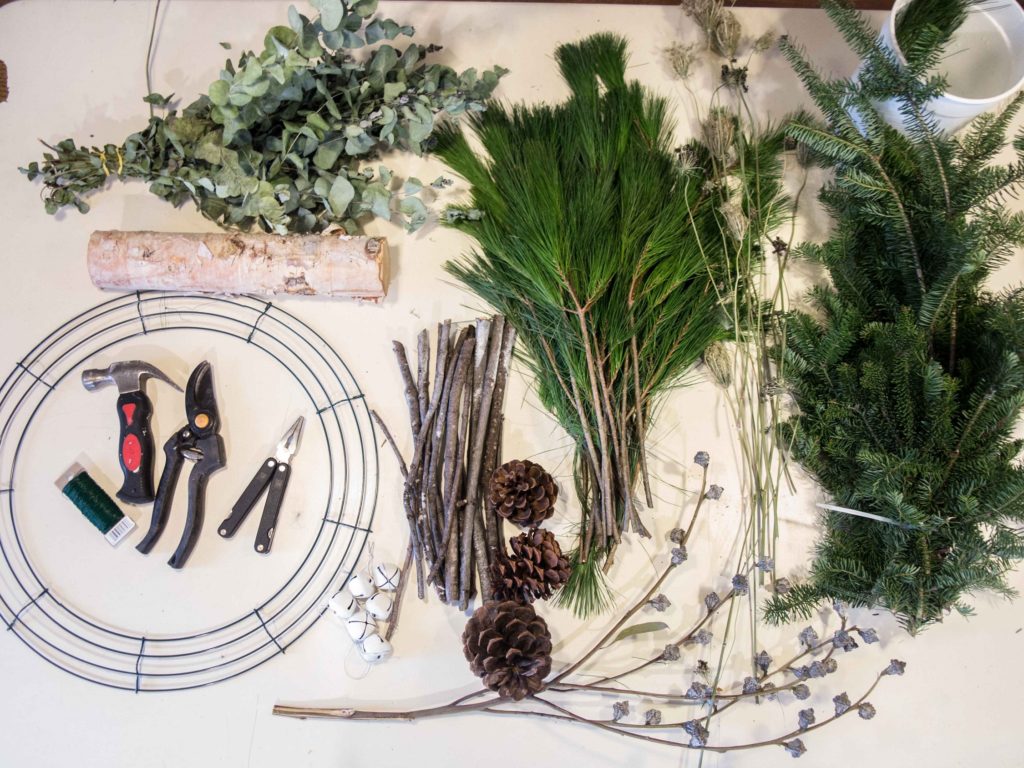
- wreath form
- floral wire
- hammer
- pliers for cutting wire
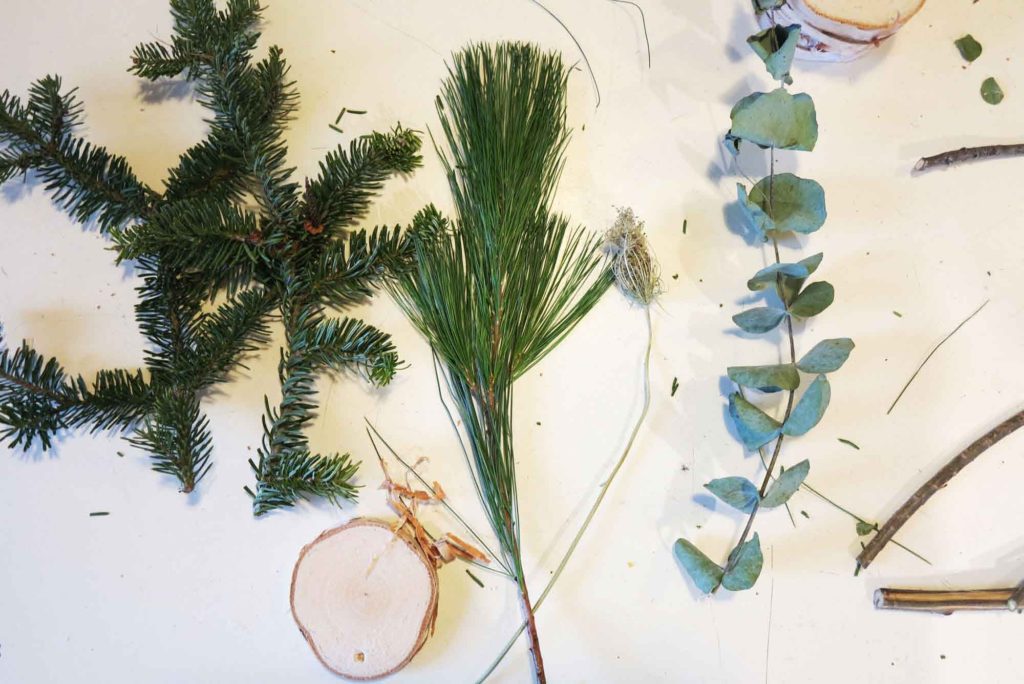
- fresh greens
- pine cones
- birch log
- eucalyptus
- various dried material
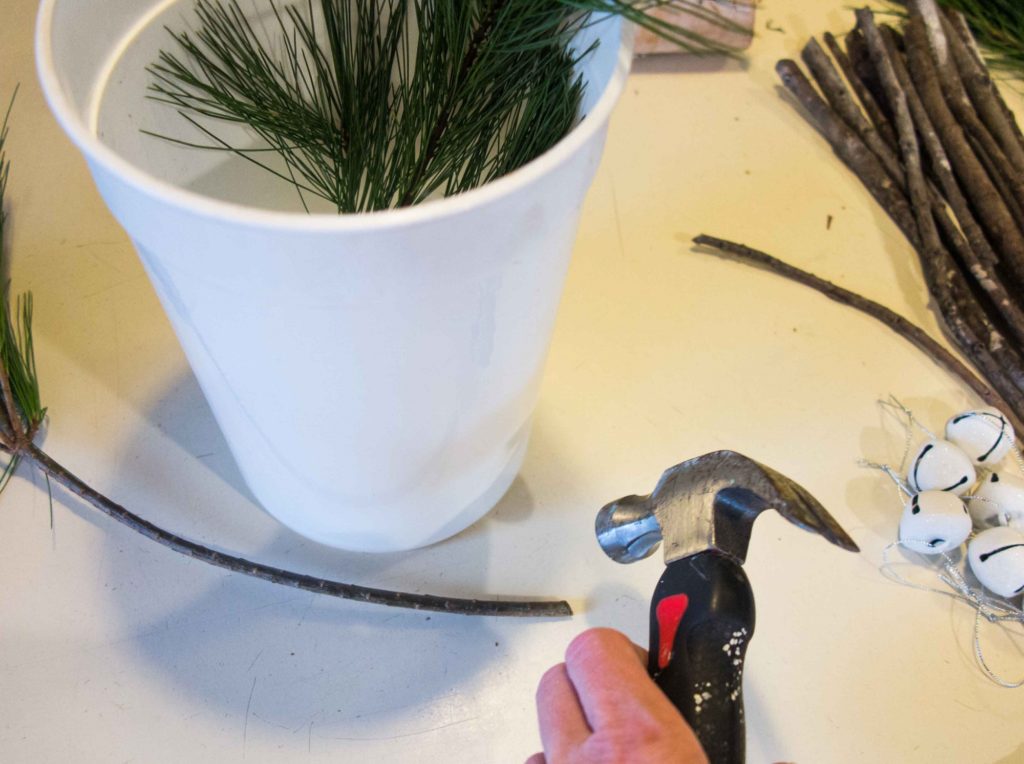
Step 1
I like to bang all the ends of my greens with a hammer, then put them in water. I think this helps the fresh greenery last longer.
Step 2
Cut all your greenery and dried flowers to approx the same length. I like to have them about 8-10 inches in length. Cut pieces of floral wire to approximately 8″>
Step 3
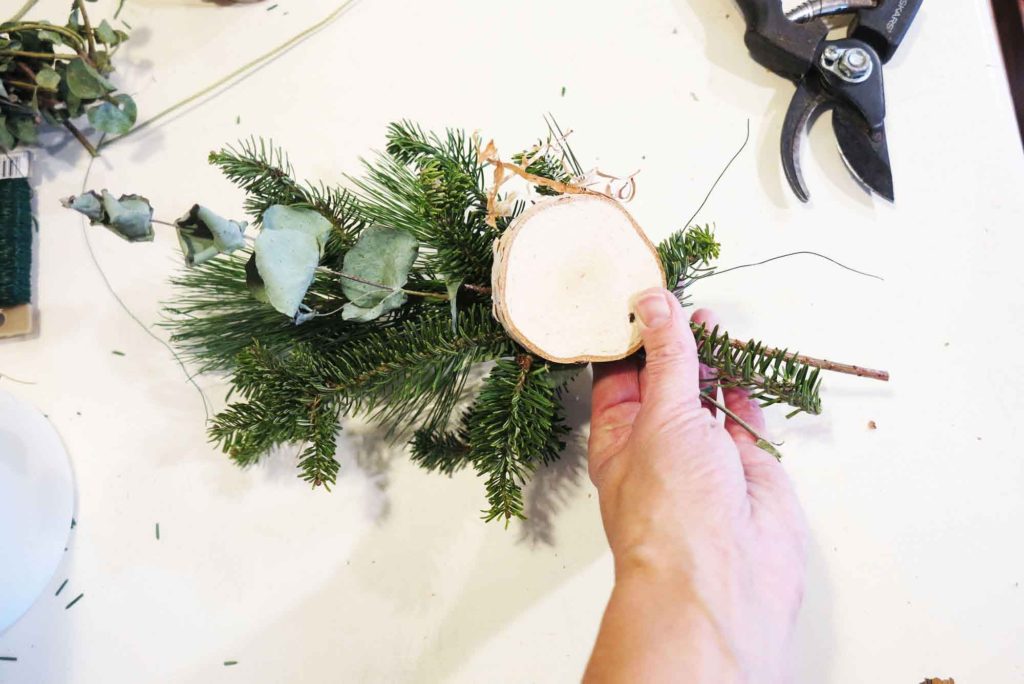
Make bundles with your cut ingredients. Layer at least 3 items together and wrap the bottom with a piece of the cut floral wire. Bundle all your ingredients.
Step 4

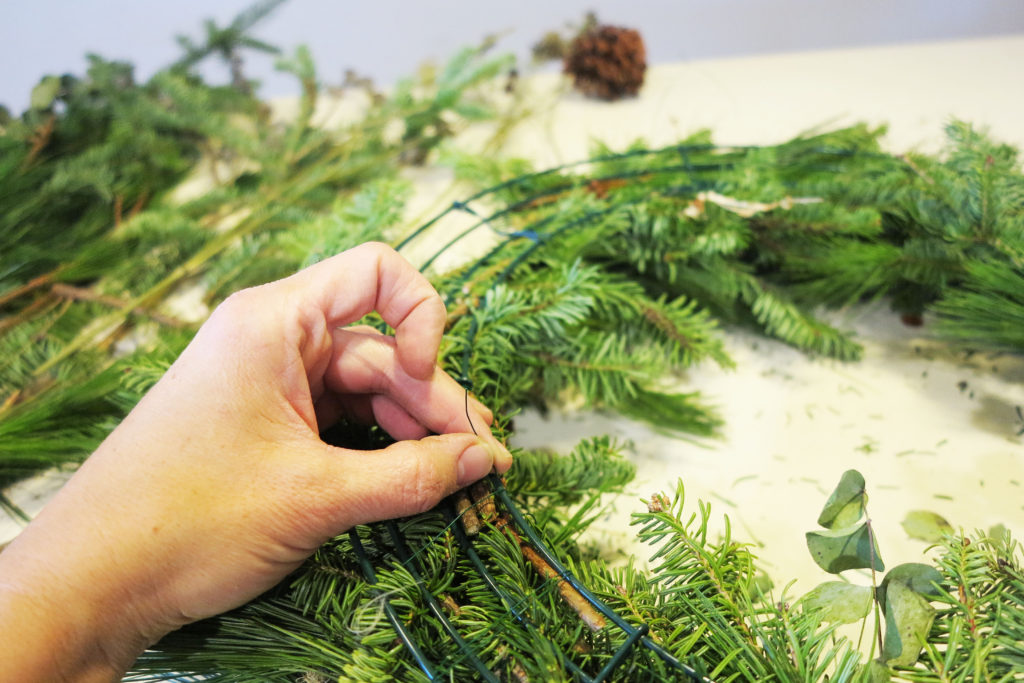
Pick a starting point on your wreath form and attach the floral wire.
Step 5
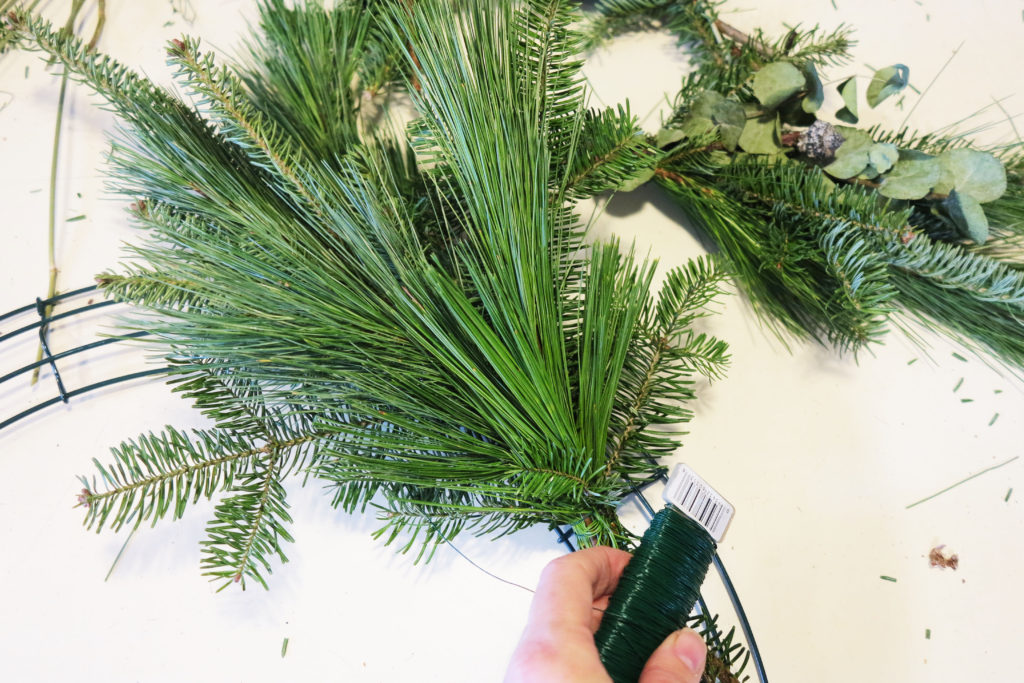
Lay out your bundles on your form. Play around with it until you find the design that you like.
Lay your first bundle down and wrap the floral wire around the bottom of the bundle. Pull tight. Wrap the wire around the form at least twice.
Layer your next bundle over the bottom of the first bundle laid. Again, move it to a position that you like. Do the same thing, wrap the wire around the bottom of the bundle and pull tight.
Continue this until the form is full.
Step 6
Bring the wire to the back of the wreath. Cut the wire leaving 8″. Wrap the extra wire around the wire of the form pulling tight. Wrap until there is no wire left.
Step 7
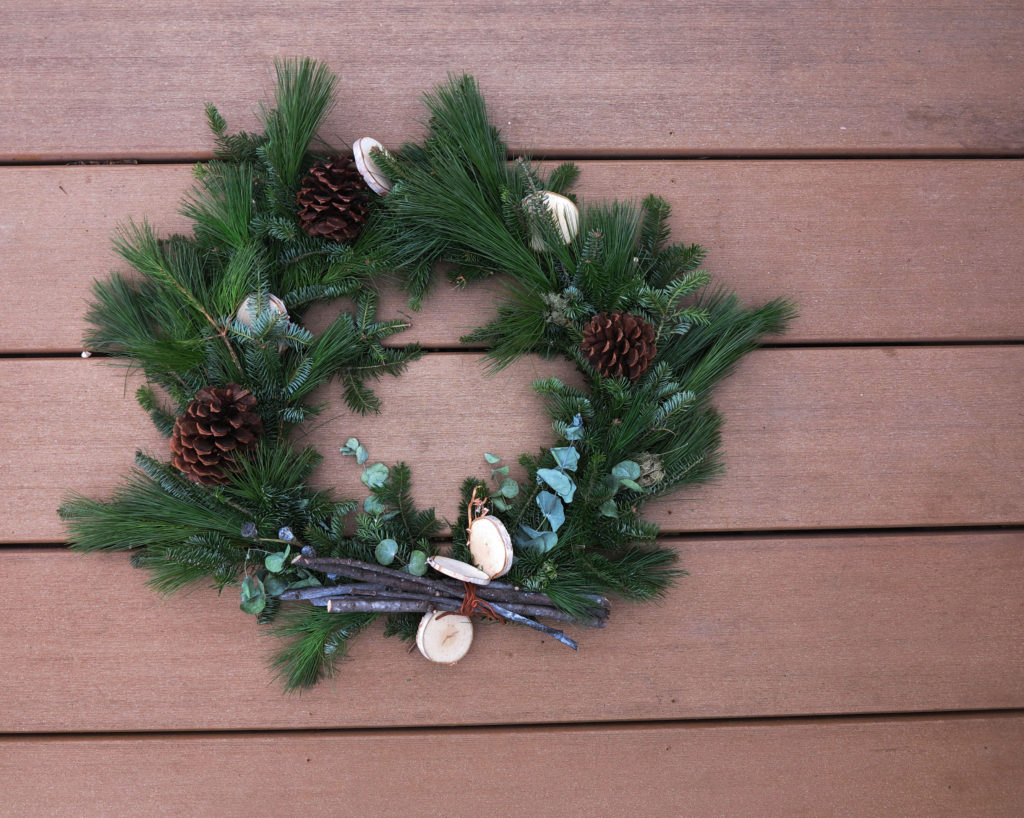
Mist wreath with water and hang on your door or porch wall.
Step 8
Lightly spray wreath with water to keep greens fresh. A fresh cut wreath will last about 3-4 weeks if misted and kept out of direct sunlight. If you used faux greenery your wreath will last for a few years before needs to be freshened up.
This is another wreath tutorial that you will like.
Here are a few of my favorite wreaths
Eucalyptus wreaths they smell so good!
This one is just flat out gorgeous!
Do you like what you see here? Subscribe to receive my posts right to your inbox. All you get is the new post….that’s all. No junk, just fun.