How to update your home decor with plants

Update your decor with plants
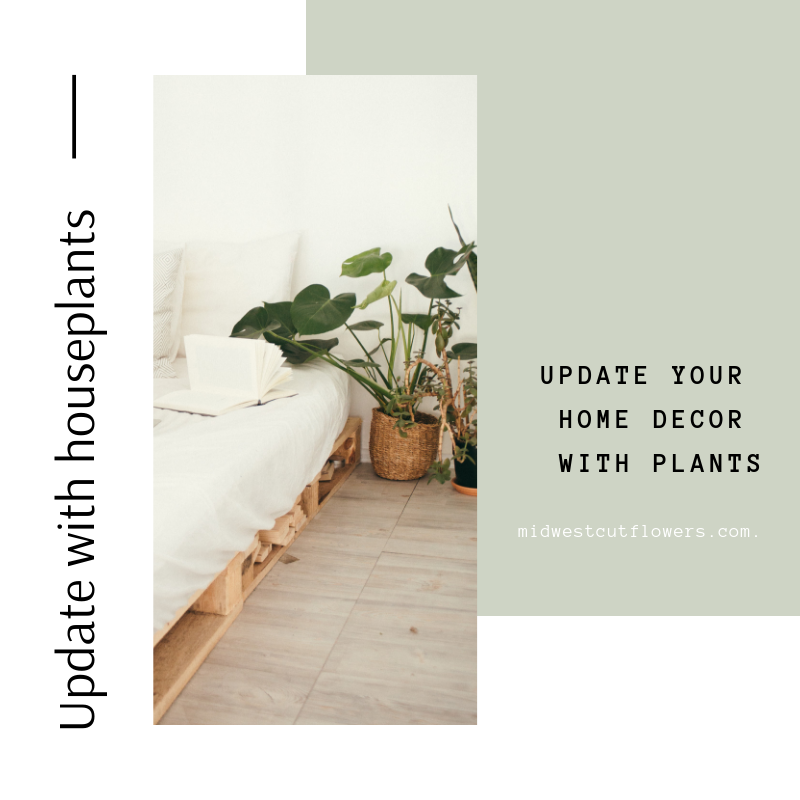
How to update your home with plants

Updating your home decor with plants is a quick and easy. Everyone’s interior design style is different, but adding plants is a fun way to update and add life to any space. A little piece of greenery gives off a feeling of happiness to anyone that walks in.

update your decor with houseplants

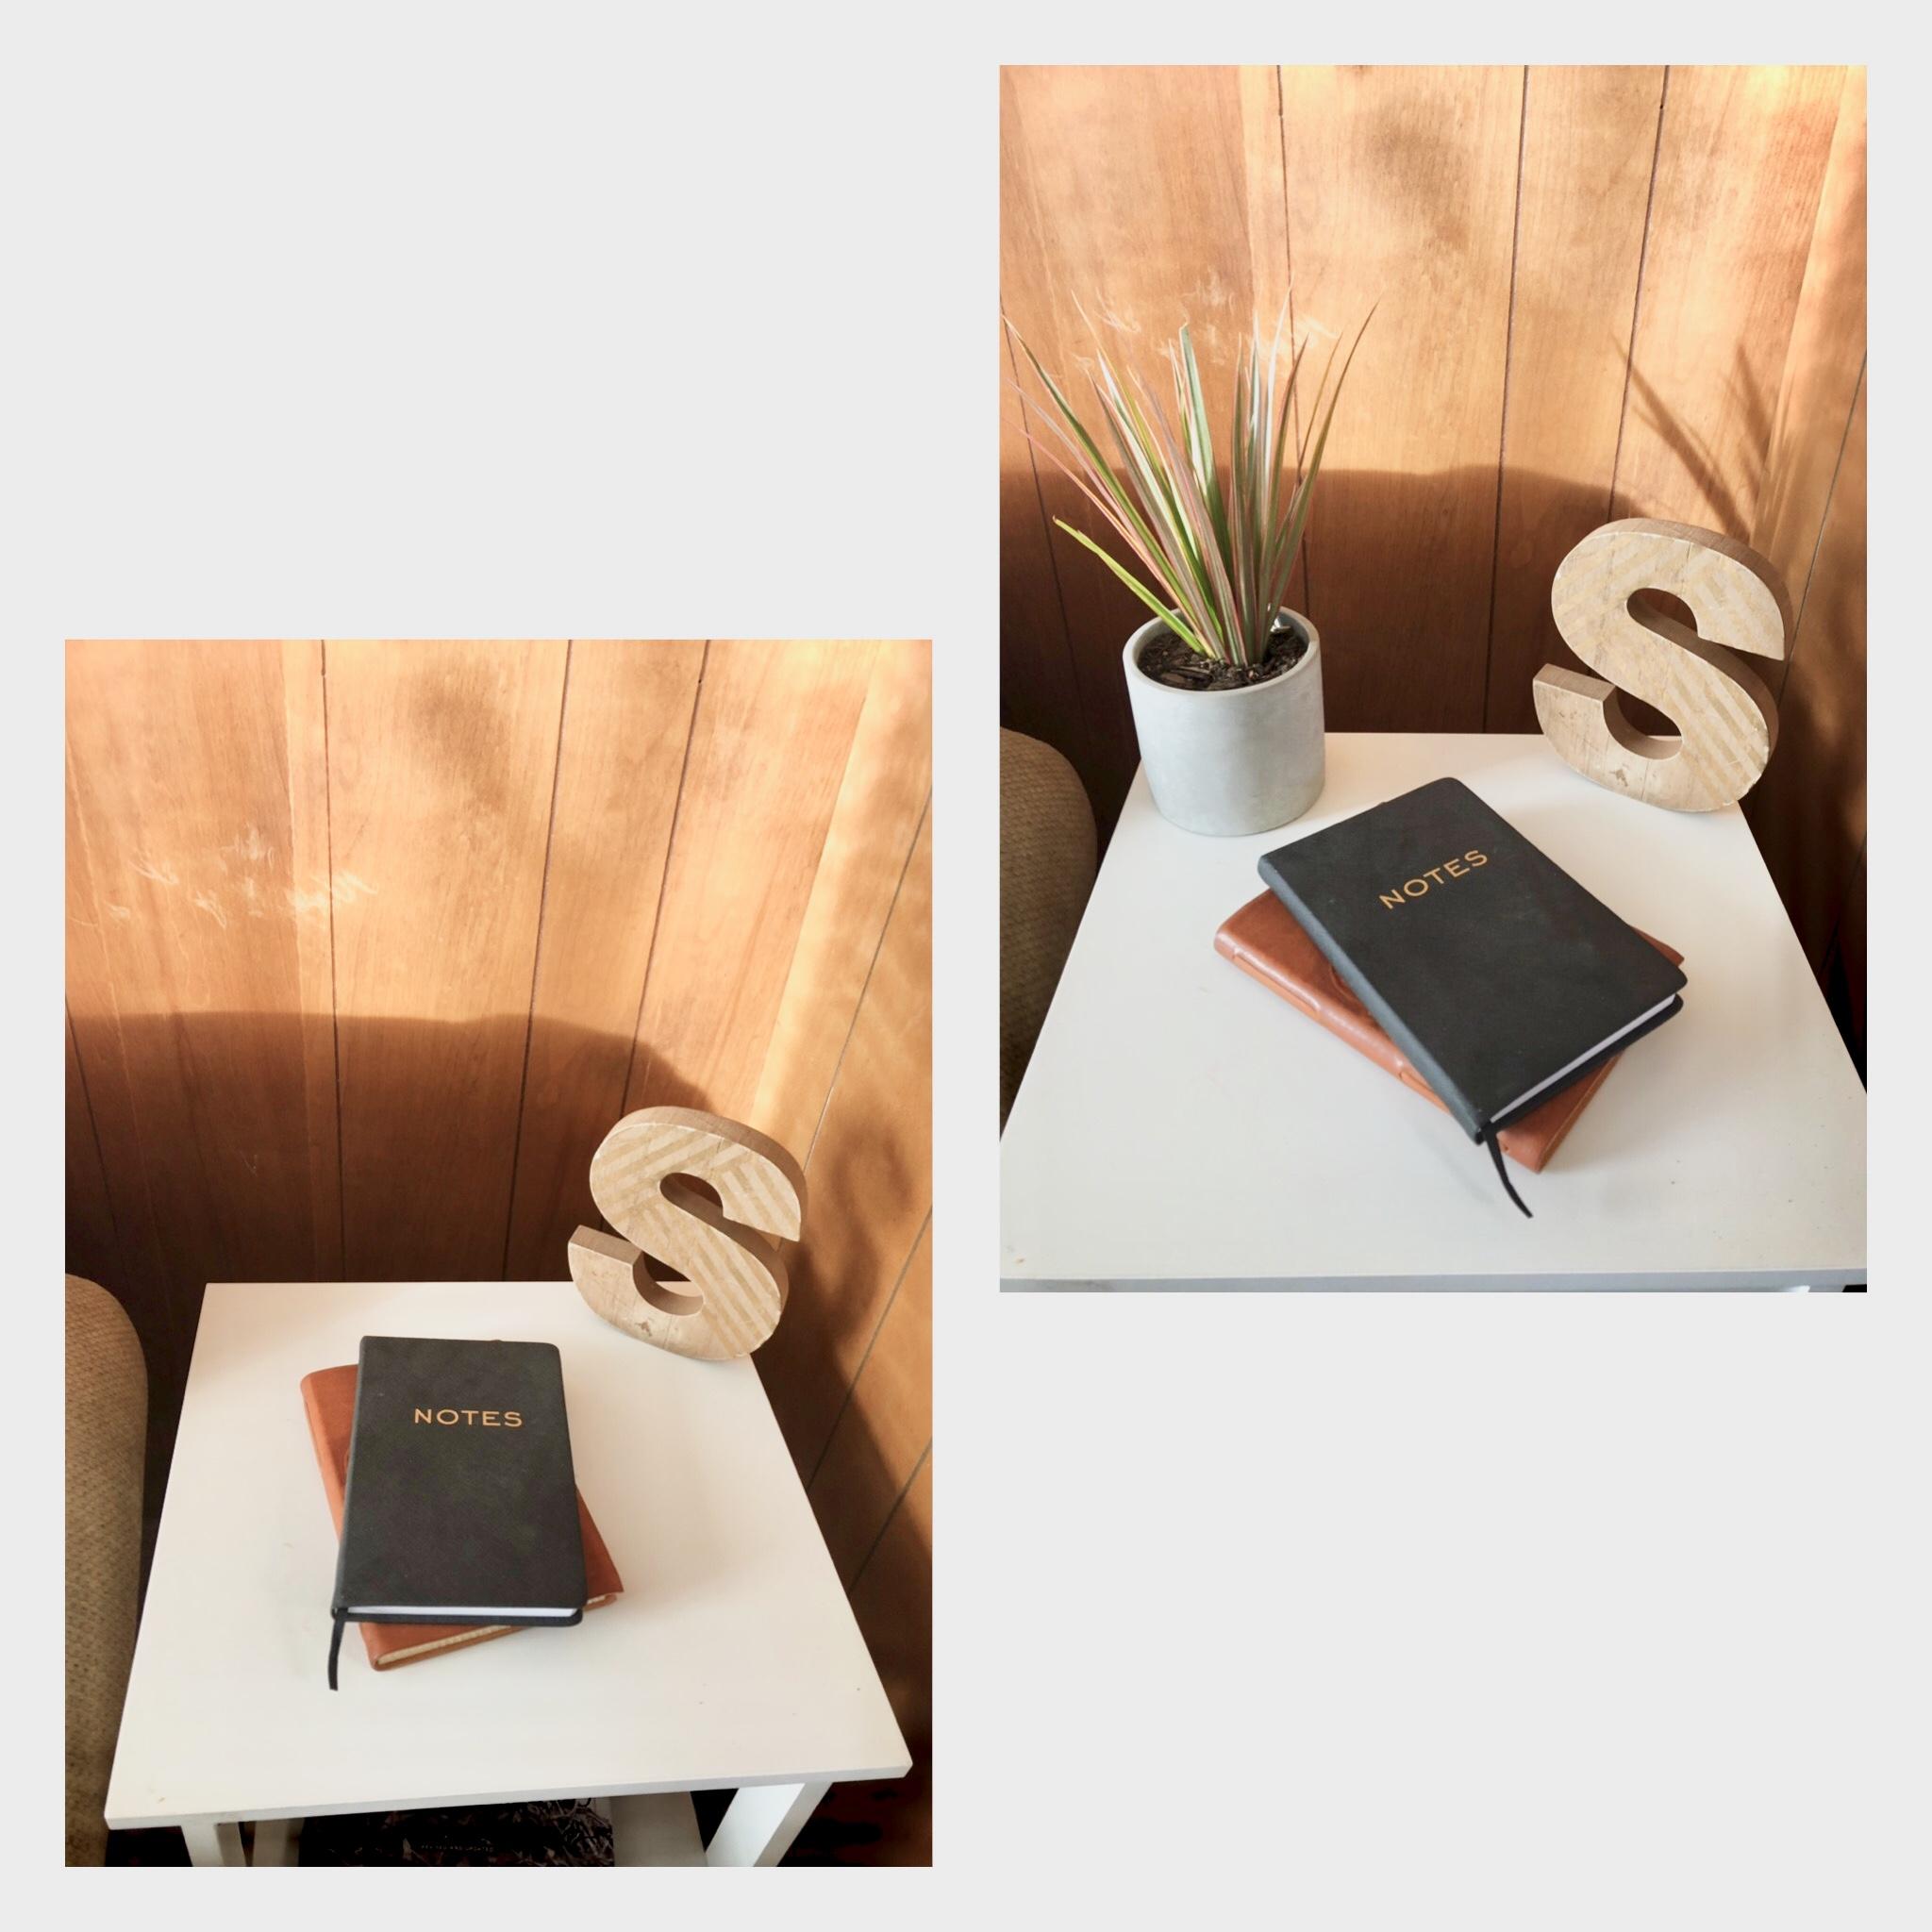
Concrete decor has a modern feel to it. I found this pot at Walmart and thought it would be the perfect finishing touch for the empty space on the end table. The natural look of the concrete makes the surrounding area feel fresh and clean.

Add house plant to your home

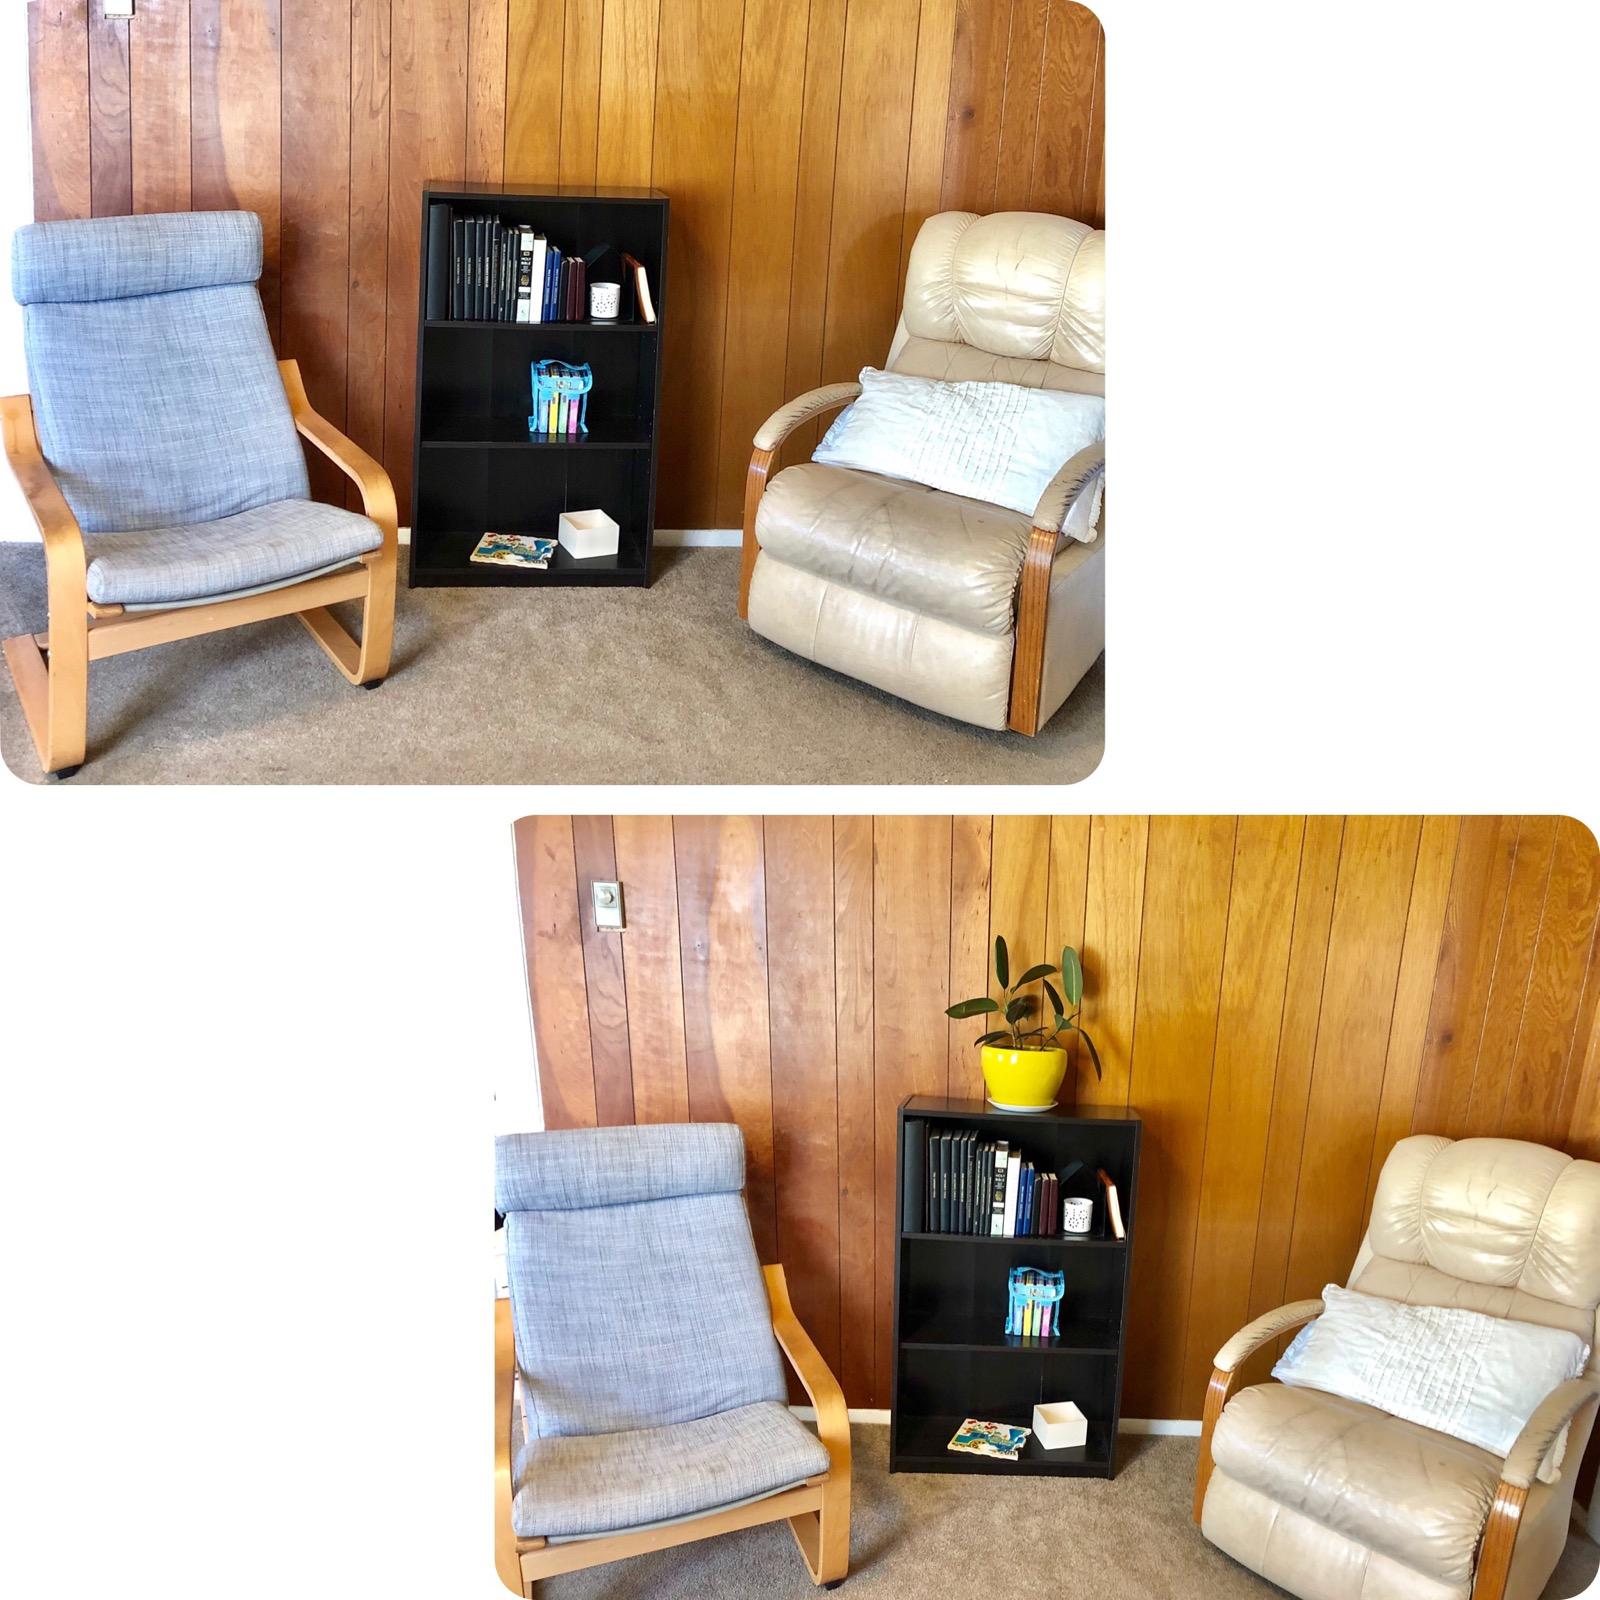
Color is another easy way to spruce up a room. This yellow cheery pot is from Michaels. Bright colors draw peoples attention to certain areas of the room and makes that space feel lively and upbeat.  Yellow is an especially uplifting color. When you add a house plant the green of the leaves pairs perfectly with the yellow.

There are so many sizes, colors and styles of pots that you will be able to find one that suits your style. Pots are available everywhere. You can even use something that is not specifically for plants. Just make sure that you add some packing peanuts or some small stones in the bottom of the pot to help with the drainage.

Pick houseplants that are easy to take care of. Read the labels to see how much water and sunlight they require and follow those recommendations.Taking care of houseplants is so easy if you are consistent. If you set aside a few minutes once per week to check on them, they will survive.

The downward slope towards spring is before us, but with these dreary winter days it seems to get longer and longer. So adding some plants around the house gave me a little feeling of spring and is helping to get rid of my winter blues. Another perk to having indoor plants is that most are generally easy to care for. (if you follow the recommendations). Yes, you have to read the little tag that comes with the plant:)

Be one the lookout for an upcoming post about 3 easy indoor plants to grow and where to find them.

On the farm

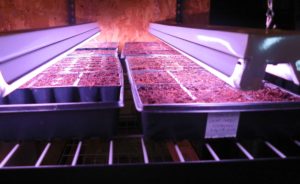
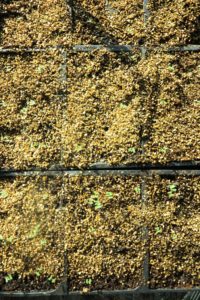
Here  is a little peek at the mood on the farm for 2019.

and an  update to what is happening so far. Seeds are being started, beds being plotted and selling outlets being confirmed. 2019 is going to be a whirlwind…..

Don’t forget to sign up for our blog updates and share your comments and questions in the comment section.

Starting a flower farm part 2

Starting a flower farm
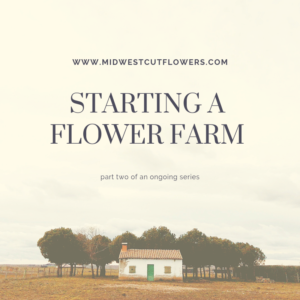
Starting a flower farm (part 2)

Thank you for following along on this “starting a flower farm journey”.  You will hopefully be getting a farm update every month! Seed starting, soil amending, sprouting, failures they all will be documented for you.  Starting a flower farm has been….interesting. Lots of beautiful pictures out there of armloads of flowers, beautiful farm stands and lush farmers market set ups. Not so many of the mud, bugs, sunburns, sore backs, dead plants and early mornings and rejections. Rejections? Yes!!! Florists a little Leary of a small grower.

I think I am now considered a flower farmer and not just a massive flower gardener…Why? Well this year I plan to have…40 20 ft beds of annuals, 5 20 ft beds of dahlias and a 40 ft by 40 ft heirloom pumpkin patch!

While drawing out my plots and going through my seeds…..I am thinking” yikes I did it!” Year 3 and more then quadrupled in size.

You will find flowers at 2 new outlets this year. In one of those lush farmers market set ups (more information soon)…and participating in the Twin Cities Flower Exchange. Wahoo! They will still be local at Red Rooster Soaps and at the road side stand.  On top of that you will be able to buy my dried flowers (sustain-ably grown and chemical free) from my Etsy shop.

Ordering seeds and planning

starting a flower farm

Ordering seeds and planning when to start and plant them has been huge for me. I try to keep notes on when I started and planted them from year to year. This year I took a flower farming school online course and it was so helpful.

Ordering and buying seeds.

Where your order or buy your seeds is a matter of preference. There are a lot of good seed companies out there. If you are just buying a few packages of seeds any box or hardware store will have the basic flower seeds.

I have been buying my seeds from Johnny’s selected seeds. I have been really happy with them. They have a great variety to choose from.

Planning

Starting seeds is not all cut and dried. Different varieties have different germination times. On the back of your seed package you will find important information. How long to start the seeds before your last frost, do you cover the seed or not? How deep to plant the seed. What kind of light it needs to germinate.

Find out when your last frost date is and circle the date on a calendar. You can count back from that date to find out when you should start your specific seeds.

I draw out my plots on graph paper.  This way I know how many plants I can fit into my prepared spaces.

What flower seeds are started so far

Lisianthus seedlings

I have started a few seed already. Lisianthus is the slowest to grow. A lot of flower farmers buy the plugs because they take so long to grow. Have I had luck with them……well not super good luck. A lot of seedlings have been lost. We are hoping to end up with at least 40 plants this year…cross your fingers…to many seasoned farmers this sounds like a piddly amount but hey!

Growing eucalyptus from seeds

The eucalyptus seedlings are doing great. This is my first try at growing eucalyptus. So far so good.

Seed Starting

Here is some information on how I start my flower seeds. This way has worked great for me.

I have gotten amazing information from floret. From seed starting to what cut flowers are the best to grow. This website is a great resource.


Easy DIY Card with dried flowers

Easy DIY card made with dried flowers.

DIY card with dried flowers
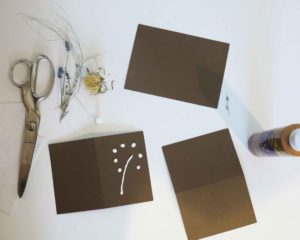
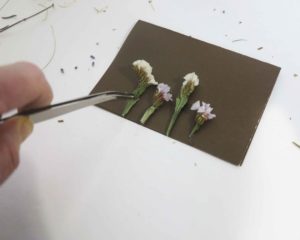
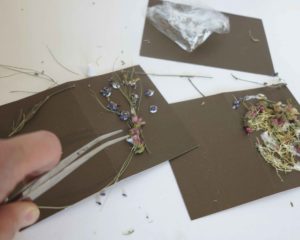
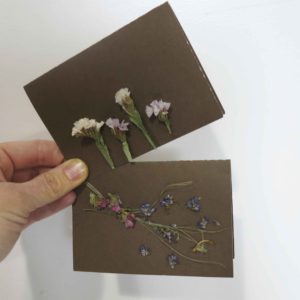
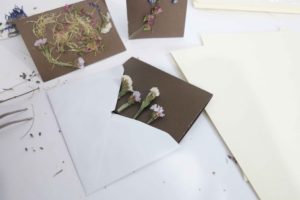
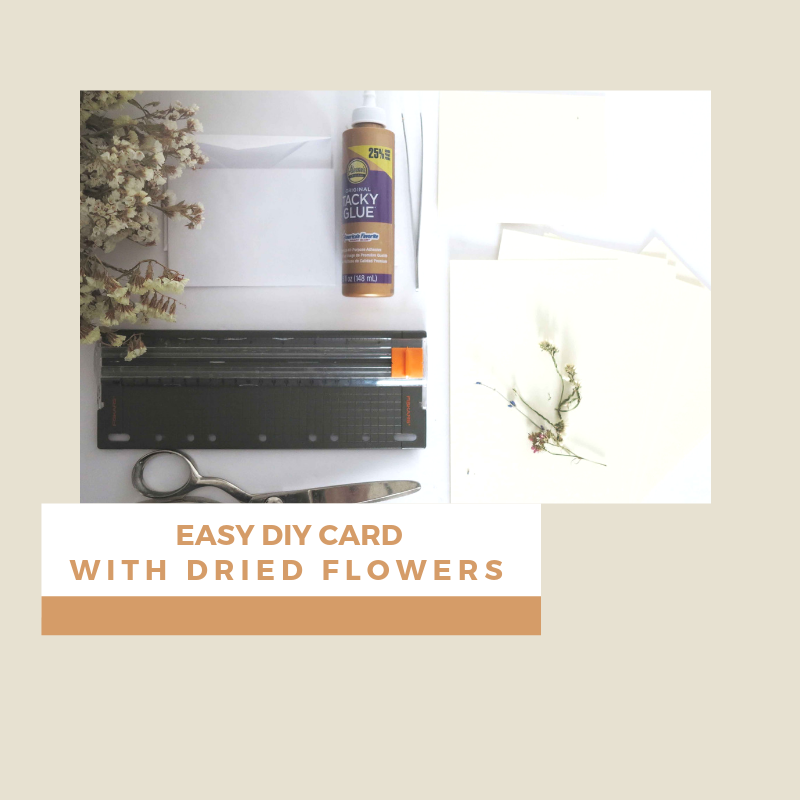
Are you a DIY’er? Even if you are not this Easy DIY  Card made with dried flowers will be a joy to make and give. The DIY card is perfect for every occasion.

Giving cards is a custom that dates back many years. The tradition can be traced by to the early Chinese, who gave greetings of goodwill on cards for the new year. These cards were only sent during this time, unlike today were we give cards for many occasions. The card giving traditions of today really took off after the introduction of the postage stamp and new technologies in the printing world. This gave people a more affordable avenue to send greeting to their loved ones.

Now we have the ability to send messages on our cell phones but….I love getting cards in the mail.

How about you? Does a good slow mail day lift your spirits?

DIY card with dried flowers

Like all of my tutorials. I encourage you to use this as a guide. Let your creative mind take over and apply your own touches to your project.

DIY card with dried flowers

Supplies

8″ x 11″Card Stock

Envelopes (invitation size)

Glue ( that will dry clear)

Scissors

Dried Flowers ( the flatter the better)

Ruler or paper-cutter

Pencil

tweezers

Directions

handmade card with dried flowers
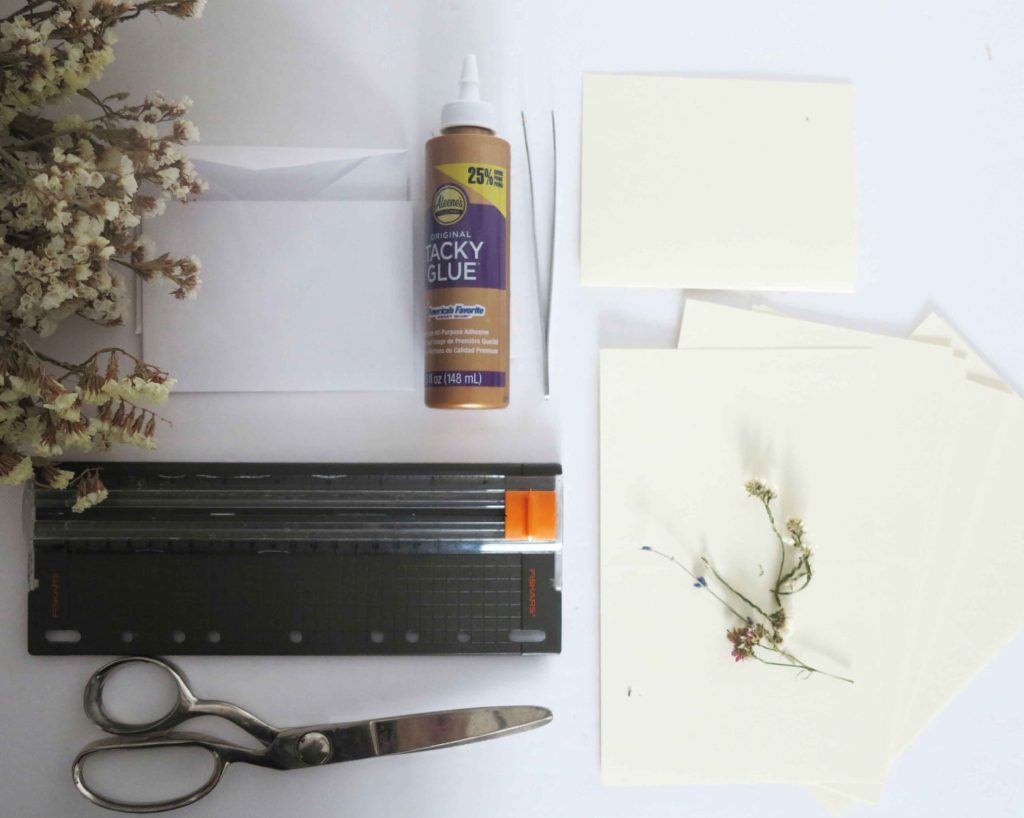
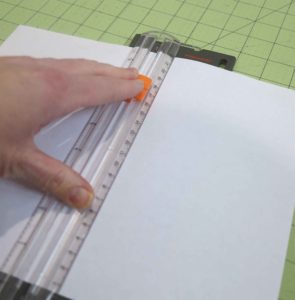
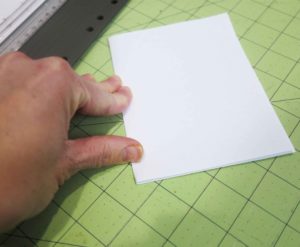
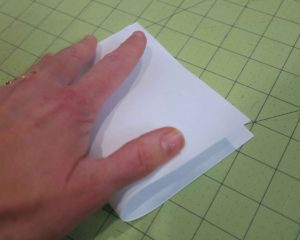
1. Bend the card stock in half, short side to short side as if you are going to crease the fold. Pinch the end where you would crease.

how to make a card with dried flowers

2. Using your paper-cutter line up the crease and cut the card stock in half. If you are using scissors, draw a light line with your ruler and pencil from the center where you pinched your card stock and cut along that line.

how to make a card with dried flowers

3. Now fold your cut card stock in half, running your finger firmly along the crease.

4. Take your dried flowers and play around with your design. The flatter your design the better. Experiment with pulling the petals off, flattening the flowers and moving the flowers around. Using your pencil mark a very light mark where you are going to glue your dried flowers.

DIY card

5. Trace your design with the glue. Make sure you apply a nice amount. The flowers need to be pressed into the glue.

Easy DIY card with dried flowers

diy card

6. Place your dried flowers on the glue and firmly yet carefully press the flowers into the glue. The glue will squish out a bit but leave it, do not try to wipe it off. The glue will dry and encase the flowers, securing them to the card.

Easy DIY card using dried flowers

7. Let dry for 1 hour.

Easy DIY card with dried flowers

So that is it. Easy peasy. This is a great easy craft to do with kids. It is so special to receive a handmade card.

Want more flower tutorials? Subscribe to our email to be notified of the newest post.

What kind of projects do you do with dried flowers? Please share in the comment section. I would love to know.

Q&A

Do I have to use card stock?

Yes I would use card stock because you need a firm backing for the flowers.

Can I used pressed flowers?

Yes! Pressed flowers would be awesome.

Can I send these cards through the mail?

Yes you can. It would be good to put a piece of waxed paper on top of your flower design to protect it.

Here is another one of our card tutorials. Enjoy?

Share your cards with us! We would love to see them.