Cracked glass candy- a Dash of color for your Christmas desserts!

Cracked glass candy
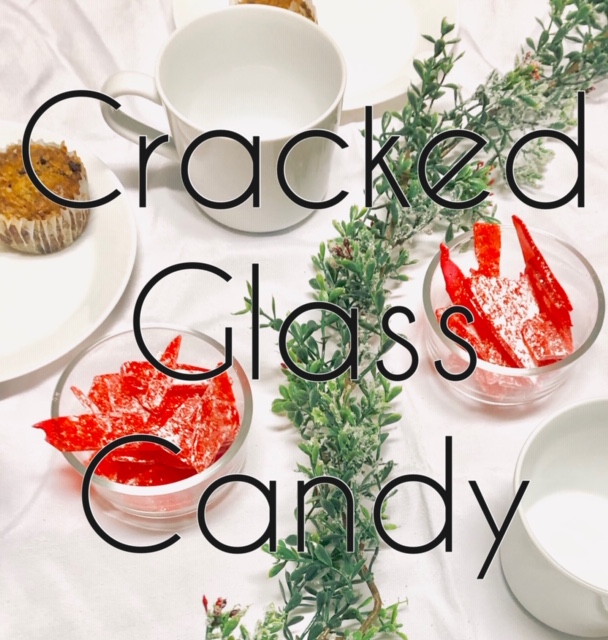
Cracked glass candy is a fun and delicious candy that is easy to make and hard not to taste! You can make this glass candy with any flavor you find in your local craft store and color it to your liking. A few of my favorite flavors are black licorice, cinnamon and butter rum. Add a splash of color to your Christmas desserts this holiday season by adding cracked glass candy to your list of must bake items.


Cracked glass Candy

A fun addition to your holiday baking

Ingredients

  • 2 cups granulated sugar
  • 2/3 cup light corn syrup
  • 3/4 cup water
  • 1 tsp flavoring oil cinnamon, black licorice, peppermint etc
  • 7-10 drops food coloring
  • 1/4 cup powdered sugar

Instructions

  1. Step 1:

    Add sugar, corn syrup, and water to your pot. Heat over medium heat. Prepare parchment paper for candy to be spread onto.

    Step 2:

    Bring contents to a simmer and place candy thermometer into pot ( making sure the bottom of the thermometer does not touch the bottom of the pot).

    Step 3:

    When the temperature reaches 270 degrees add 7-10 drops of your desired food coloring. Do not stir. Boiling will incorporate the color. (Bring candy up to temperature takes quite a few minutes)

    Step 4:

    Measure out 1 tsp. of your desired flavoring and add when temperature reaches 290 degrees. Be careful here, the steam is very strong from the flavoring. Stir flavoring into the boiling candy and remove from heat.

    Step 5:

    Pour candy onto prepared parchment paper quickly. Spread as thin as possible with a spatula. Let cool.

    Step 6:

    Break candy using the edges of the parchment to crack into bite size pieces.

    Step 7 :

    Place candy into a gallon size ziplock bag and sprinkle with powered sugar, (This makes so the candy doesn't stick together.) Enjoy!

Utensils for Cracked Glass Candy Making:

  • Measuring cups
  • Candy thermometer
  • Parchment paper
  • Pot
  • Spatula
  • Gallon ziplock bag

This candy is excellent for adding some texture and color to your Christmas desserts and also works as an awesome decoration on gingerbread houses! Christmas time is filled with sweets. Add this to your Christmas baking list, you will not be disappointed.

Happy holidays!

Another thing we like to bake around the holidays is , Finnish Pulla.  The warm loaf coming out of the oven is just the thing to add to that holiday feeling. What is your favorite holiday baking tradition?  Please share them in our comments section.

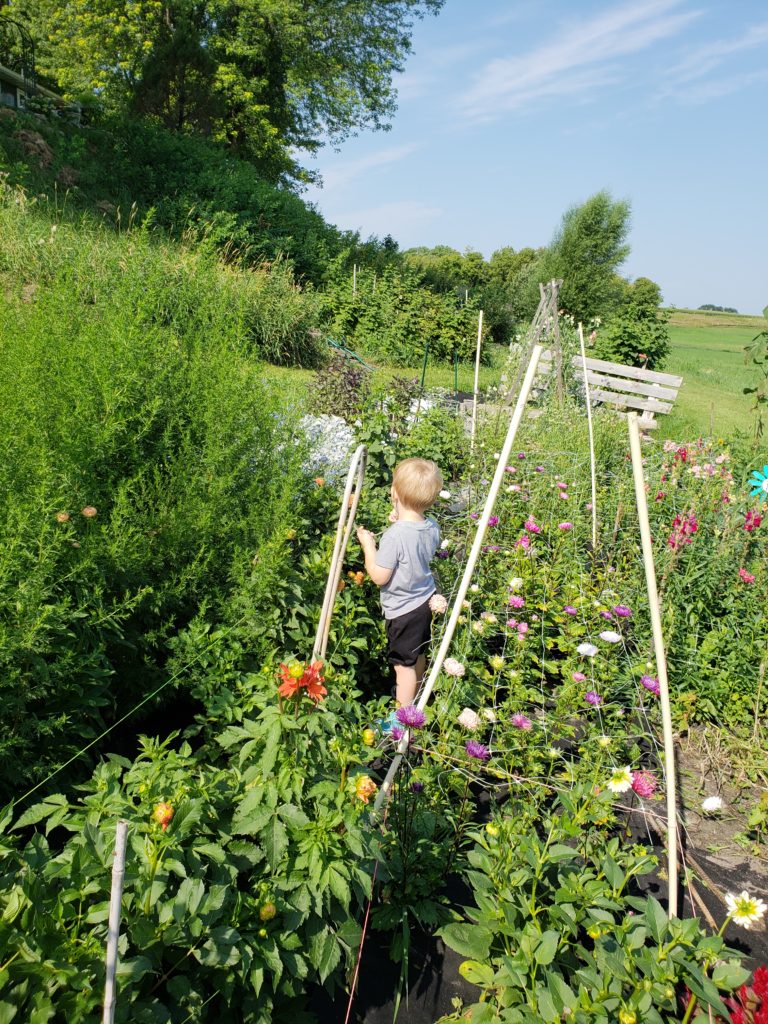
Don’t forget to sign up for our email to follow along with the flower farm and to receive little exciting tips and recipes.


What I learned this year


What I learned this year farming
What I learned this year

What I learned this year. Well I learned a lot this year…..The 2nd year of growing flowers went by like the first. In a blur. Yes a total blur. Tho I felt I had a slightly better grip on what I was doing, it went just as fast.

Flower field
flowers in Delano Minnesota

Growing flowers

Growing flowers is so rewarding. You buy the seeds, plant them, nurture them, transplant them, watch them grow and tada a beautiful flower. Well growing flowers for selling or for making bouquets is just that but on a much , much  larger scale.

One of the most important things from what I learned this year is…..I need to plant more flowers and succession plant them. That means I need to do at least 2 plantings if not 3 a few weeks apart from one the other. This will enable me to have plenty of blooms when I need them.

Gardening for kids
Gardening for kids

Harvesting flowers

Harvesting flowers to sell is a little different then just harvesting for yourself. I need to know when to harvest the little guys at the right point. Not to early, not to late. Harvesting flowers at their optimal point is key for longer lasting blooms. Some flowers need harvesting before all the petals open and some….yes you guessed it, not until all the petals have opened.

Growing flowers from seed. Transplanting flowers
growing flowers from seed

Growing flowers from seed

This year I grew 95% of my flowers from seed. Growing flowers from seed is another learning curve. What I learned this year from growing from seed is patience, calculations and failures.

  • Plant seeds according to blooming times
  • follow packet directions for light exposure
  • learn how to water the seeds
  • check on them at least every other day
  • rotate the trays
  • keep the soil slightly moist
  • 16 hours of light per day when growing
  • buy potting soil in bulk……small bags do not go far
  • use a worksheet for scheduling sowing times
Locally grown flowers in Minnesota
locally grown flowers in Minnesota
cut flowers for sale near me
locally grown cut flowers

Easy flowers to grow

There are several cut flowers that are easy cut flowers to grow. One of my favorite has turned out to be statice and strawflower. These actually fall into the category of everlastings….(more on that in the new year) They have done well for me from seed.

Other flowers that are easy to grow

  • marigolds
  • snapdragons
  • statice
  • dahlia
  • strawflower
  • zinnia

Here is a previous flower farming update.

Don’t forget to sign up for our emails to receive the latest updates from my adventure.

As the year comes to a close I will continue to review what worked and what did not. I have a few different ideas that I am working on for next year.

Stop by My Etsy Shop to see some of my dried flowers.


Easy DIY countdown to Christmas calendar

diy countdown to Christmas
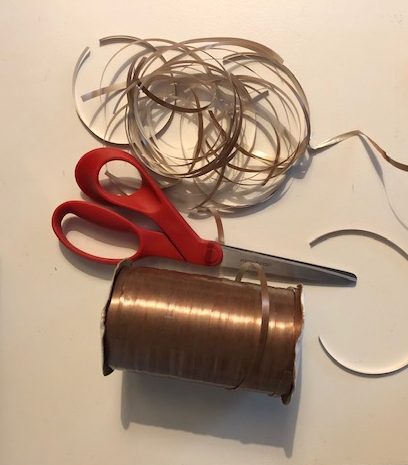
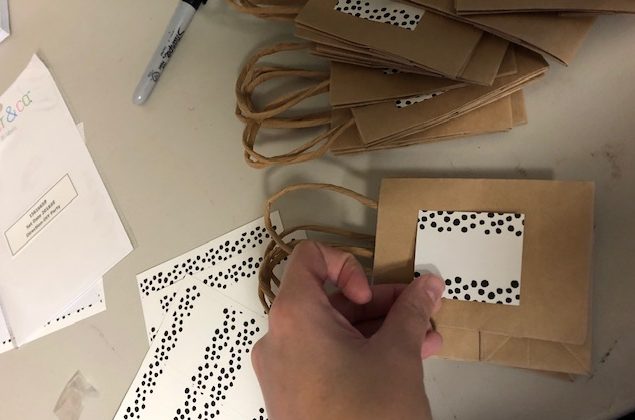
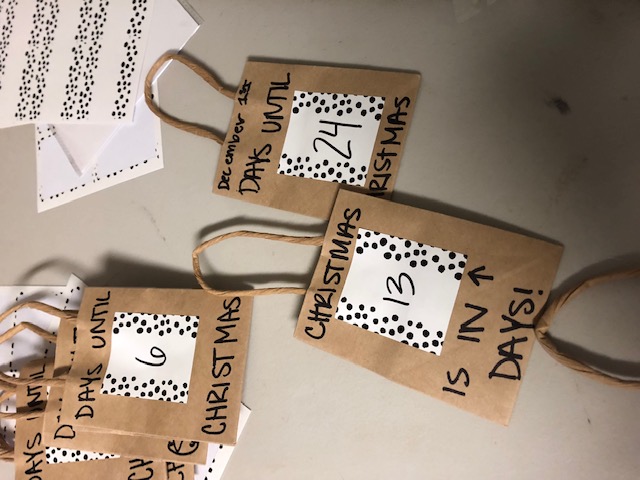
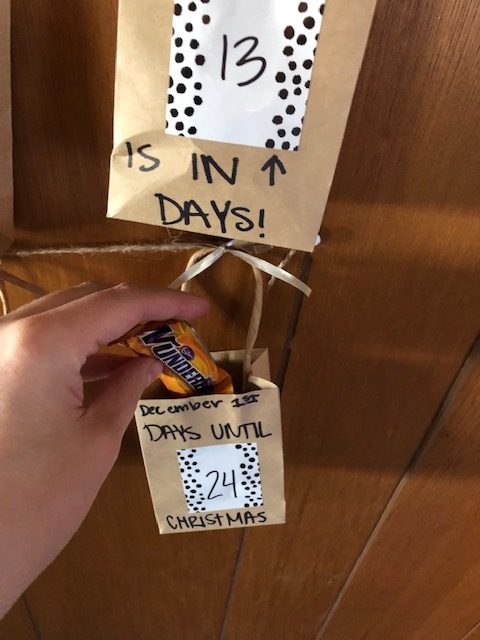
Hello! The countdown for Christmas has begun! This easy diy countdown to Christmas calendar is a fun, memorable way for you and your family to keep track of how many days until that special holiday is finally here. With only a few simple steps you can create this countdown calendar that will give you an easy go-to for the “how many days until Christmas” question that gets asked multiple times a day.

DIY countdown to Christmas


To start you will need:

  • Little gift bags
  • Stickers
  • Markers
  • Ribbon or string
  • Thumb tacks
  • Treats

supplies for DIY countdown calendar

Step one:

Place a sticker on each bag and number the bags from one to 24.

making DIY countdown calendar

Step two:

Add some fun little quotes, sayings, or facts to your bags. Here are some suggestions:

  • ___ days until Christmas
  • Christmas is in ____ days
  • Only ___ days until Christmas
  • I can almost count on my 10 fingers, 11 days until Christmas
  • Christmas means expressing surprise. __ days until Christmas.
  • It’s the most wonderful day of the year in ___ days


Step three:

Hang up 4 rows of ribbon with your thumb tacks and tie the numbered bags to each row. Have fun here, you can put the bags in order as I did; or you can scramble all the numbers so you have to find the correct bag each day.

Step four:

Add a treat to each bag. I used some delicious Canadian chocolate bars that a family friend brought down for us, as well as some candy canes, mini Hershey bars, hi chews, gobstoppers, and dum dum suckers.

countdown to Christmas calendar


This holiday season create a new family tradition with this easy diy countdown to Christmas calendar. The best part about using these little gift bags is you can reuse them year after year or decorate the other side next year for a different look.

Don’t forget to subscribe to receive some happy mail.

Enjoy your thanksgiving everyone.

Check out some other easy projects here.


Gifts for gardeners 2018

gift ideas for gardeners
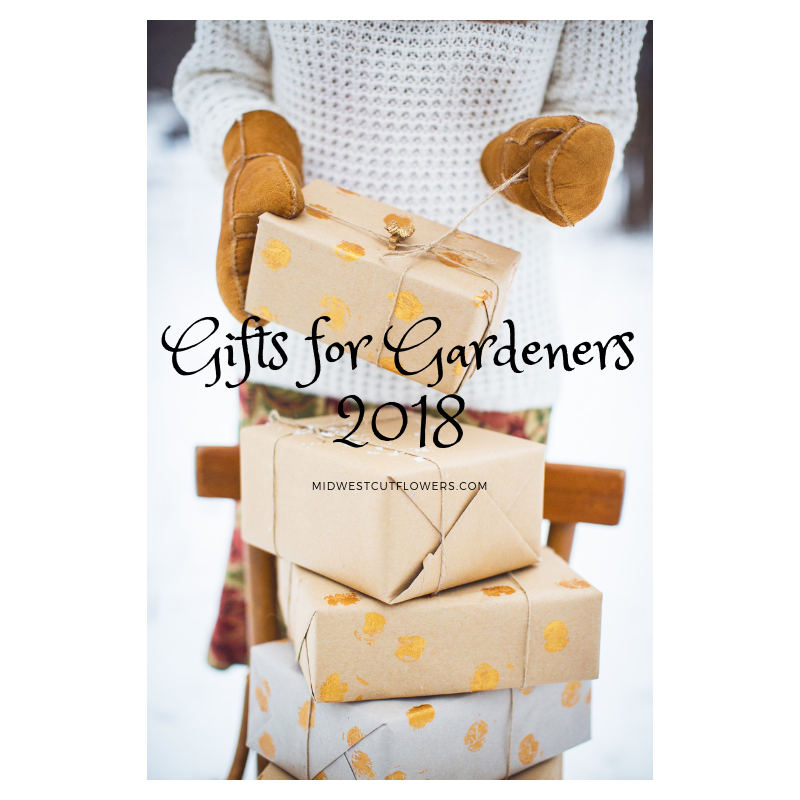
Here it is. The gifts for gardeners 2018 list.The Christmas shopping season is upon us! It feels like I just did a gift for gardeners  shopping guide. No matter what it feels like tho…..it’s here.  It is now! This year I have included a few of my favorites from Etsy’s gifts for garden lovers. I love buying from Etsy ( no this is not a paid ad) it feels like the gifts are that much more special. Another thing I like to do is buy gifts from those small locally owned businesses. They so appreciate the sale!! Have you ever purchased something from a small business or a boutique to craft sale and have them frown at you? Never. They love it!!


gifts for gardeners

My favorite Gifts for Gardeners 2018

  1. I absolutely love this gardeners box! It is a perfect idea for the gardener who loves to save seeds!
  2. Ok. Of course I had to include this totally awesome faux grass mat from Magnolia Market. I mean so fun!
  3. I love calendars! This one from farmers almanac will satisfy the gardener in your life.
  4. This little book is so amazing. Even if you are not doing market farming, the information about making beds etc. is top notch.
  5. There is nothing like a good handmade soap!  Your gardener will be excited about this lovely little piece!!
  6. Another Etsy find. Don’t you love it! Perfect for the humorous gardener.
  7. This planter from anthropologie is so cute. They actually had a large selection of things that you could choose from for gardeners.
  8. My other, Etsy find is this driftwood planter . What a fun and perfect gift for the natural gardener.

I know that not everyone will love everything on this list. However most will.

I tend to be a more natural gardener.. a little leary of chemicals and pesticides. How about you? Some people wonder why I care when I mostly grow flowers. I think that I am careful because I do a lot of gardening without gloves, also my little kids are in there with me. Therefore I don’t worry as much when they are pulling on the plants and playing in the dirt.

Don’t forget to sign up for our emails. This will let you keep up with this little adventure of ours.

We are working on a new line for our Etsy Shop. Coming in March of 2019, we will have a new line of market bags and aprons…. Until then, I will be listing the dried flowers that we have from our 2018 growing season.


Peanut Butter Oreo Pie

oreo and peanut butter pie
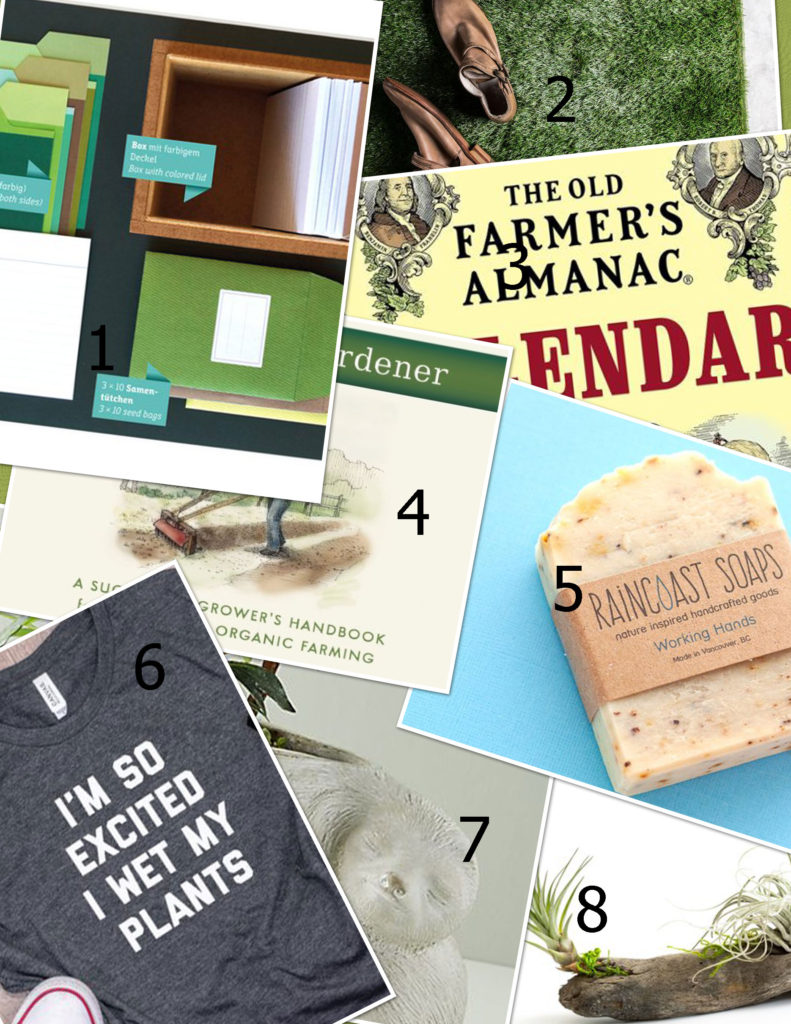
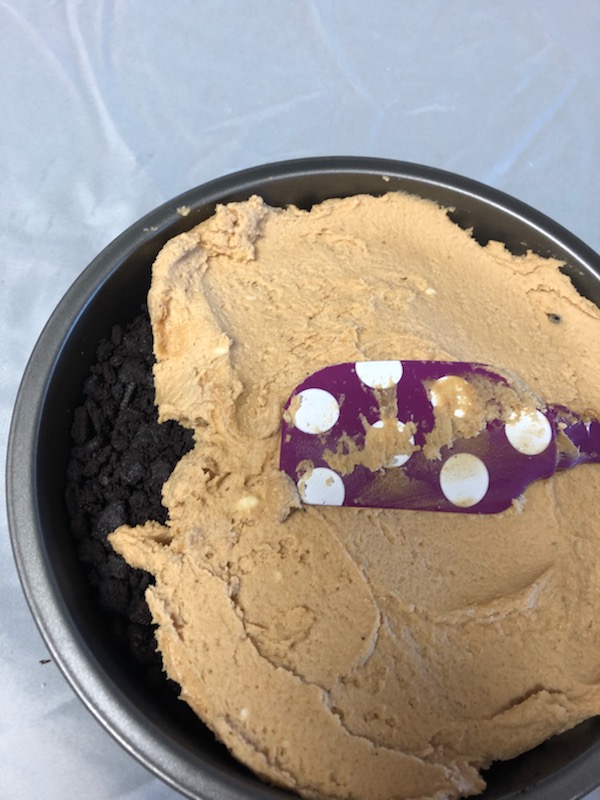
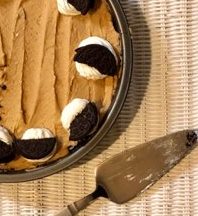
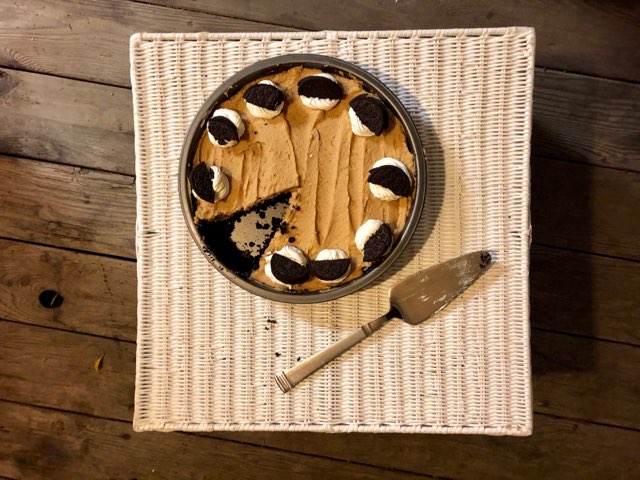
Okay you peanut butter lovers, this one is for you. What satisfies a sweet tooth more than a smooth rich piece of Oreo peanut butter pie. I got my inspiration for this Oreo peanut butter pie from my dad. Although all he can do is look at my pie in pictures, due to the fact that we live 1700 miles apart. My dad is the guy at thanksgiving that passes the classic apple, pumpkin, or pecan pie and heads straight for the richest, peanut butteriest, chocolatiest looking pie. One of the biggest things that draws me towards making this pie around the holidays is the small ingredient list. There is nothing better than whipping up a good looking pie in no time at all!

Directions:

ingredients for peanut butter oreo pie

Preheat oven to 350 degrees.

oreo peanut butter pie

Separate Oreo filling from the cookie and set filling aside. Leave 5-6 Oreos whole, for garnishing at the end. Put cookies into a large ziplock bag or food processor and crush down to crumb size pieces.

oreo pie crust

Melt butter and mix together with Oreo crumbs. Press mixture into a pie pan. Bake crust for 5-7 minutes.

oreo pie ingredients

Mix the filling of the Oreo, peanut butter and cream cheese together until smooth. Let rest until crust is cooled.

oreo pie filling

Spoon the filling onto cooled pie crust. Let chill for 1-1 1/2 hours.

oreo and peanut butter pie

Garnish with a layer of cool whip over the entire pie or just a dollop on each piece. Break the last of the Oreo cookies in half and place on each piece of pie. Cut and enjoy!

When I moved away, I left with many teachings from my dad, in which I am thankful for. As thanksgiving nears let us know what you are thankful for. There is always something to be thankful for. And of course, I’m always thankful for that last piece of peanut butter Oreo pie.

Here are a few pies to die over.

This pecan…

This apple…..

and this twist on pumpkin.

The pumpkin dessert, I promise……amazing.

These links are not affiliated…just personal favorites.


Easy Thanksgiving Centerpiece

easy thanksgiving centerpiece
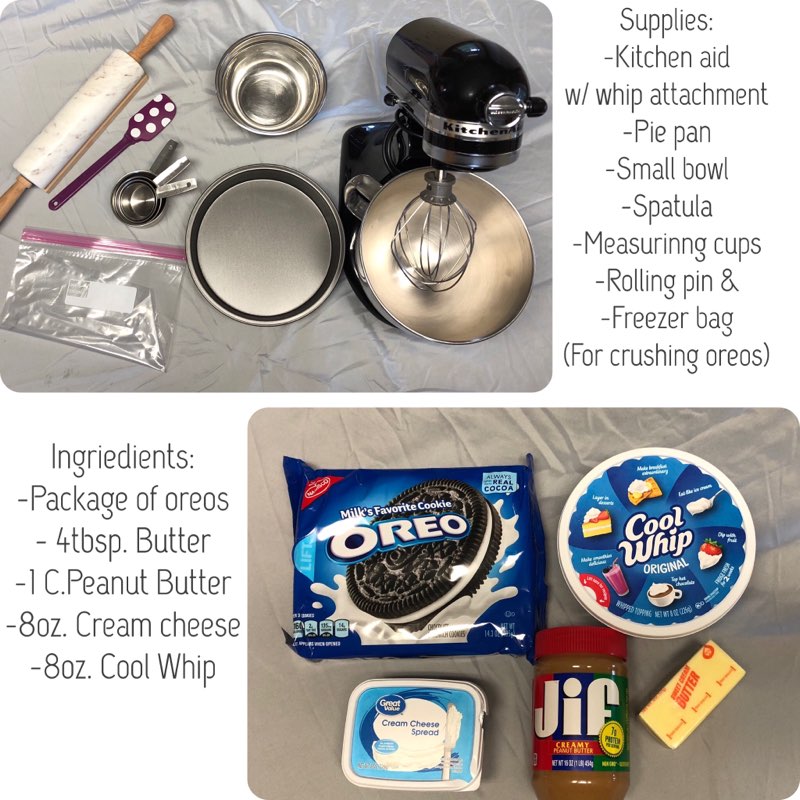
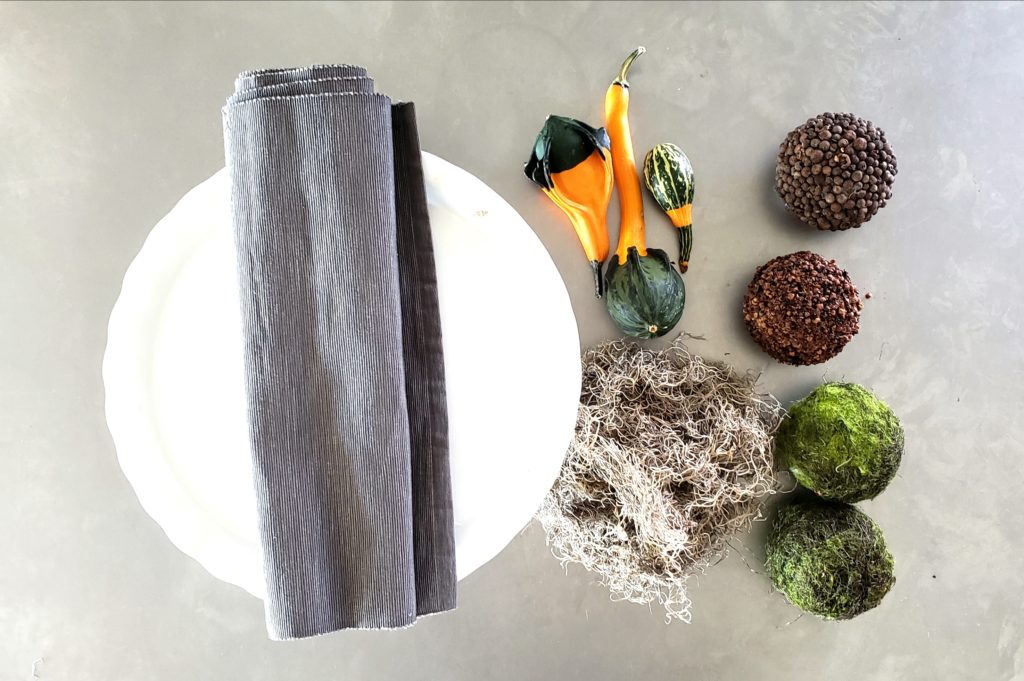
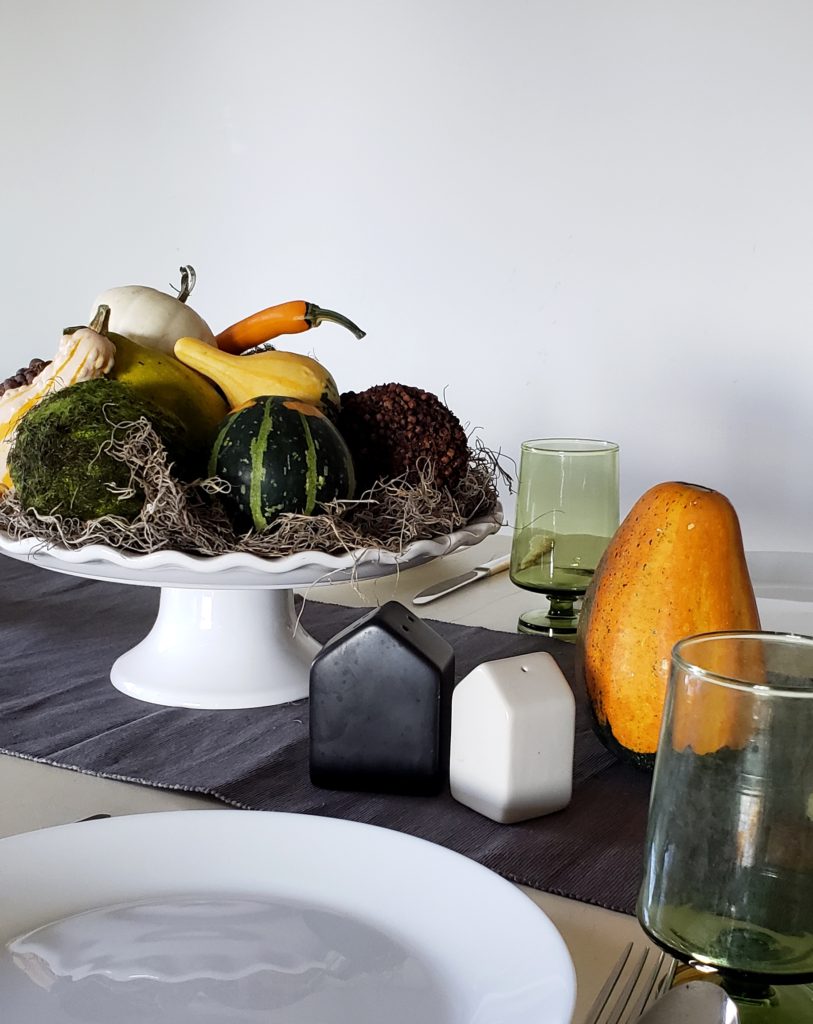
Hey, hey! Turkey day is almost here. This year we are hosting the big shindig. I thought I would share an easy Thanksgiving centerpiece with you. I am all for simple, simple, simple. I don’t do well with to many things and pieces….how I manage everyday life is quite a mystery! Anywho….back to the easy thanksgiving centerpiece.

I do not like really large centerpieces where you can’t see the person you are across from. Of course this works pretty good with bickering teenagers…. I prefer to keep the centerpieces low.

thanksgiving center piece supplies

Like most of my DIY’s, I encourage you to use your imagination. You can use this as a guide… if you do not have everything that is called for…use something else.

Supplies for the easy thanksgiving centerpiece:

  • cake platter or pedestal bowl
  • Spanish moss
  • moss balls ( found at craft stores)
  • textures balls (I made mine but found at craft stores)
  • small gourds
  • table runner

spanish moss base

Place the Spanish moss onto your base. Spread it around until you are happy with the amount.

spanish moss


With your fingers, make small openings in the moss where you will set your first 4 items. This will help hold the balls in place.

moss balls

Put your moss and textured balls into the indents you have created. This will be your base of the arrangement.

gourds in centerpiece

Take your gourds and put them around and on top of the balls. You can add as many or few as you would like. Also if you want, you can place any extra gourds on the table runner next to the centerpiece.

thanksgiving centerpiece

I found the Spanish moss at Jo-Ann Fabrics.

My cake platter came from Target

The moss balls can be found at Michael’s

Here are some textured balls

and a cute grey table runner.

Gourds can be found at any grocery store.

These links are not affiliated.

What do you like to put on your table at Thanksgiving?

Check out this easy DIY holiday project.  These cards will be the finishing touch for your gifts this year.