


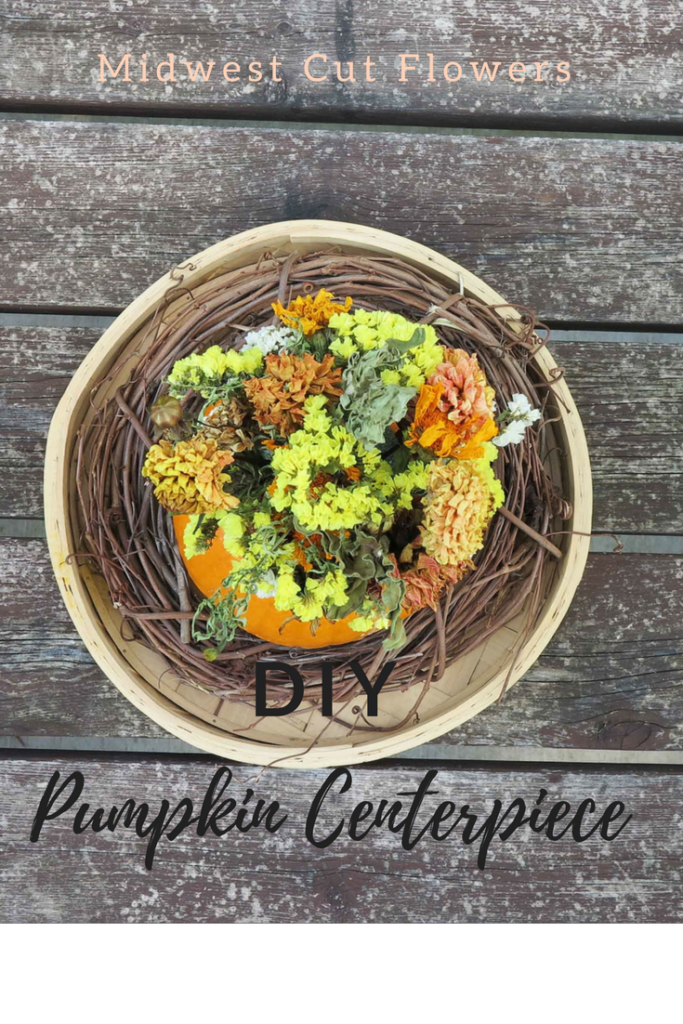
Ohhh a pumpkin center piece. With fall upon us, and the cut flower season almost over, I thought I would share a post using the flowers I have dried. This DYI pumpkin centerpiece will be the talk of your thanksgiving table. Nothing says fall like orange pumpkins and the leaves changing colors. The muted colors of the dried flowers go perfect with the fall palate of pumpkins and leaves. Use your imagination and have fun. This is great project to do over coffee with your friends.
Supplies for the pumpkin centerpiece
- pumpkin
- flower foam
- a knife for cutting
- craft glue (any brand)
- a variety of dried flowers
- grapevine wreath that your pumpkin will fit into
- wood skewer
- Round flat basket or tray
- paper plate
Step 1
Gather all the supplies you need for the pumpkin centerpiece project. The farmers market is a great place to find unique pumpkins in the fall. However if you do not have a farmers market near you. Most grocery stores will carry pumpkins at this time of year. Pick whatever pumpkin stands out to you. I used a small pumpkin.
The best dried flowers to use, would be the ones that you have dried yourself. If you do not have any that you have dried on your own, no big deal!! Any craft store will have a section of dried flowers. Etsy is also a great place to look for dried goodies. How fun would it be to support a small business?
Step 2
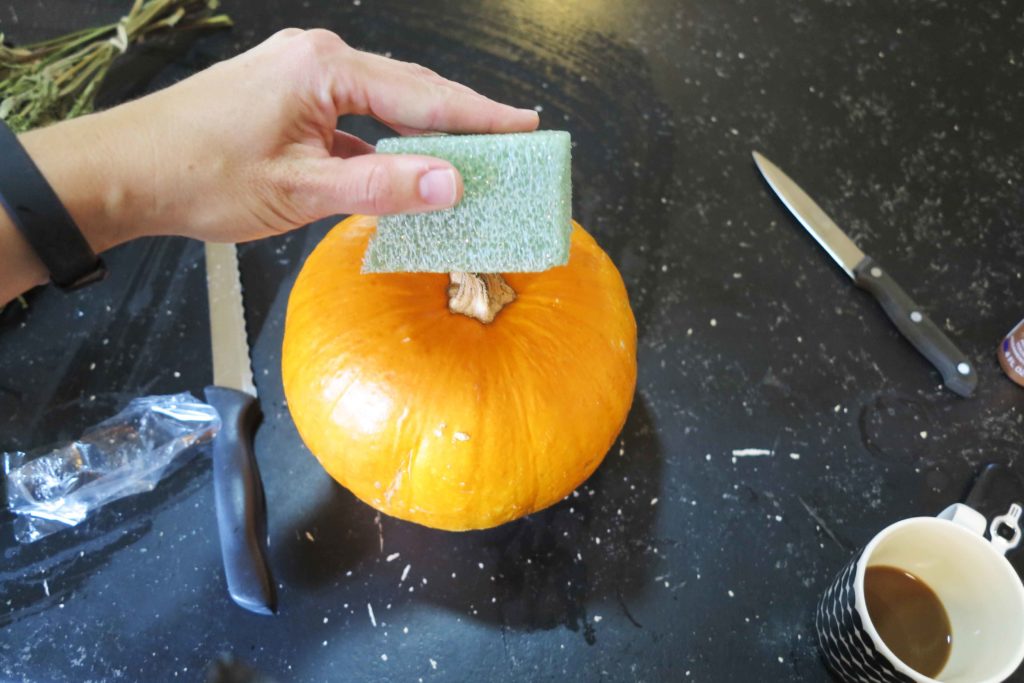
Wash the pumpkin with mild bleach water and wipe dry with a towel. Keep the stem attached, it makes it easier to secure the foam. Cut an appropriate sized piece of the foam for the pumpkin and press onto the stem. I cut my foam about have the width of the top of my pumpkin. If you want you arrangement to sit closer to your pumpkin keep the foam 1-1.5 inches tall. If the stem is really small add a drop of glue on the stem before pressing on the foam.
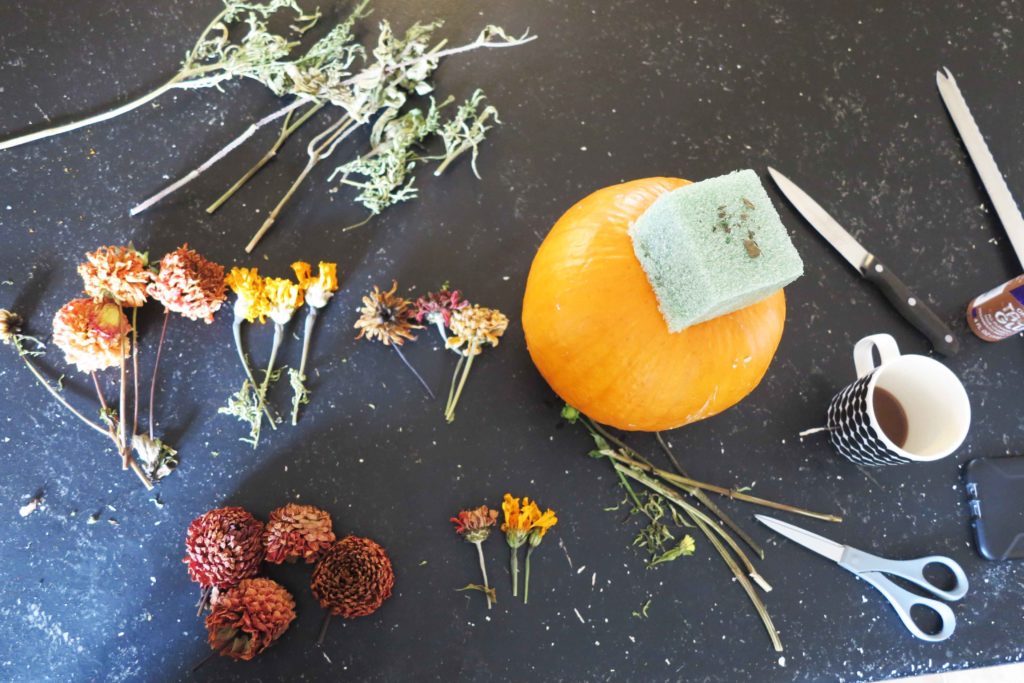
Step 3
Break or cut the dried flowers into lengths of 1-3 inches. Group like flowers and lengths together in piles. This makes it easier to see what you are working with. Piles your leaves and foliage together in the same way.
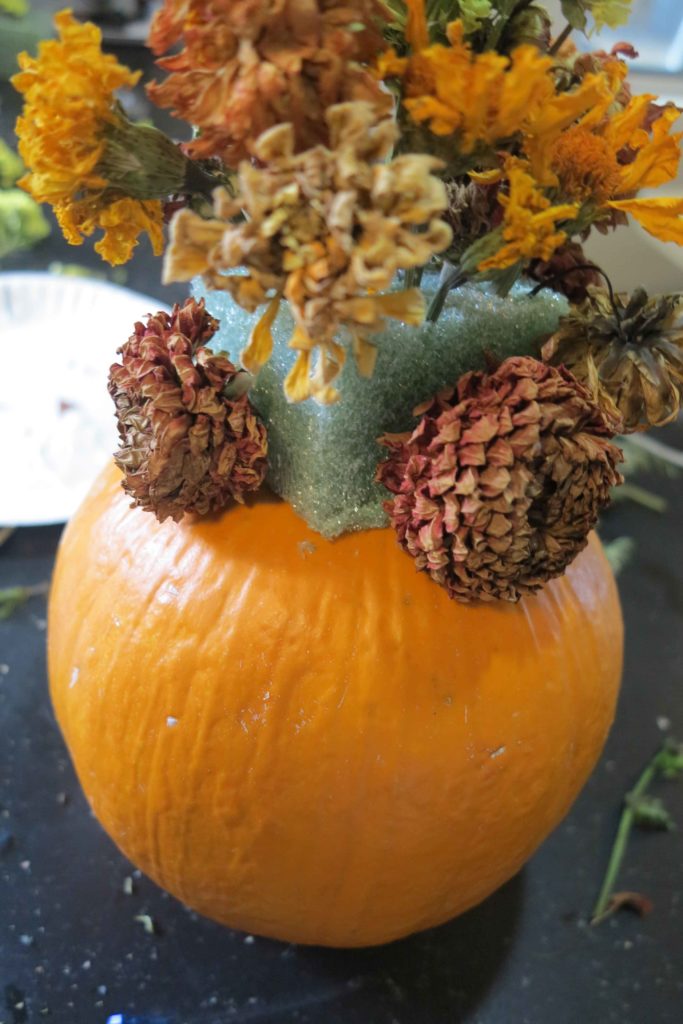
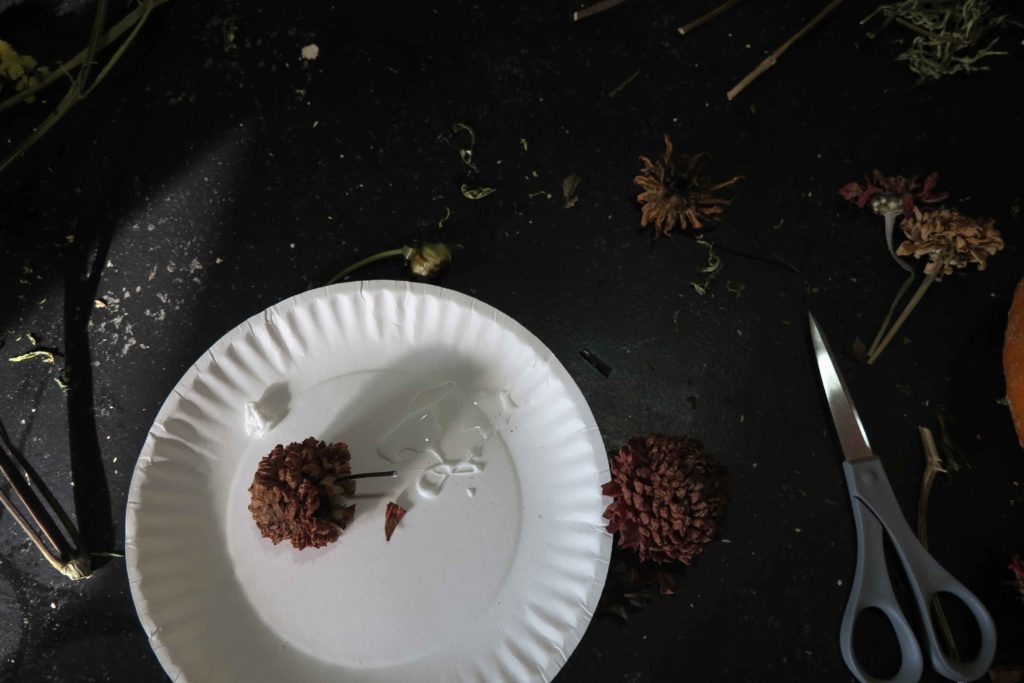
Step 4
Squeeze some glue onto a paper plate. Hold up the flowers to the pumpkin to get a feel for where you want to place the flowers. Poke a hole into the foam with the wood skewer where you want your first flower to go. Dip the stem of the flower into the glue and place into the hole. Repeat this process until you have used all your flowers. Fill in the spaces using foliage and leaves. Remember to turn the pumpkin often to see all sides. If you have a lazy Susan this would be helpful but not necessary.
Step 5
Place the grapevine wreath onto the tray or basket. Place your pumpkin centerpiece in the middle of the wreath. Stand back and admire your handy work. Nice Job!!
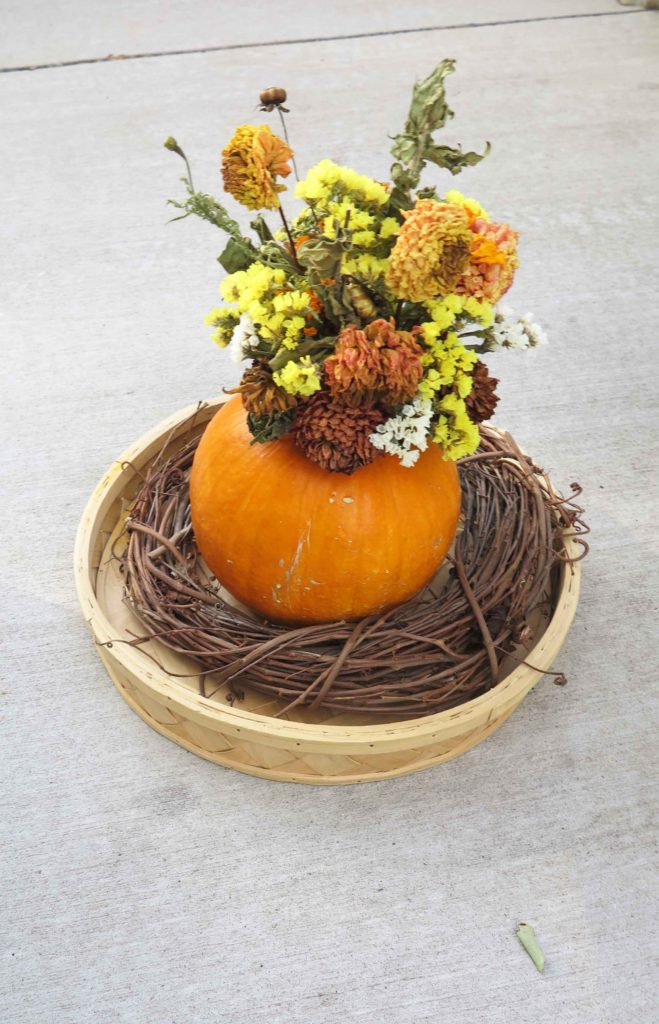

This is such an easy DIY Thanksgiving centerpiece project. Enjoy!
Here is another easy DIY Thanksgiving centerpiece…I loved putting this one together also.
Speaking of Thanksgiving, makes me think of the kitchen, which makes me think of aprons. Do you wear an apron? My mom always has an apron on in the kitchen and I have started to do the same! I love it. This apron is one that I love. The pocket details catch my eye. An apron with a pocket is a bonus….
Take time to enjoy this season. Fall speaks to me. I love the crisp air, smell of bonfire, buffalo plaid blankets and pumpkin spice. The season in so fleeting, get outside and enjoy an apple orchard to just check out the leaves.

Leave a Reply